
I have been happily stitching along during the past week and that means that there is progress to share with you in this Hygge Update! The centrepiece of my Hygge Wrap is now done… and I am really happy about that!
Before I tell (and show) you all about this week’s progress let me switch on that hygge feeling a little bit! Background information: it’s August and, since I live in the northern hemisphere, it’s Summer. Or at least it should be. It has been rather cold, wet and windy during the past week. Not at all the weather you’d expect at this time of the year. It’s like we were fast forwarded to Autumn! And I’m not ready for that!
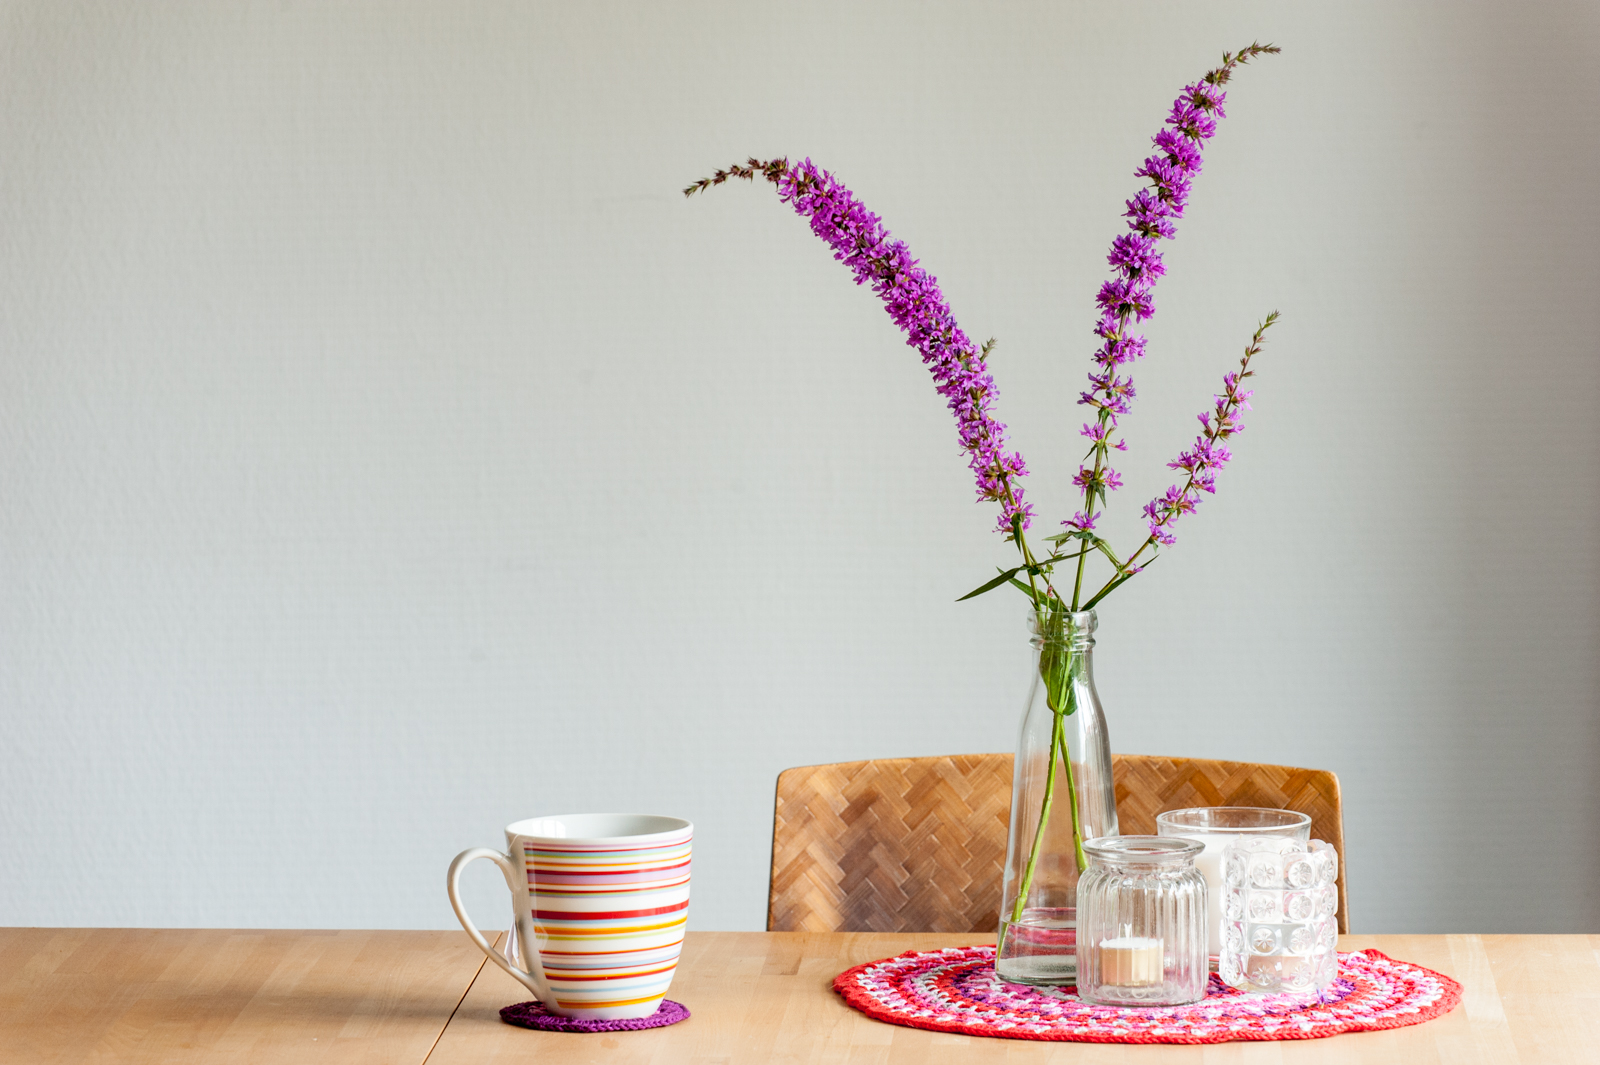
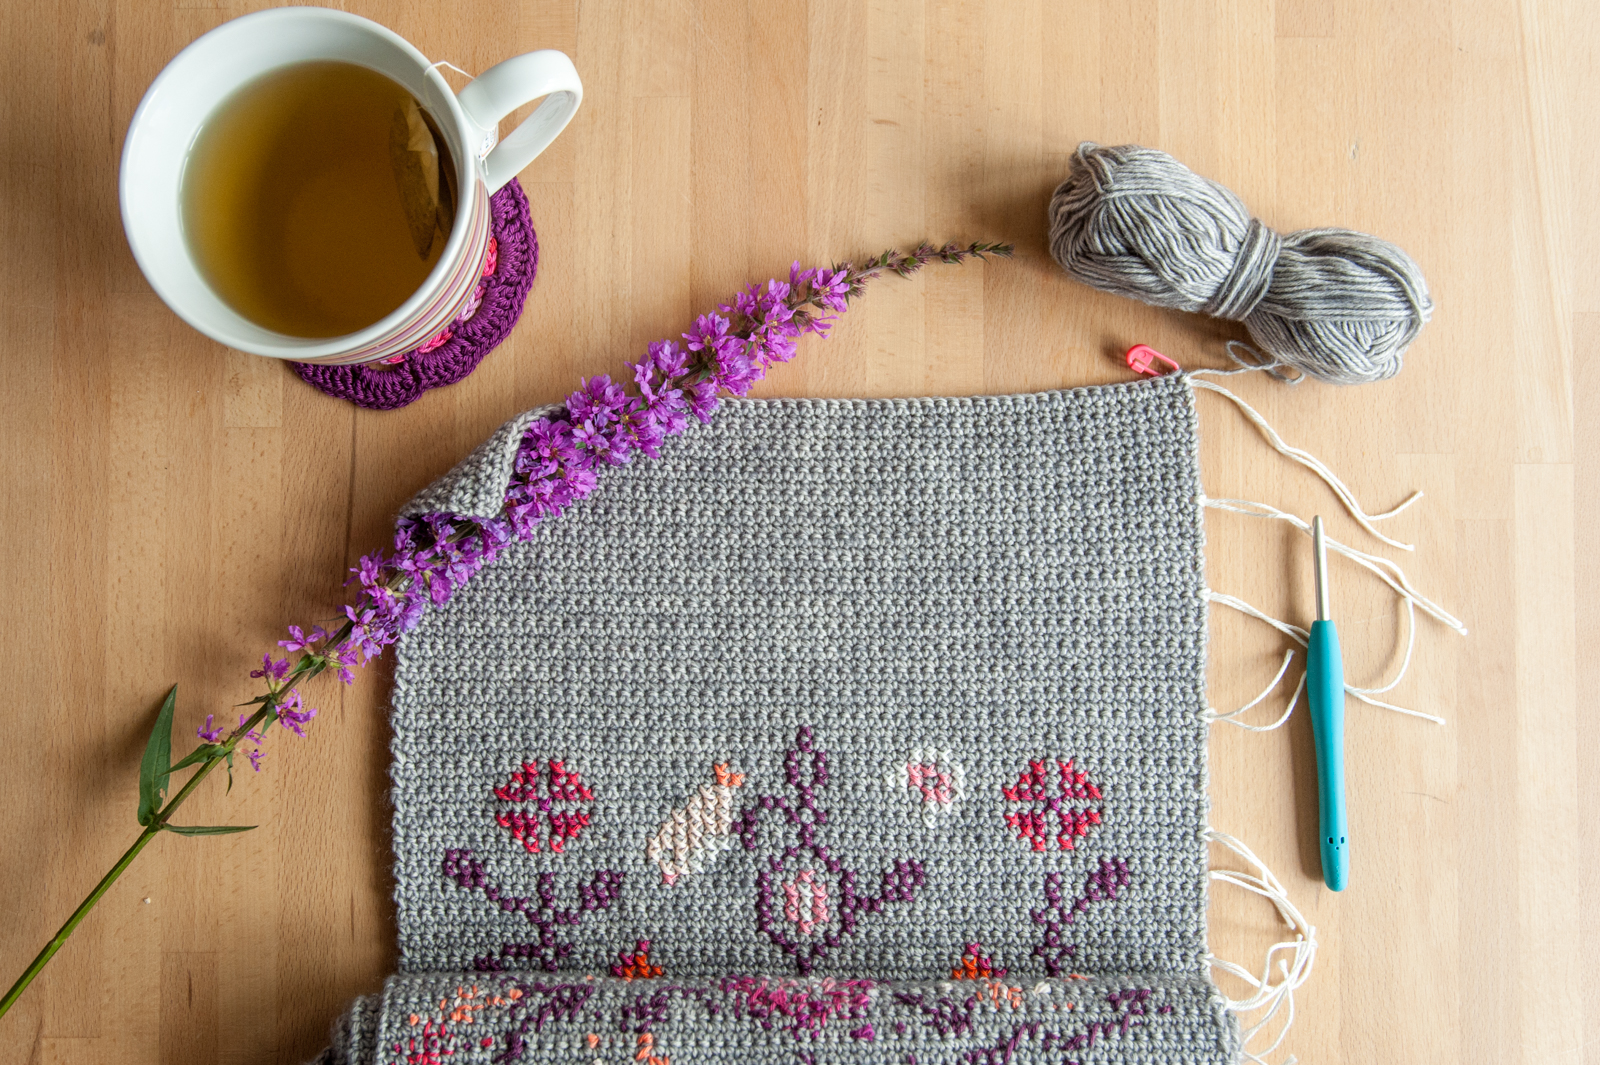
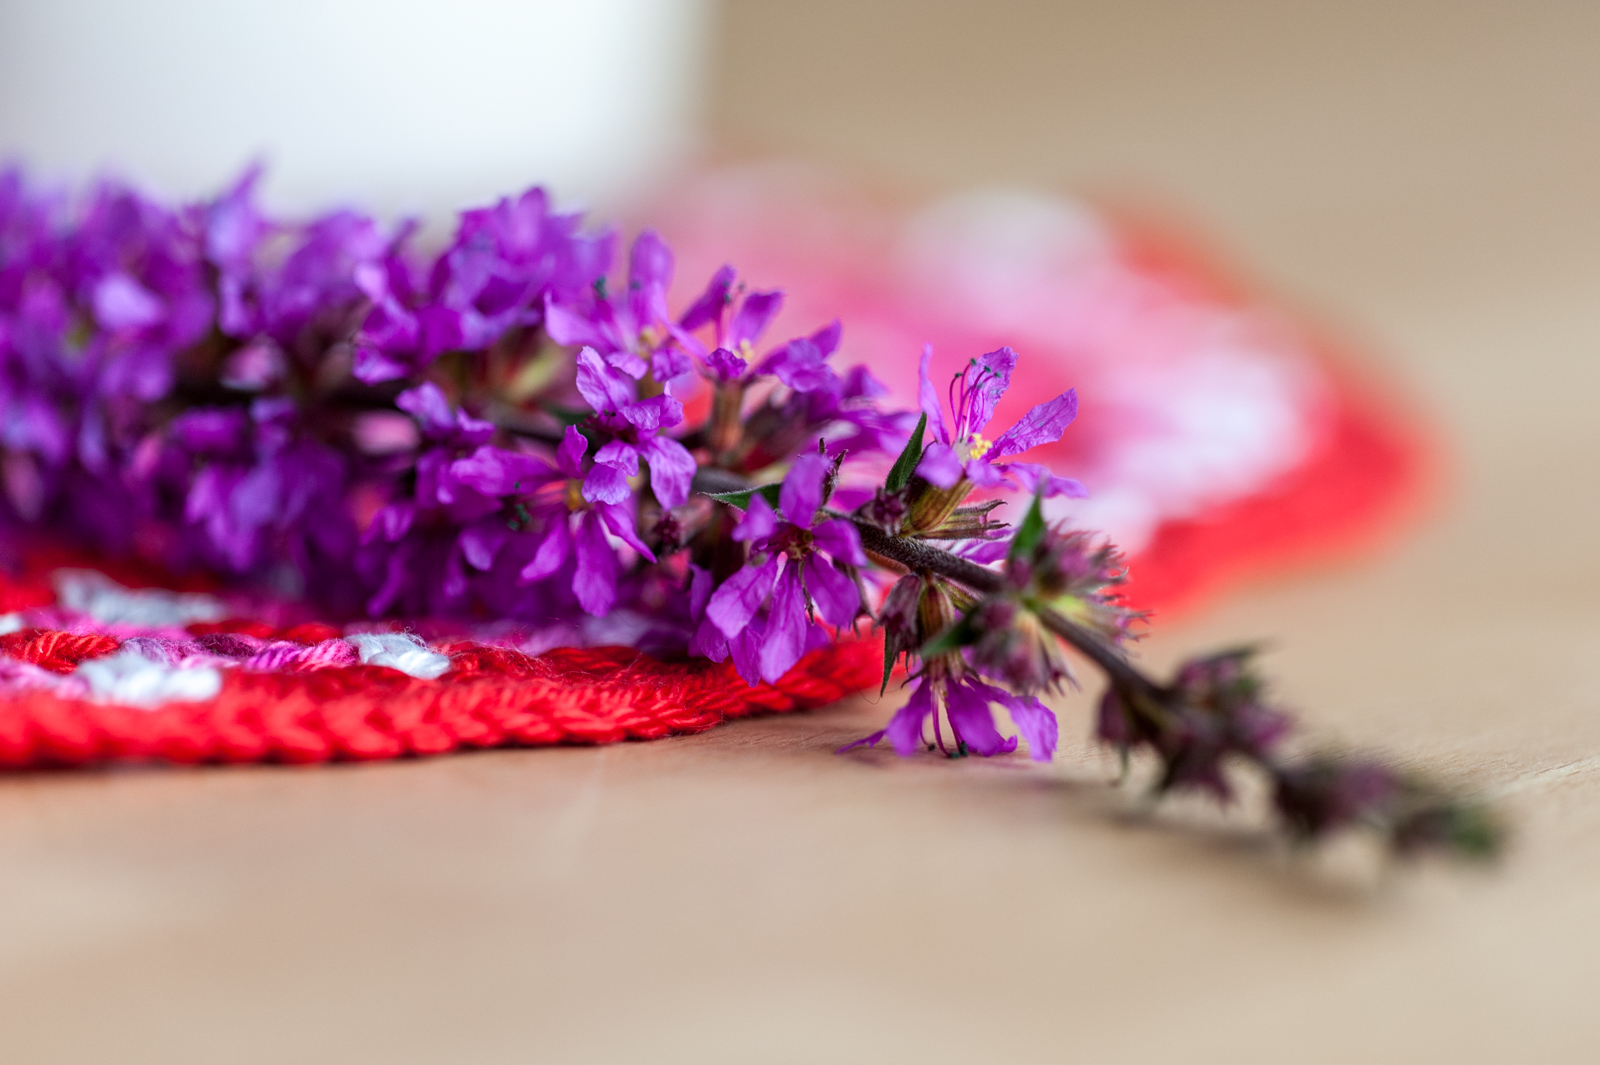
Luckily I’ve found these lovely little wild flowers when walking the dog and I decided to take them home with me and cheer up the dining table. I have no idea what they are called… Do you know?
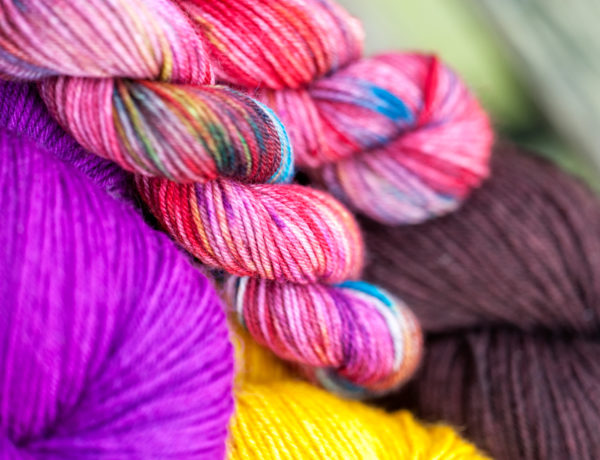
Isn’t it a great match with the Hygge project?
Since we are talking flowers now, I would like to show you another one:
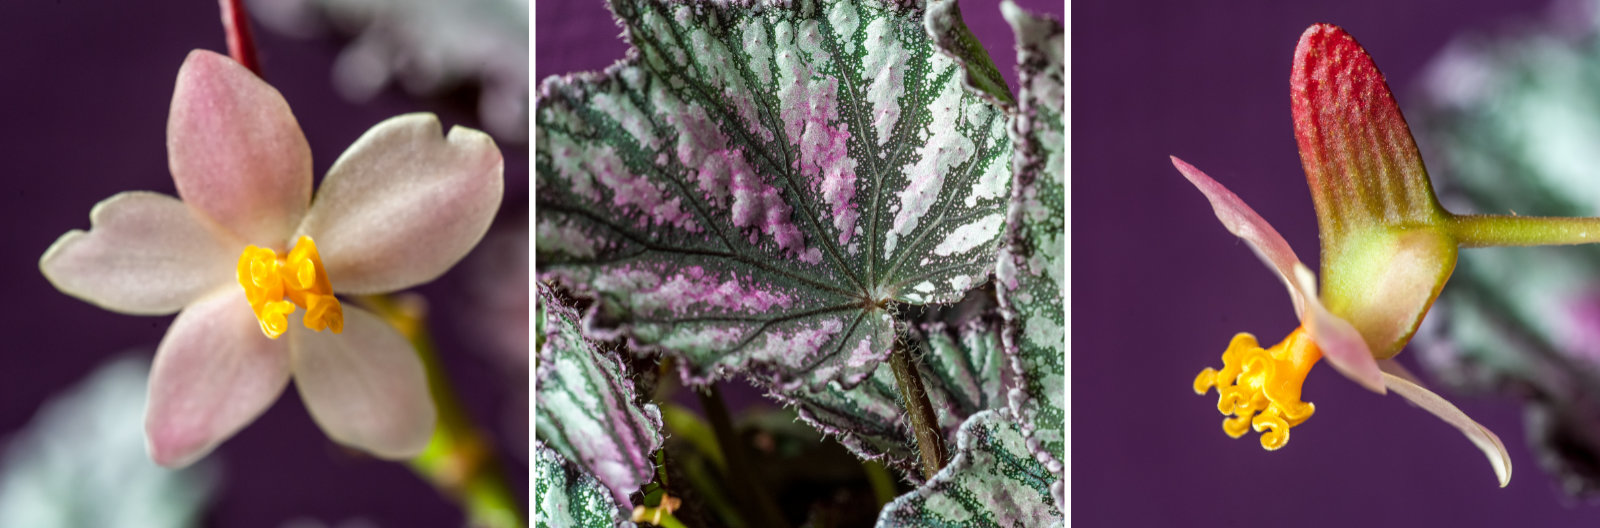
This plant is on a shelf near the front door. It’s a Begonia Rex (Begoniaceae) and they are available in a lot of different varieties. This particular one is grown for the lovely leaves it has. The colour intensity of the leaves depends on the amount of light that the plant gets. It usually does not get any flowers. So I was highly surprised when I noticed that there were two flowers (one of them is already gone, however)! It is actually really small, about 2 centimetres wide. According to Wikipedia, this is a female flower. And look how pretty it is!
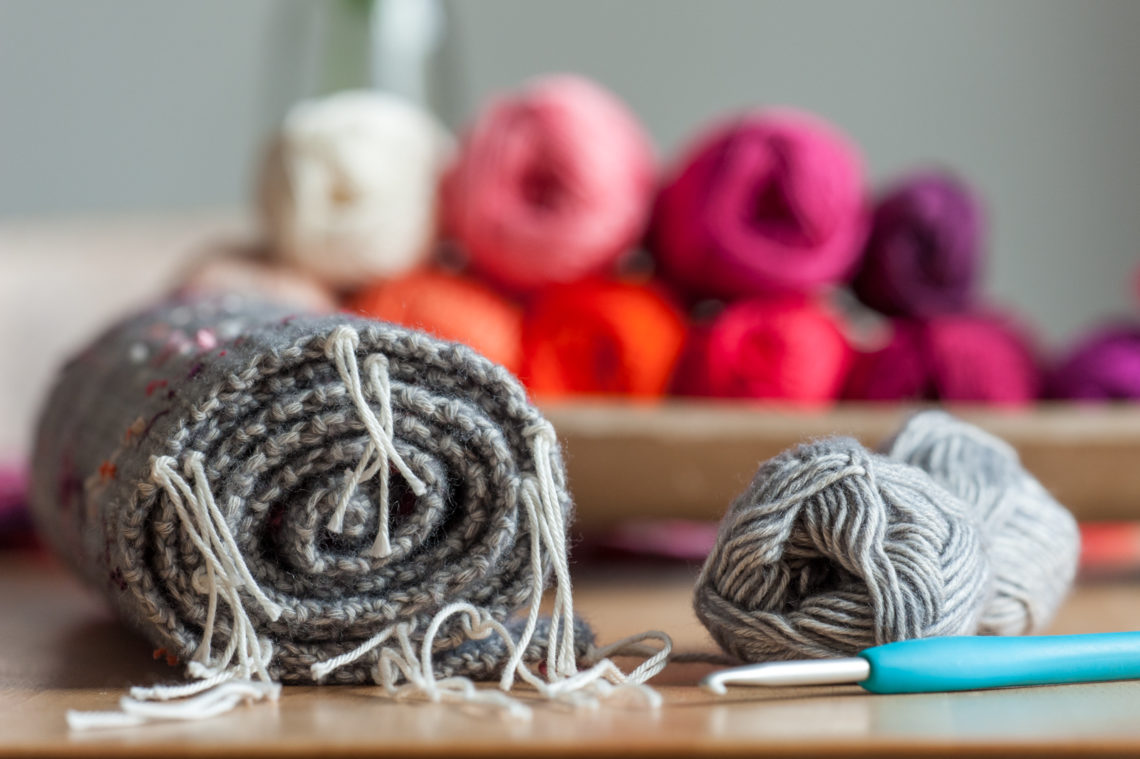
Let’s go back to the Hygge CAL now… As I mentioned in the previous update, this centrepiece is a little bit more freeform stitching. Of course, you have a pattern to guide you, but the elements stand more on their own than in the previous (and next) three parts of this CAL and that involves more counting.

The crochet base was made before I started stitching the centrepiece and I thought that I had made enough rows, but I hadn’t. When I recounted the marker threads on the side, which I inserted every 10 rows, I noticed that I needed about 14 extra rows. I explained about my row marking in this post.
I finished the embroidery for as far as a could before adding the extra rows.
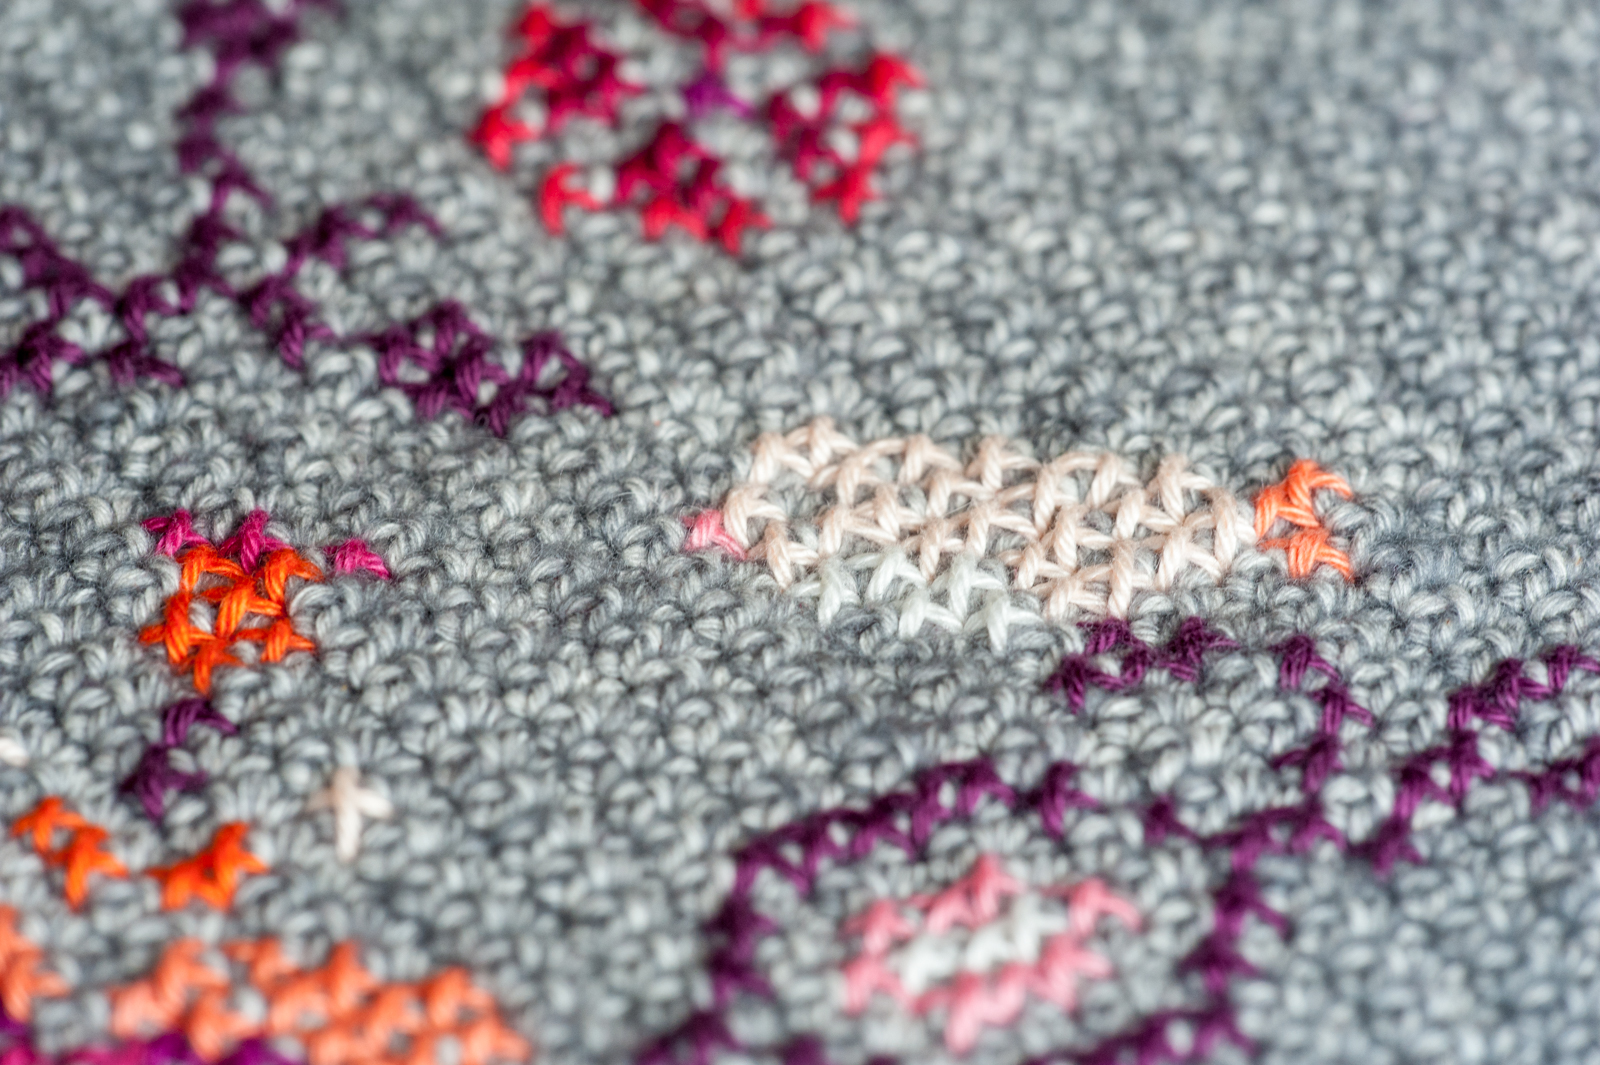
Isn’t the little birdy cute???
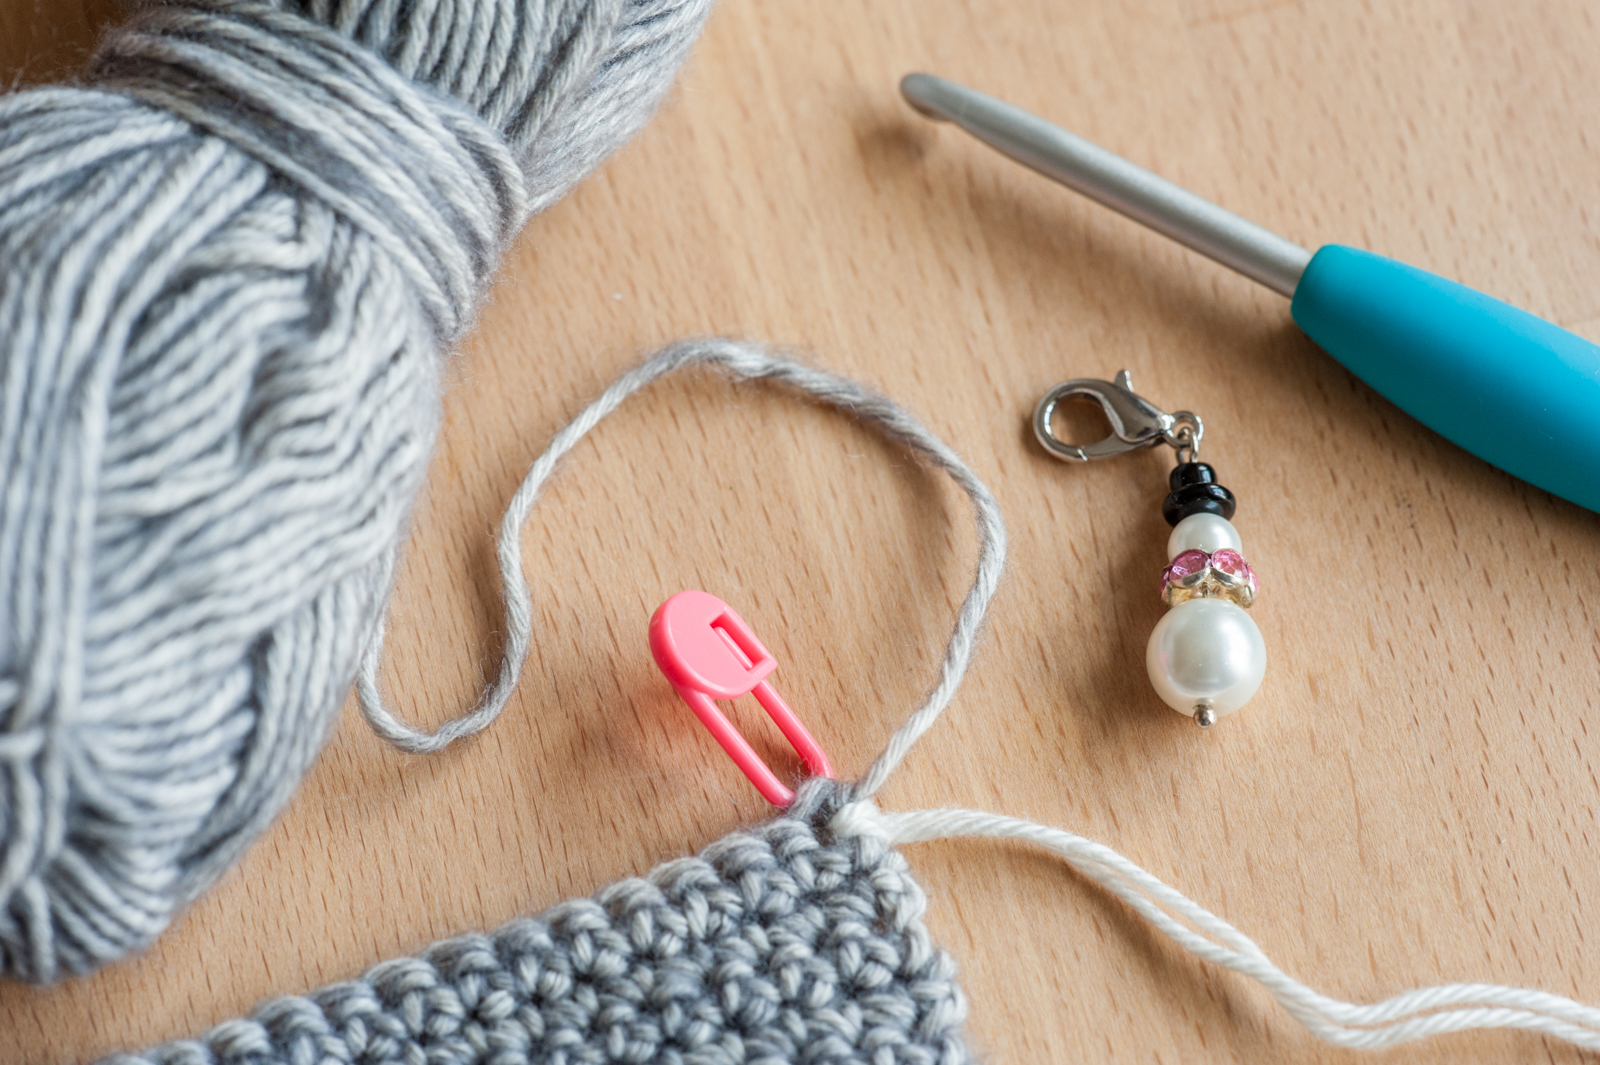
I decided to replace my snowman stitch marker that I got from Fripperies and Bibelots with one that has less of a Winter feeling to it…
After adding the extra rows, I am all set for the remaining cross stitches of the centre piece!
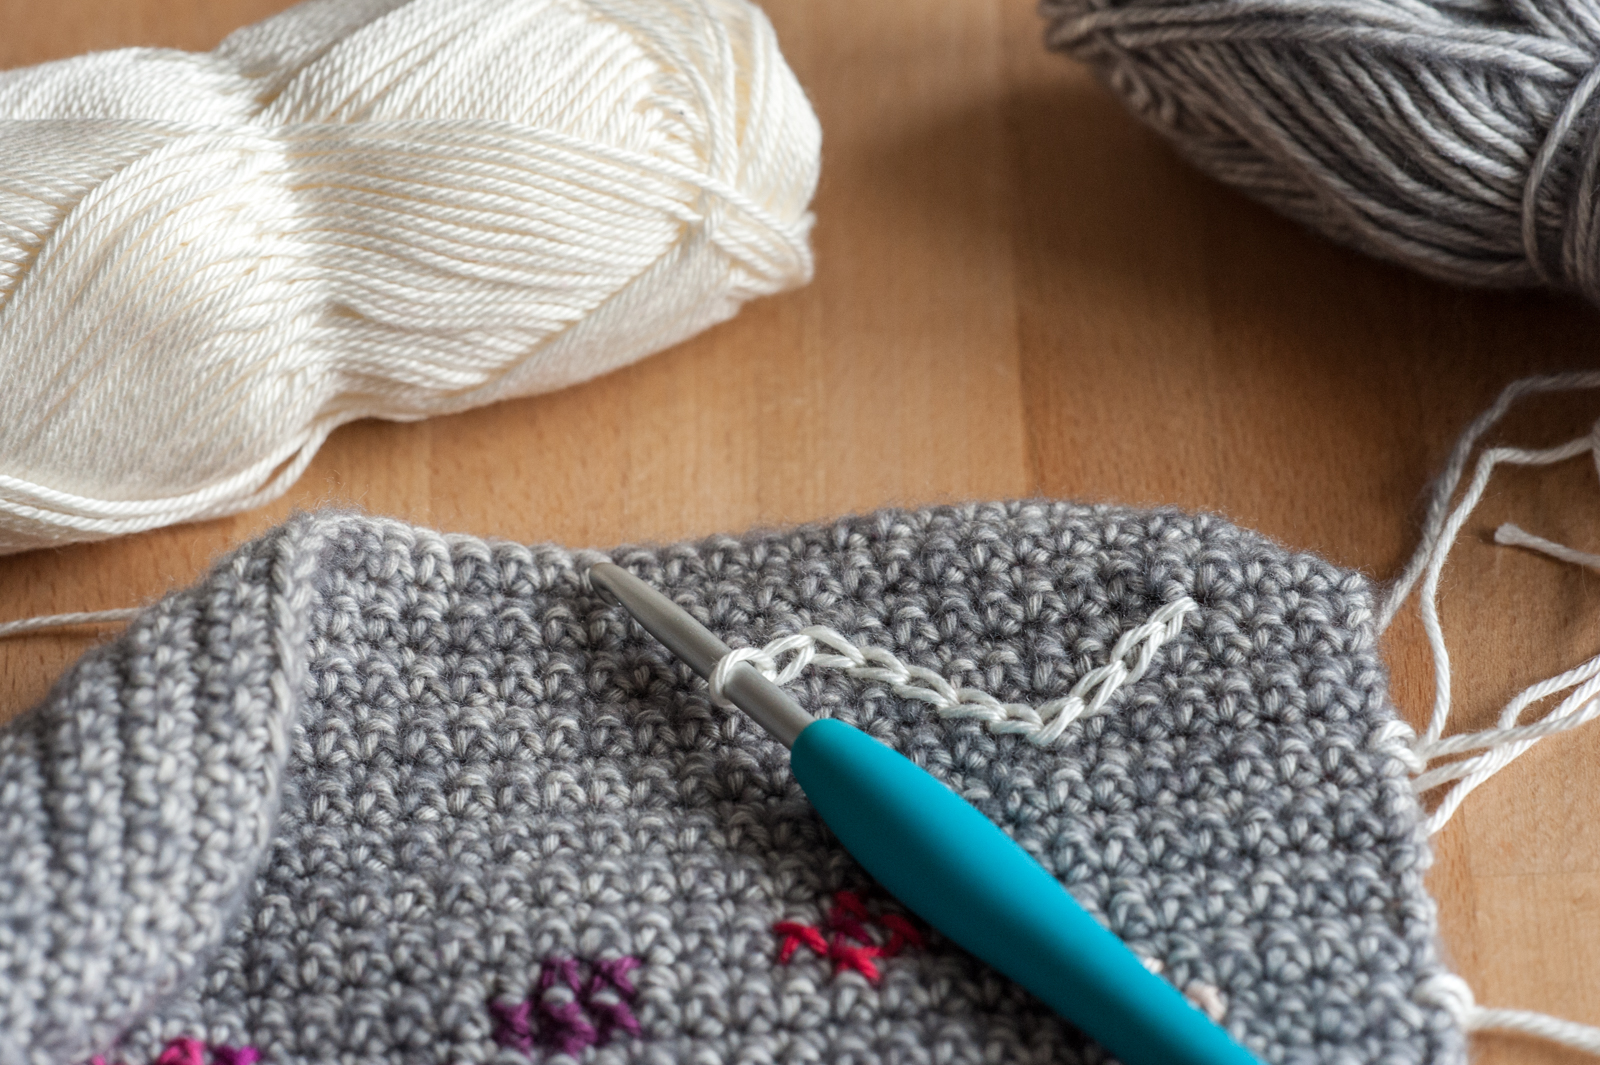
And there’s a separator to make as well. After all that time I actually remembered how to make it and got it first time right.
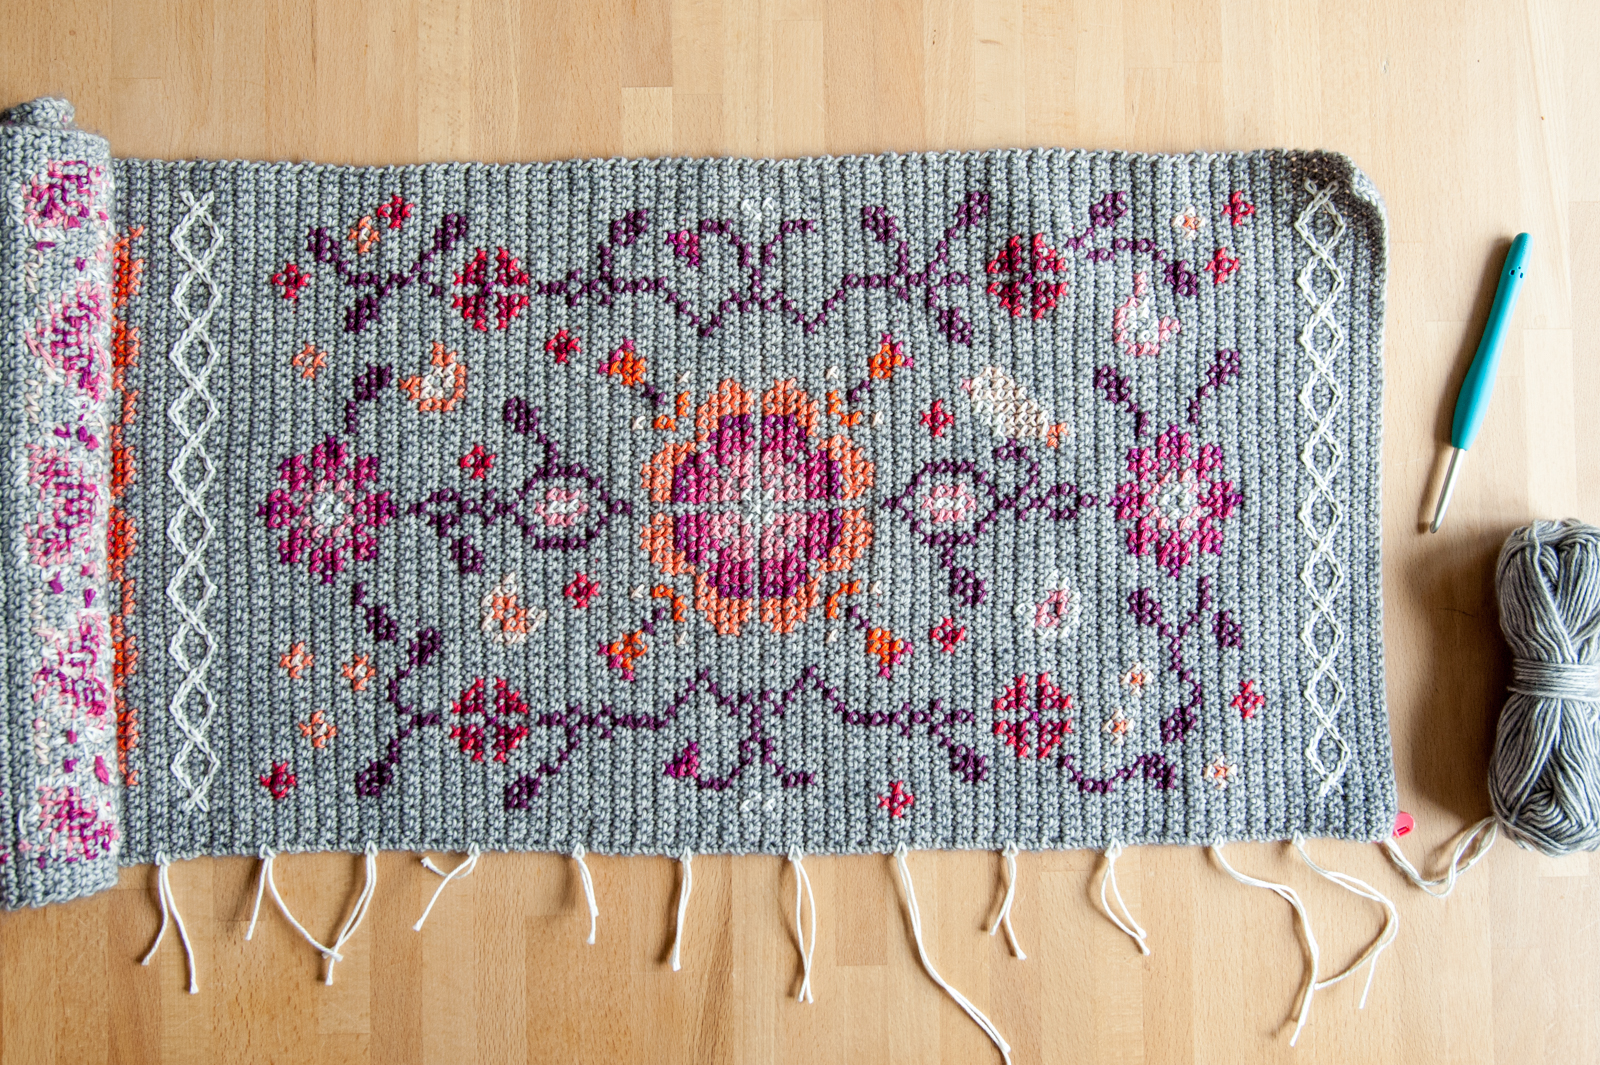
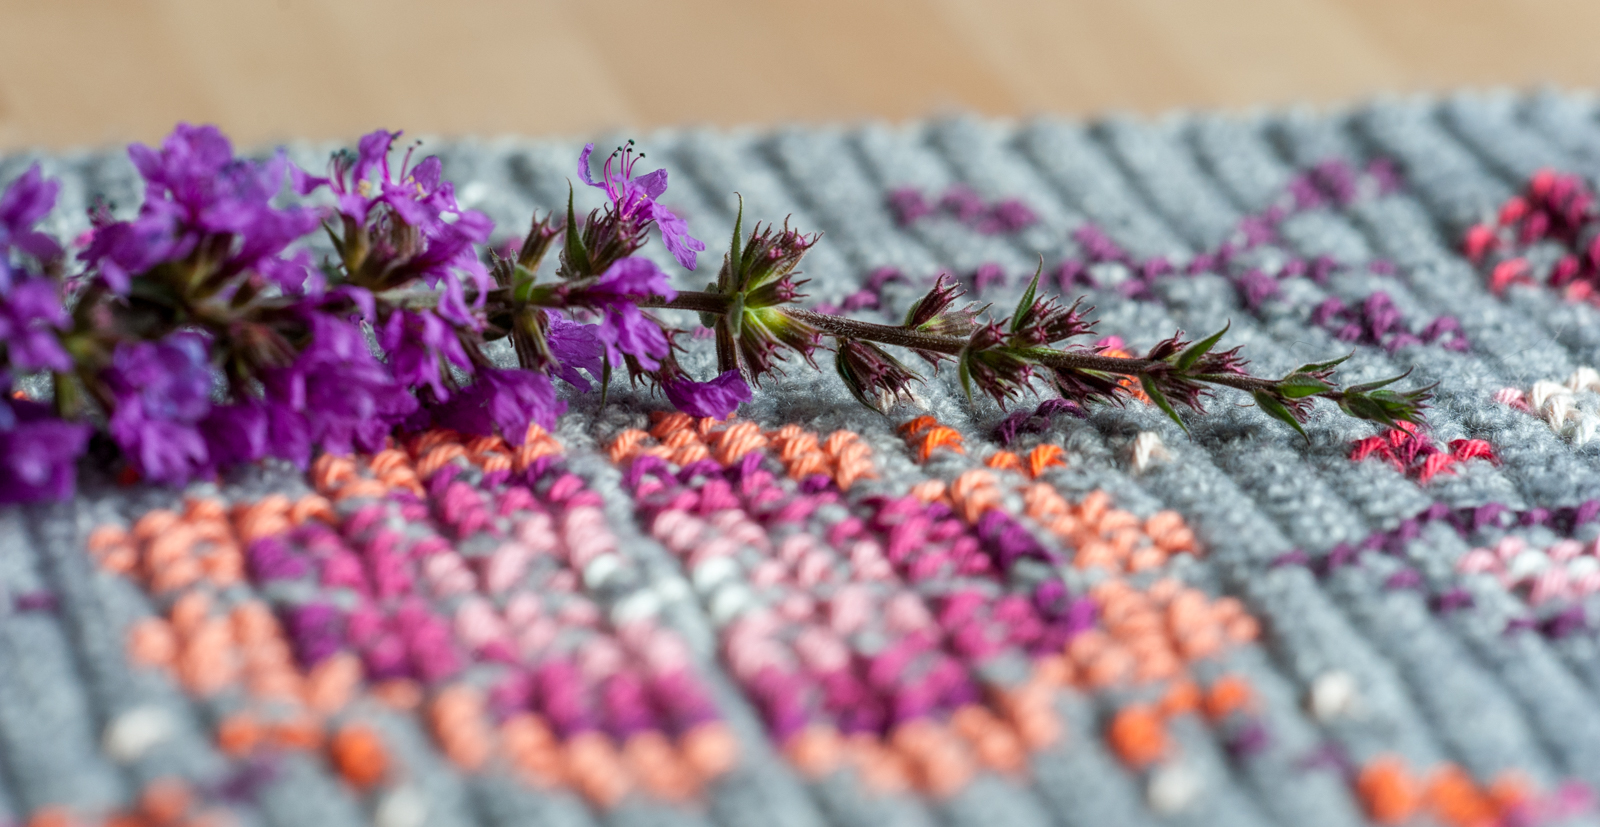
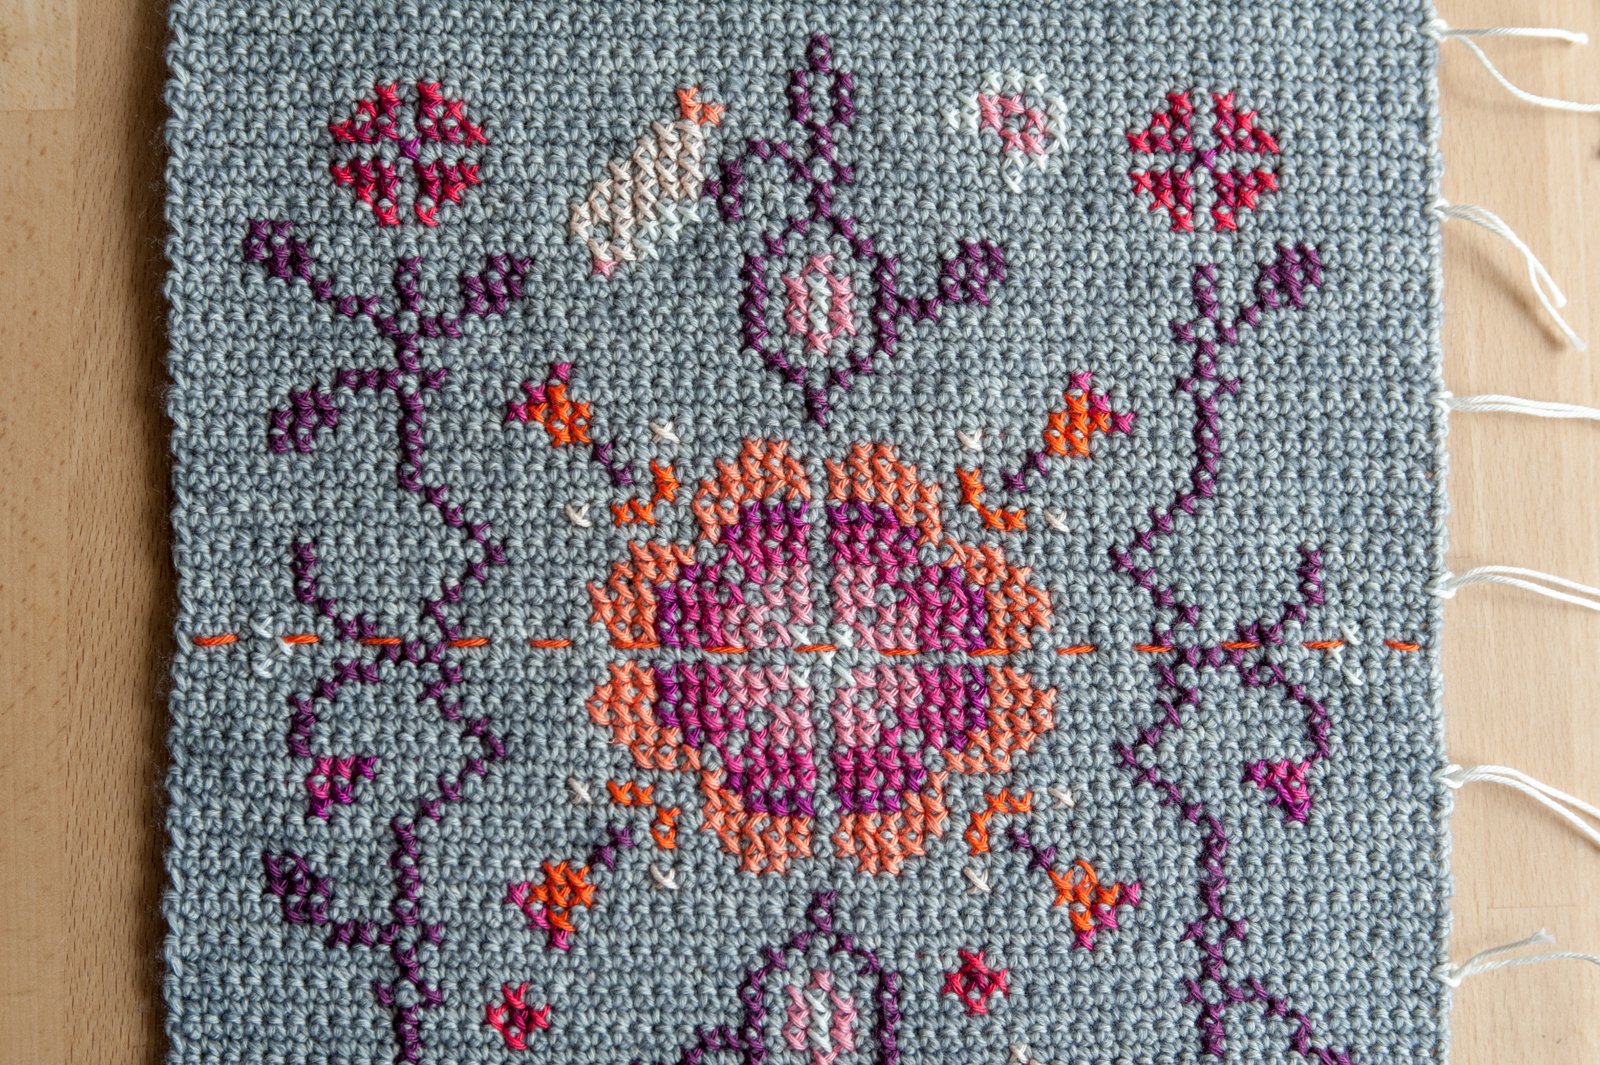
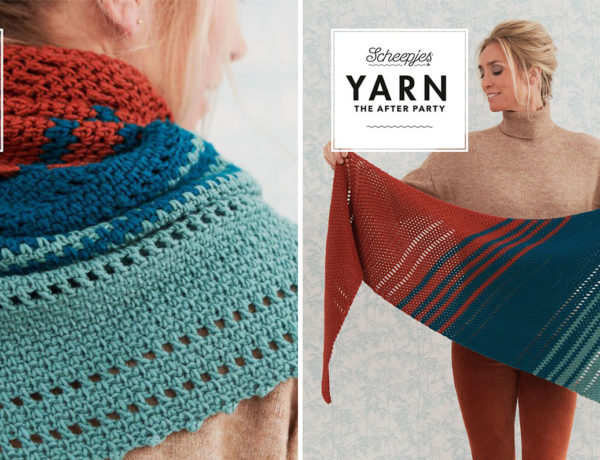
So, here it is… the finished centre piece! I really, really like how the colours worked out. I stuck to the colour order that was given in the pattern (but using my own colours, of course). I only switched a few colours once or twice because I thought that would be better.
I have already started to crochet the necessary rows for the next part of stitching! I’ll, of course, share it here in another update when I am done. See you then!
You’ll find all the details on this CAL and my custom colour selection in my first update!

No Comments