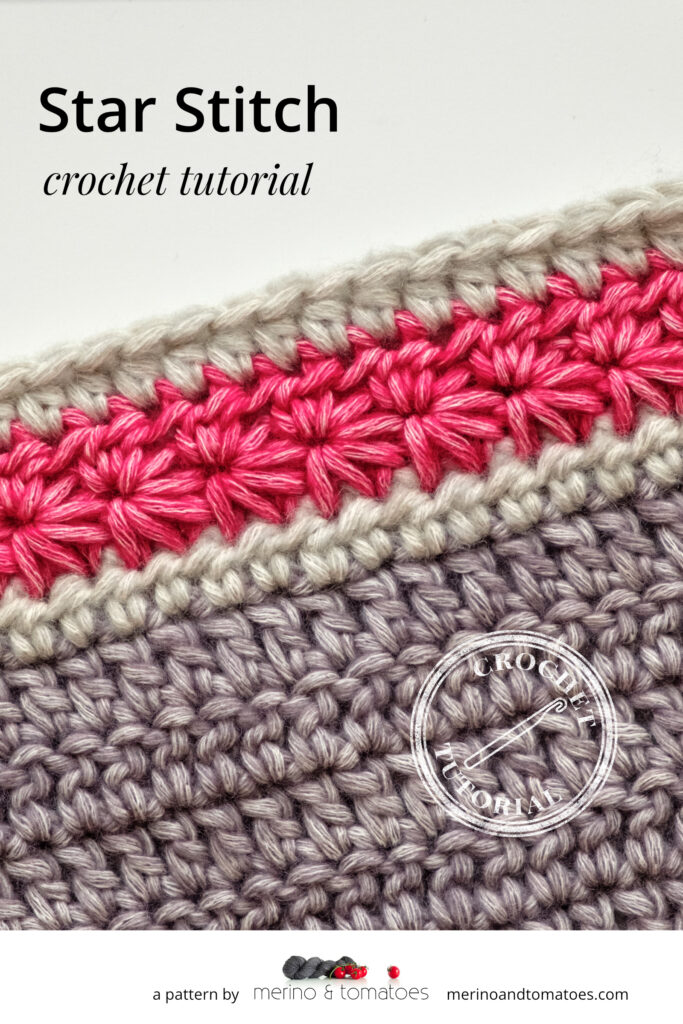
A simple decorative crochet stitch can be used to cheer up a rather plain piece of crochet. The star stitch is one of those decorative stitches that I like to use in those cases. It may look a little bit complicated, but trust me, it is not! I will show you step-by-step how to make it in this crochet tutorial: star stitch.
Stitches and Abbreviations (US terms):
| Abbreviation | US terms | UK terms |
| Ch | Chain stitch | Chain stitch |
| Hdc | Half double crochet | Half treble crochet |
| Hdc2tog | Half double crochet two together | Half treble crochet two together |
Notes:
- The star stitch pattern is worked in two rows and you start the first row with the right side of your work facing you
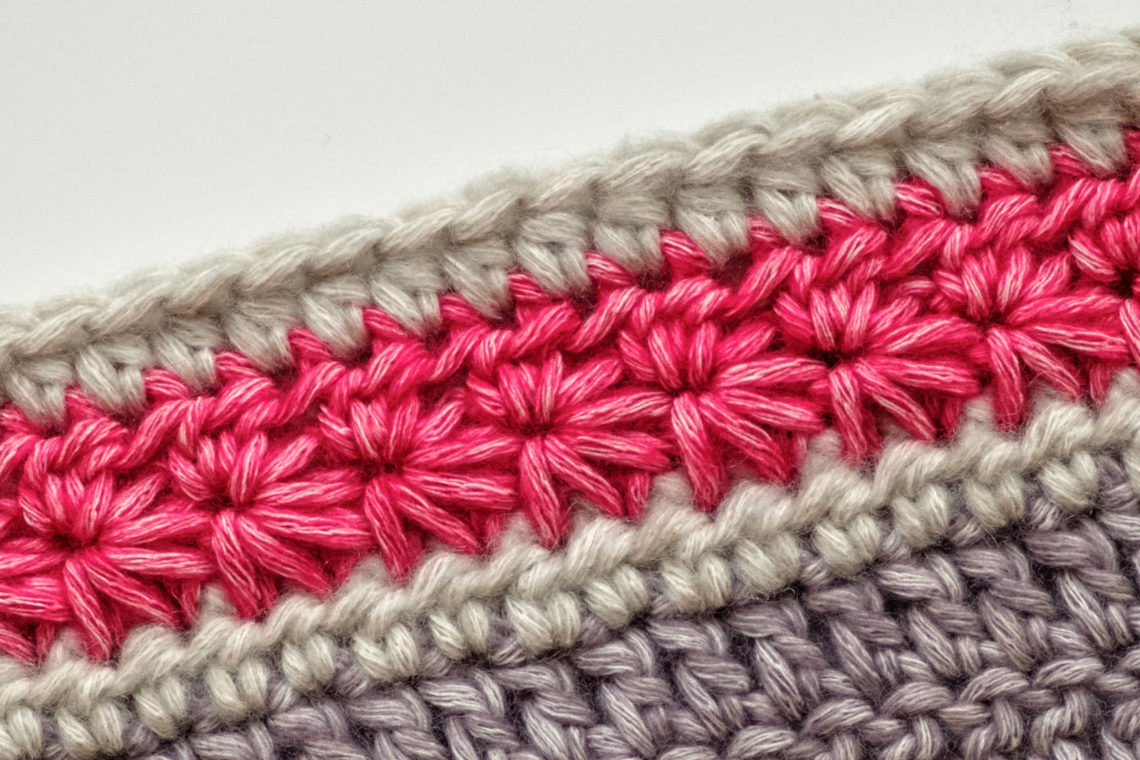
- To make the stars really pop I recommend that you use a bright and lighter colour
This is how it works:
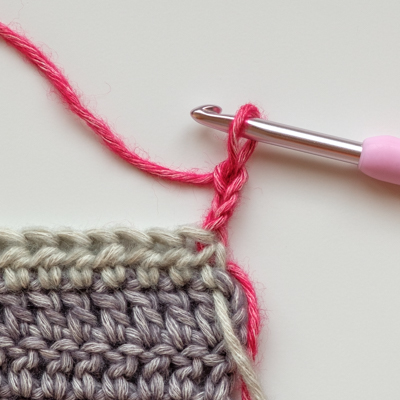 |  | 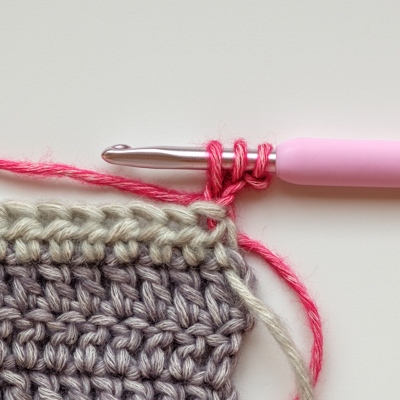 | 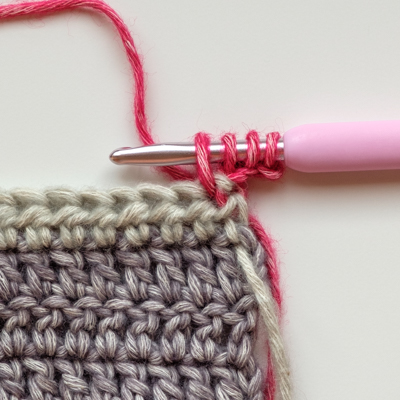 |
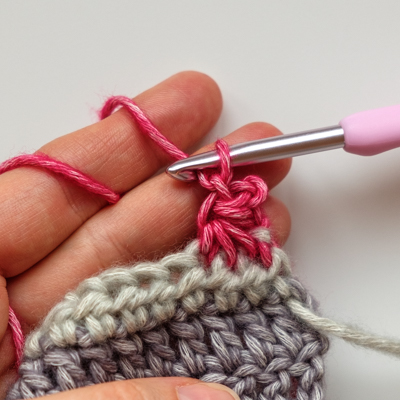
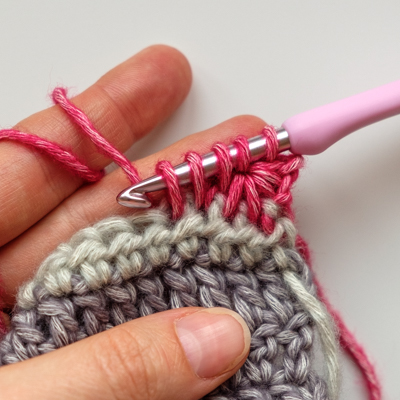
| Start your row with a chain 3. You will work your first stitch into these chains | Insert your hook into the middle chain and pull up a loop. (There are 2 loops on your hook) | Insert hook in the bottom chain and pull up a loop. (There are 3 loops on your hook) | Insert your hook into the first stitch of this row (= last stitch of the previous row) and pull up a loop. (There are 4 loops on your hook) |
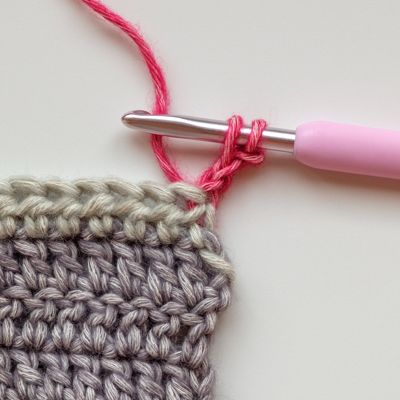
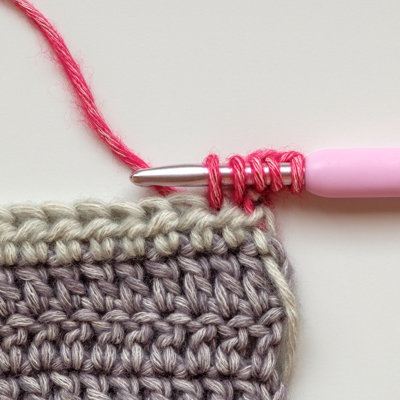 |  |  |  |
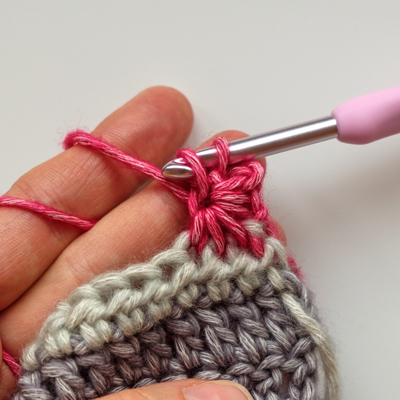
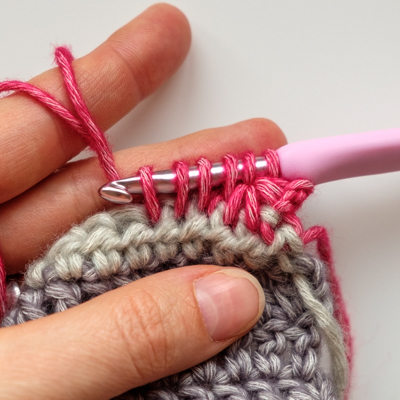
| Insert your hook into the second stitch of this row and pull up a loop. (There are 5 loops on your hook) | Insert your hook into the third stitch of this row and pull up a loop. (There are 6 loops on your hook) | Yarn over and pull through all 6 loops on your hook | Chain 1 to close the first star |
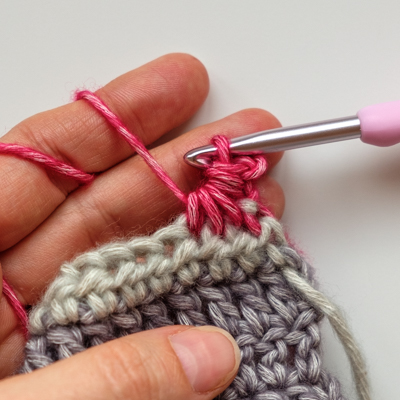
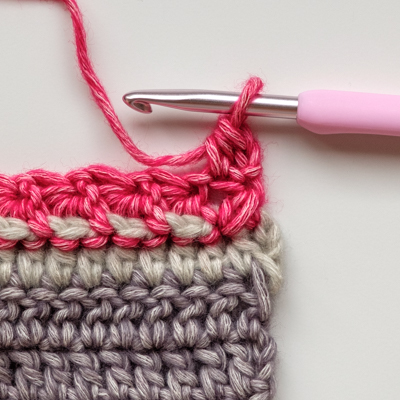
You’ve started the first stitch in the ch3 that you made at the beginning of the row. From now on, you will make your stars by inserting your hook at several places into the previous star. The arrows in the photo below show where to insert your hook:

Let’s make another star:
 | 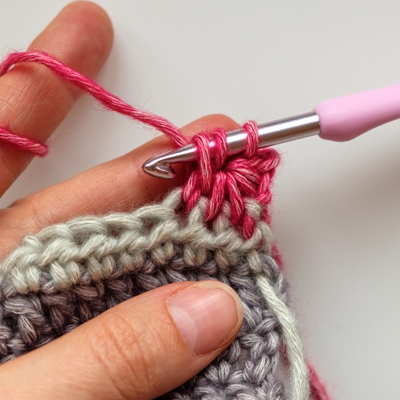 |  |  |
| Insert your hook into the eye of the previous star and pull up a loop. (There are 2 loops on your hook) | Insert your hook next to the last spike of your previous star and pull up a loop. (There are 3 loops on your hook) | Insert your hook into the same stitch where the last spike of your previous star is and pull up a loop. (There are 4 loops on your hook) | Insert your hook into the next stitch and pull up a loop. (There are 5 loops on your hook) |
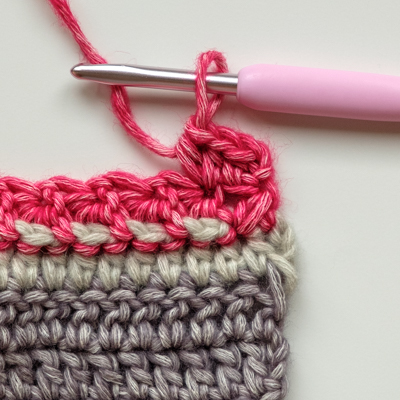
 | 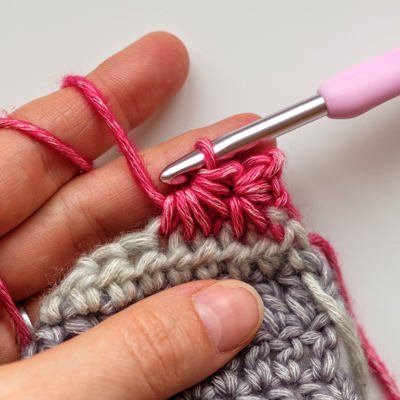 |  | |
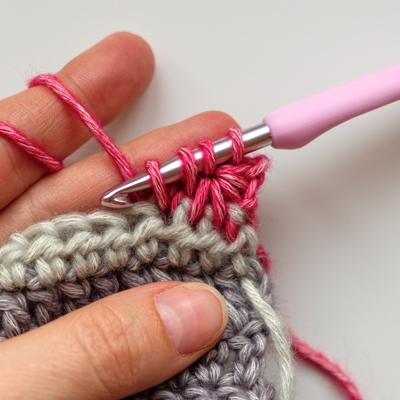
| Insert your hook into the next stitch and pull up a loop. (There are 6 loops on your hook) | Yarn over and pull through all 6 loops on your hook | Chain 1 to close your star |
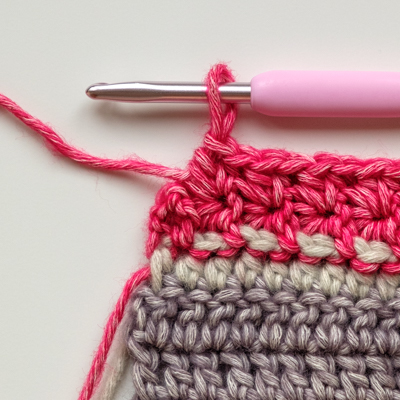
Repeat until you have reached the end of your row. My swatch has an even amount of stitches which means that I have one stitch left after finishing the last star stitch. I finish the row as follows:
I would like to show you what it looks like if you finish without doing the ‘hdc2tog’… You will most likely end up with a hole between the last star and your last stitch of the row. That doesn’t look particularly pretty, especially not when you are going to add a border to your work and you work around the last stitch.
When your piece of crochet has an uneven number of stitches, you will finish the last star stitch in the last stitch of the row. In that case, you make one half double crochet (hdc) in that same, last stitch.
The star stitch pattern is worked in two rows. Let’s move on to row number two:
 |  |  | 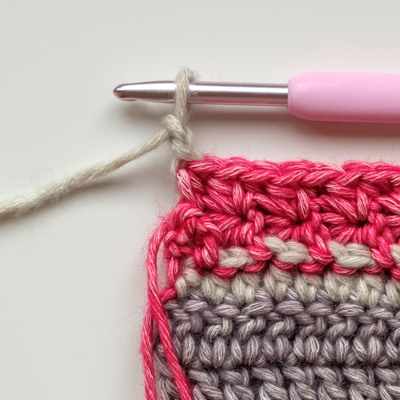 |
| Make 1 hdc in the first stitch (last stitch of the previous row) | Make 2 hdc in the eye of the star | Repeat making 2 hdc in the eye of each of the stars until the end of the row | Make 1 hdc in the top of the ch 3 of the previous row and change colour when finishing the stitch (in this tutorial I will add one more row of hdc to the swatch and therefore, with the new colour, ch 2) |
To make sure that you did not miss a stitch it is good to count your stitches at this point. The number of stitches should be the same as before you started the star stitch rows.
How to continue
Stars are supposed to shine and that goes for the crochet star stitch as well! It will pop out much clearer when the row before and the row after the star stitch rows are in contrasting colours. Therefore, I have added an extra row of half double crochet to this swatch where I used the same colour as I used before starting the star stitch pattern. This row is worked on the right side of your work. I have used two different ways:
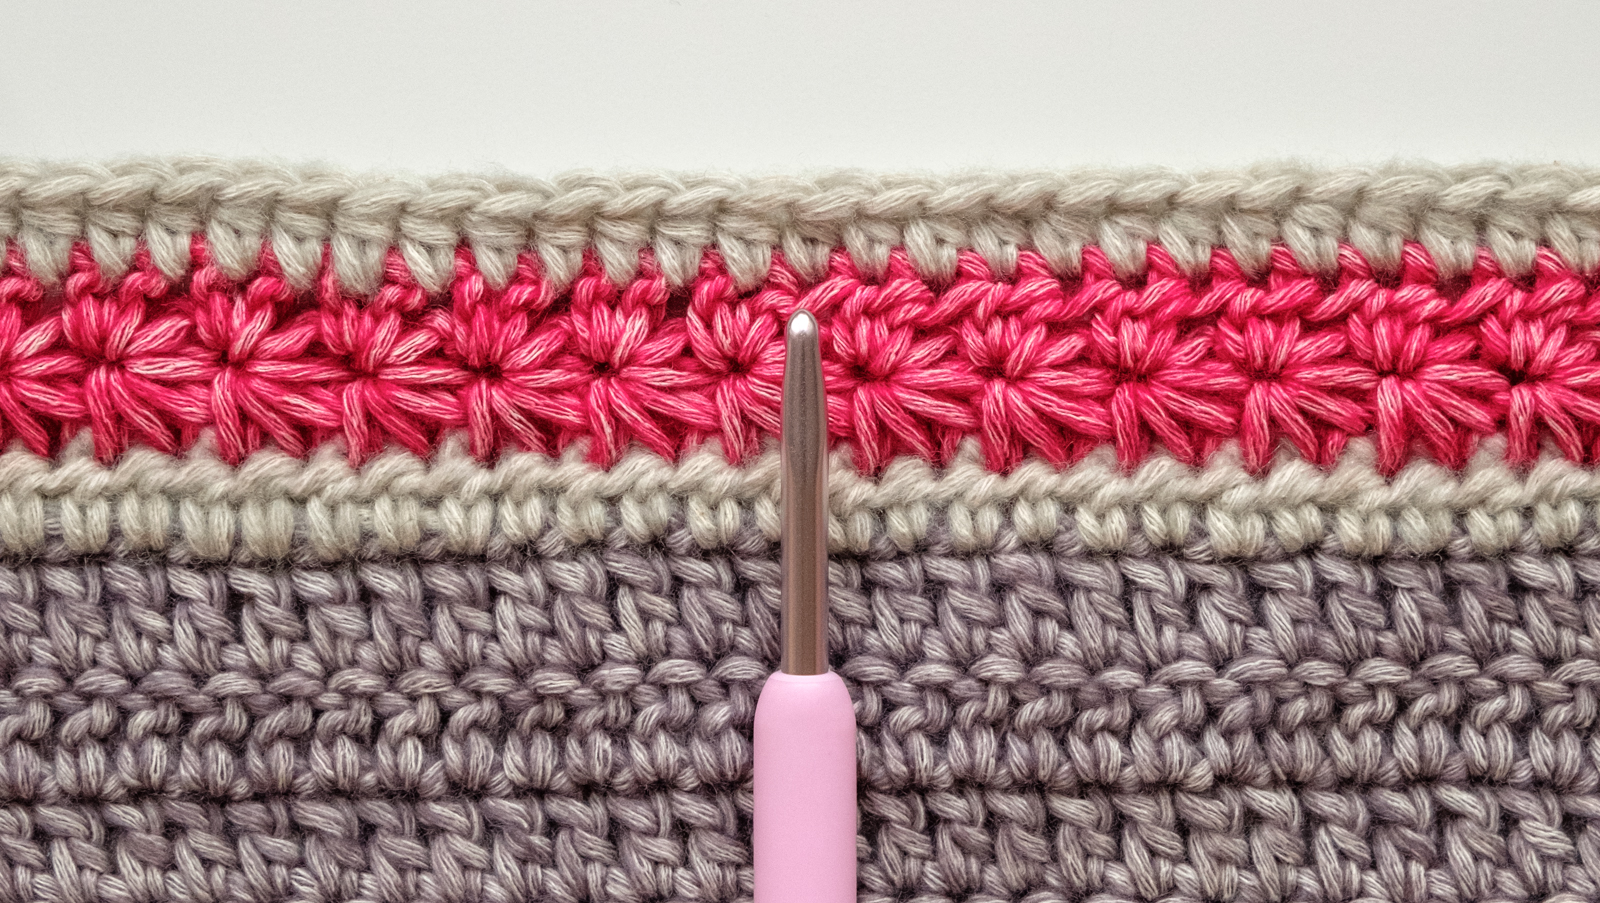
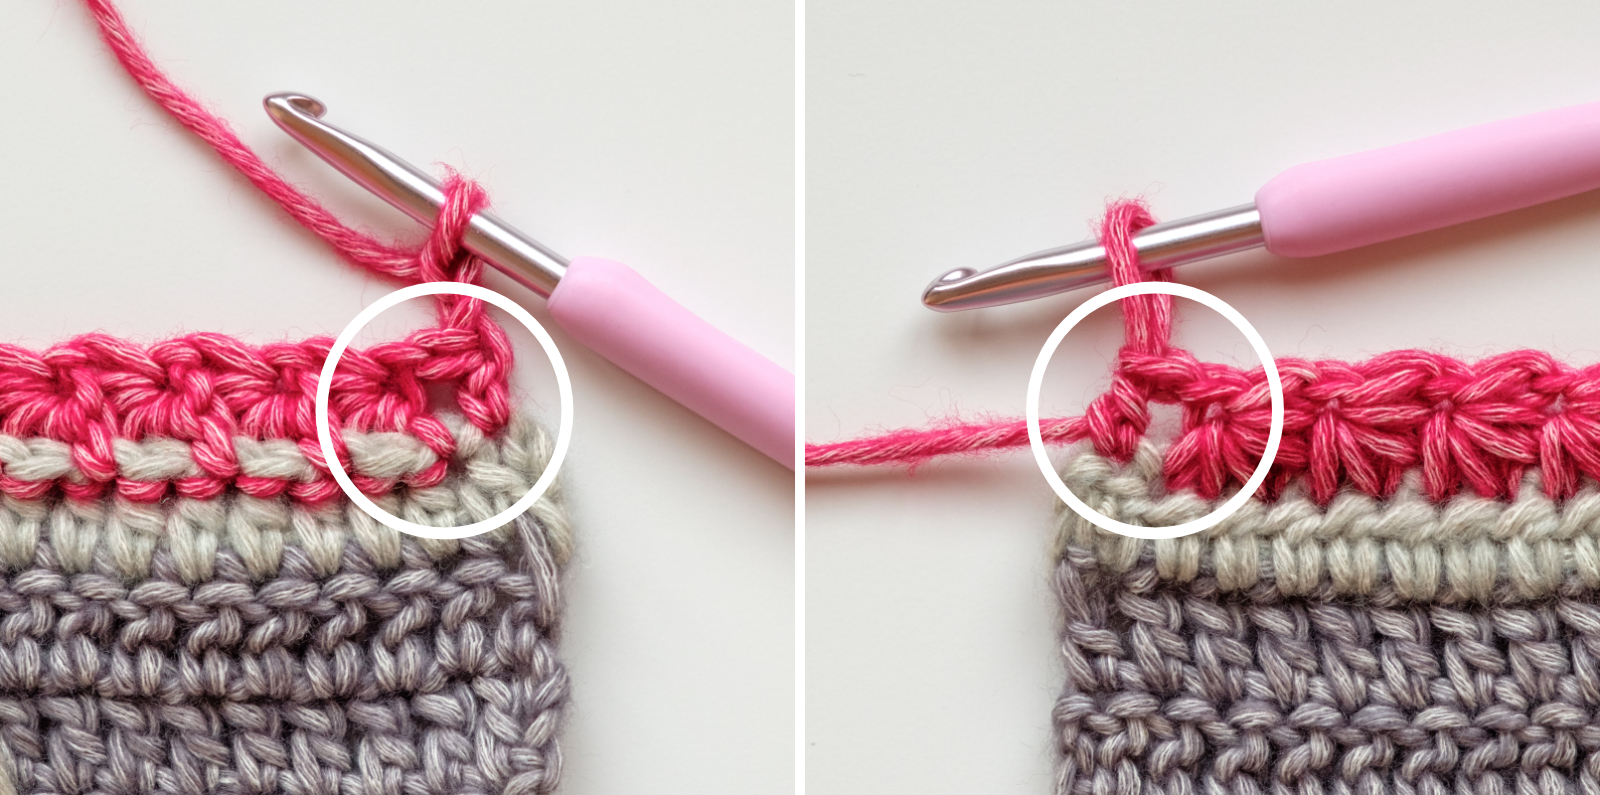
In the photo above you can see that the stitches on the right of the hook look different than the ones on the left of the crochet hook. That is because I inserted my hook in different ways.
- On the right side: Insert your hook into the stitch as you normally do (underneath the little ‘v’ that forms the top of the stitch)
- On the left side: Insert your hook in between the stitches of the previous row
Inserting your hook in between the stitches makes the stars show a little clearer. I personally like the little ridge above the stars which you get when you insert your hook into the stitches as you normally do.
I hope that this tutorial works for you! Should you have any questions than simply drop me a line by using the contact form!
Little details
- The yarn used for this tutorial is Scheepjes Stonewashed XL (colours 847 / 842 / 854)
- I have used a 5,0 mm crochet hook