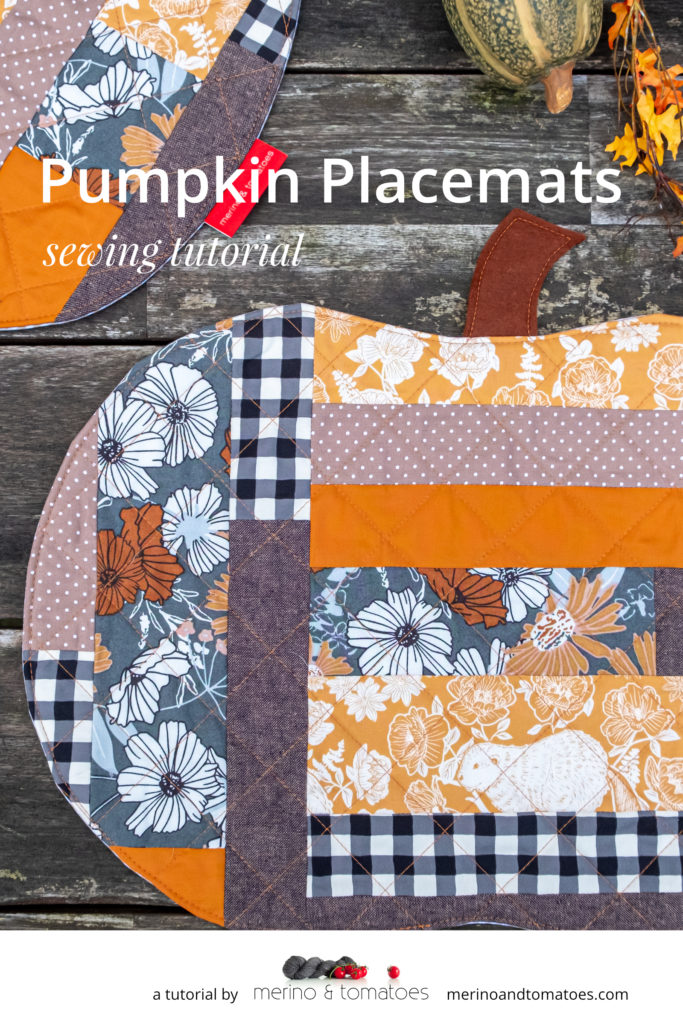
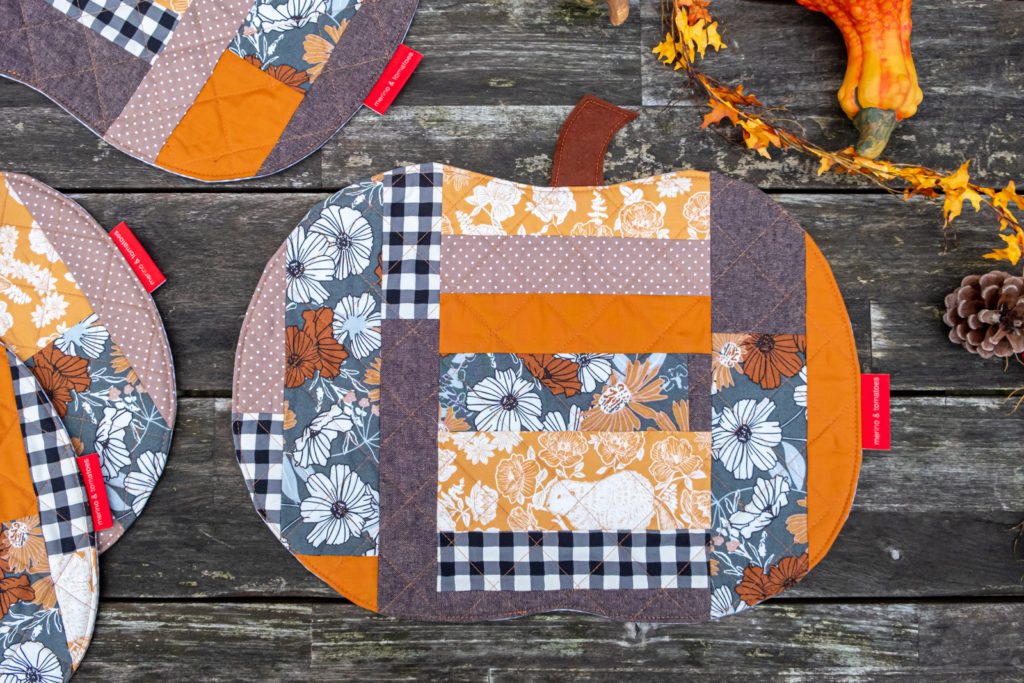
Below you will find a tutorial in which I explain how I made my Pumpkin Placemats. They are a fun project to make and perfect for autumn!
You can choose to use many different fabrics for your placemats. Think for example of small leftovers from other projects. But you can also keep it simple and make the front (and back) of one fabric. If you go for the latter option, then one FQ for the front and one FQ for the back is enough!
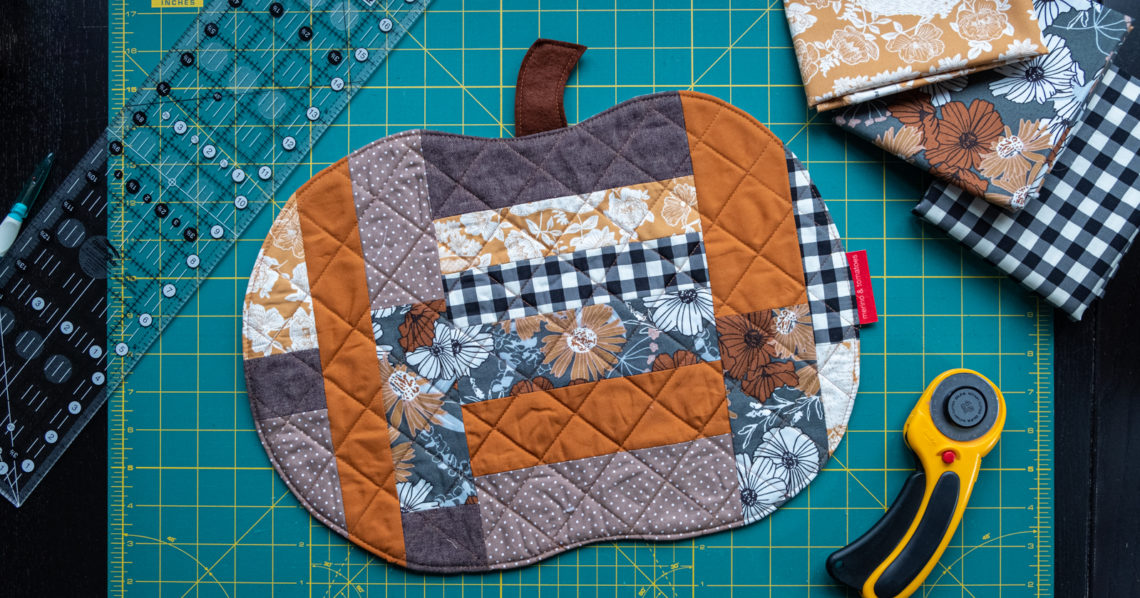
I chose to make the stem of the pumpkin from felt because I like the combination of the different materials.
Materials
For one placemat you need:
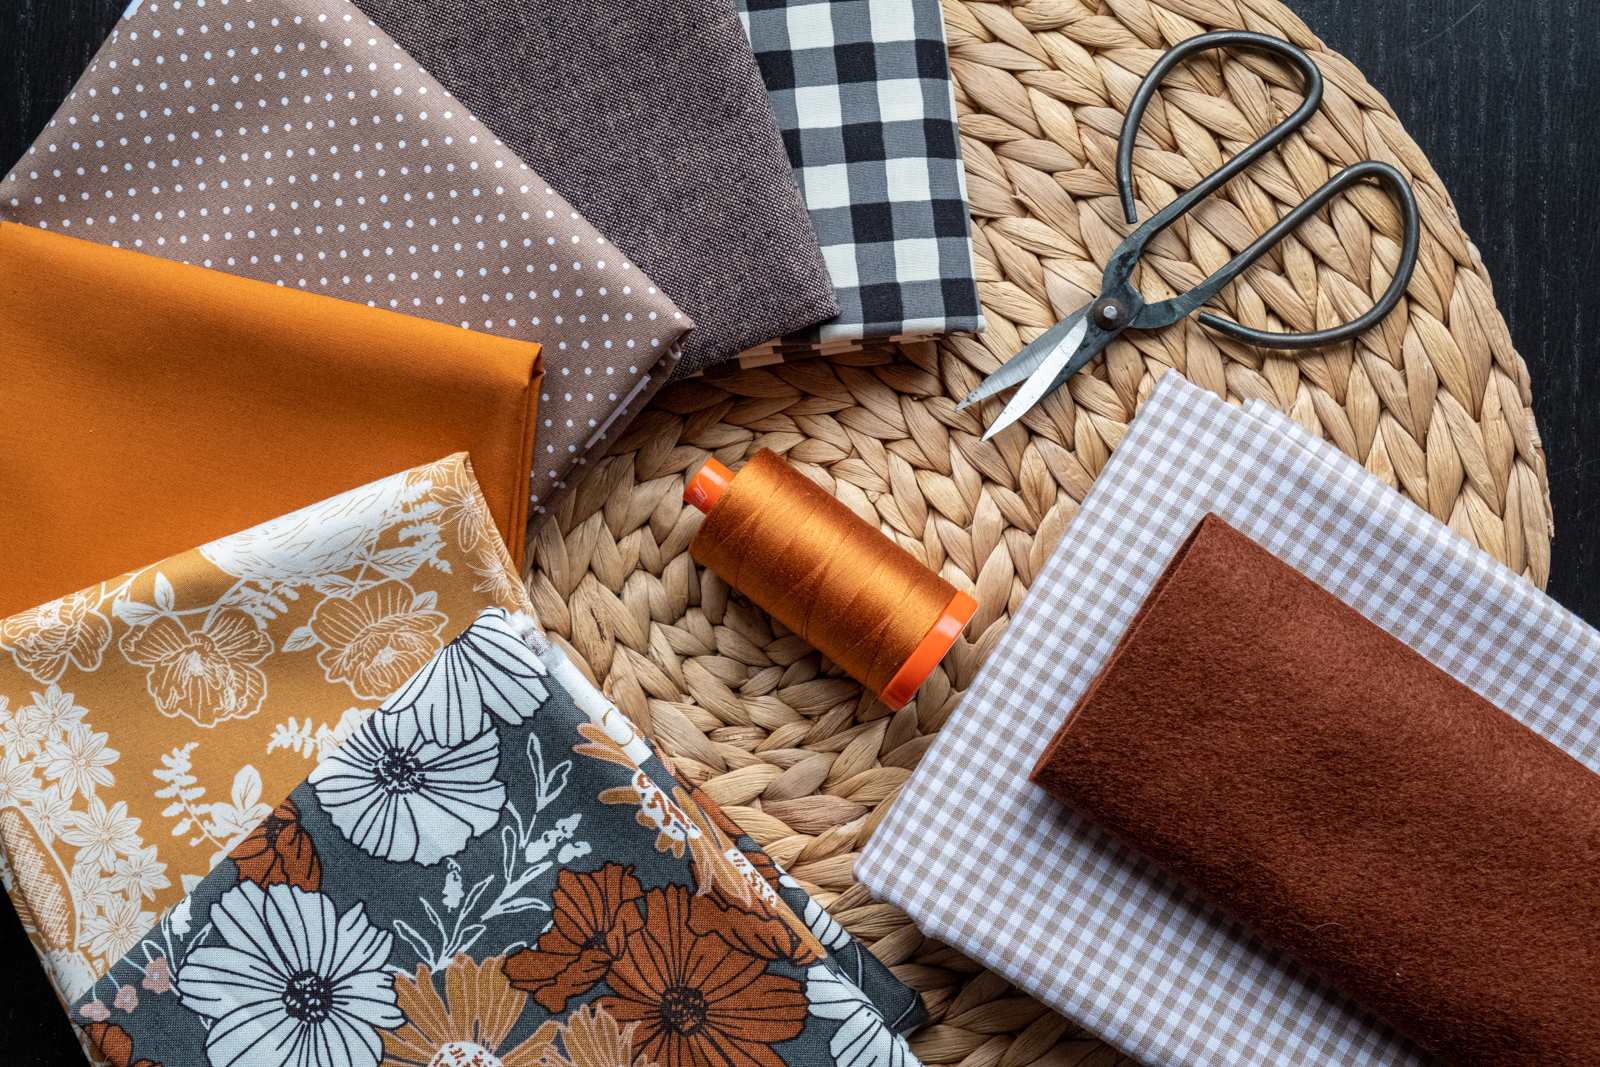
- ½ yd Quilting cotton or a similar quality of fabric (see notes)
- a piece of batting measuring 19×14in
- small pieces of felt in a matching colour
- matching thread
- a printed copy of the pumpkin template (link below)
Notions
- ruler, rotary cutter and cutting mat
- clips or pins
- (water-based or dissapearing) markers
- basting spray or pins
- double-sided tape (I use Stylefix)
Finished Size
The finished placemat measures approx. 16×13 inch (including stalk).
A Note on Fabric Quantity
The Pumpkin Placemats can be made using one piece of fabric for the front and one piece of fabric for the back. However, this pattern is perfect for scraps as well and you could do a scrappy front and a plain back or use scraps for both sides.
I used fabric strips for the front of my placemats and placed them randomly. Let your creativity flow!
Cut your batting to the required size before you start and use it as a guideline to measure your pieced top.
If you don’t feel like piecing scraps together then you can, of course, use a plain fabric for the front as well as the back of the placemat. One FQ each for the front and the back is enough.
Notes
The seam allowance for piecing is ¼”. I used a ½” seam allowance for joining the front and back.
Preparation
Download and print the paper template. Cut the parts of the template and tape them together.
Sew the Top
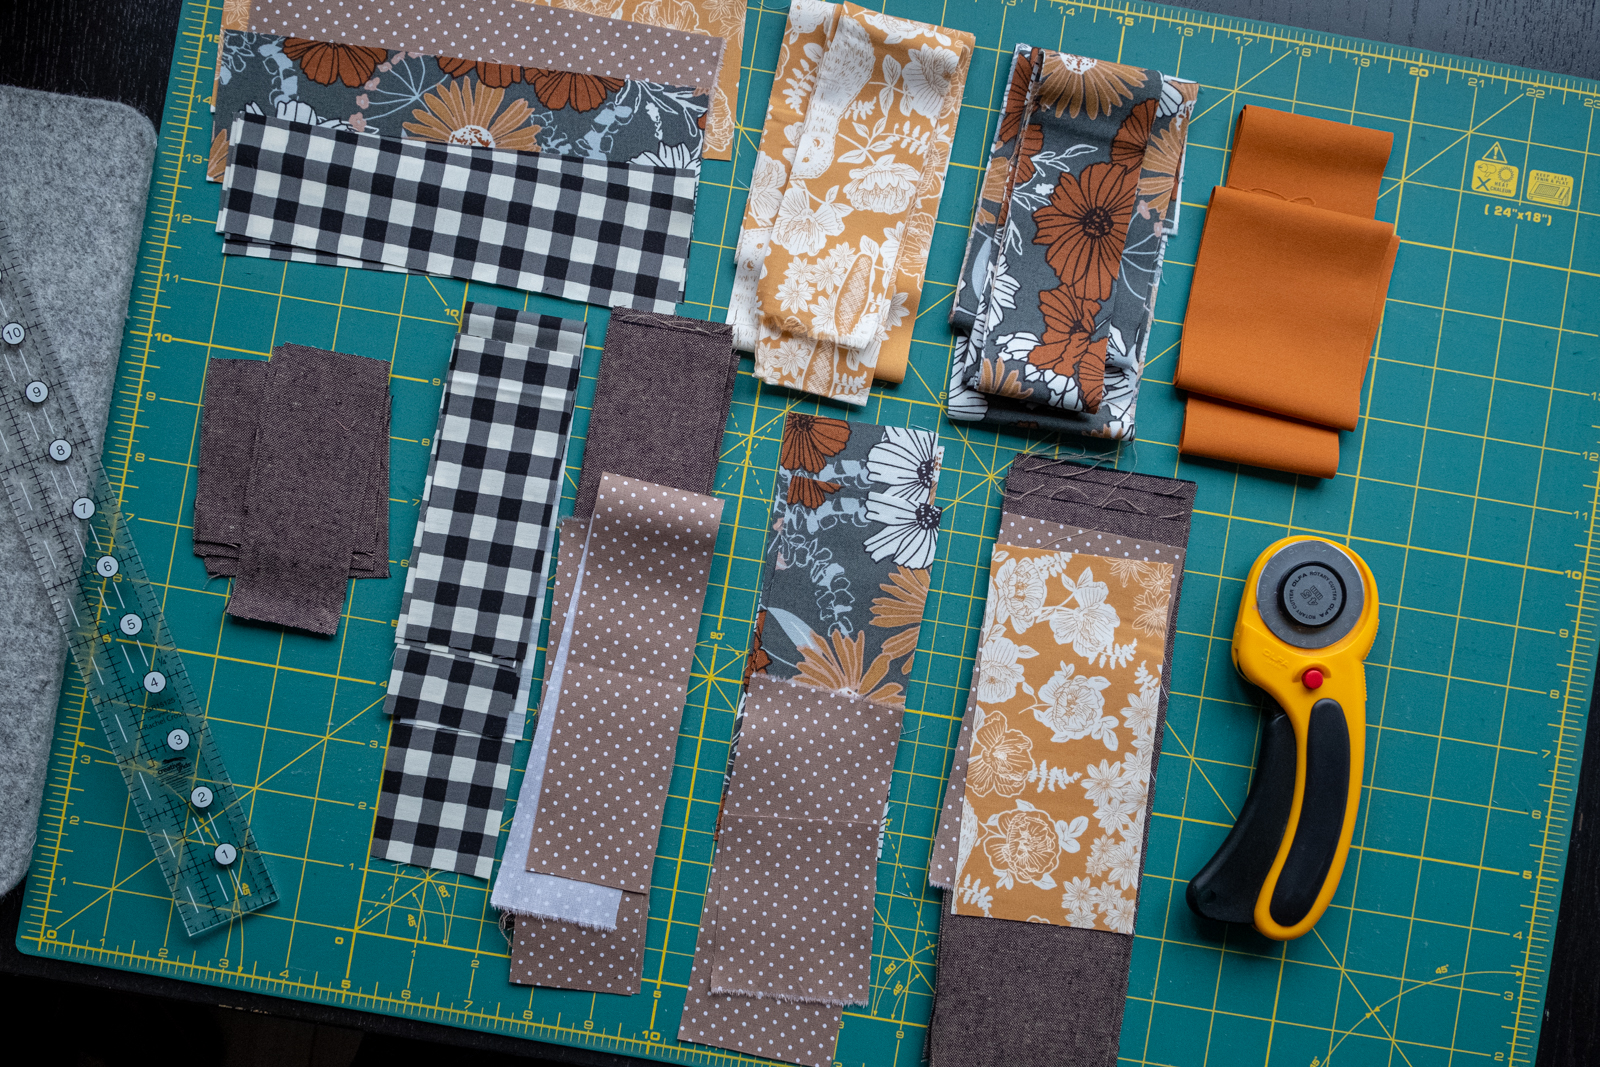
For the top of my placemats I’ve cut strips from each of my fabrics in three widths:
- 2”
- 2,5”
- 3”
I’ve found that it’s easier to leave the strips as they are and cut off the desired length when needed than to cut them into pieces right at the beginning.
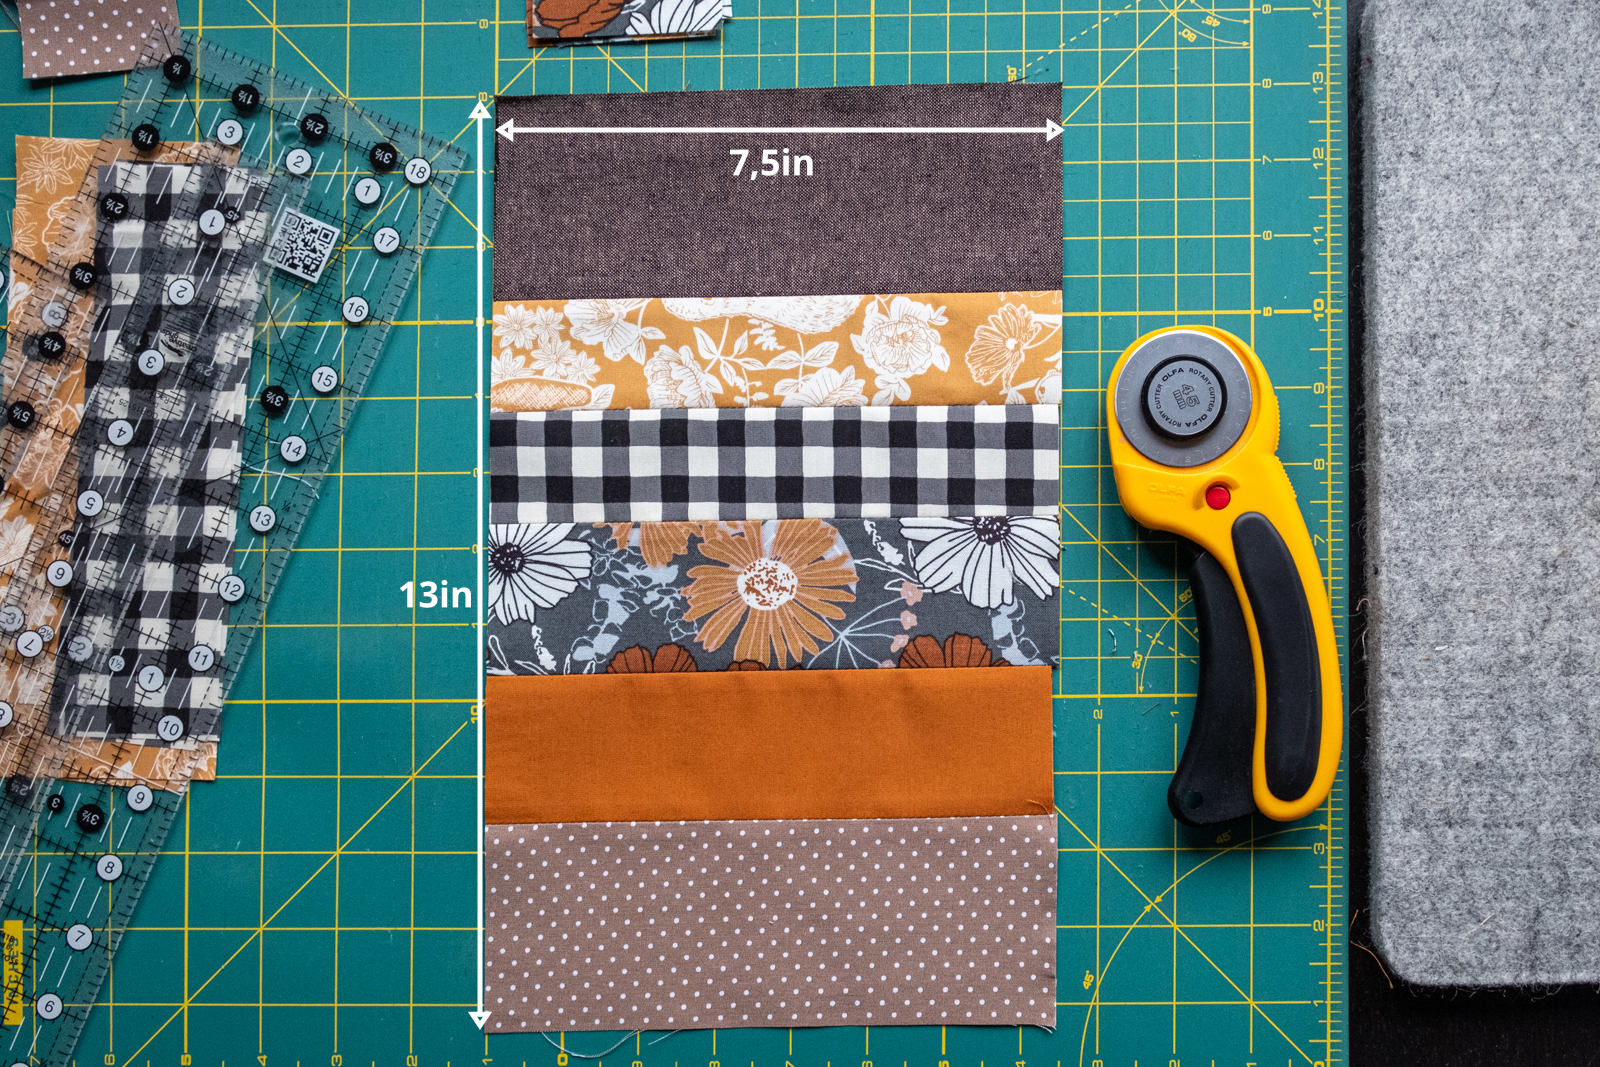
My tops are a combination of horizontally and vertically pieced blocks of fabric. I started with the horizontal block. For the horizontal block, I used 7,5” long strips in different widths. I placed the fabrics in an order that I like, trying to make it look a bit scrappy. Sew as many strips together to create a block that measures 7,5” by (at least) 13”.
Once this patch is large enough, press the seams open and straighten the sides.
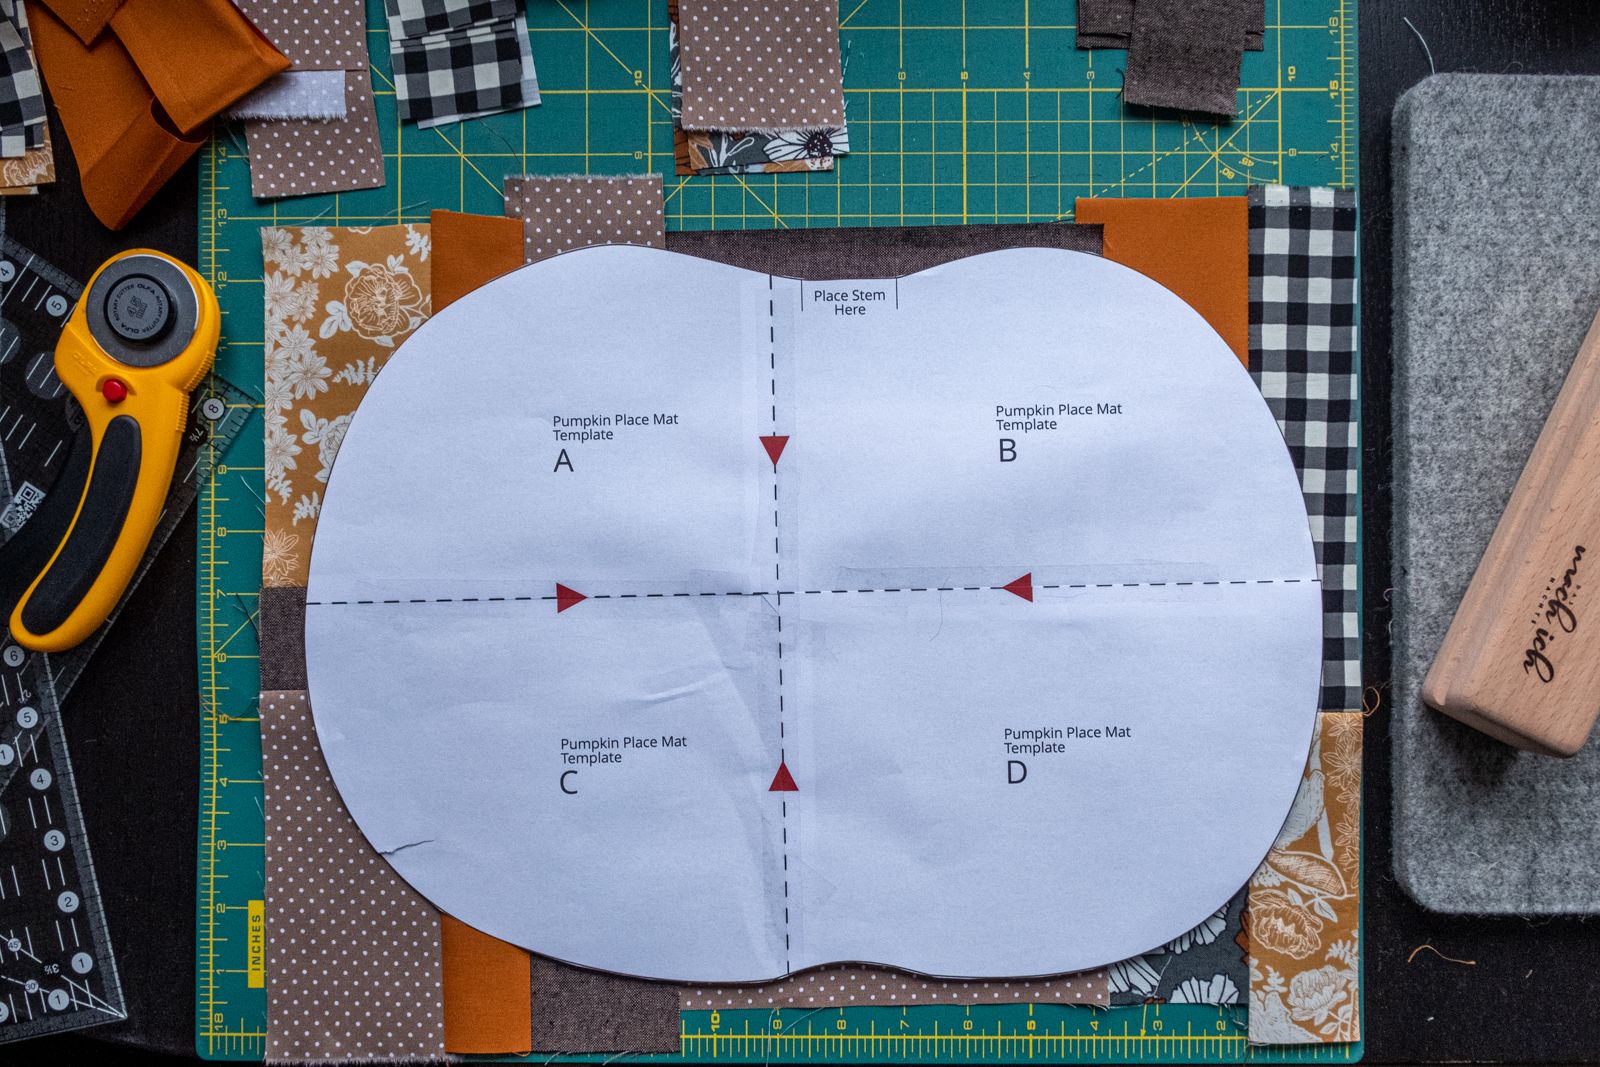
Then you build the vertical blocks. I’ve placed one on each side of the central horizontal block. You can use long strips of one colour or fabric, or sew different smaller pieces together (if so, make sure you use pieces with a similar width). I have sewn the vertical strips into one block before attaching them to the horizontal block. You can use the paper template of the pumpkin to see if you have sewn enough strips together. Your top should be about 1 inch larger than the paper template on each side.
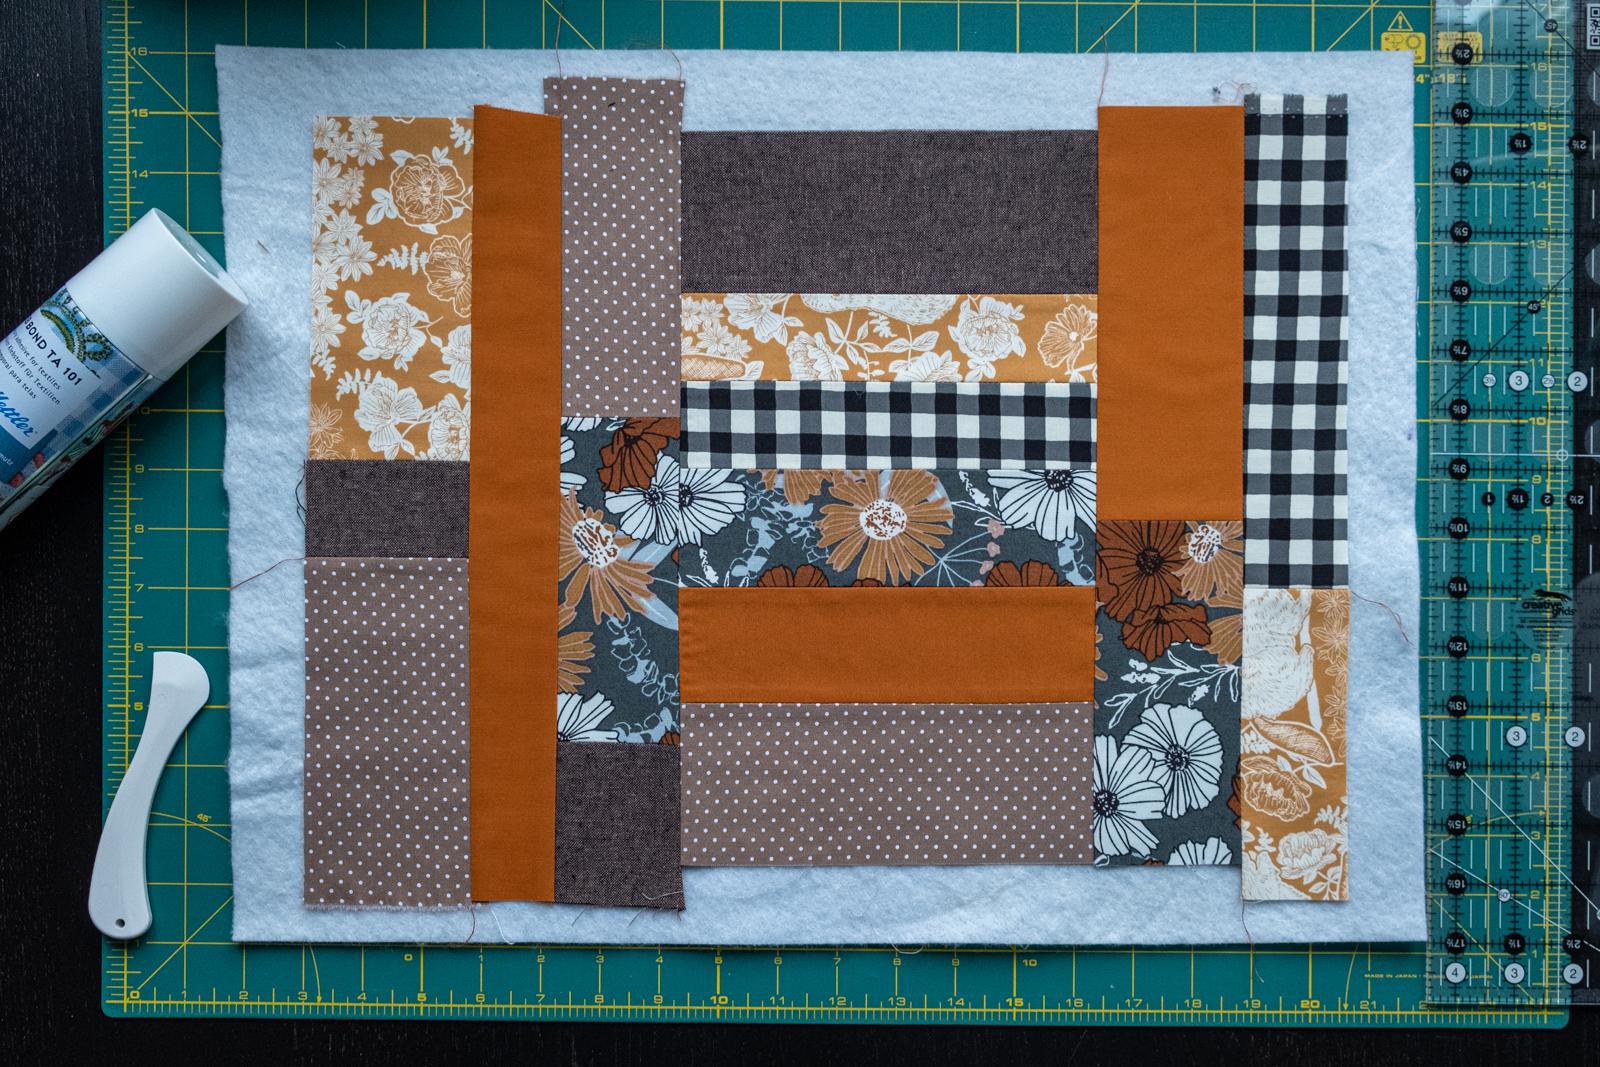
Sew the horizontal and vertical blocks together into one piece. Press once more and place the top on the batting. I prefer to use a spray to hold the layers together. Note that you do not add the backing yet!
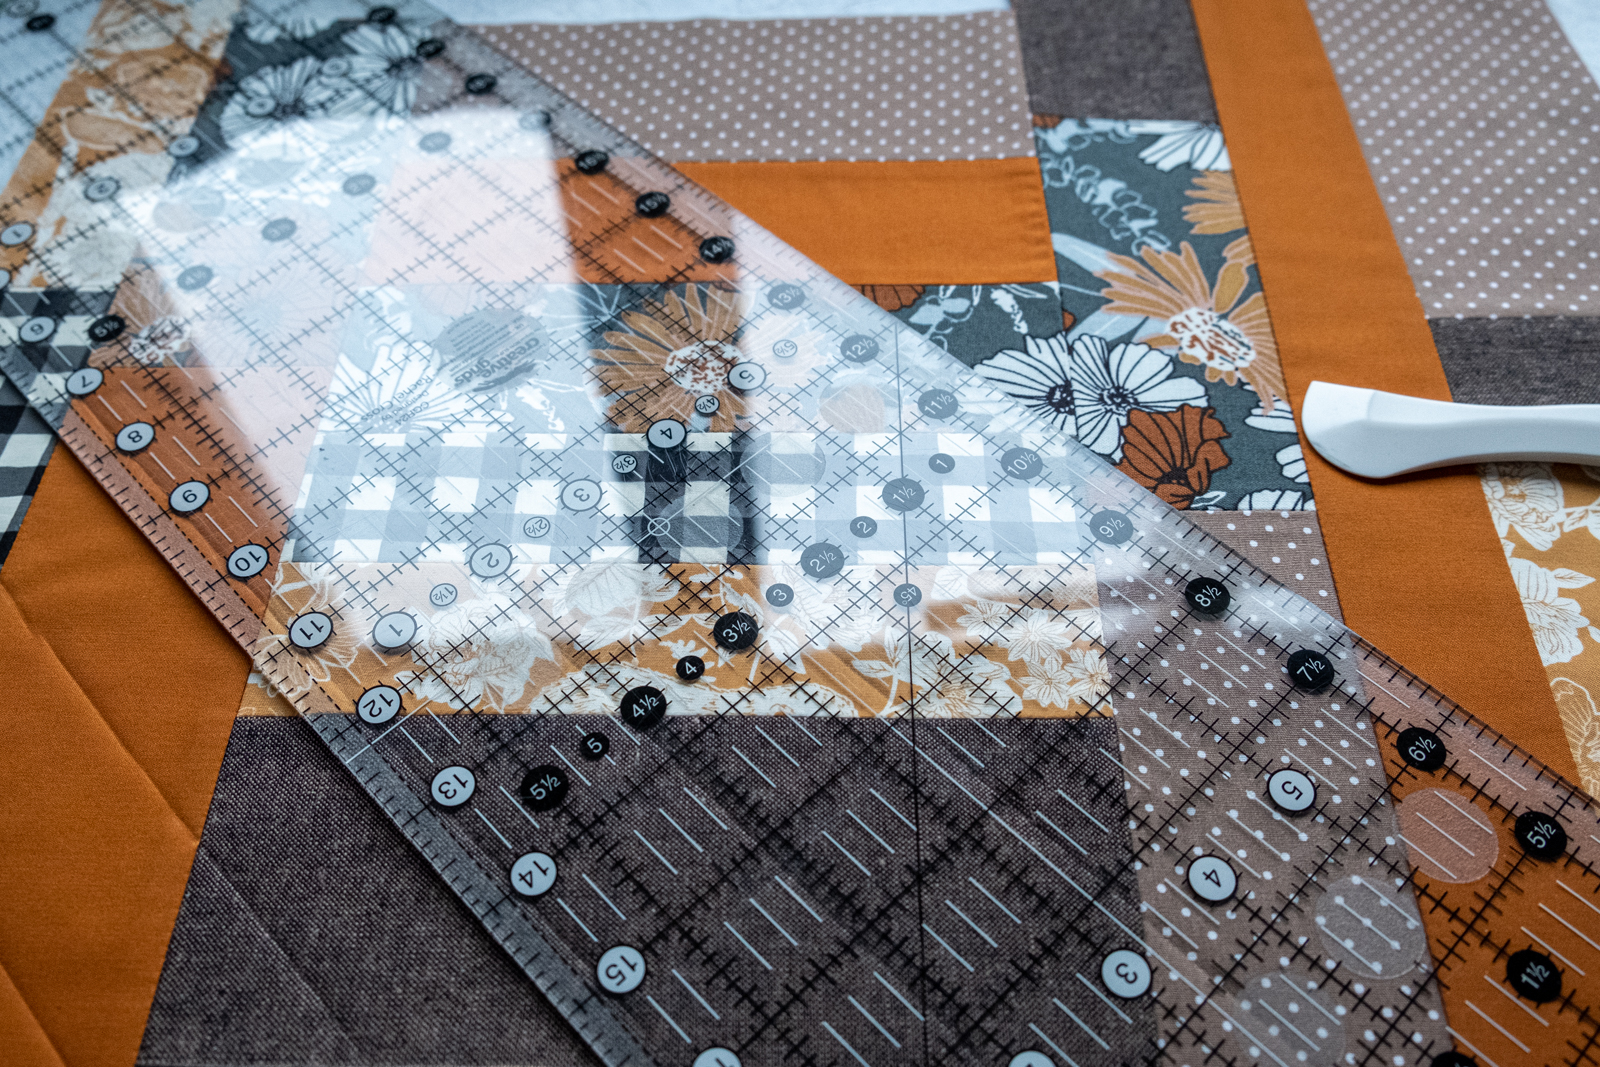
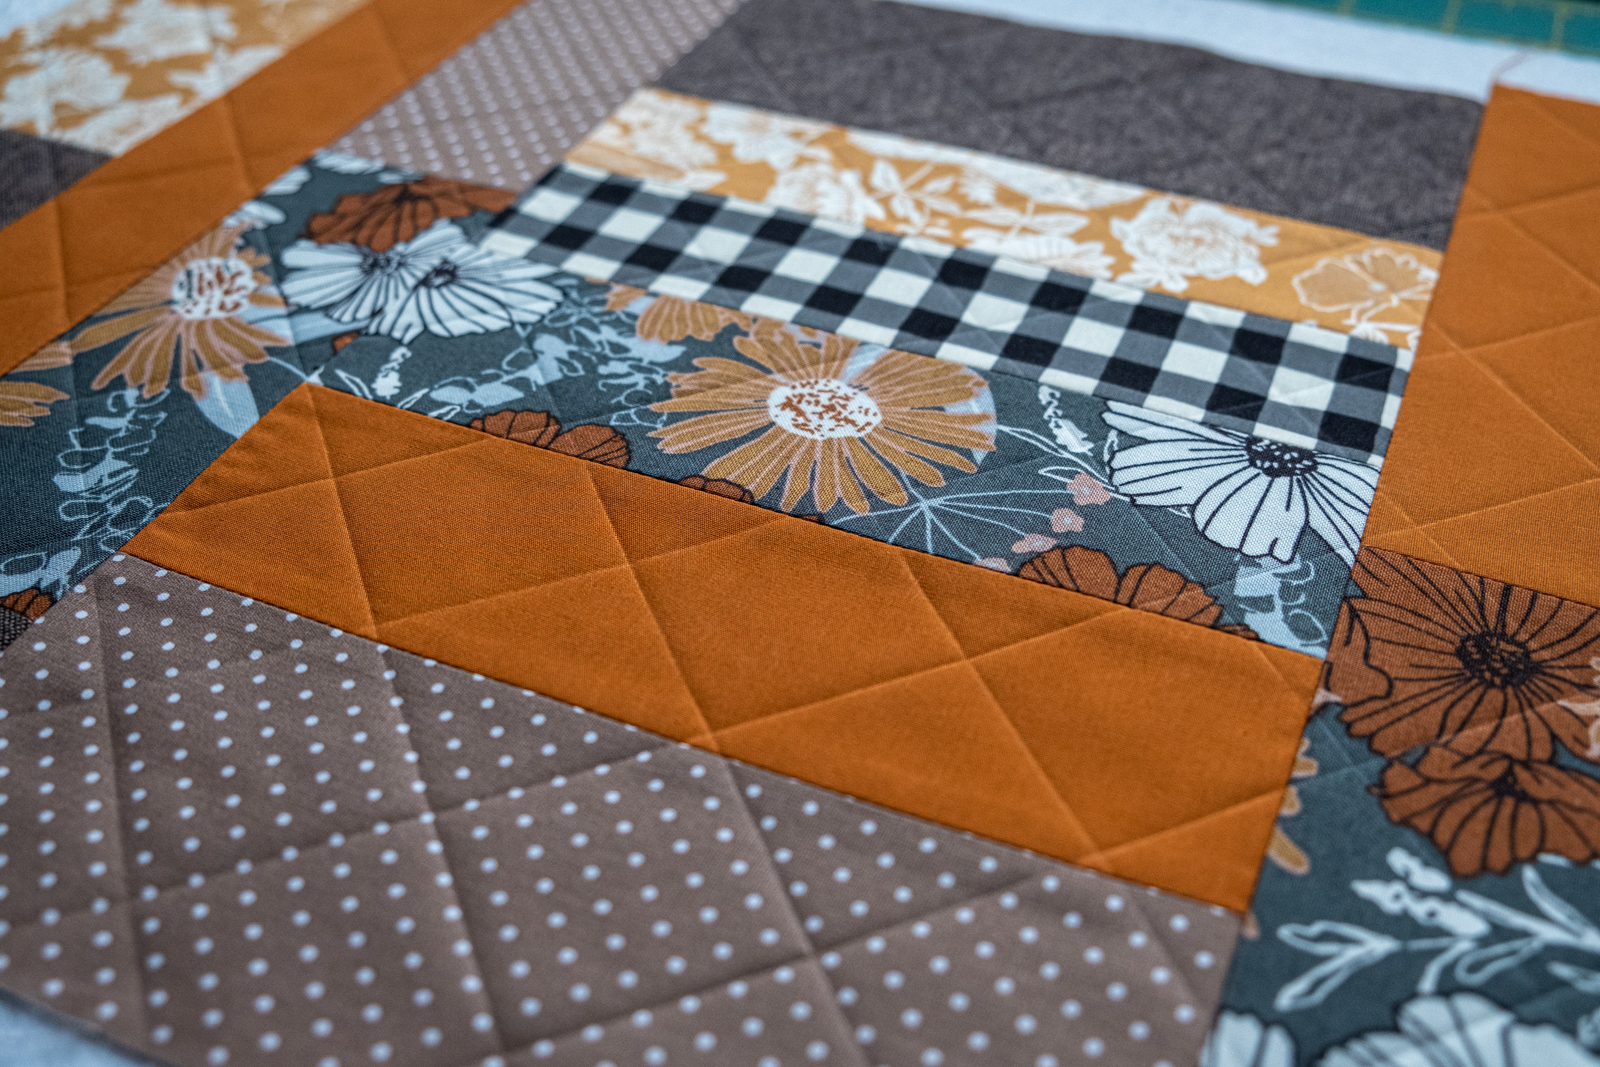
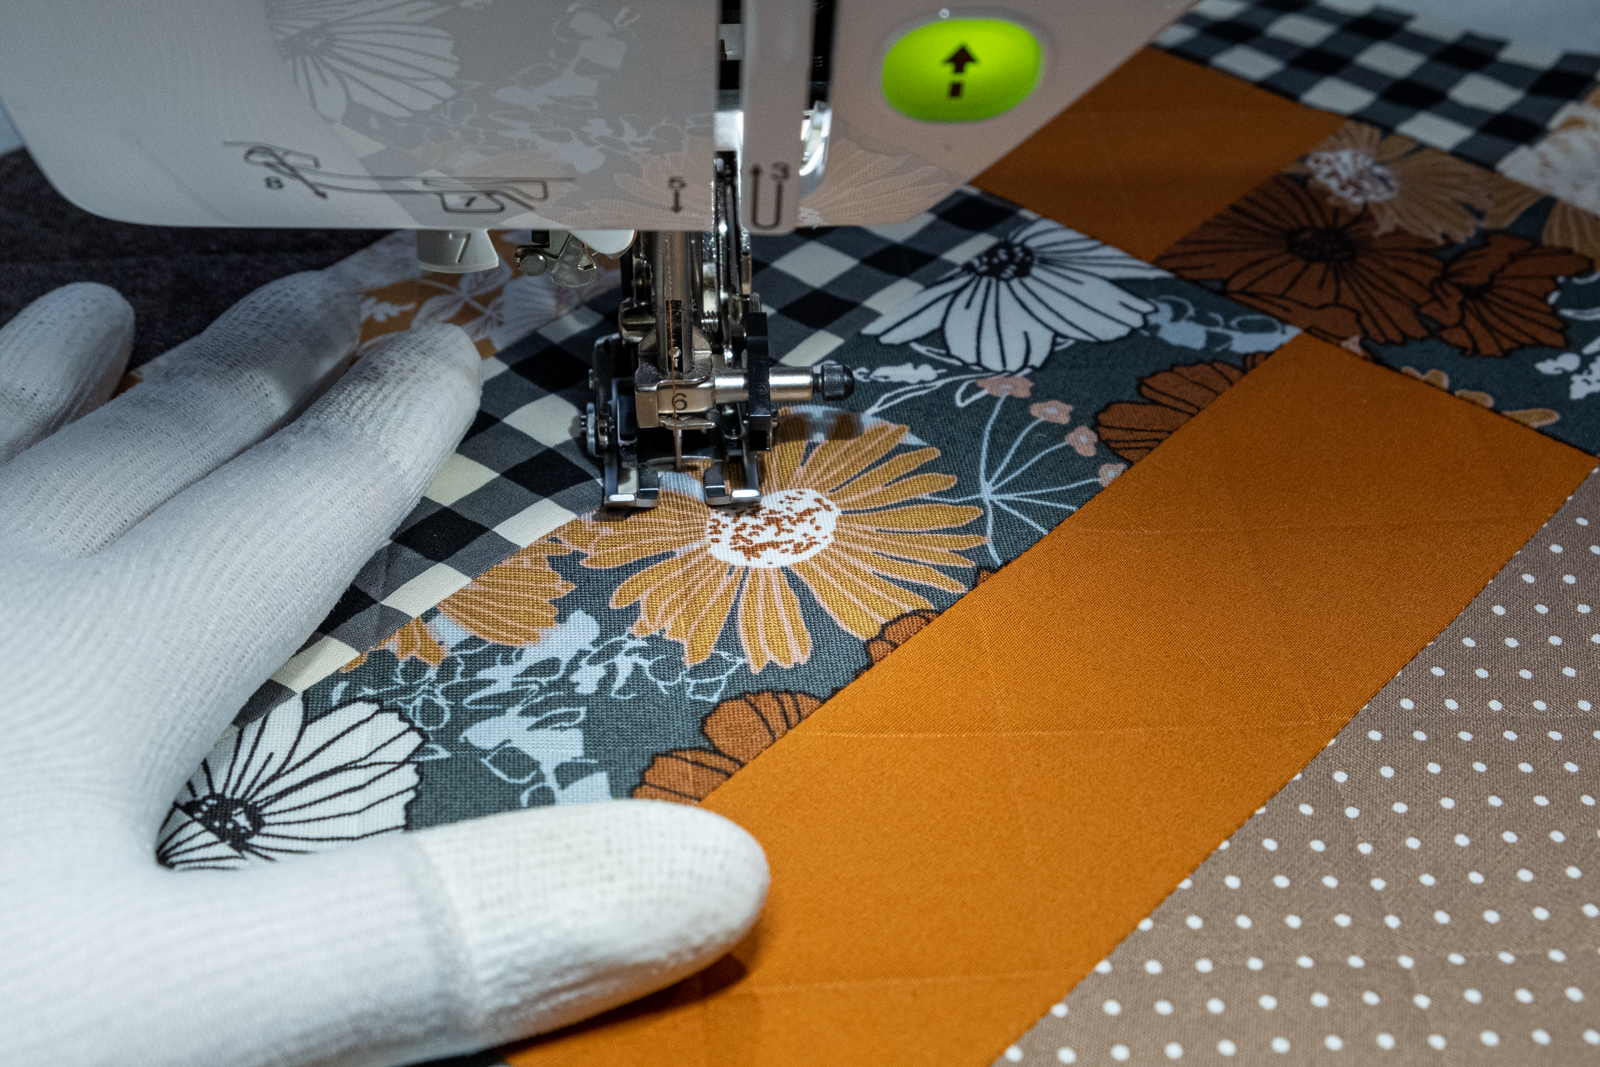
Quilt the two layers according to your preference. I used a diagonally placed square pattern and I used a hera marker to draw the pattern onto the top before quilting. Use the 45° angle marking on your quilt ruler to mark the first line on your piece. Then mark the other lines with 1,5” space apart. Turn and repeat in the other direction (on a 90° angle to the first markings).
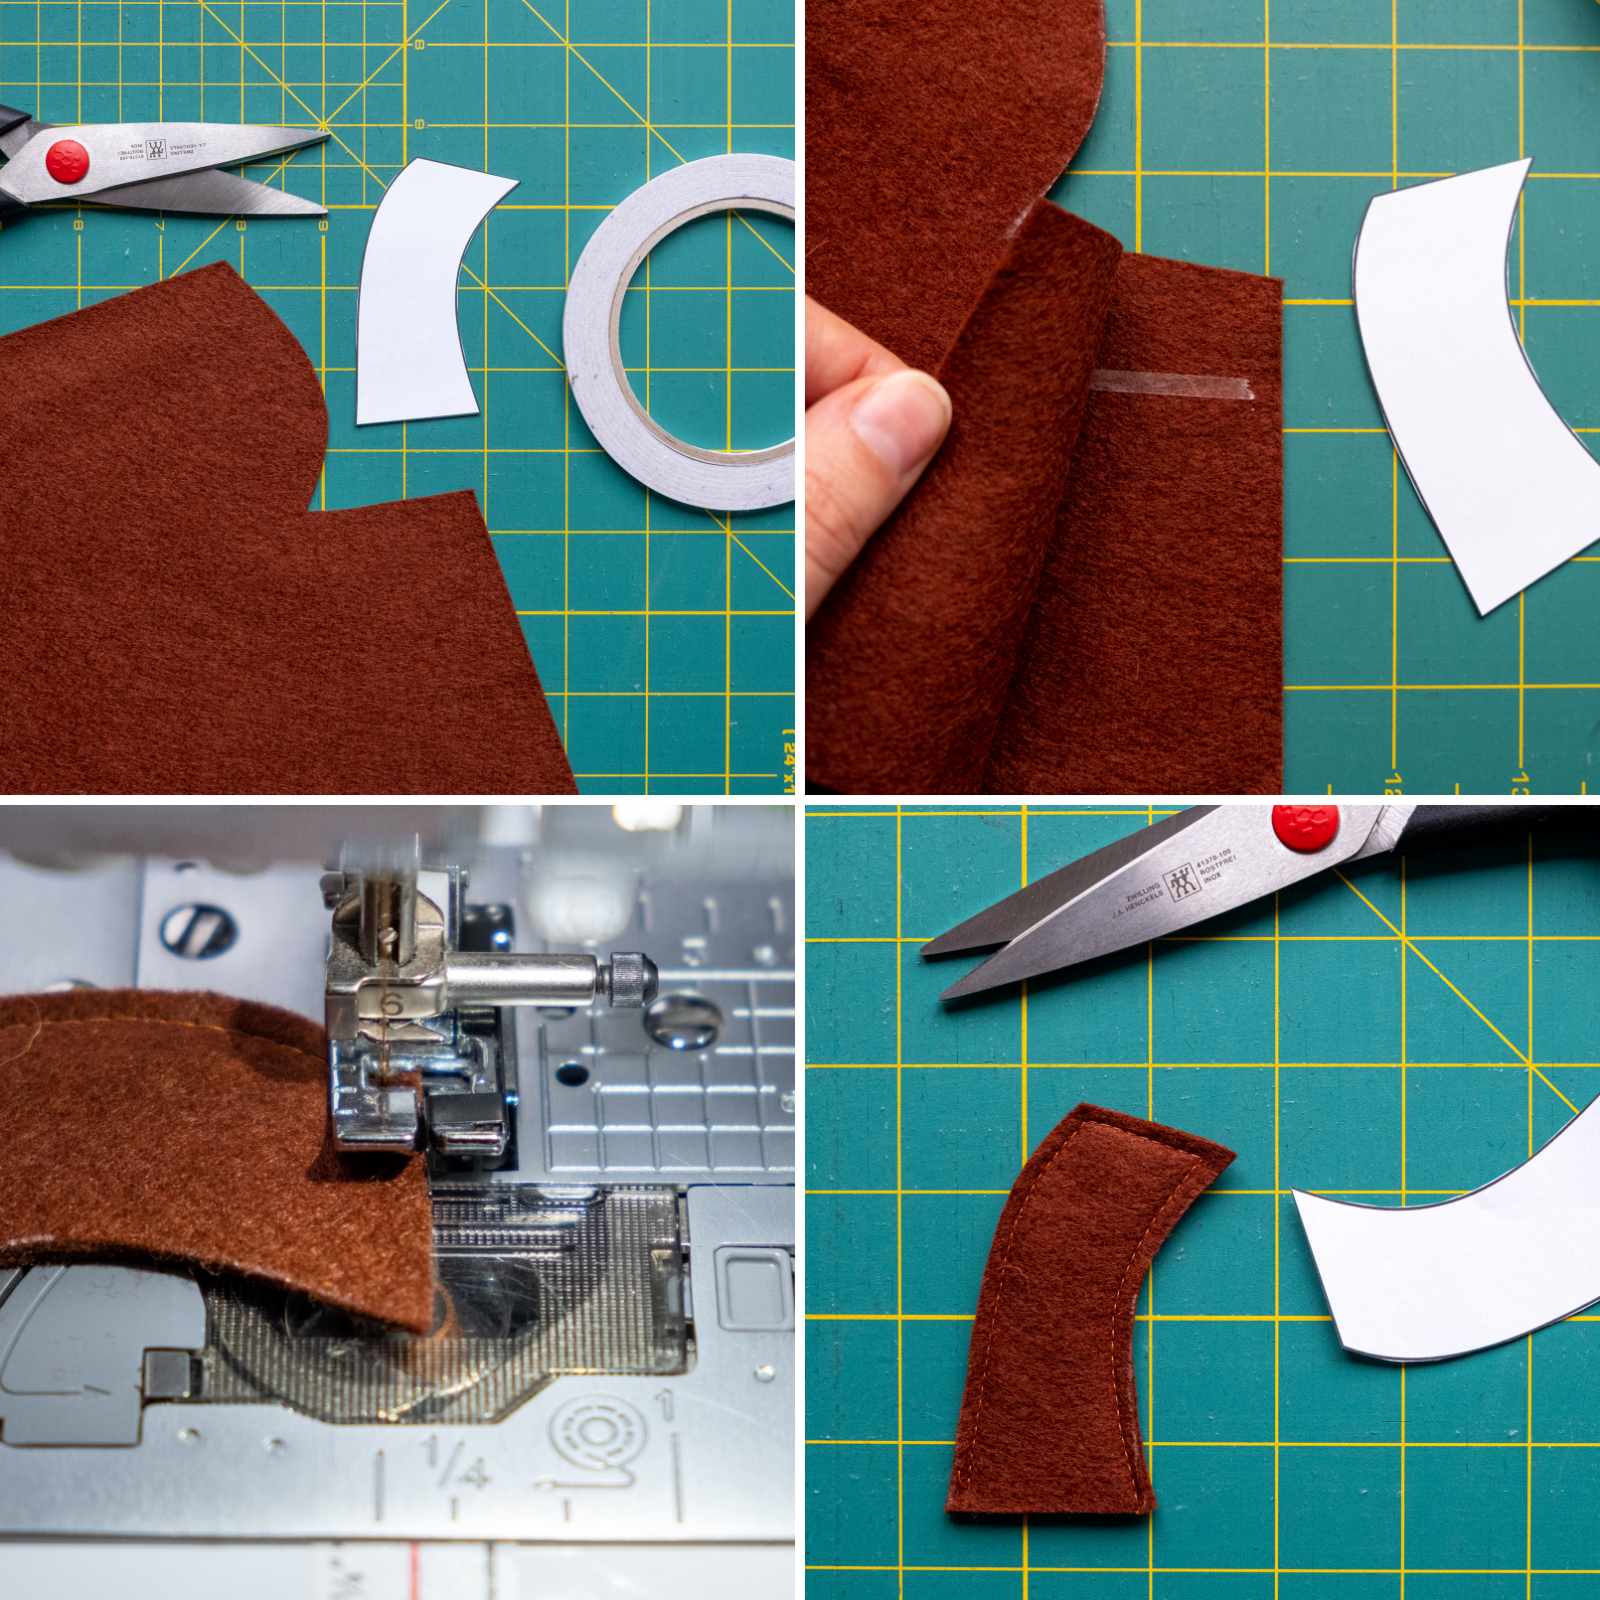
Make the Stalk
The stalk of the pumpkin is made out of a double layer of felt. Place the layers on top of each other and use double-sided tape to hold them together (optional). Then use the template to cut the stalk. Topstitch along the edges.
Building Your Placemat
Now place the front and back together, right sides facing each other. Place the paper template in the middle on top of both fabric layers. Make sure you have ½in space all around for the seam allowance.
Note: the seam allowance will be cut off at the end after the layers are sewn together.
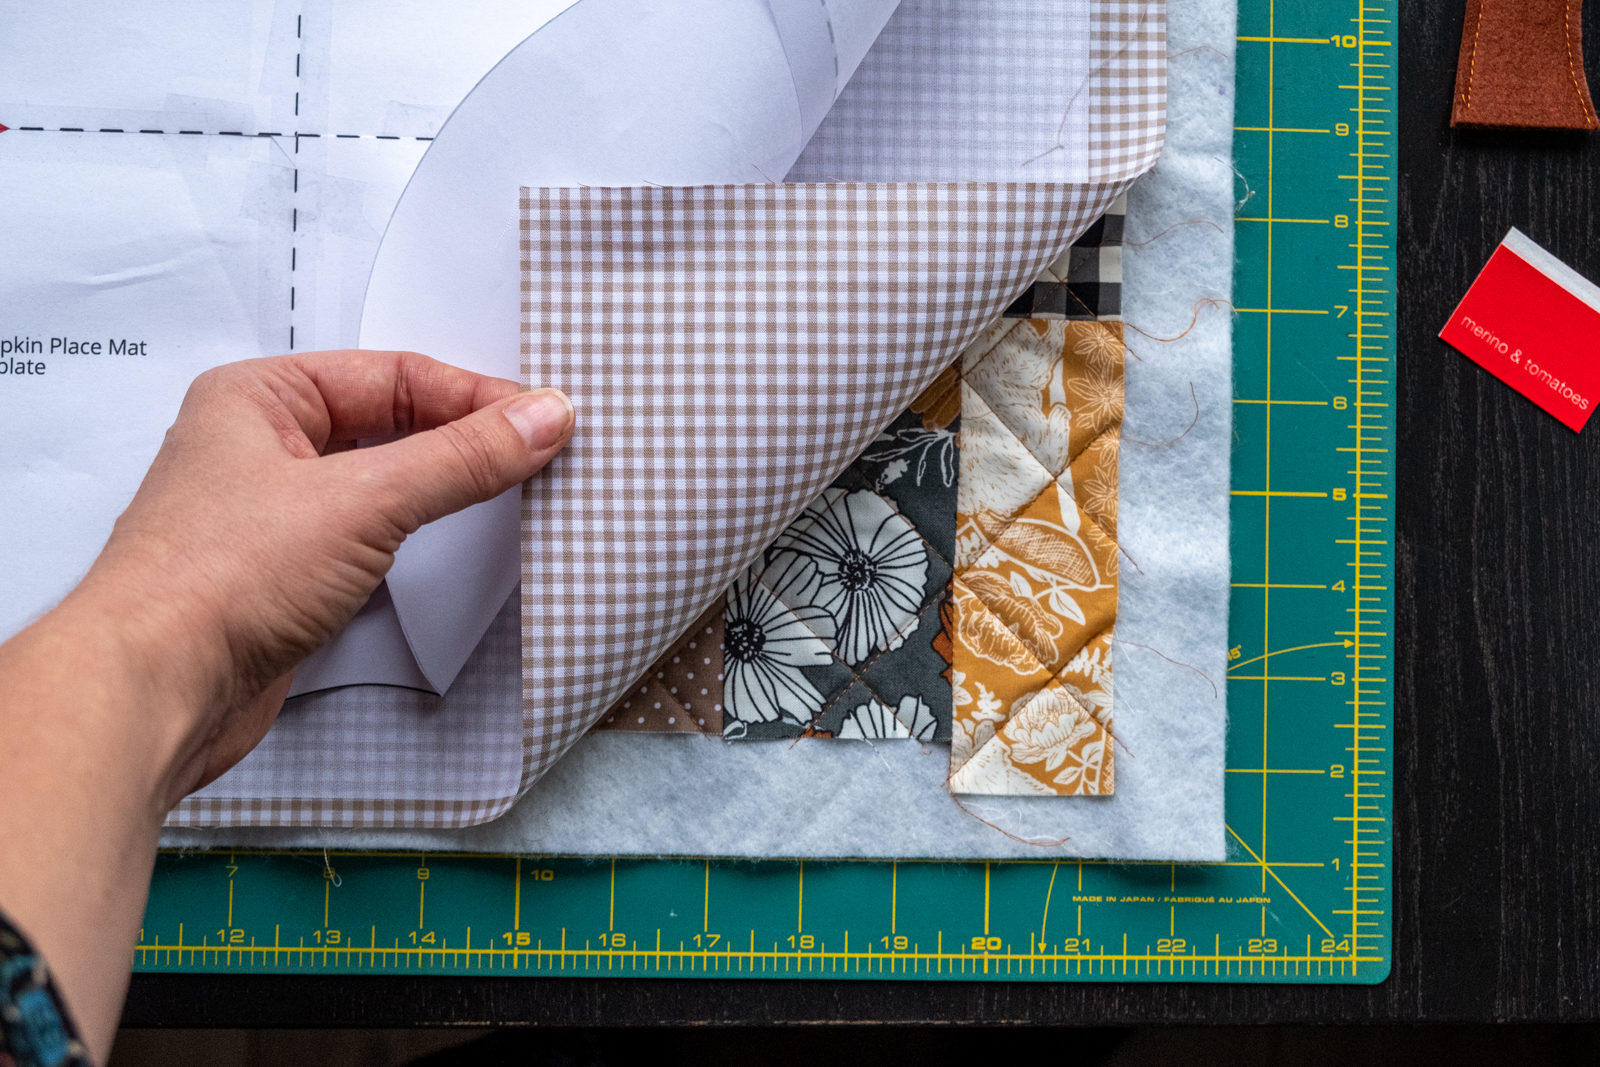
You will notice in the photos that I have interfacing on my backing fabric. That is optional. This fabric from my stash is rather thin, therefore I’ve ironed Vlieseline G700 to it (a thin, woven interfacing, similar to Pellon SF101).
Use a (disappearing) marker to trace the outline of the template on the fabric. Also, mark the spot where the stalk of the pumpkin should be placed.
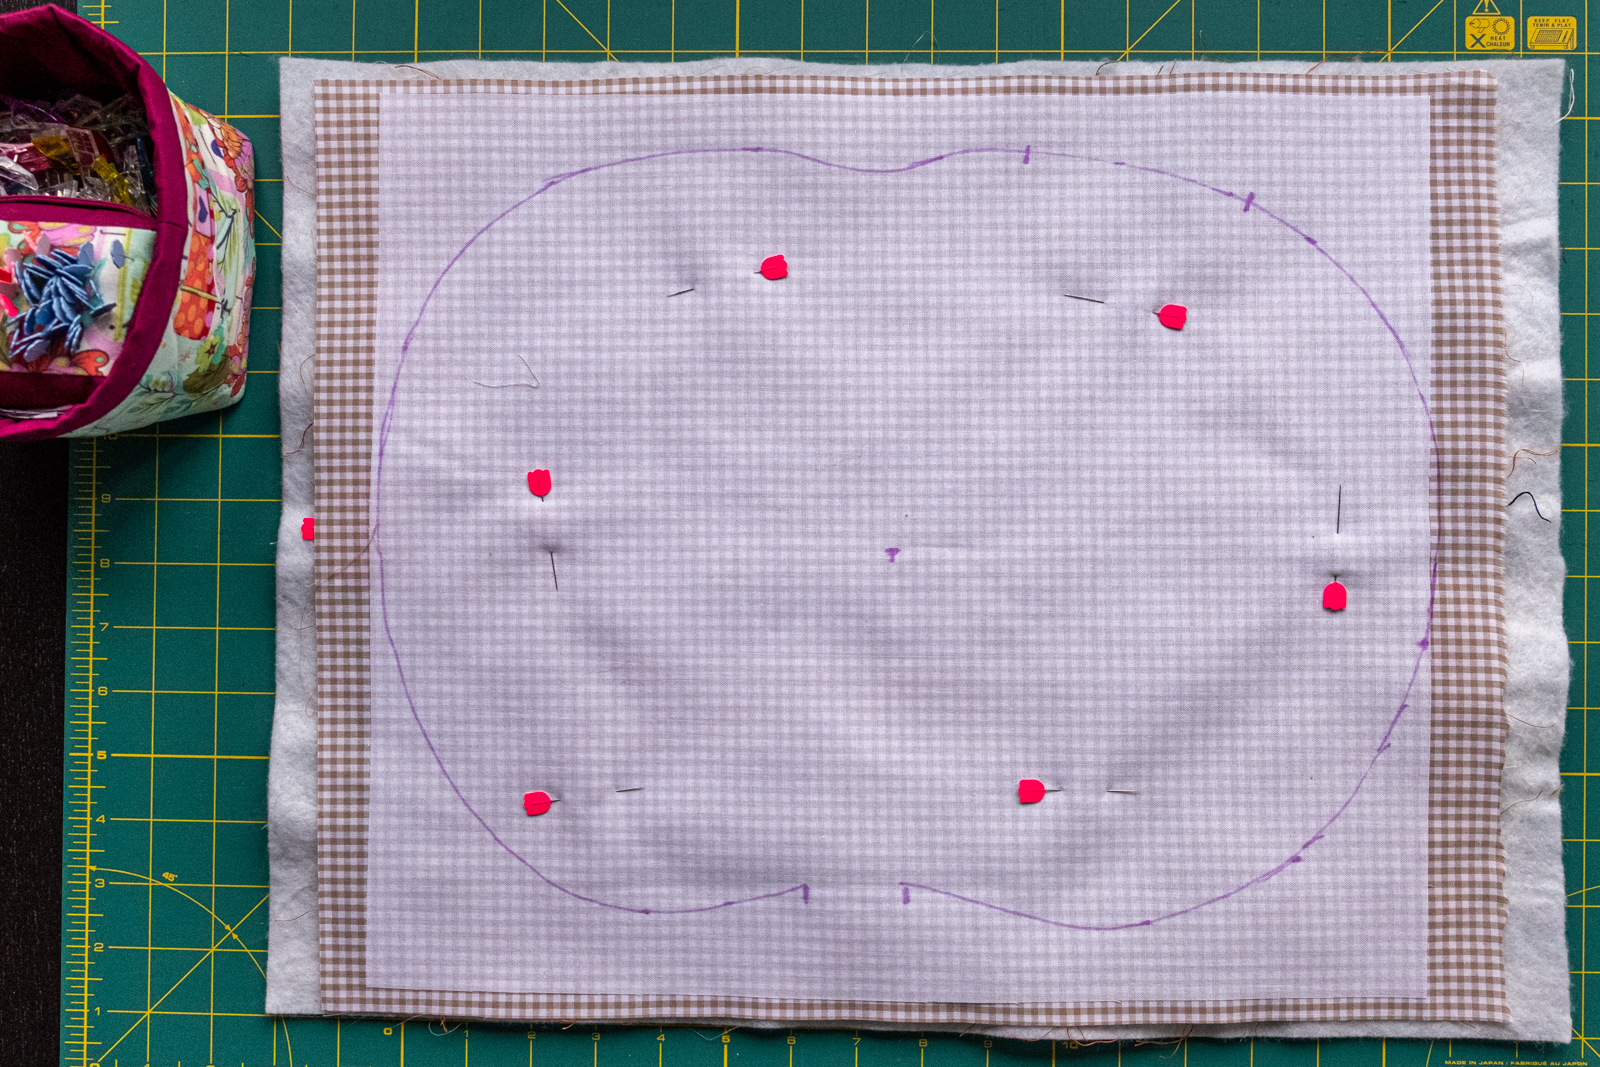
Remove the paper template and pin the layers together. Make sure nothing shifts. Place the stalk in the right place. Place it upside down, right side towards the quilted top. Pin the stalk in place.

If you want to sew in a label, place it where you want it now and pin it in place too.
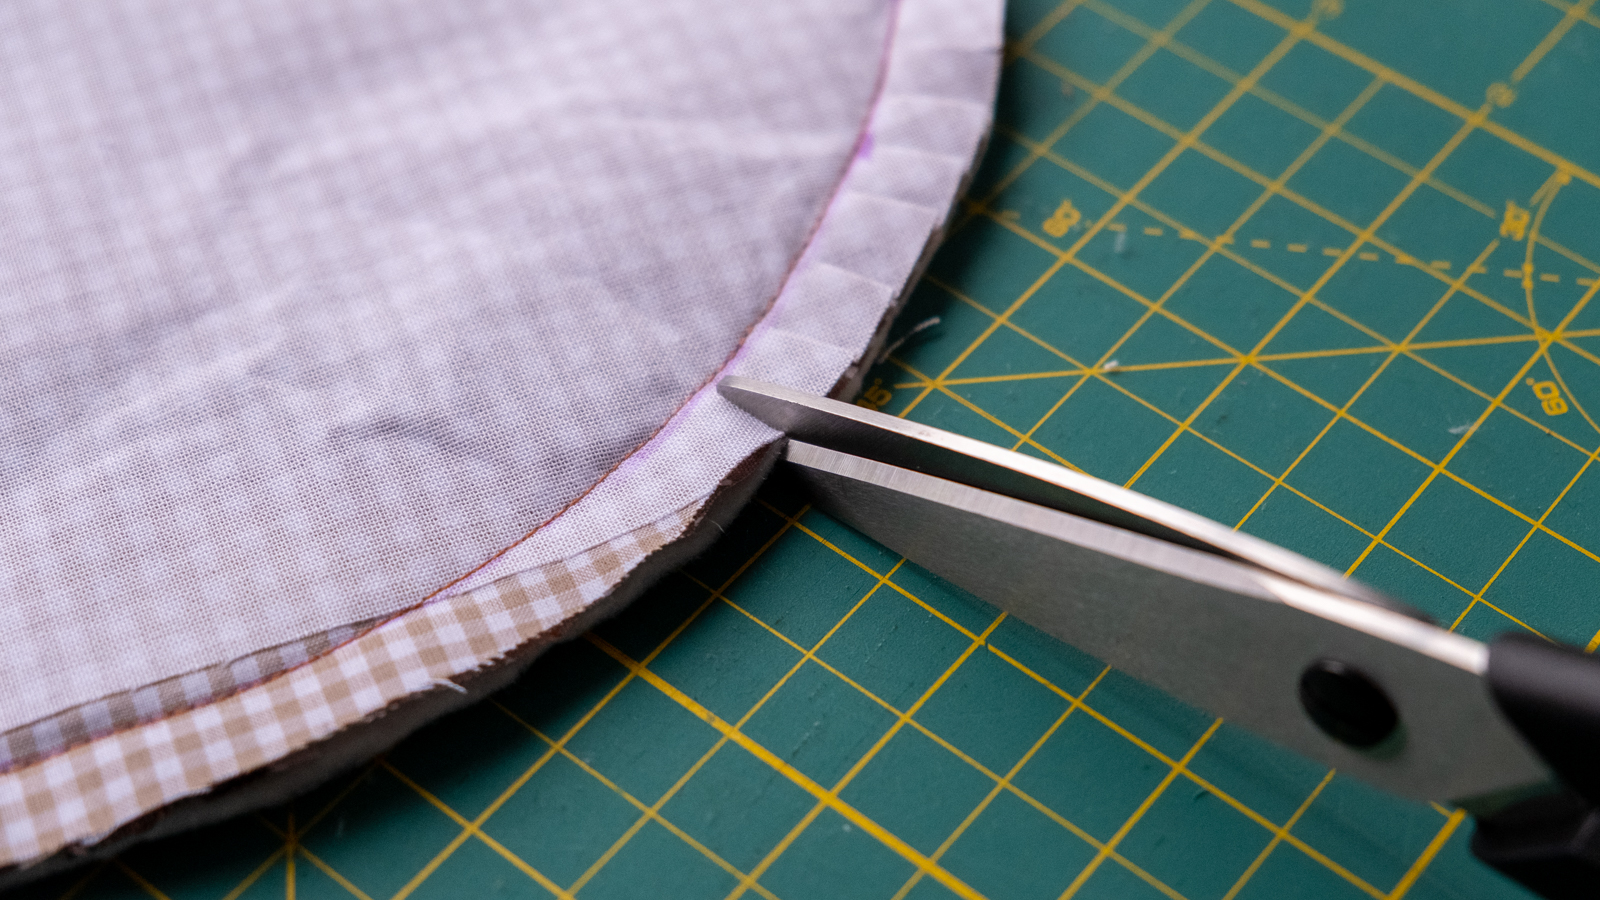
Sew the layers together on the marked line. Leave an opening at the bottom of approx. 10cm / 4in to turn the placemat inside out. Trim the excess fabric at 1cm / 1/2in from the seam and make small notches in the seam allowance (this makes turning easier). Be careful to not cut into the seam.
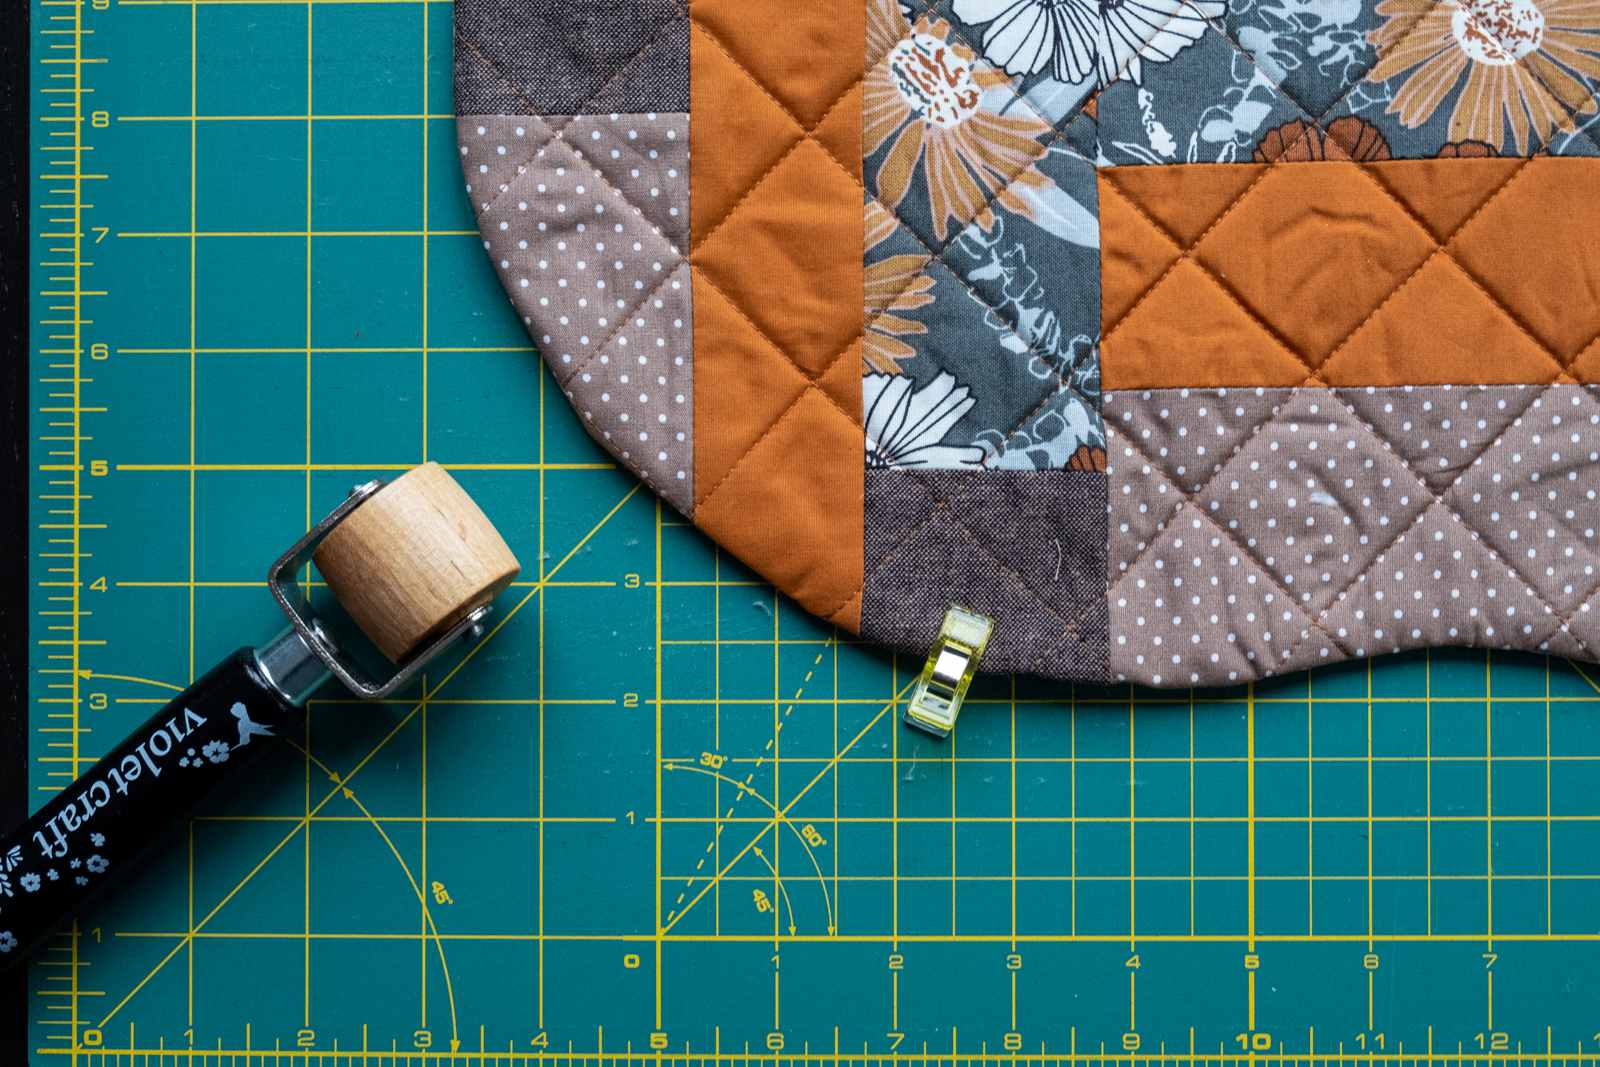
Turn the placemat inside out, making sure the seams are nicely formed. Press the seam and topstitch along the edge of the placemat. Use a longer stitch length here (I use 3,0mm or 3,5mm). In doing so, close the opening for turning.
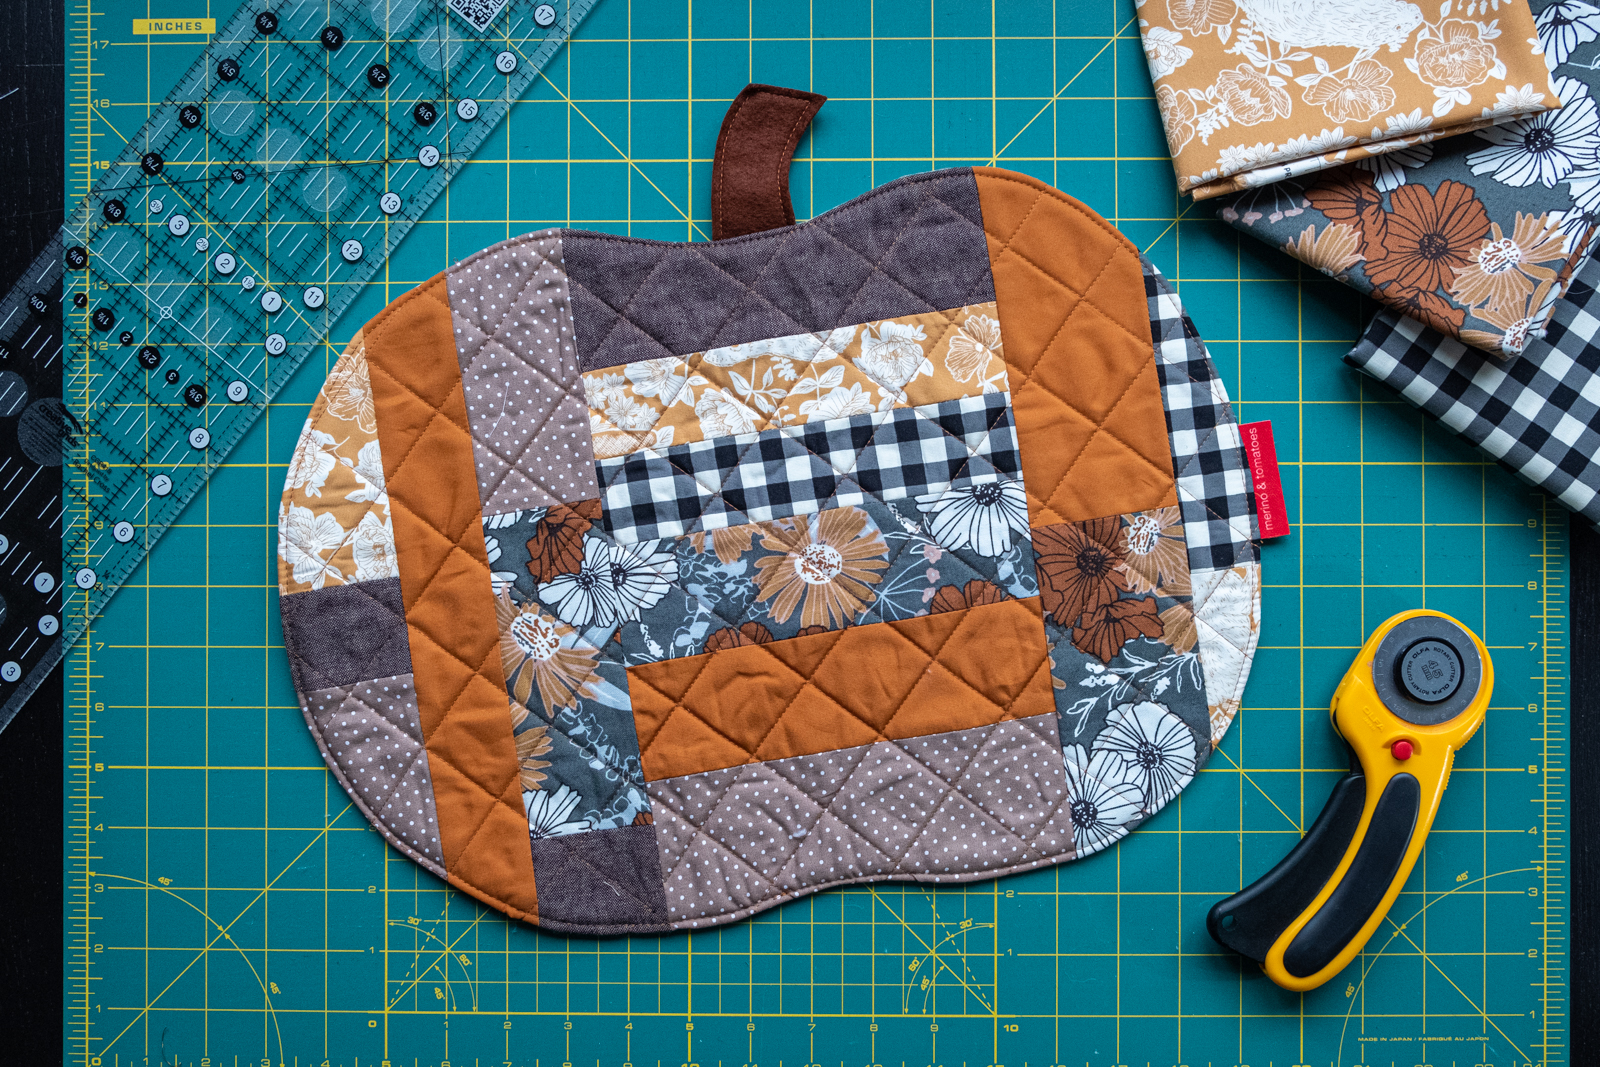
Your placemat is ready!
I hope you like this tutorial and you will make some yourself! Please share your makes with #merinoandtomatoes and feel free to tag me! Spread the word by sharing the image below on Pinterest!