

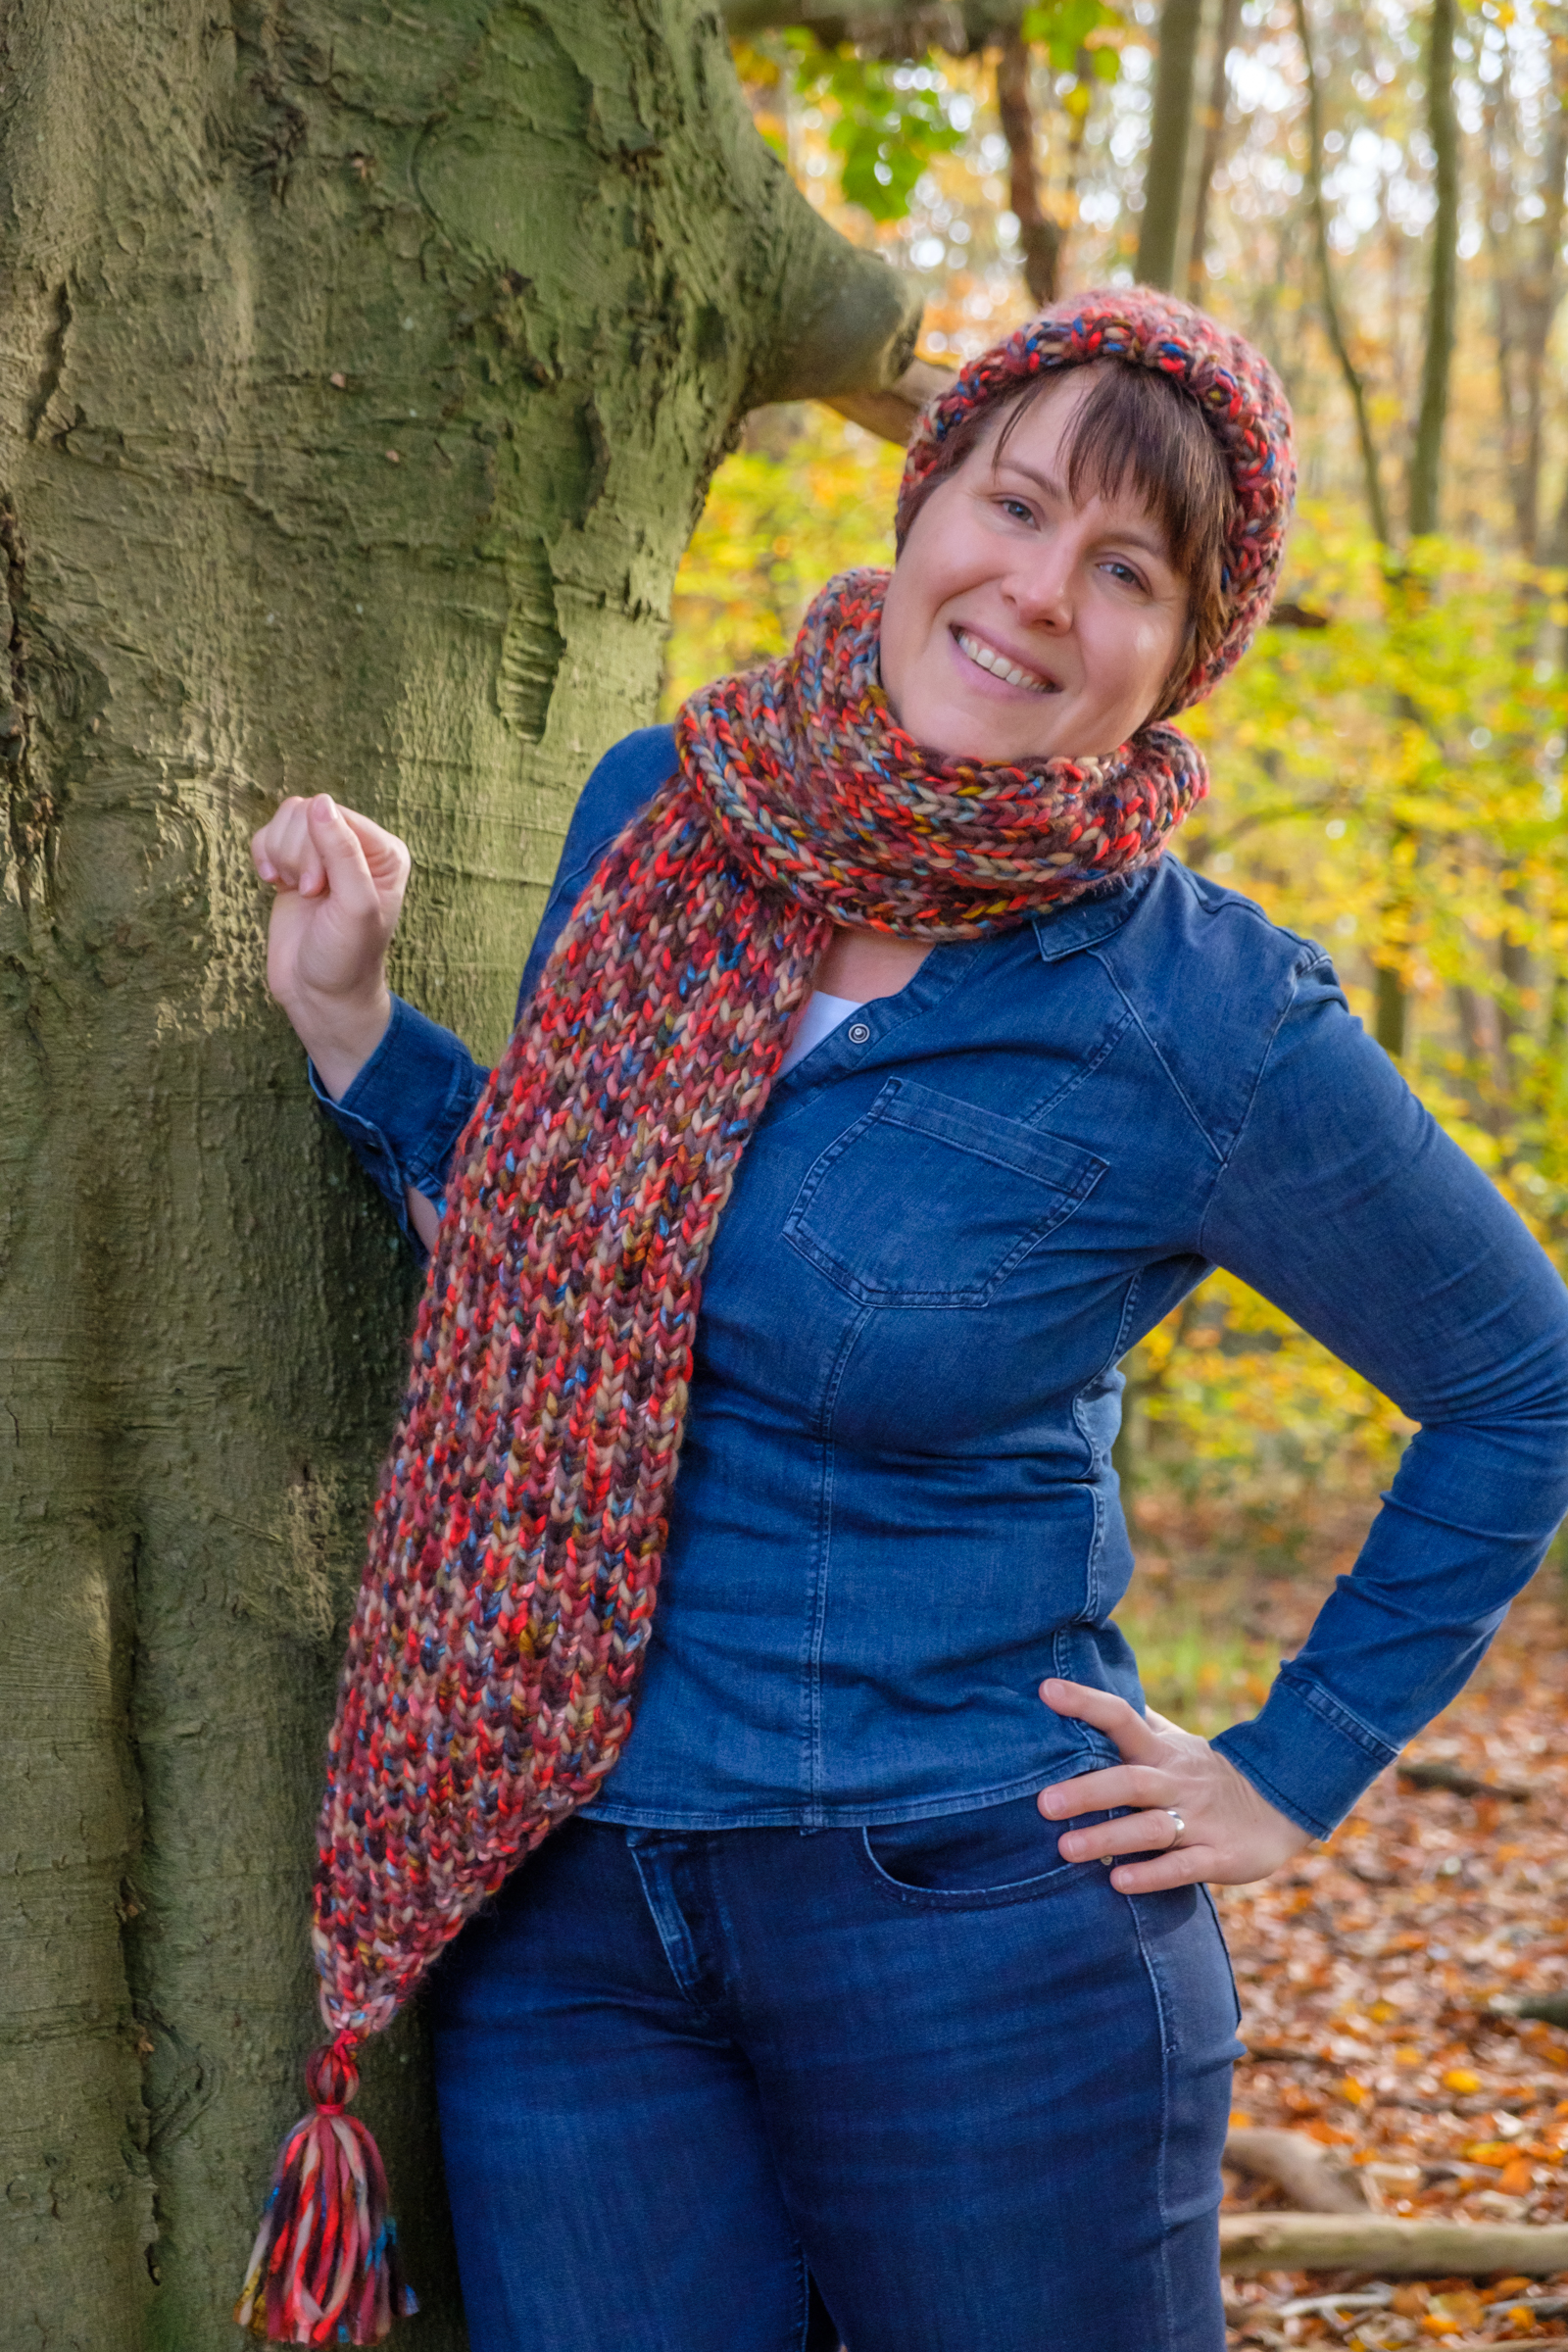
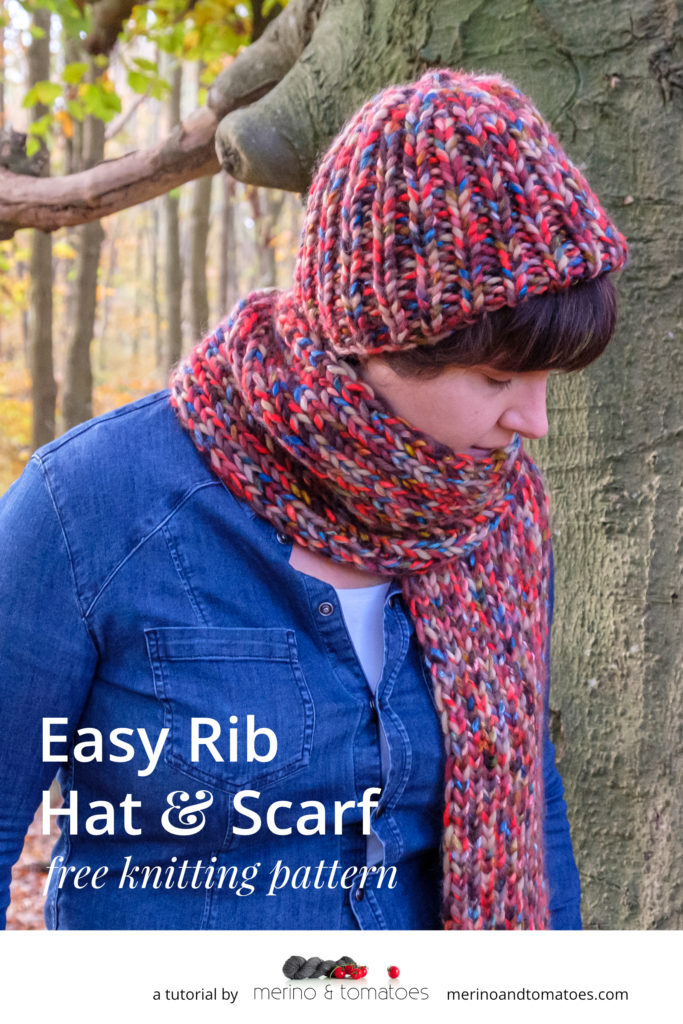
A few years ago I came across some lovely super bulky yarn. I immediately liked to colours, but had no idea yet what to use the yarn for! The yarn itself has different colours and textures, so the pattern needed to be plain. Finally, I settled for a super easy hat and scarf. I love them and I’ll share the patterns with you here!
If you’d like to know a little bit more about the story behind the hat and scarf, then please read my blog post here!
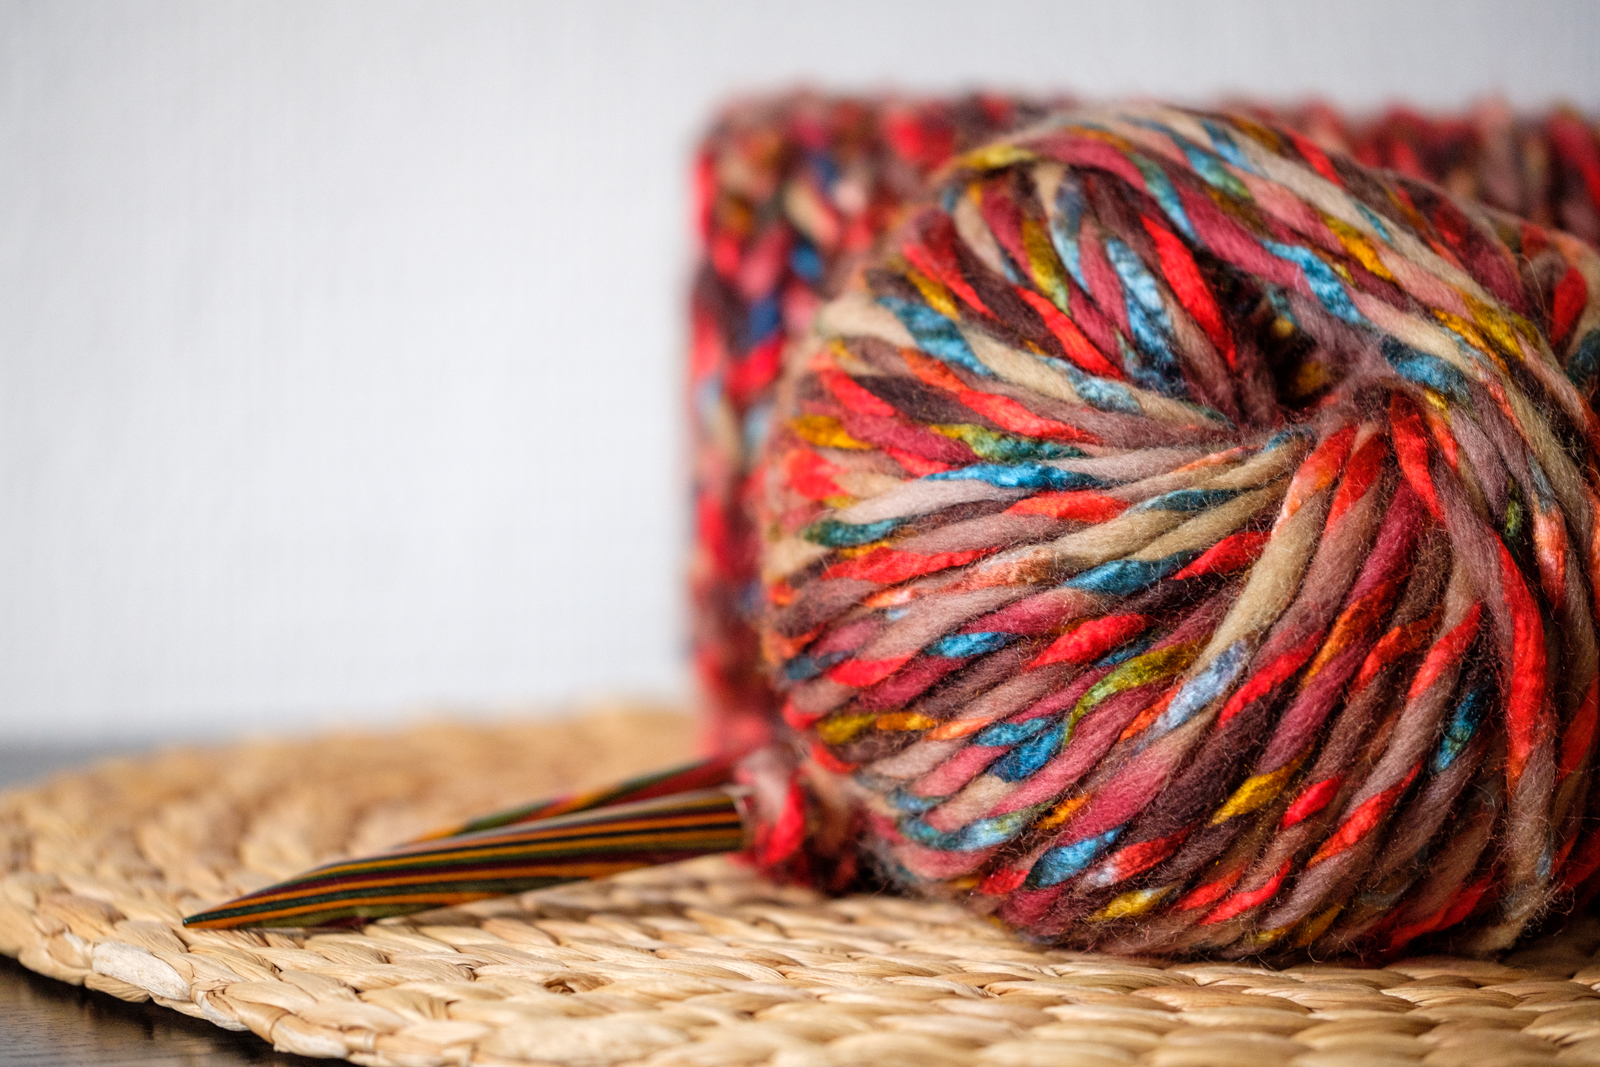
There is a downside to keeping yarn for a long time before using it because in the meantime it has been discontinued. The pattern will work with a lot of alternative yarns though! Go look for super bulky yarn (whether it’s bright and colourful or simple and plain) and get your big needles out. Let’s make a hat and scarf!
Materials
Yarn
Suggested yarn:
Super bulky yarn, you will need at least 240m
- You will need about 48m for the hat
- You will need about 192m for the scarf
The sample is shown in:
Lang Yarns Elena in colour 0061 (50% wool/50% acrylic, 100g = 60m)
Unfortunately, the original yarn by Lang Yarns is discontinued! A very good alternative is Malabrigo Rasta. It’s available in a wide range of colours.
Optional
You can use any leftover yarn to make tassels for the scarf.
Needles
- For the hat: 10,0mm/US 15 100cm/40” circular needles for magic loop or DPNs
- For the scarf: 10,0mm/US 15 60cm/24” circular needles (or longer if preferred)
Notions
- Scissors
- Darning needle
Construction
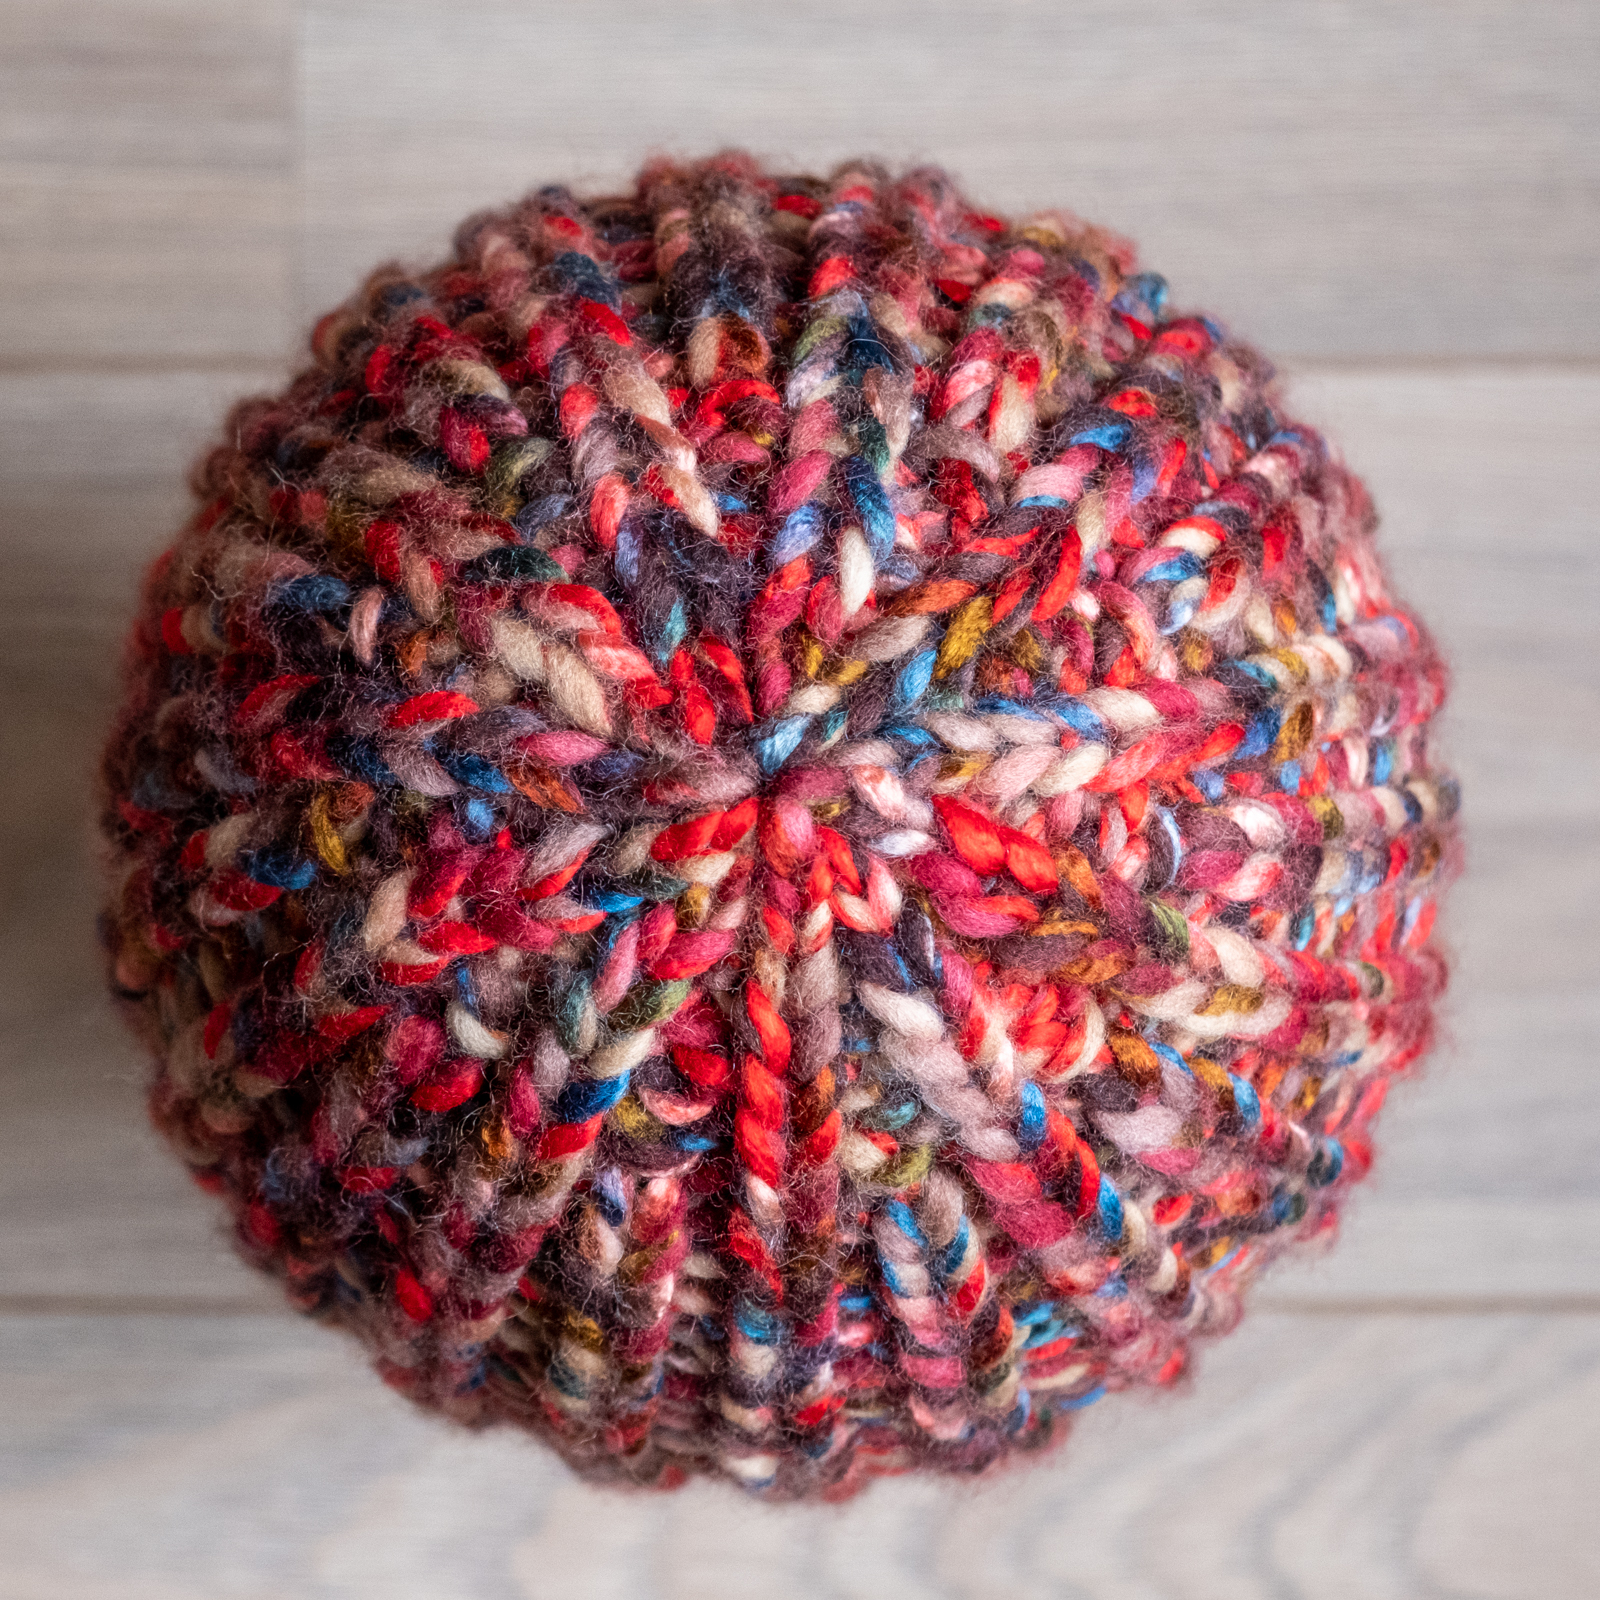
- The hat is knitted in the round and the crown is made by decreasing the number of stitches.
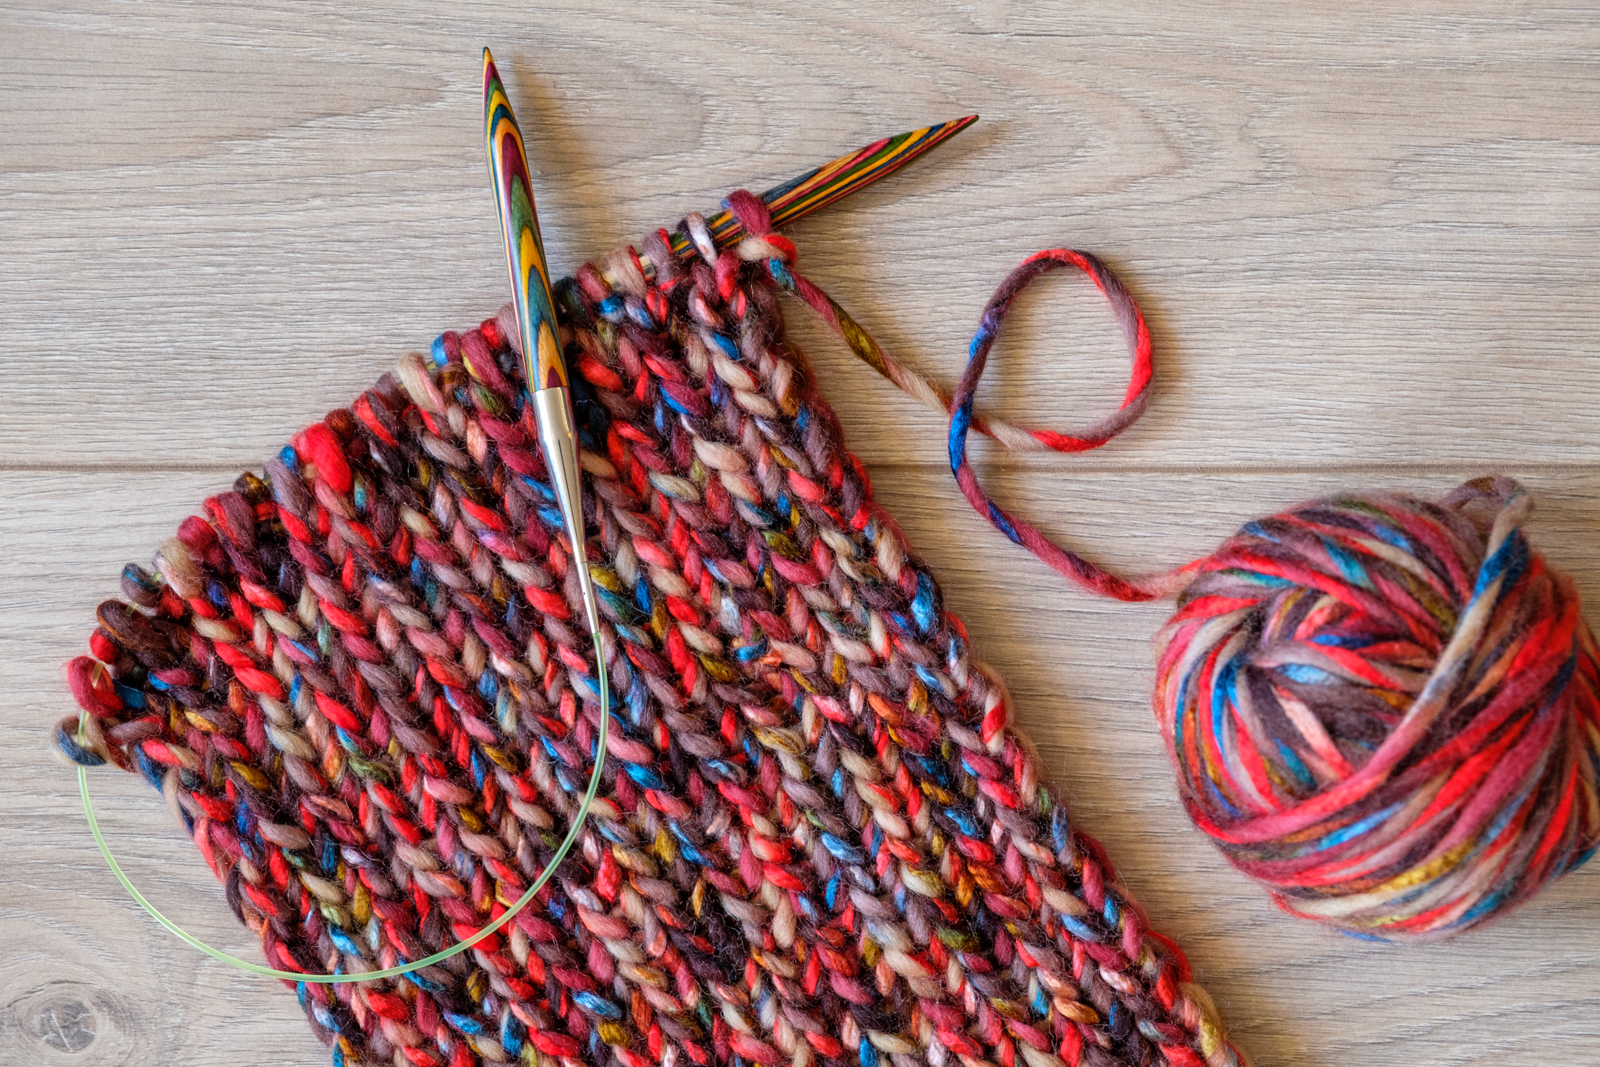
- The scarf is knitted from one tip to the other.
Pattern Notes
If you would like to knit both the hat and the scarf, then I suggest you start with knitting the hat. That way you can use all the leftover yarn for the scarf. To prevent you from running out of yarn when making the scarf I recommend that you weigh your scarf after finishing the increase section. You will need the same amount of yarn for the decrease section. When working the straight section, weigh your yarn from time to time to make sure that you can finish the scarf.
Finished Measurements
The hat fits an adult head. My head circumference is approximately 56cm and the hat fits me loosely. See ‘Sizes’ on how to adjust the size of your hat.
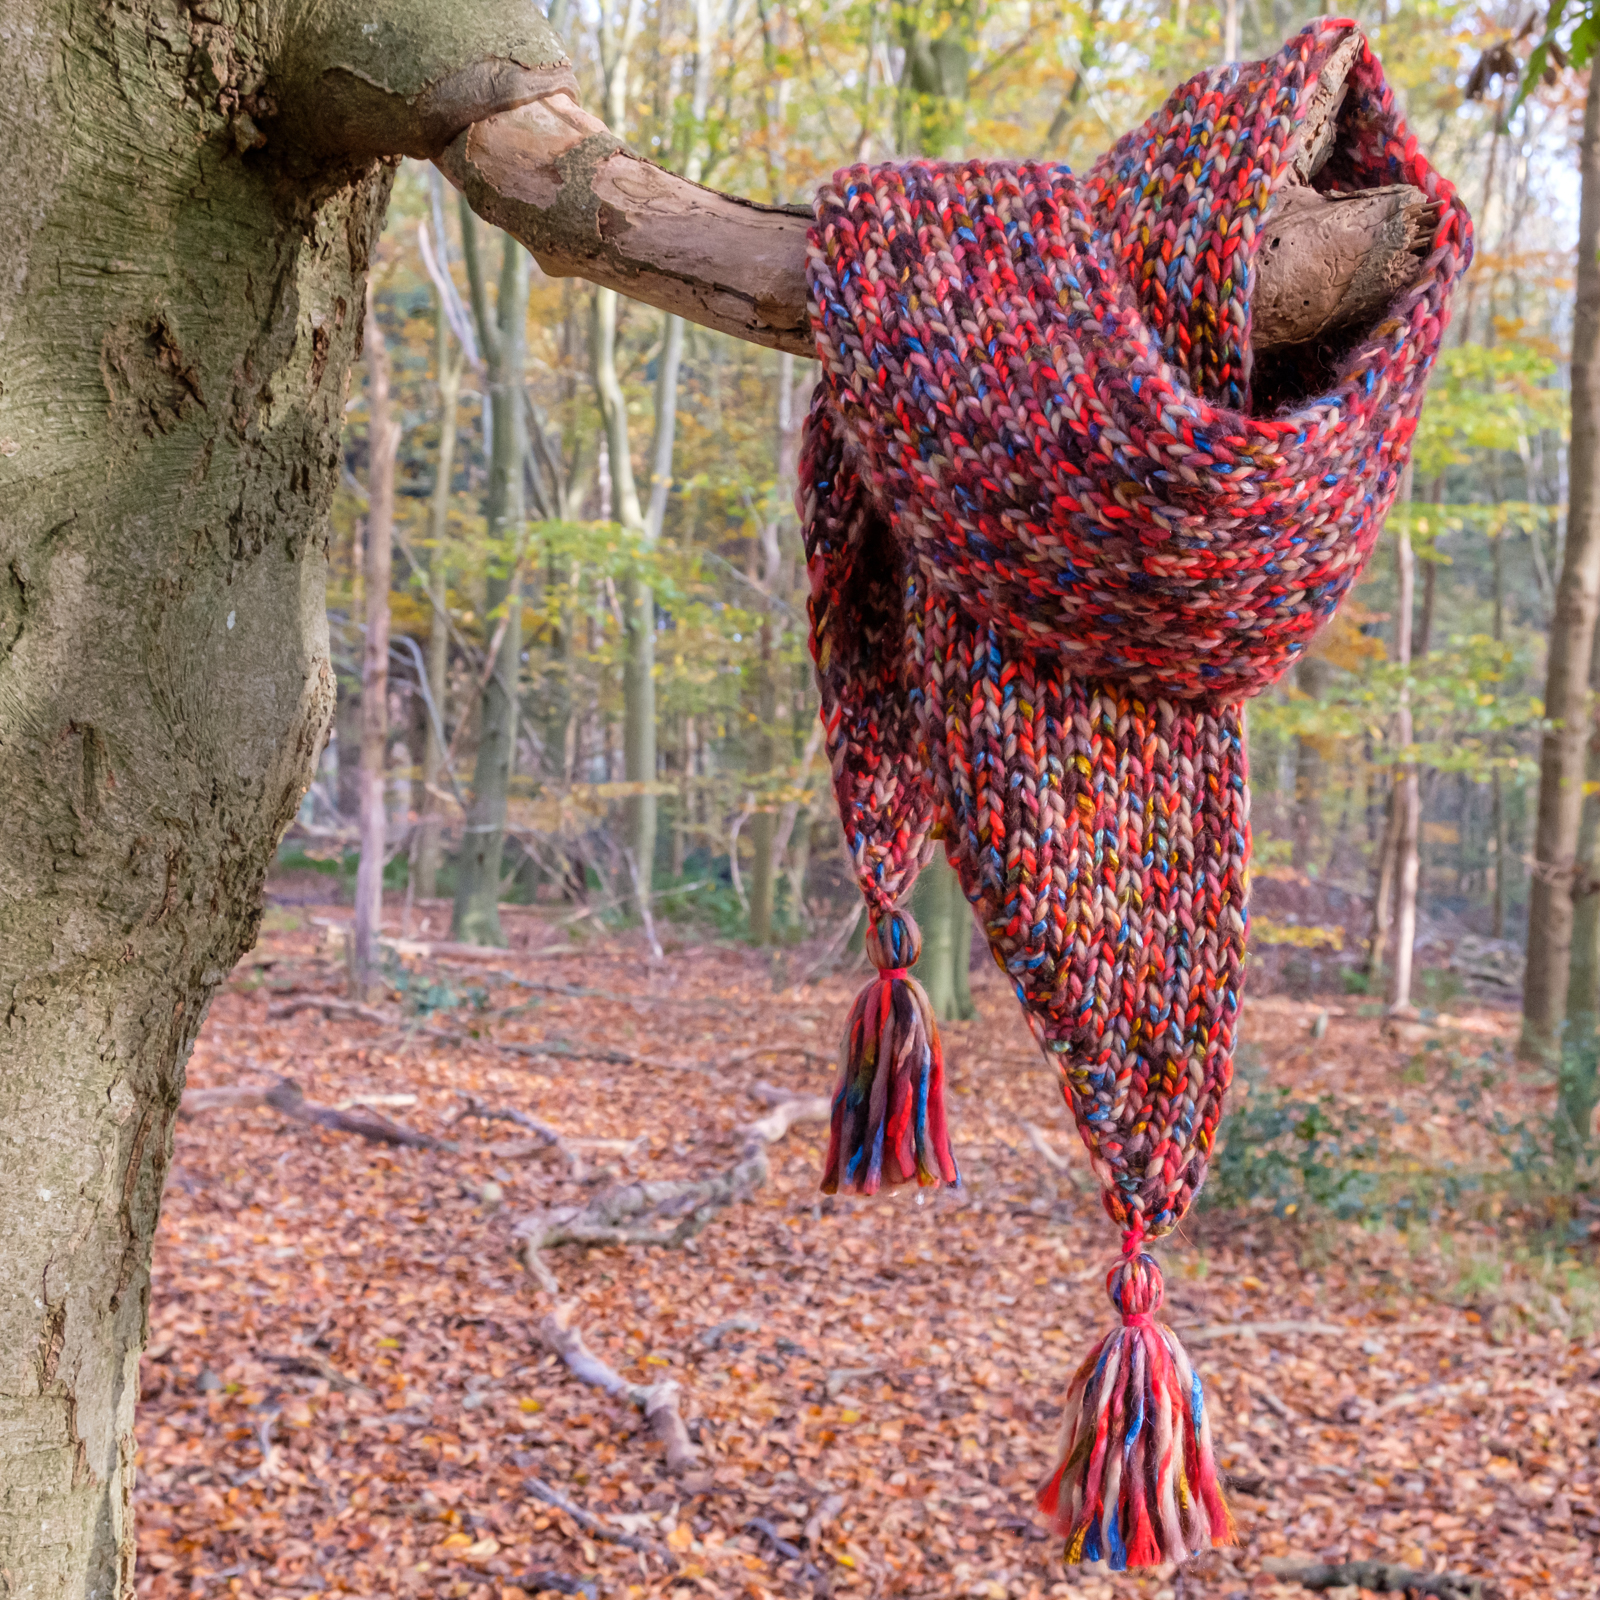
My finished scarf is 160cm/63in long and 20cm/8in wide (without tassels). I did not block the scarf.
Size
The ribbed fabric is very stretchy, so this hat pattern will fit a lot of heads. If you like to adjust the circumference of the hat, the easiest way is to increase or reduce the number of cast-on stitches by a multiple of 4. That way you can work the crown as described in the pattern (the stitch count will differ though).
Gauge
13 st x 11 rows = 10cm x 10cm / 4″ x 4″ worked in 1×1 rib on a 10,0mm/US 15 needle (unblocked).
Stitch Library
| BOR | Beginning of round |
| CO | Cast on |
| k | Knit |
| kfb | Knit in the front and in the back of the same stitch (1 st increased) |
| k2tog | Knit two stitches together |
| m | Marker |
| p | Purl |
| p2tog | Purl two stitches together |
| rep | Repeat |
| sl1p | Slip 1 stitch purlwise |
| ssk | Slip, slip, knit. Slip the first stitch as if to knit, slip the second stitch as if to knit, slide the left needle into the front of both stitches and knit together through the back loop (1 st decreased) |
| st(s) | Stitch(es) |
| wyif | With yarn in front |
Instructions
To Make the Hat
Set-up
CO 44 stitches using the long-tail cast-on method. Join in the round. (Place a BOR marker if using DPNs)
Work the body
Row 1-21 *P1, k1, repeat to end.
Work the crown
Row 22 *P2tog, p1, k1, repeat to end. [33 sts]
Row 23 *P2, k1, repeat to end.
Row 24 *P1, k2tog, repeat to end. [22 sts]
Row 25 *P1, k1, repeat to end.
Row 26 *k2tog, repeat to end. [11 sts]
Row 27 K all sts.
Row 28 *K2tog, repeat to last st, k1. [6 sts]
Break yarn, leaving a 20cm/8in tail. Use a darning needle to weave the end through the remaining 6 stitches and gather. Sew in the ends.
For making the Scarf
Set-up
CO 5 sts
Set-up row Sl1p wyif, p1, k1, kfb, k1 [6 sts]
Increase section
Row 1 (RS) Sl1p wyif, kfb, k1, p1, k2 [7]
Row 2 (WS) Sl1p wyif, p1, k1, p1, k1, kfb, k1 [8]
Row 3 Sl1p wyif, kfb, k1, p1, k1, p1, k2 [9]
Row 4 Sl1p wyif, p1, k1, p1, k1, p1, k1, kfb, k1 [10]
Row 5 Sl1p wyif, kfb, *k1, p1, rep to last 2 sts, k2 [11]
Row 6 Sl1p wyif, *p1, k1, rep to last 2 sts, kfb, k1 [12]
Rows 7-20 Repeat rows 5 and 6. [26 sts]
Row 21 Repeat row 5 [27]
Row 22 Sl1p wyif, *p1, k1, rep to end.
Weigh your scarf at this point to determine the amount of yarn needed for the decrease section.
Straight section
Row 23 Sl1p wyif, *k1, p1, rep to last 2 sts, k2.
Row 24 Sl1p wyif, *p1, k1, rep to end.
Rows 25-164 Repeat rows 23 and 24. [27]
You can adjust the length of your scarf by increasing or decreasing the number of rows in the straight section. Just make sure to end with an even row.
Decrease section
Try to pull up the first stitch loosely when working the uneven rows!
Row 165 Sl1p wyif, *k1, p1, rep to last 2 sts, k2. [27]
Row 166 Sl1p wyif, *p1, k1, rep to last 4 sts, p1, k2tog, k1. [26]
Row 167 Sl1p wyif, ssk, *p1, k1, rep to last st, k1. [25]
Row 168 Sl1p wyif, *p1, k1, rep to last 4 sts, p1, k2tog, k1. [24]
Rows 169-186 Repeat rows 167 and 168. [6]
Row 187 Sl1p wyif, ssk, *p1, k1, rep to last st, k1. [5]
Loosely bind off all remaining stitches, break yarn and weave in the ends.
Optional
Use any leftover yarn to make tassels and attach them to the tips of your scarf.
Love this pattern?
Pin it for later!
Would you like to show me your creations? Please tag me on social media and use #merinoandtomatoes when sharing your hat!
Do you have a question? Don’t hesitate to contact me!
This pattern is copyright protected, read more here.
