Another week has passed by and another part of the Hygge CAL is completed. It seems that Spring has finally landed here… which is the main reason that I am giving you this update much later than I had planned!
The nice weather started last Friday. Still a bit chilly, but…
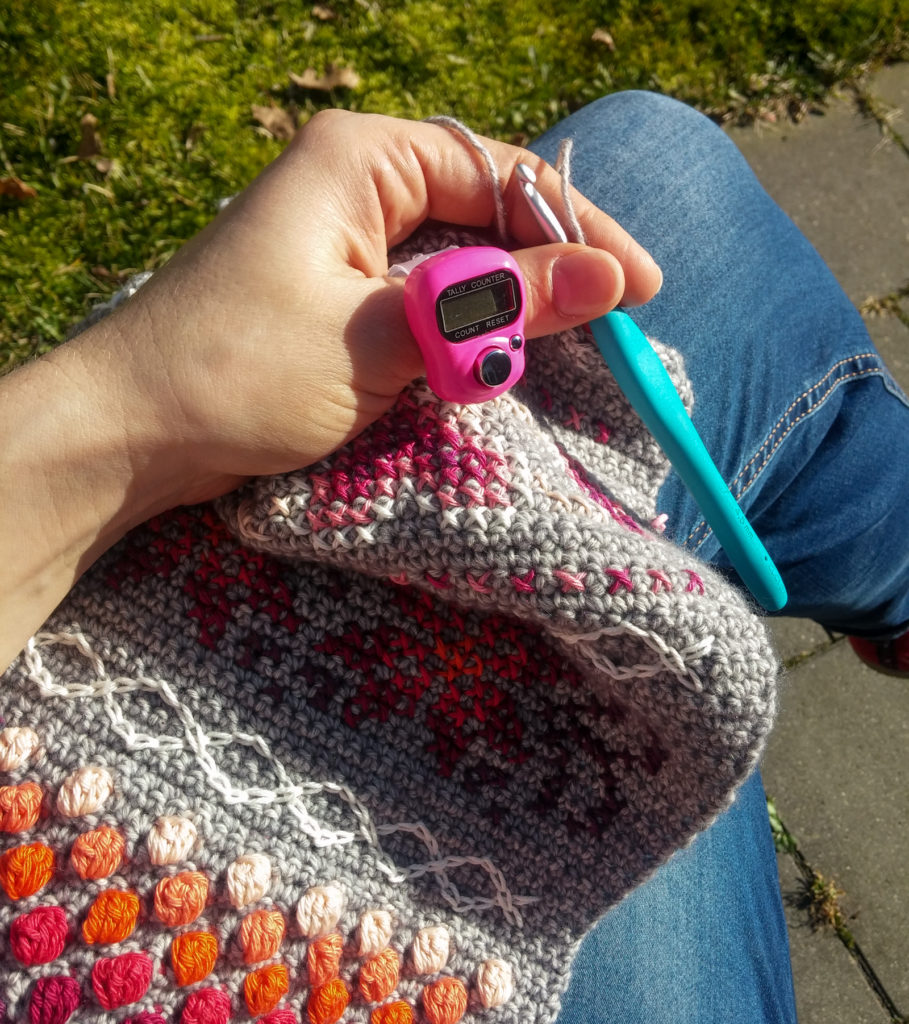
The first stitches were made outside in the SUNSHINE! Yeah!
On Saturday the nice weather continued and we decided to make the most of it by going for a long walk with our dog. We are very lucky to live near the forest, it’s less than a 10-minute walk before we are in the middle of it.
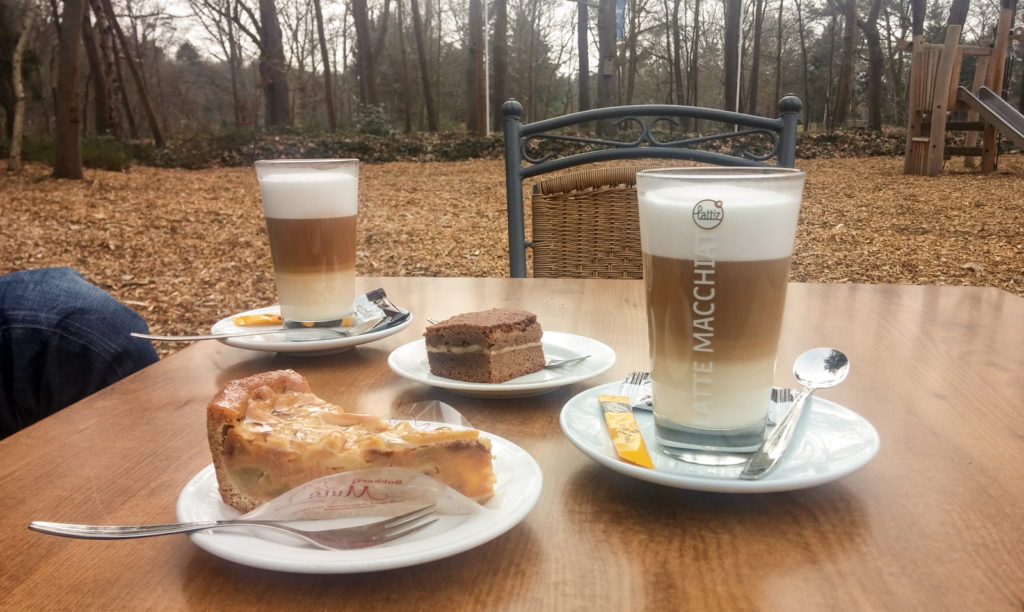
And look what we found! Yum!
Even though the weather looked really nice, we had a fairly cold wind. So a warm jacket was definitely necessary! The rest of the afternoon we enjoyed the lovely weather behind the glass (read: indoors). Perfect conditions to work on the Hygge CAL.
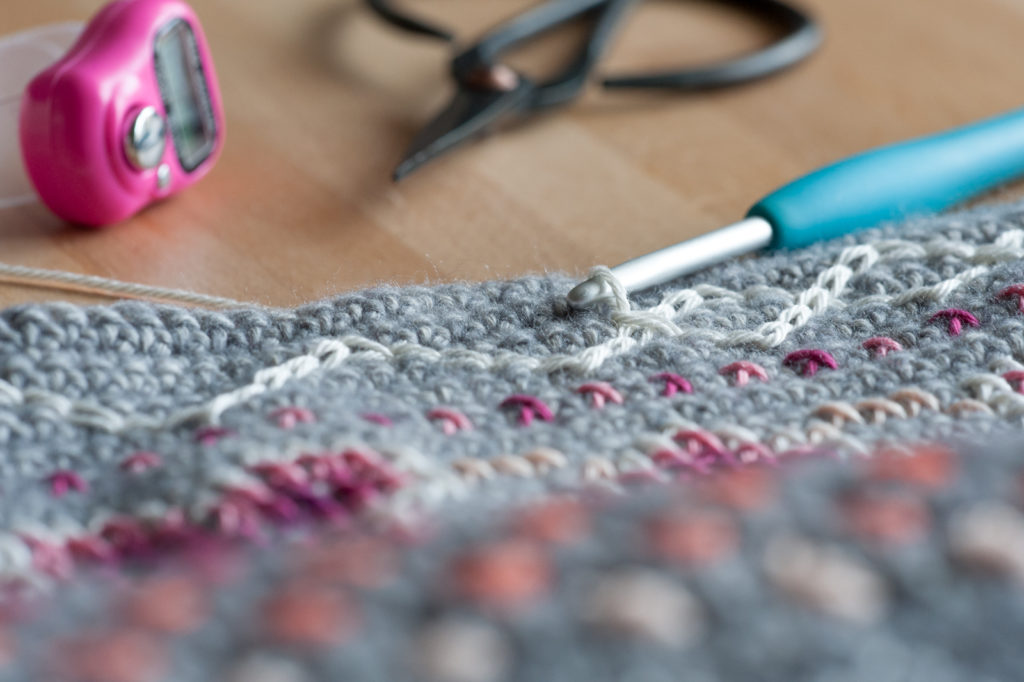
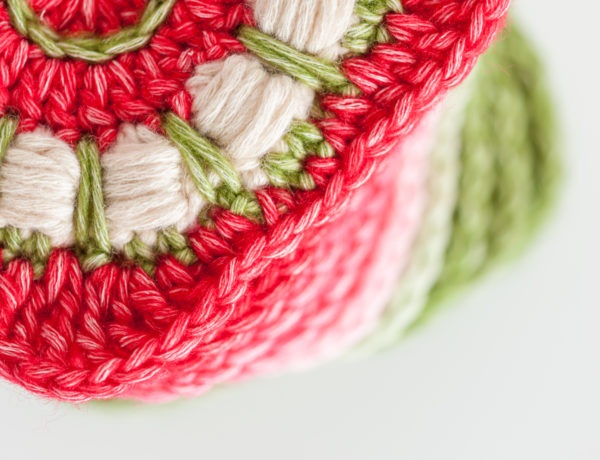
This fourth part is structured in the same way as the previous two parts: you crochet a certain amount of rows of the base, put on the separator and stitch the motifs. This time, however, I used a different approach. Instead of doing all the crochet rows at once I only did the rows necessary to make the separator and then I continued to crochet the remaining number of rows needed.
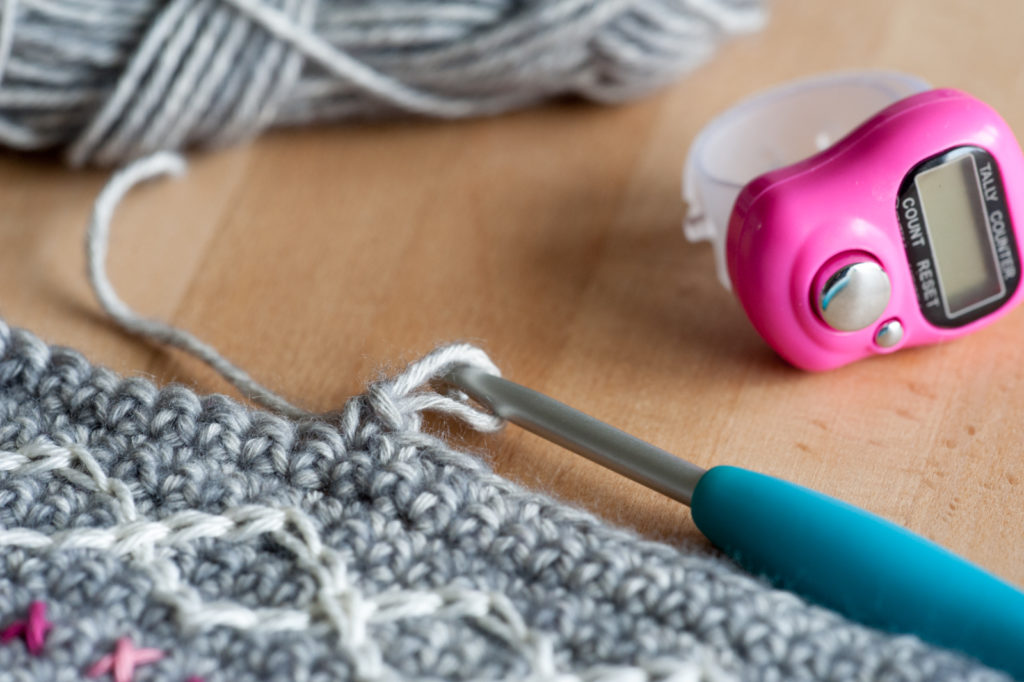
It made it a lot easier to add the separator this way because you don’t have a large piece of base sitting in the way. Why didn’t I think of it earlier…!
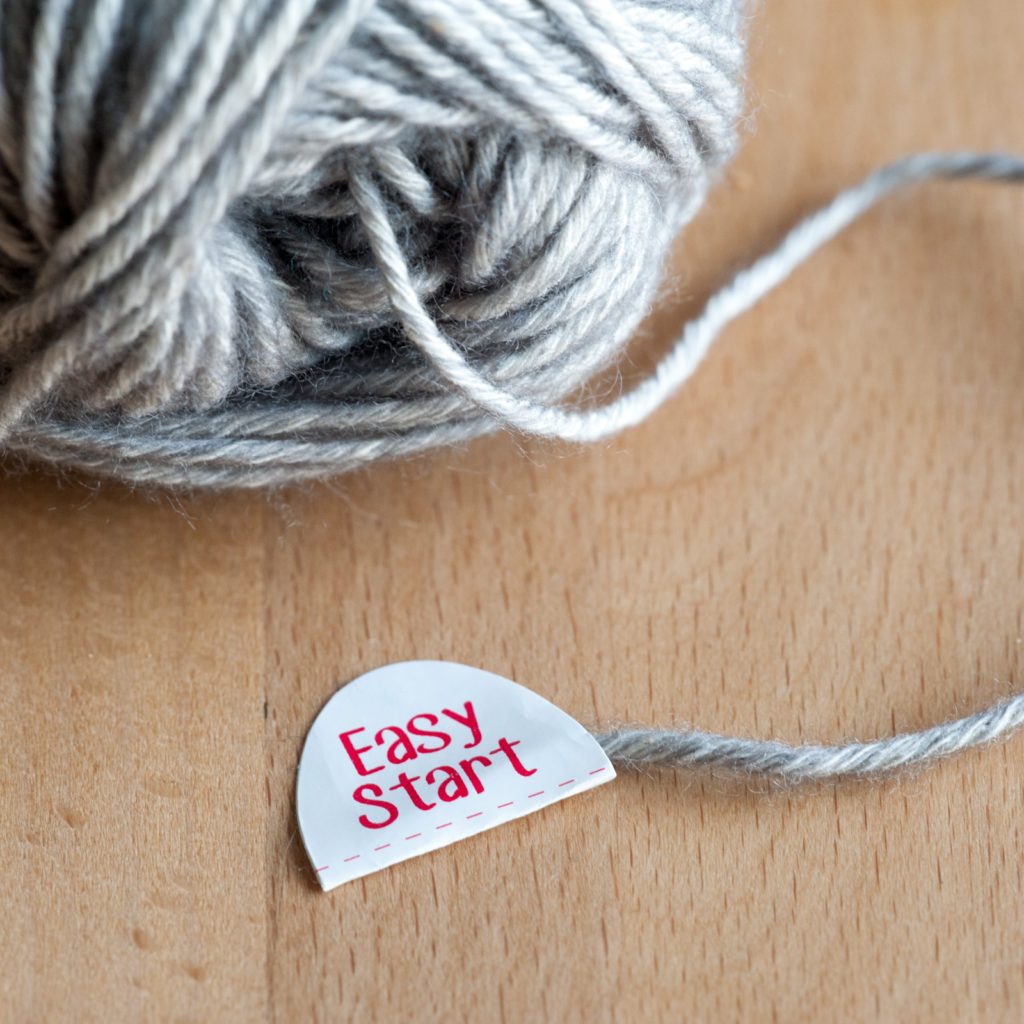
Talking about crocheting the base, there is a critical note I have to make here… The soft and squishy Stonewashed yarn balls come with a handy dandy ‘Easy Start’ tab that allows you to (apparently) start the ball from the inside. Brilliant idea. If it would work with this yarn. After three attempts I gave up. The thing is that this yarn has a certain amount of acrylic fibres in it. That makes it squishy, but it also makes that the thread easily forms knots when pulled out. Every time I pulled the ‘Easy Start’ tab, I’ve had half the ball of yarn coming out! That’s not really the point of the whole thing. So from now on, I’m totally ignoring the tab on this yarn.
Should we have a look at this week’s beautiful colours first?
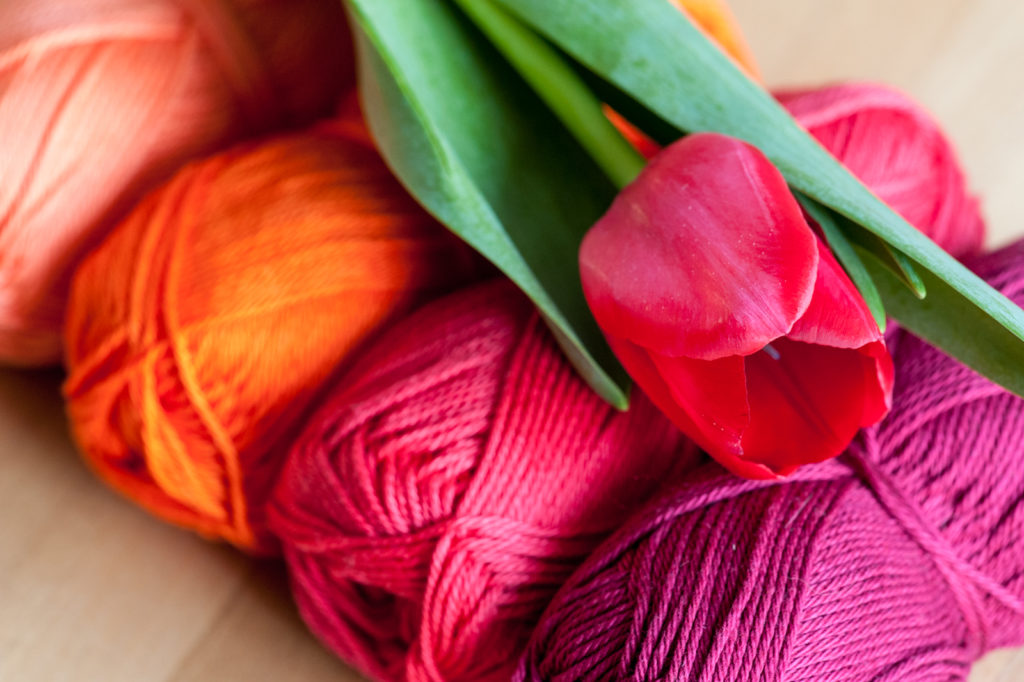
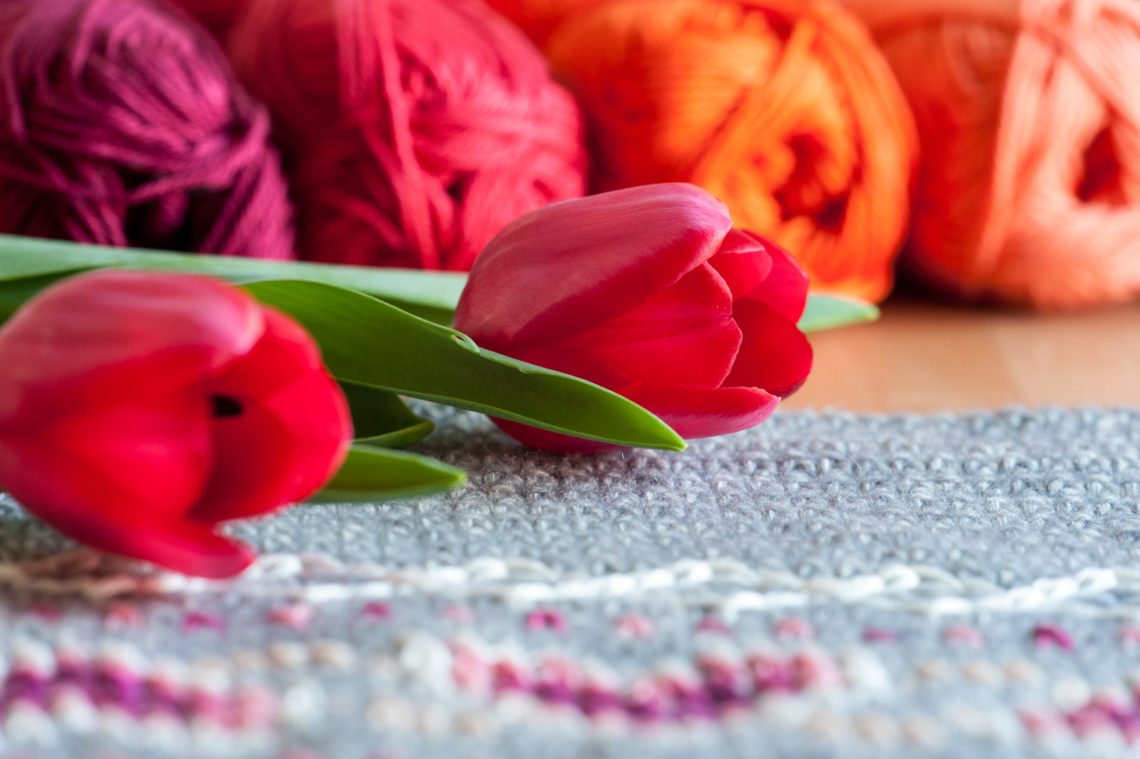
From left to right: Rich Coral, Royal Orange, Candy Apple and Ruby. These are the four colours that I’m using for part four. Again I am really pleased with the combination. They work together so well! And they are such a lovely match with this week’s kitchen table flowers! Tulips for a change… love them! The Candy Apple could have been named Tulip Red as well.
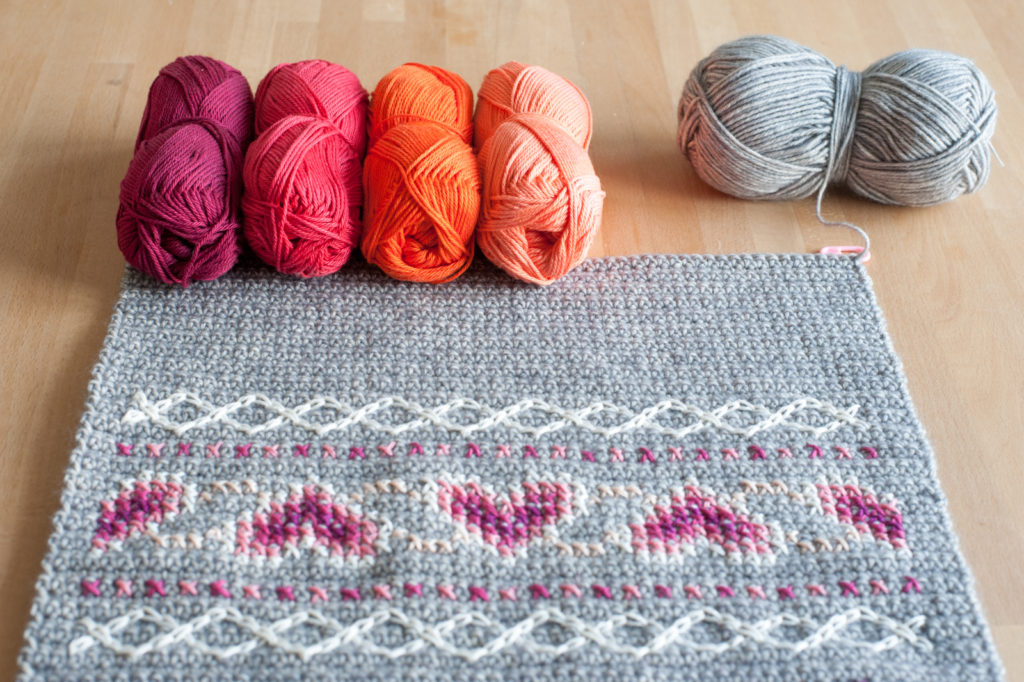
So, I’m all set now for the embroidery part.
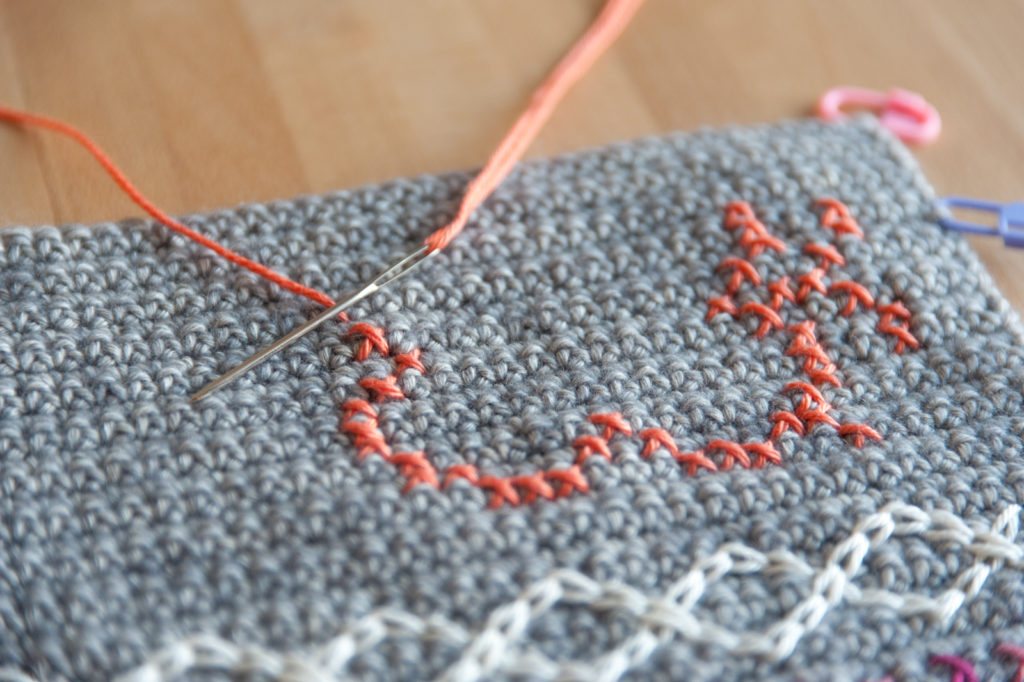
I’m starting with the outline of this week’s flower in Rich Coral…
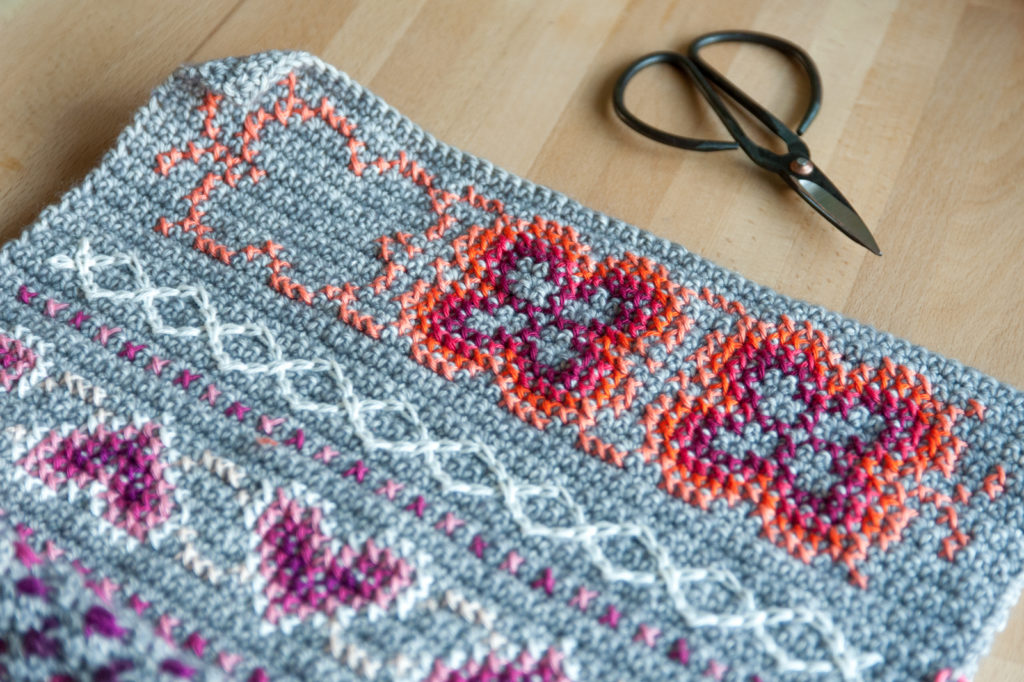
Then filling it in with Royal Orange, Candy Apple and Ruby…
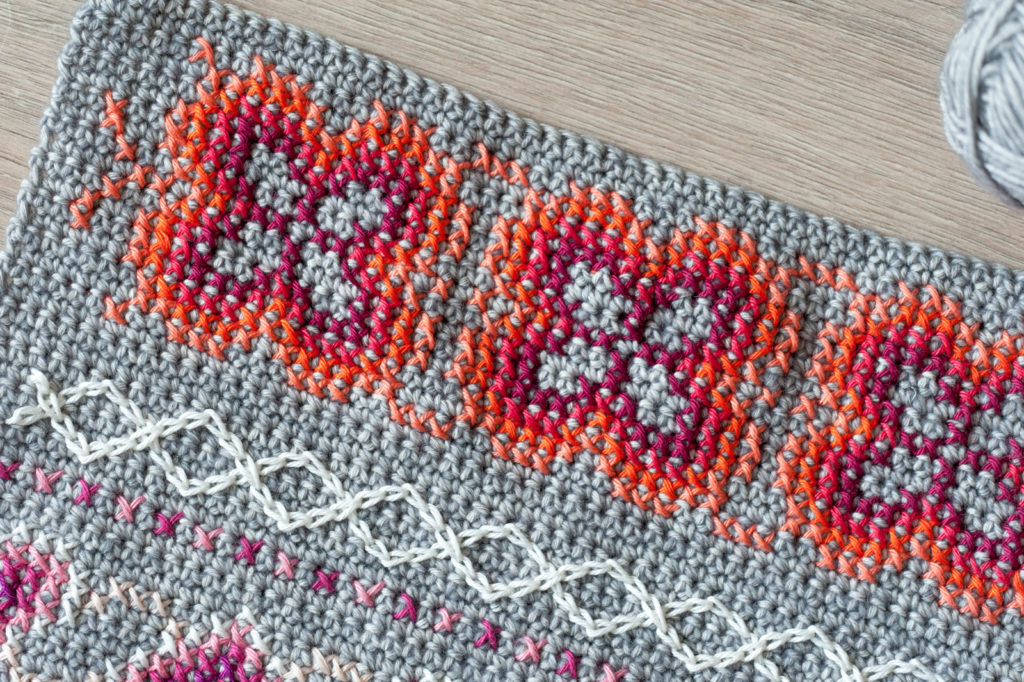
And that’s what it looks like when it’s all done!
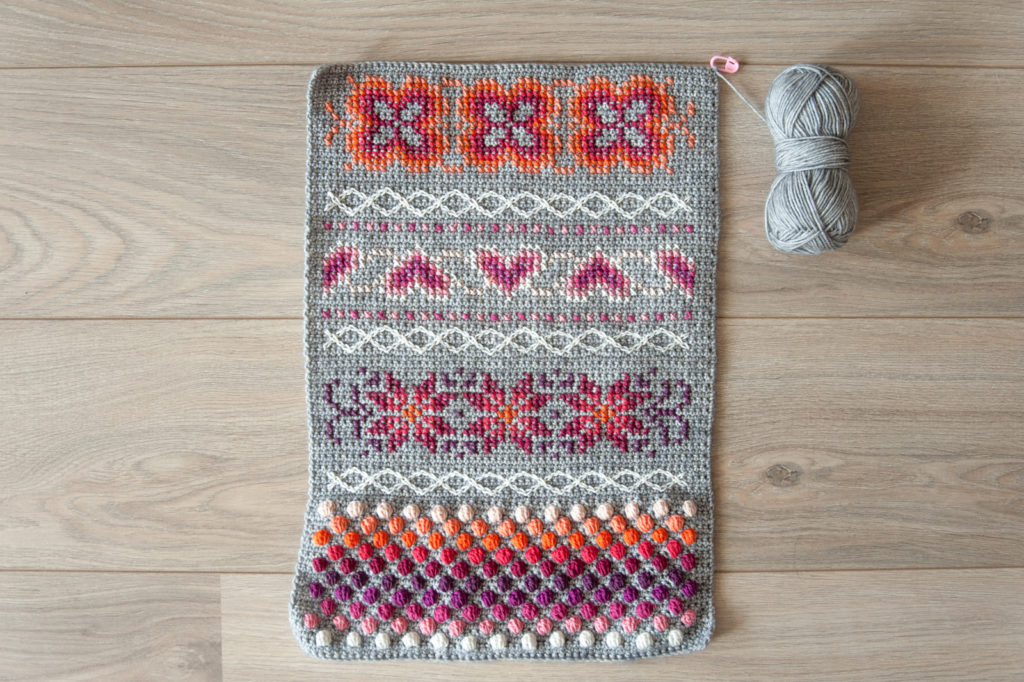
I am so happy with how the entire piece is looking so far! It’s always a bit of a surprise whether a custom colour selection (and its order) are working for a pattern or not. So far it is turning out great. I didn’t have to switch any colours, I could stick to the colour sequence I made beforehand.
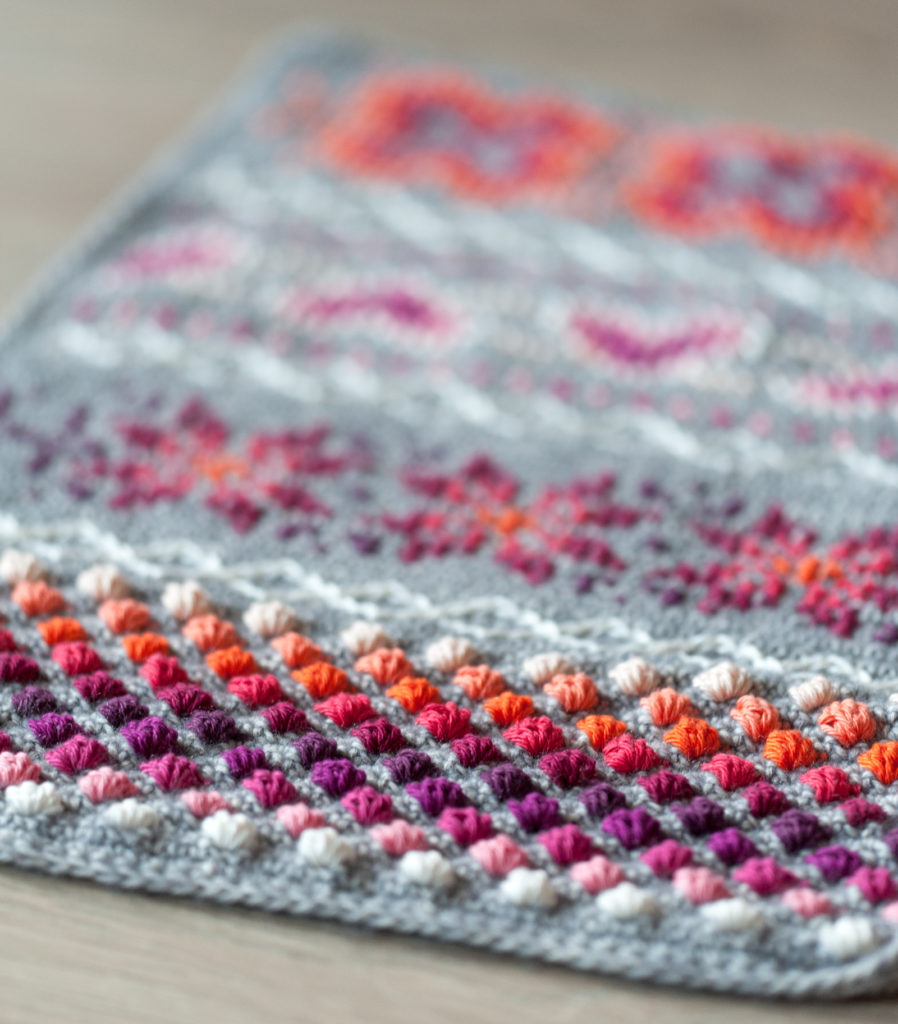
Here’s a little overview of the embroidery parts so far:

So… onto next week! It is going to be a slightly less interesting part as we are going to prepare the base for a larger part of stitching (I’ve peeked into the pattern of part five). Which means that I will ‘only’ be making a separator and a lot of rows of single crochet… I’ll probably combine the next two parts for a blog update meaning that the next update will take a little longer…
You’ll find all the details on this CAL in my first update!


4 Comments
Marja
16th March 2017 at 17:58Prachtige kleuren, mooie foto’s.
Om vrolijk van te worden.
Marja
Judith
16th March 2017 at 18:01Dankjewel Marja! Leuk om te horen!
esther vogelaar
16th March 2017 at 21:09wat een mooi project is het toch! en de kleuren spatten gewoon van het scherm af: zo mooi! groetjes esther
Judith
16th March 2017 at 21:47Dankjewel Esther, lief!