
Let’s go back in time. Let’s go back about a year, actually. Let’s go back to the making of a chunky throw.
Last year in August, Maaike (the designer behind creJJtion) launched a crochet pattern for a chunky blanket. She called it ‘Pebble Stone Throw’ (it’s available on Ravelry and Etsy). I have been making some of her patterns, like the Apple Picking Shawl.
I was hooked as soon as I saw the pattern. Let me take you through the process of making a chunky throw!
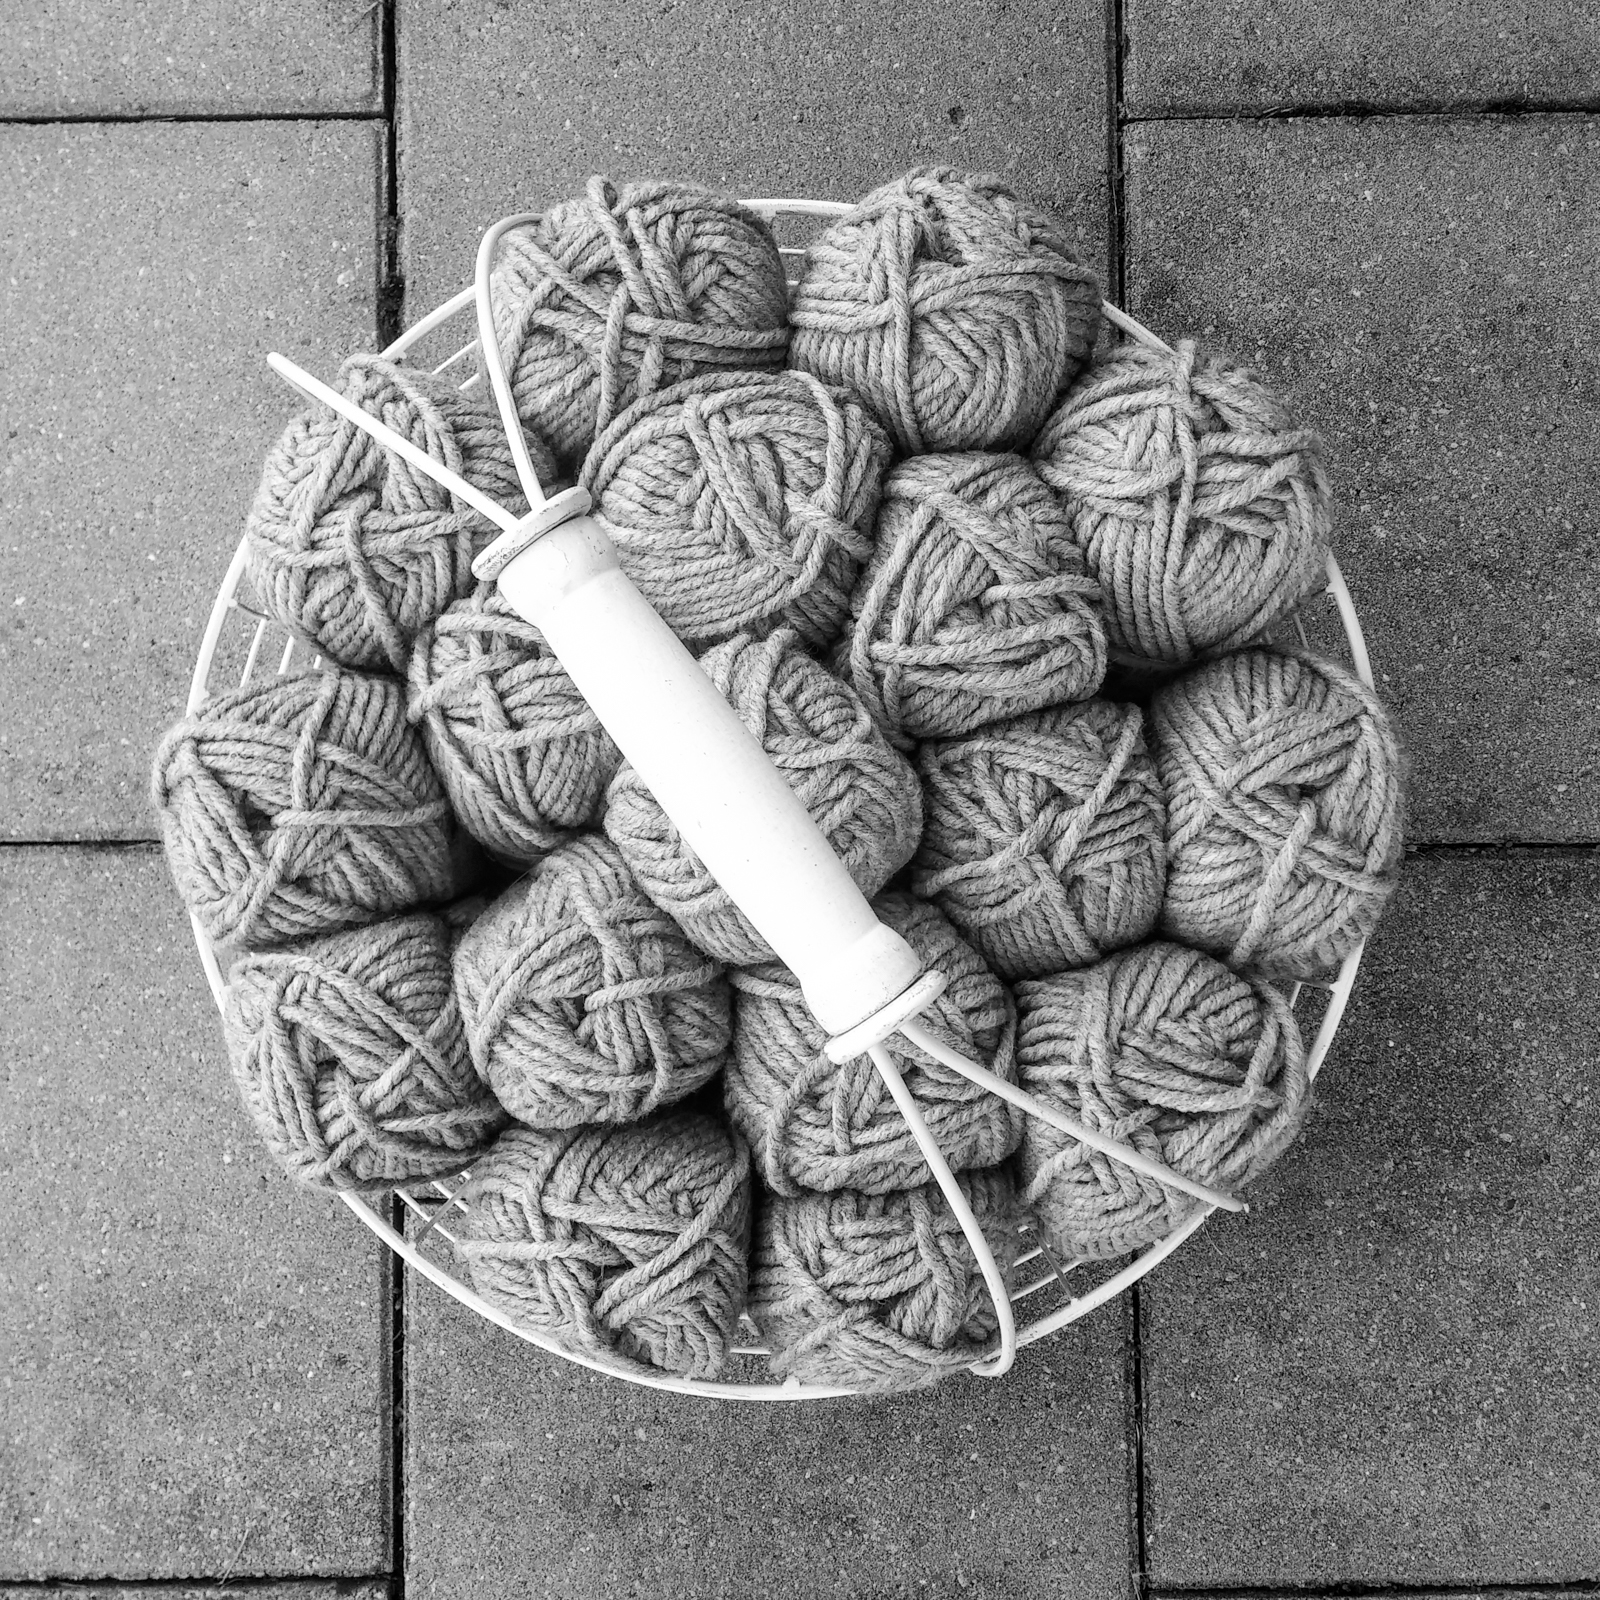
It all starts with yarn (after getting the pattern, of course). I knew I wanted to make a medium grey throw. That sounds a little dull, but it simply matches our interior. The yarn used in the pattern, unfortunately, was not available in a nice shade of grey, so I had to do a bit of yarn research to find a suitable alternative. I compared weights and yardages of a lot of different yarns and finally, I settled for Katia Canada.
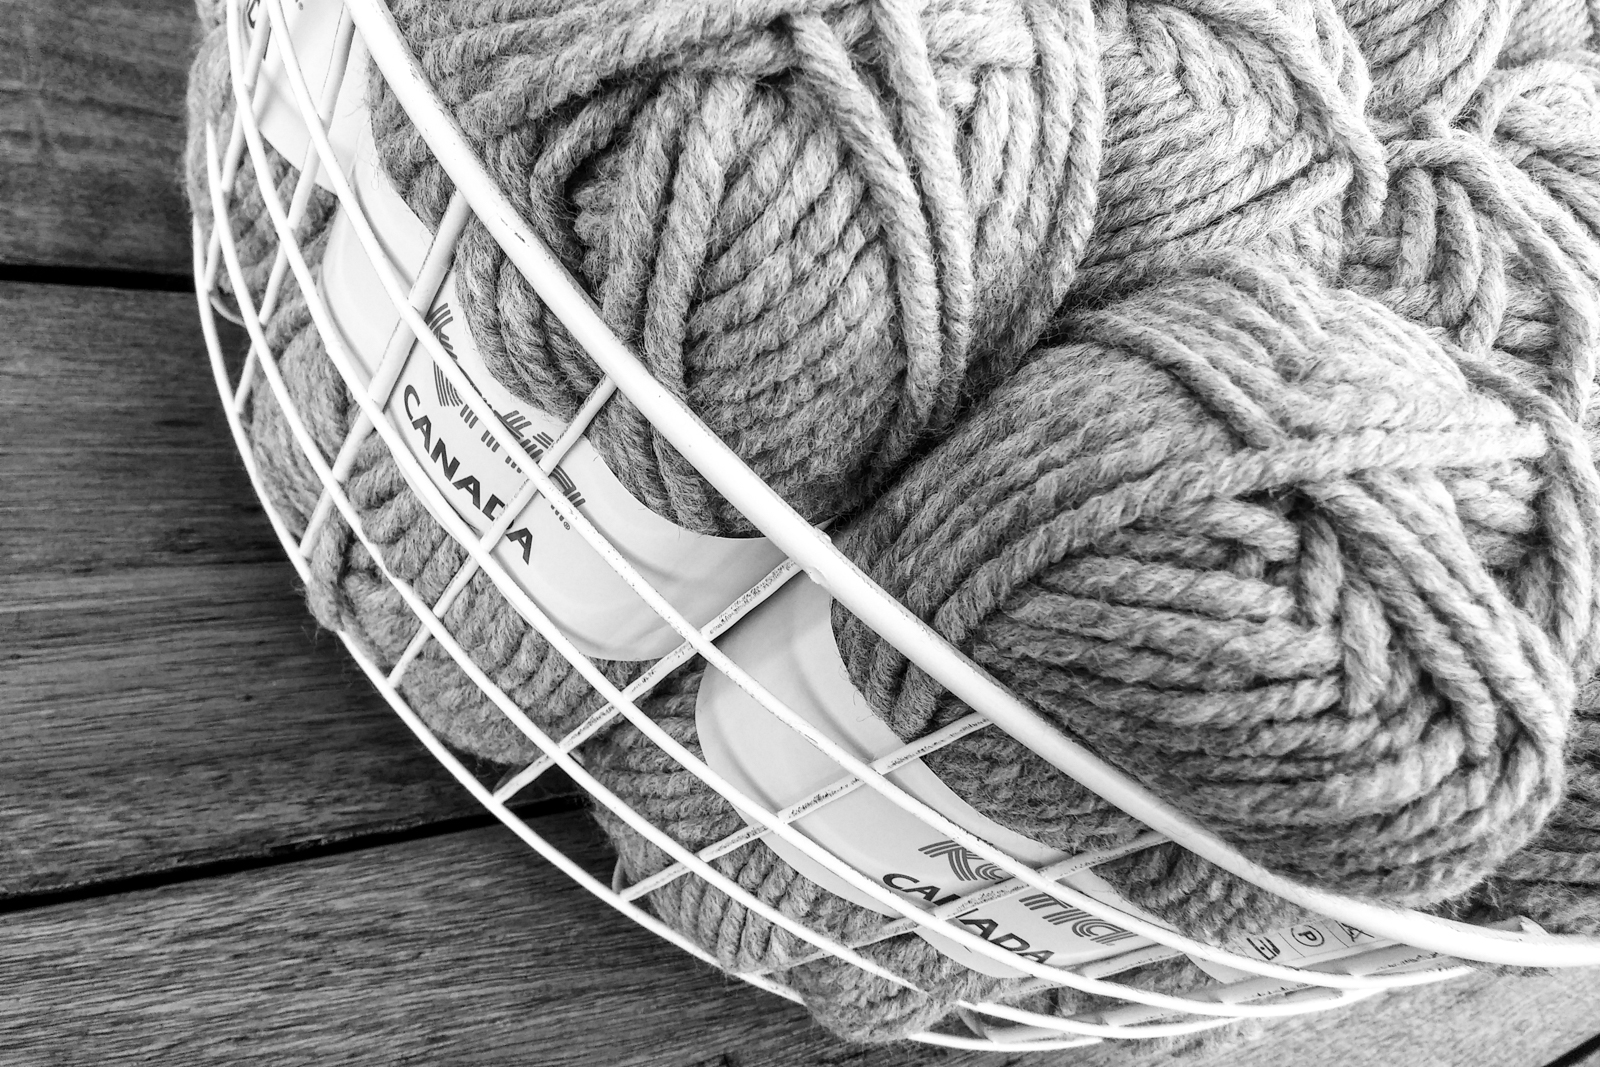
Like the yarn in the pattern, this one is a 100% acrylic yarn with a nice twisted thread. That gives a bit of extra texture. The yarn being all acrylic means that the finished blanket will not become too heavy (as can happen with cotton or wool).
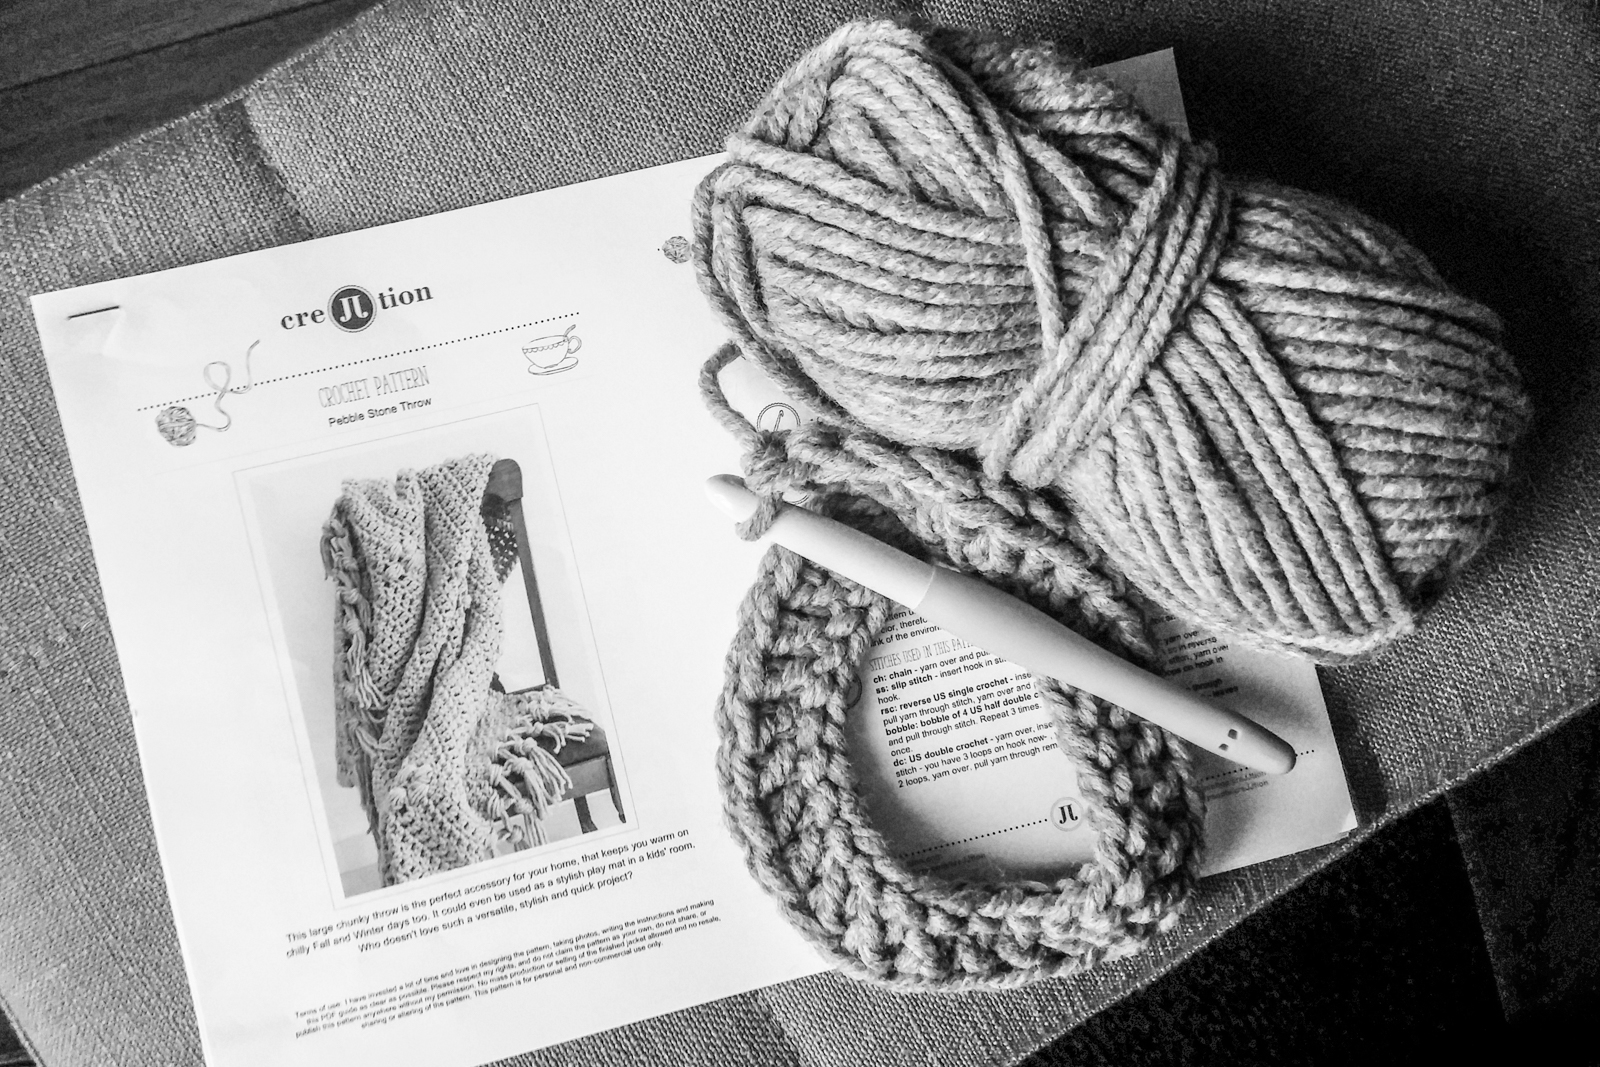
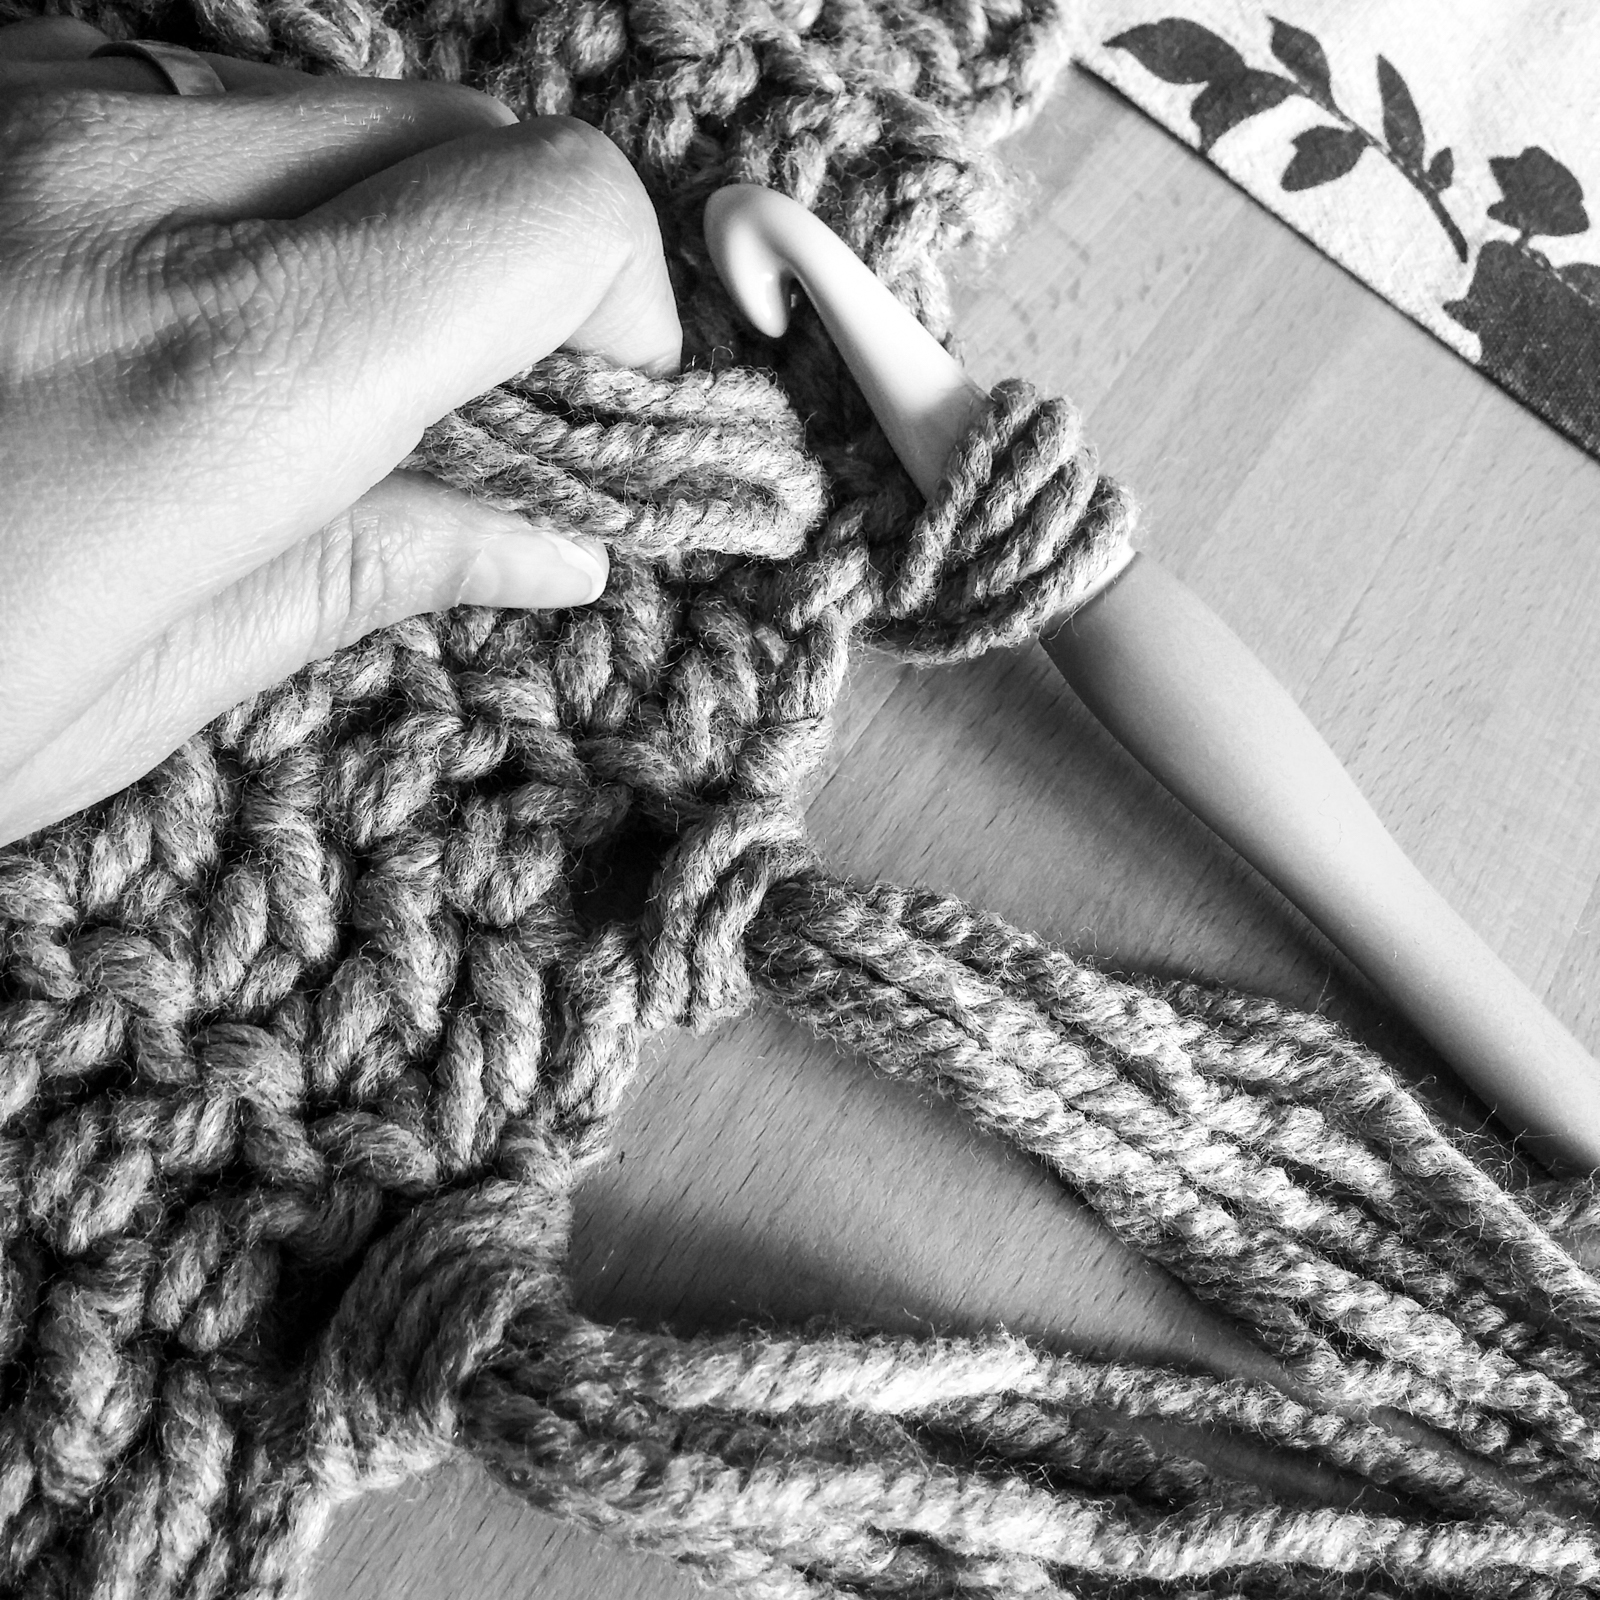
And off we go… I have done a foundation double crochet instead of making a chain. I find that especially helpful with these kinds of large projects because it is much easier to count your stitches and you can adapt the width just by adding or removing a few stitches. You don’t have to start all over and re-do the chain base. Extra bonus: it is more stretchy than a chain base.

After adding the second row of stitches I measured to make sure the size is OK.

The pattern is so quick (once you get where to insert your hook around the bobbles). It turned out to be the perfect project to work on in front of the TV in the evening. Although that also causes mistakes to happen… Can you spot the missed stitch?
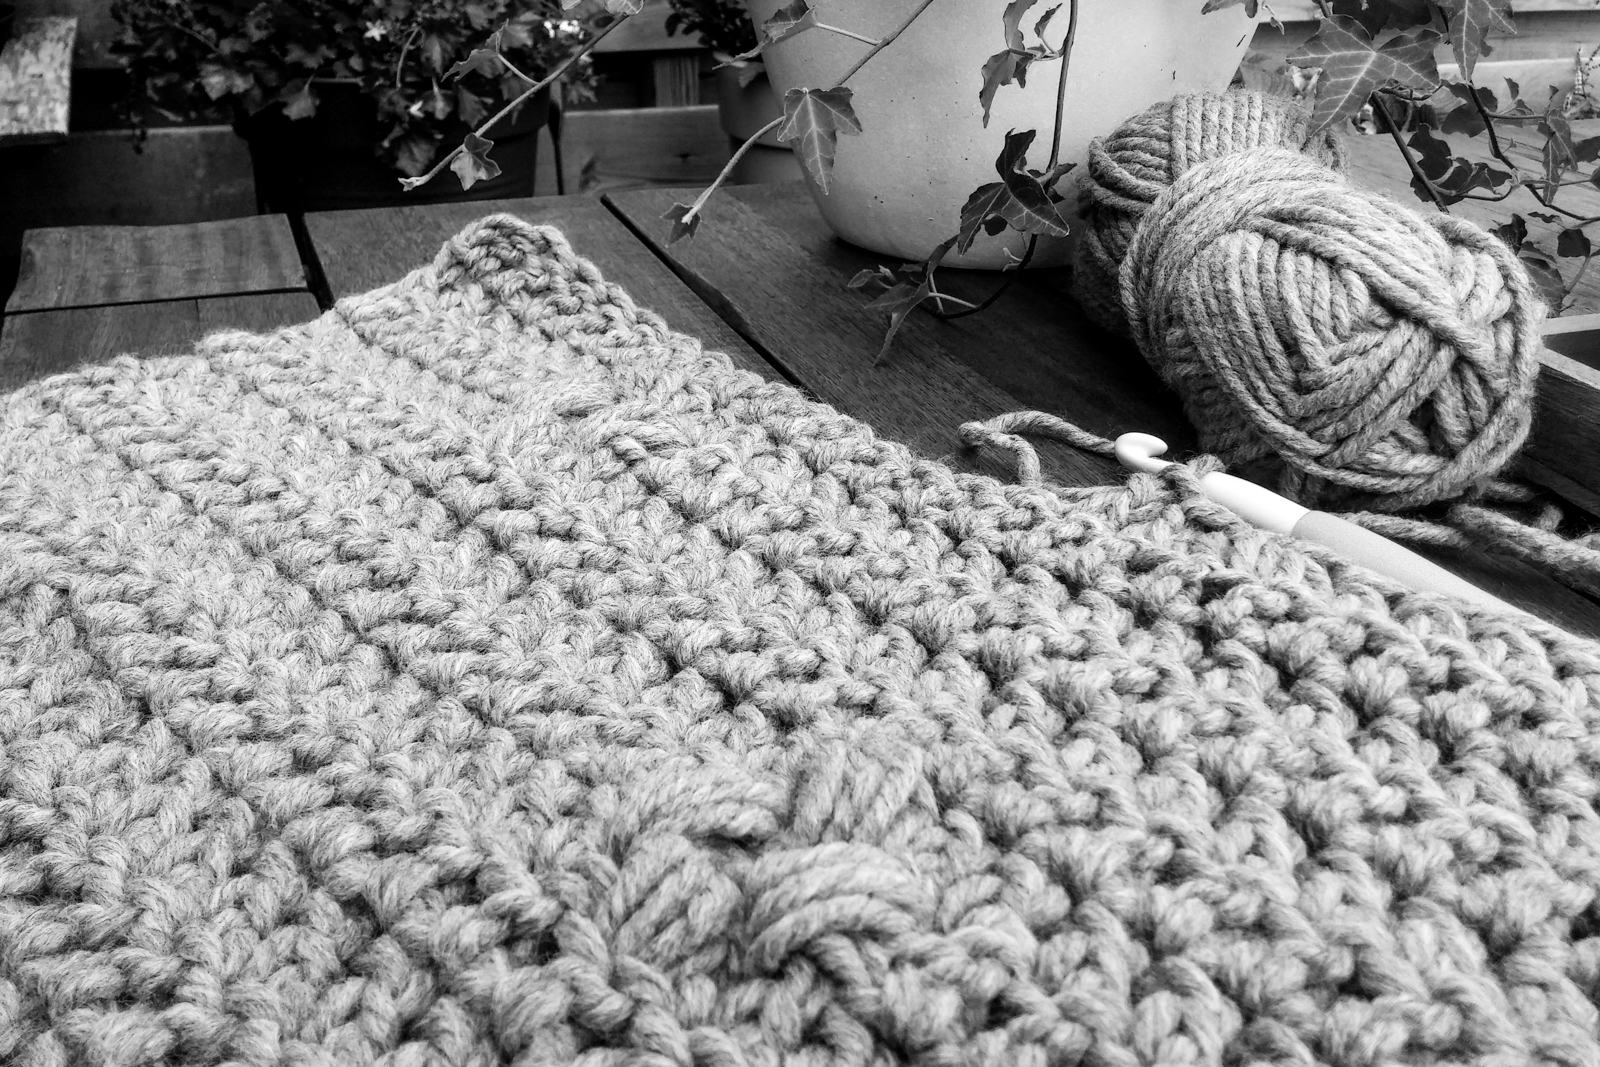
And I guess we had some very lovely weather as well during that time because I took a lot of progress photos outside on the garden table. Like this one. The throw is coming along nicely here, almost finished actually!
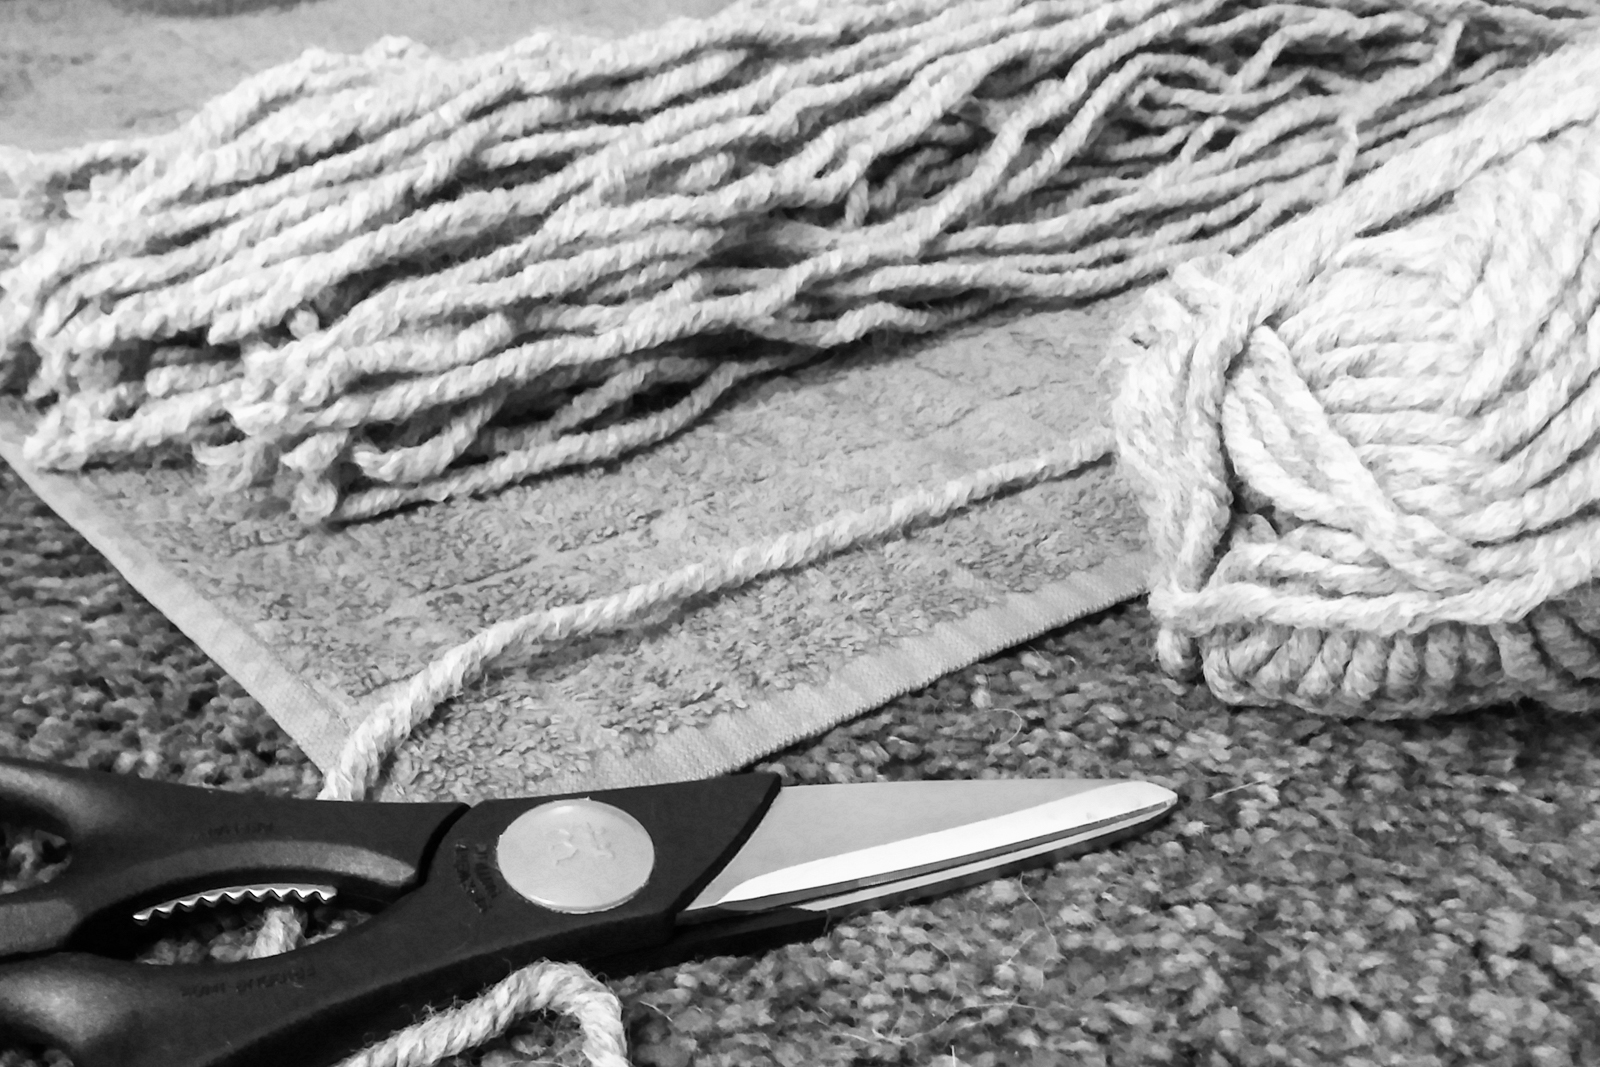
On two sides, tassels are attached to the throw. A lot of yarn pieces needed to be cut.
And then put on, of course.
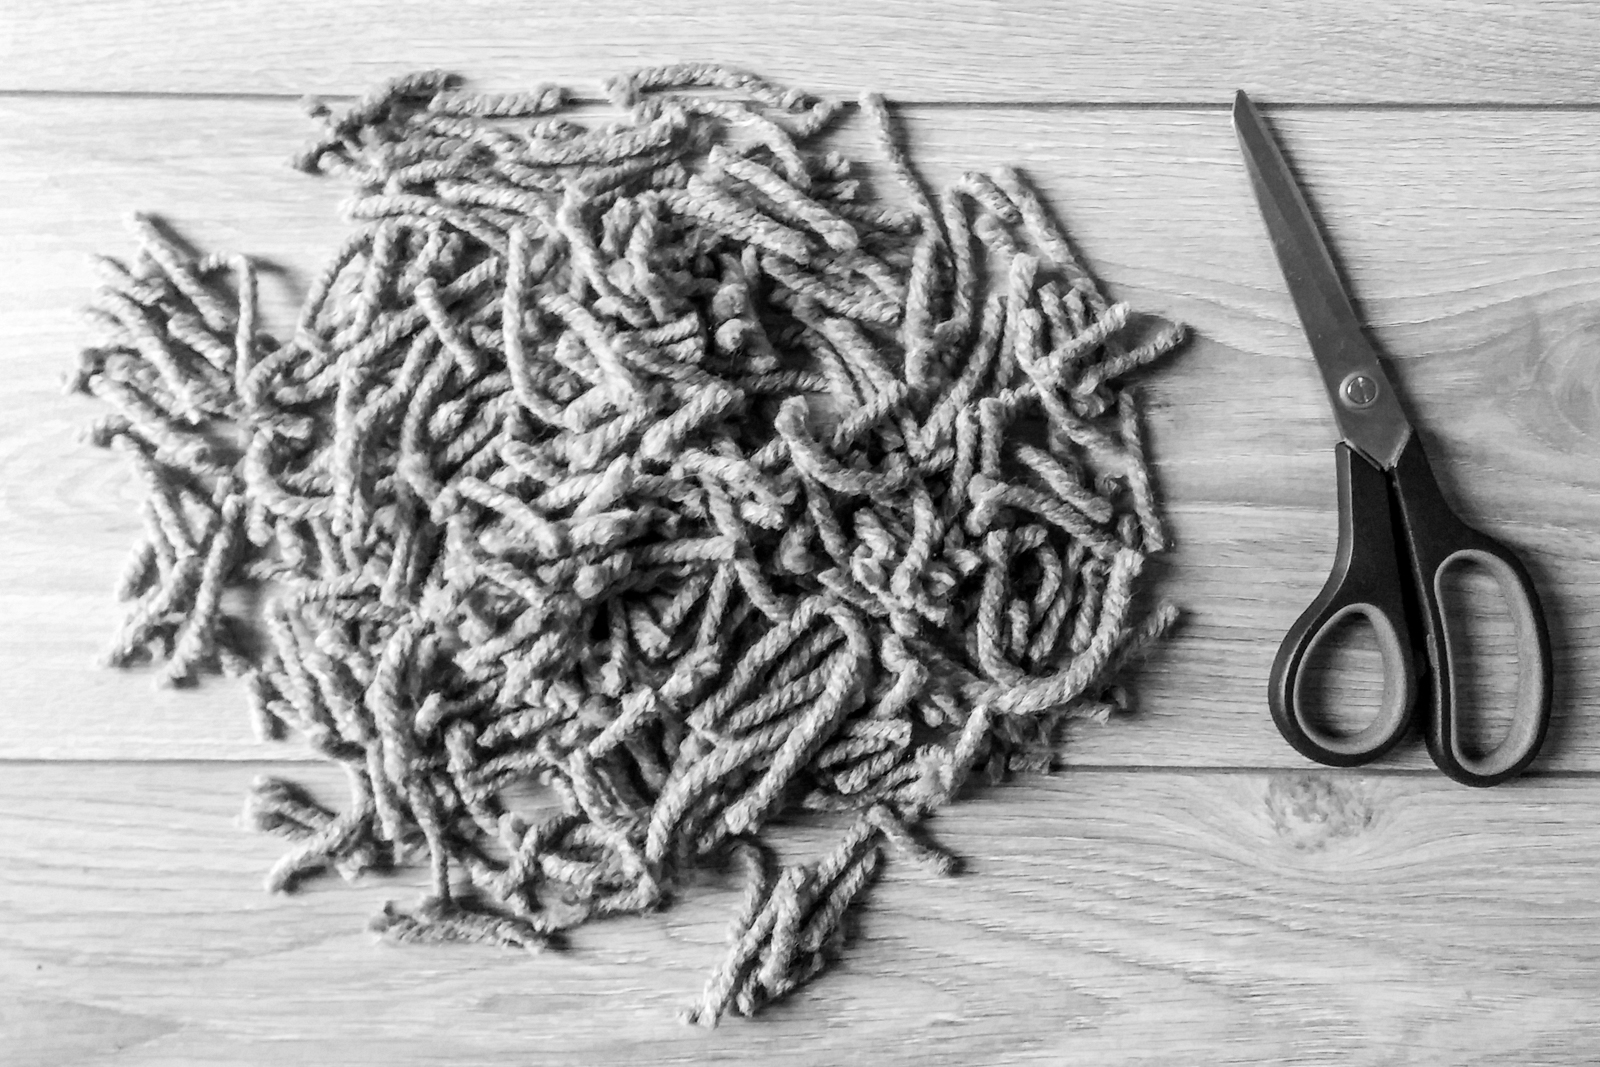
Finally, the tassels are all cut to the same length resulting in a little pile of yarn ends.
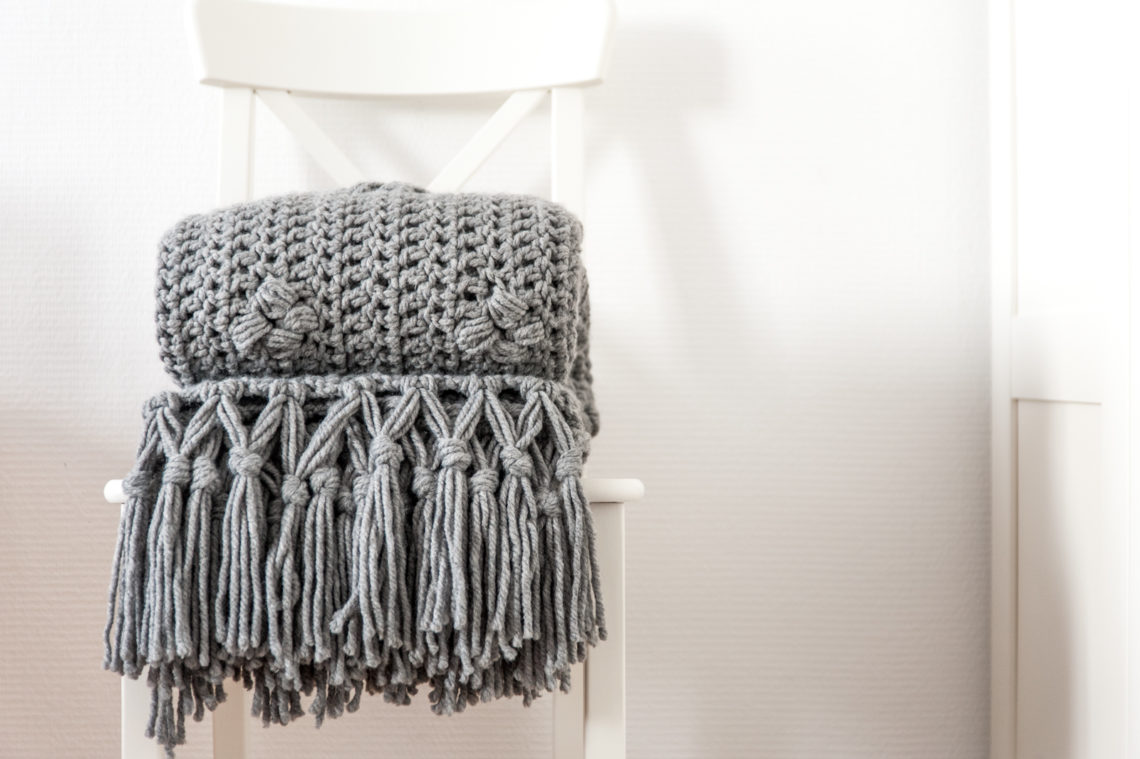
Are you ready? Here it is… Ta-dah: a chunky throw!

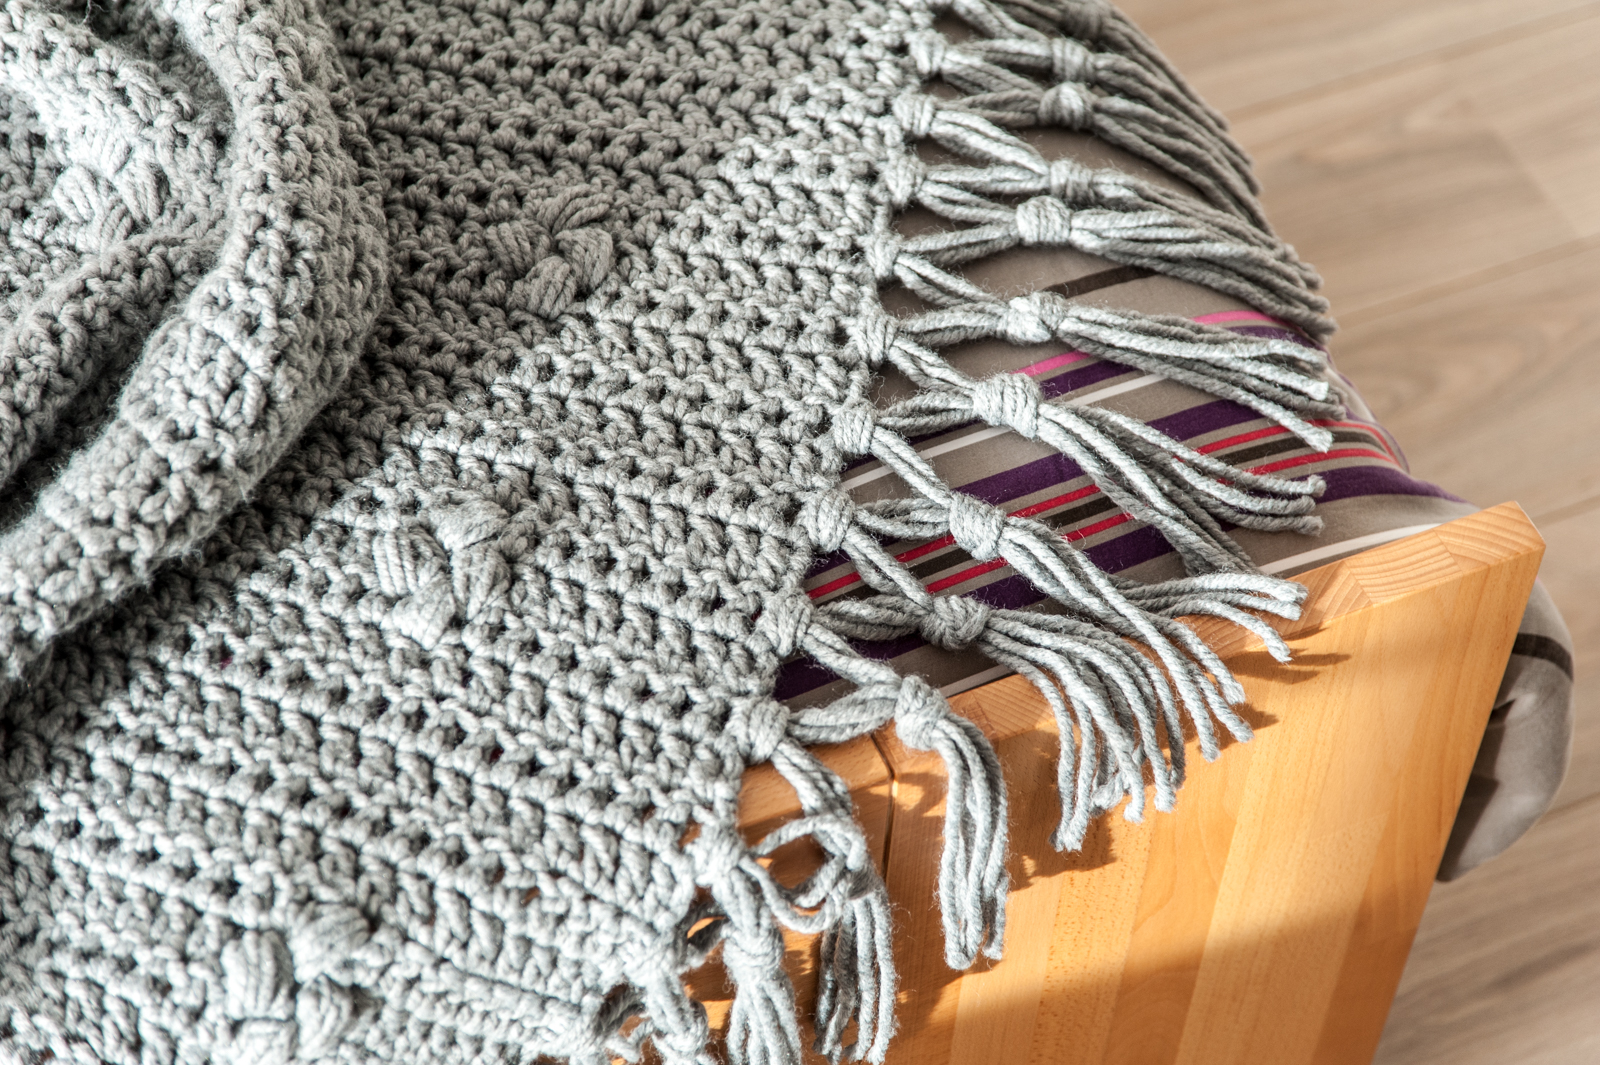
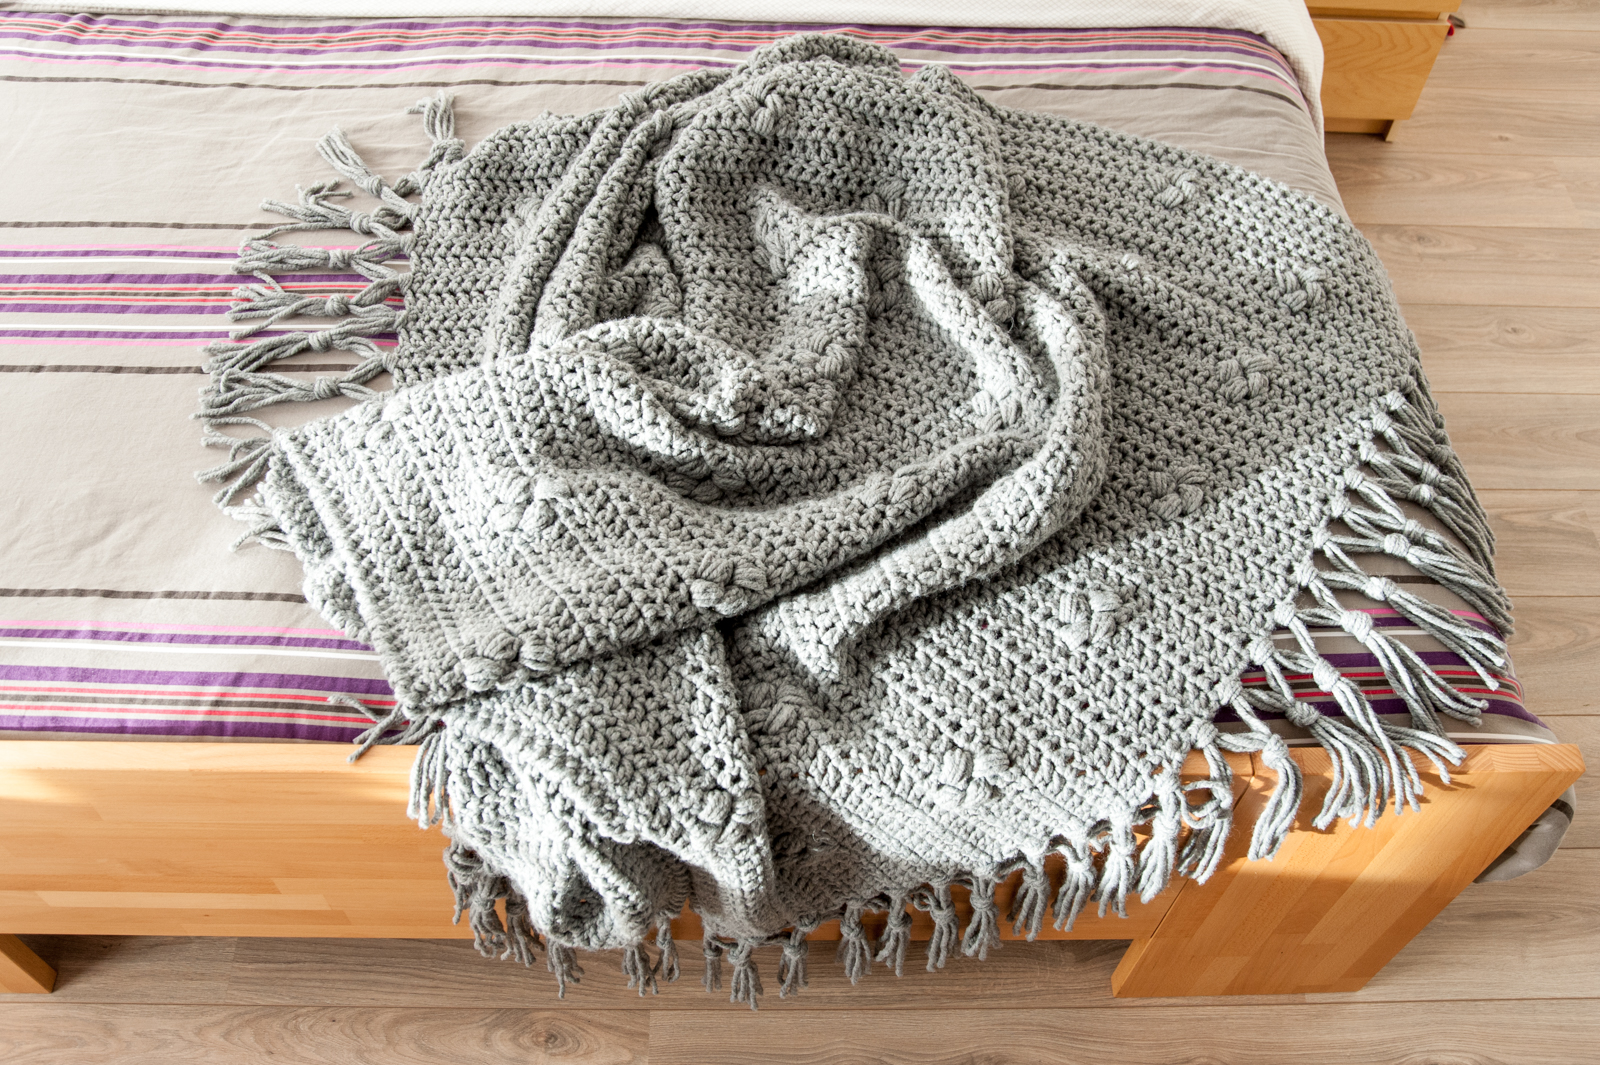
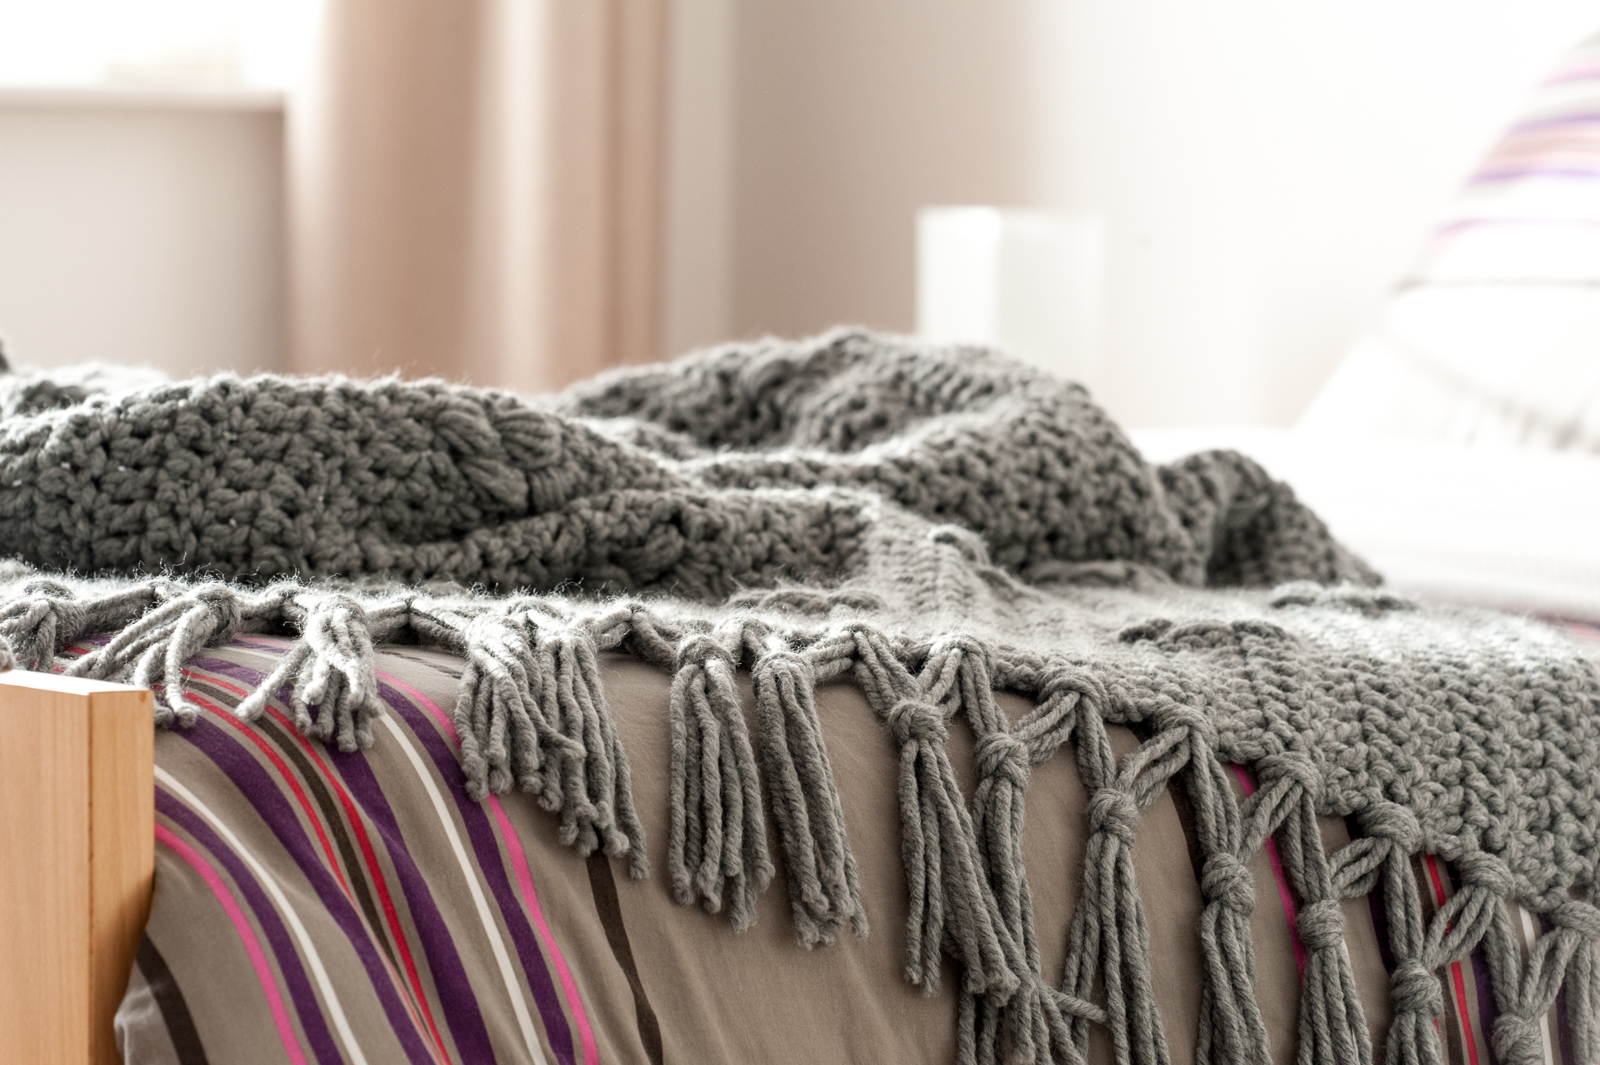
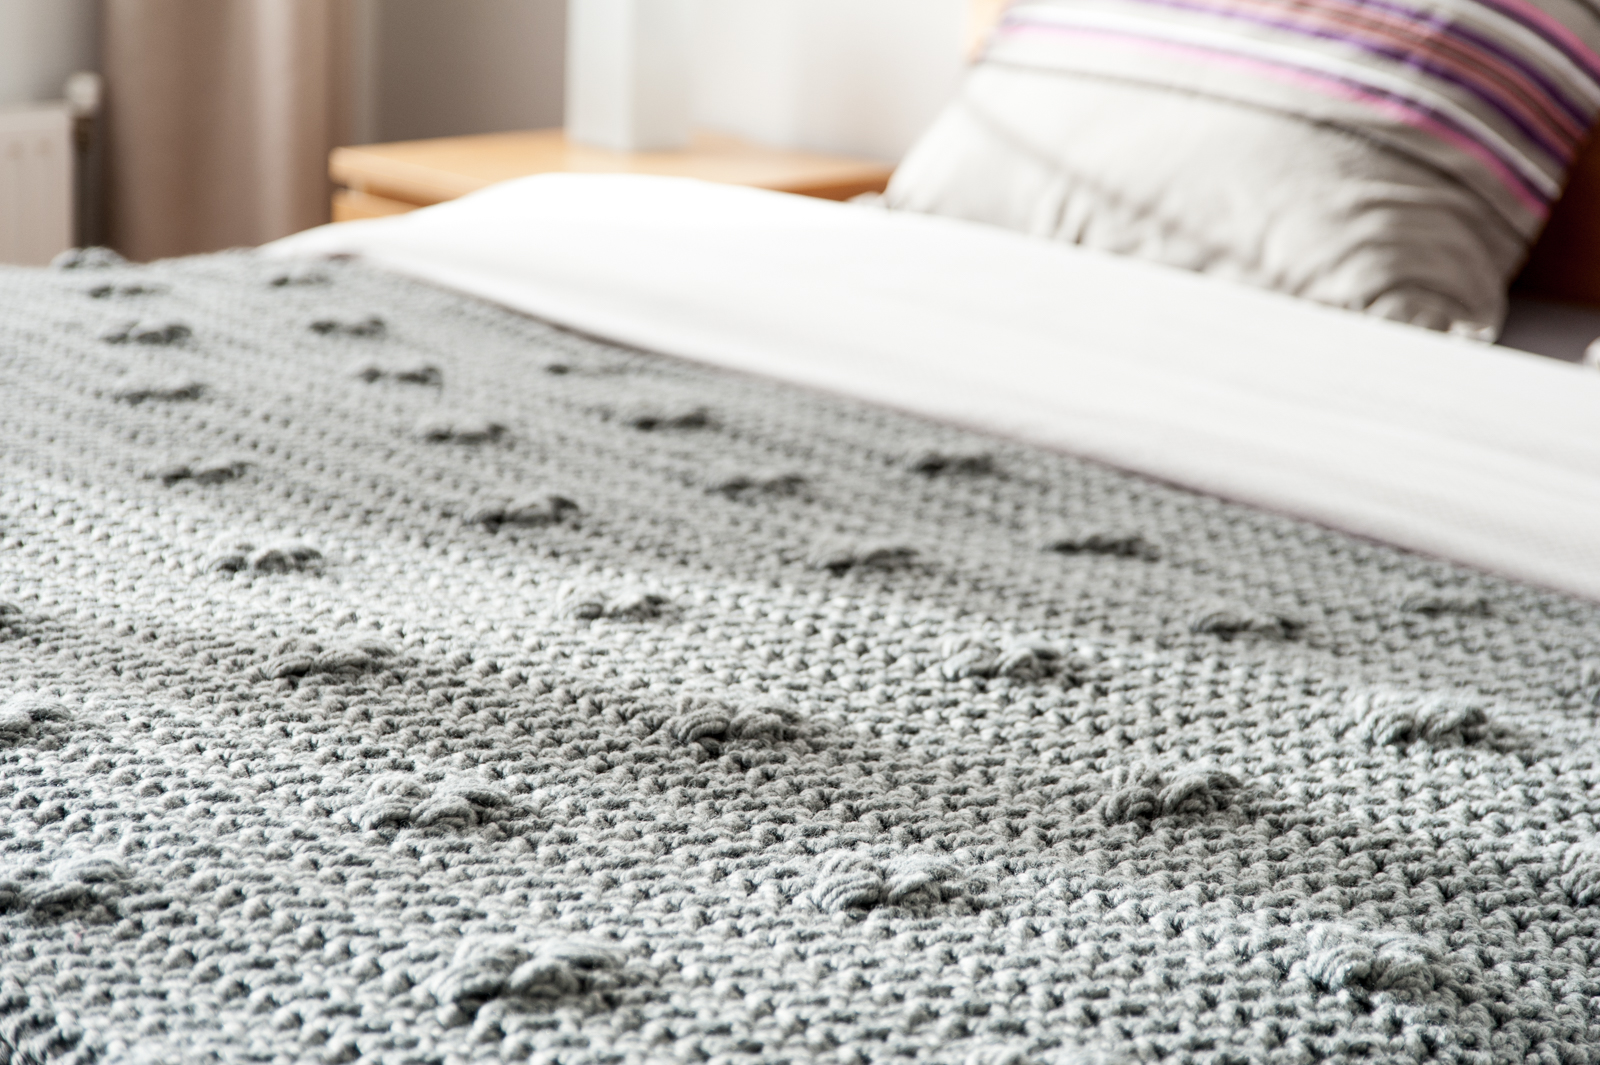
Look at that texture… I love it! We are currently using it on our bed to warm our feet now that it is getting colder during the night. It fits our bed perfectly.
This is the fastest blanket that I made, one of the fastest projects ever at all if I’m honest. I am still planning to make a matching cushion since I have a bit of yarn left (I ordered extra but did not need it in the end). Have to start that soon… (but the list is still so long…).
All details can be found on the project page over on Ravelry!


No Comments