
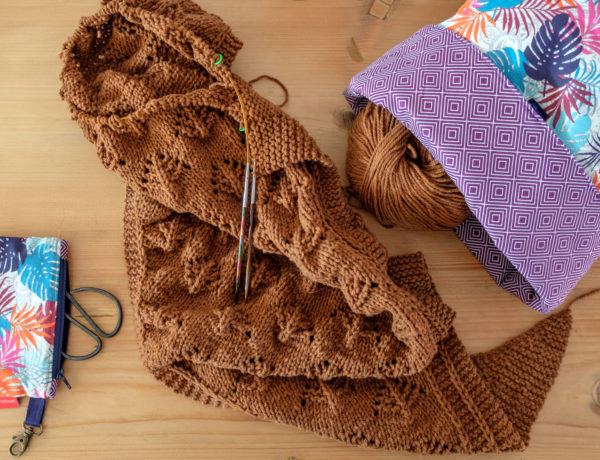
A girl never has enough bags, right? To be honest, I am not really a handbag lady… I’d rather put everything I need in the pockets of my jacket or coat. But when it comes to project bags, then yes: you’ll never have enough of them. Since knitting and crochet really are not an option yet because of my elbow, I decided to start another sewing project and I made myself a new project bag.
Project bags or pouches are the perfect companions to hold your knitting or crochet work-in-progress and they make it easy to take you on-going project along with you. And, as a bonus, they are fun to make! You can find a lot of tutorials on the Internet for sewing a simple bag. When making my first project bags, the very clear and detailed tutorial by Sam of Betsy Makes helped me a lot. After some practice, I’ve started to make some variations on this basic model by changing the size of the bag or by using a drawstring to close the bag instead of a zipper.
Patchwork in my bag
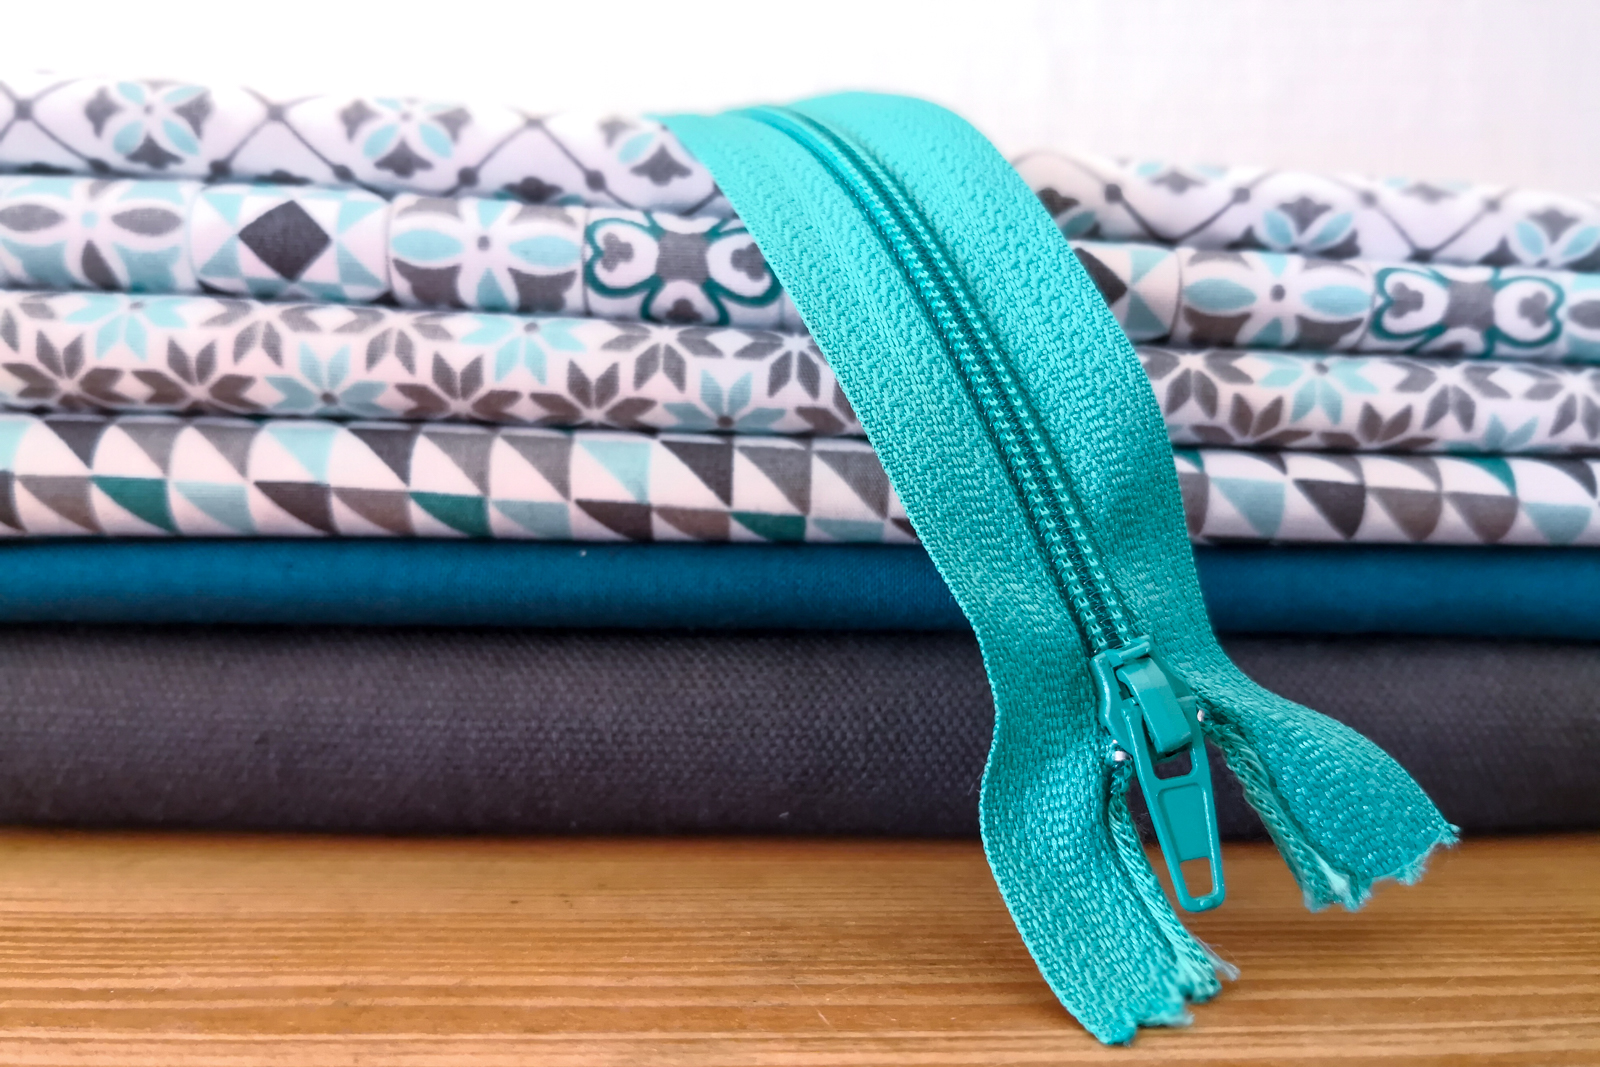
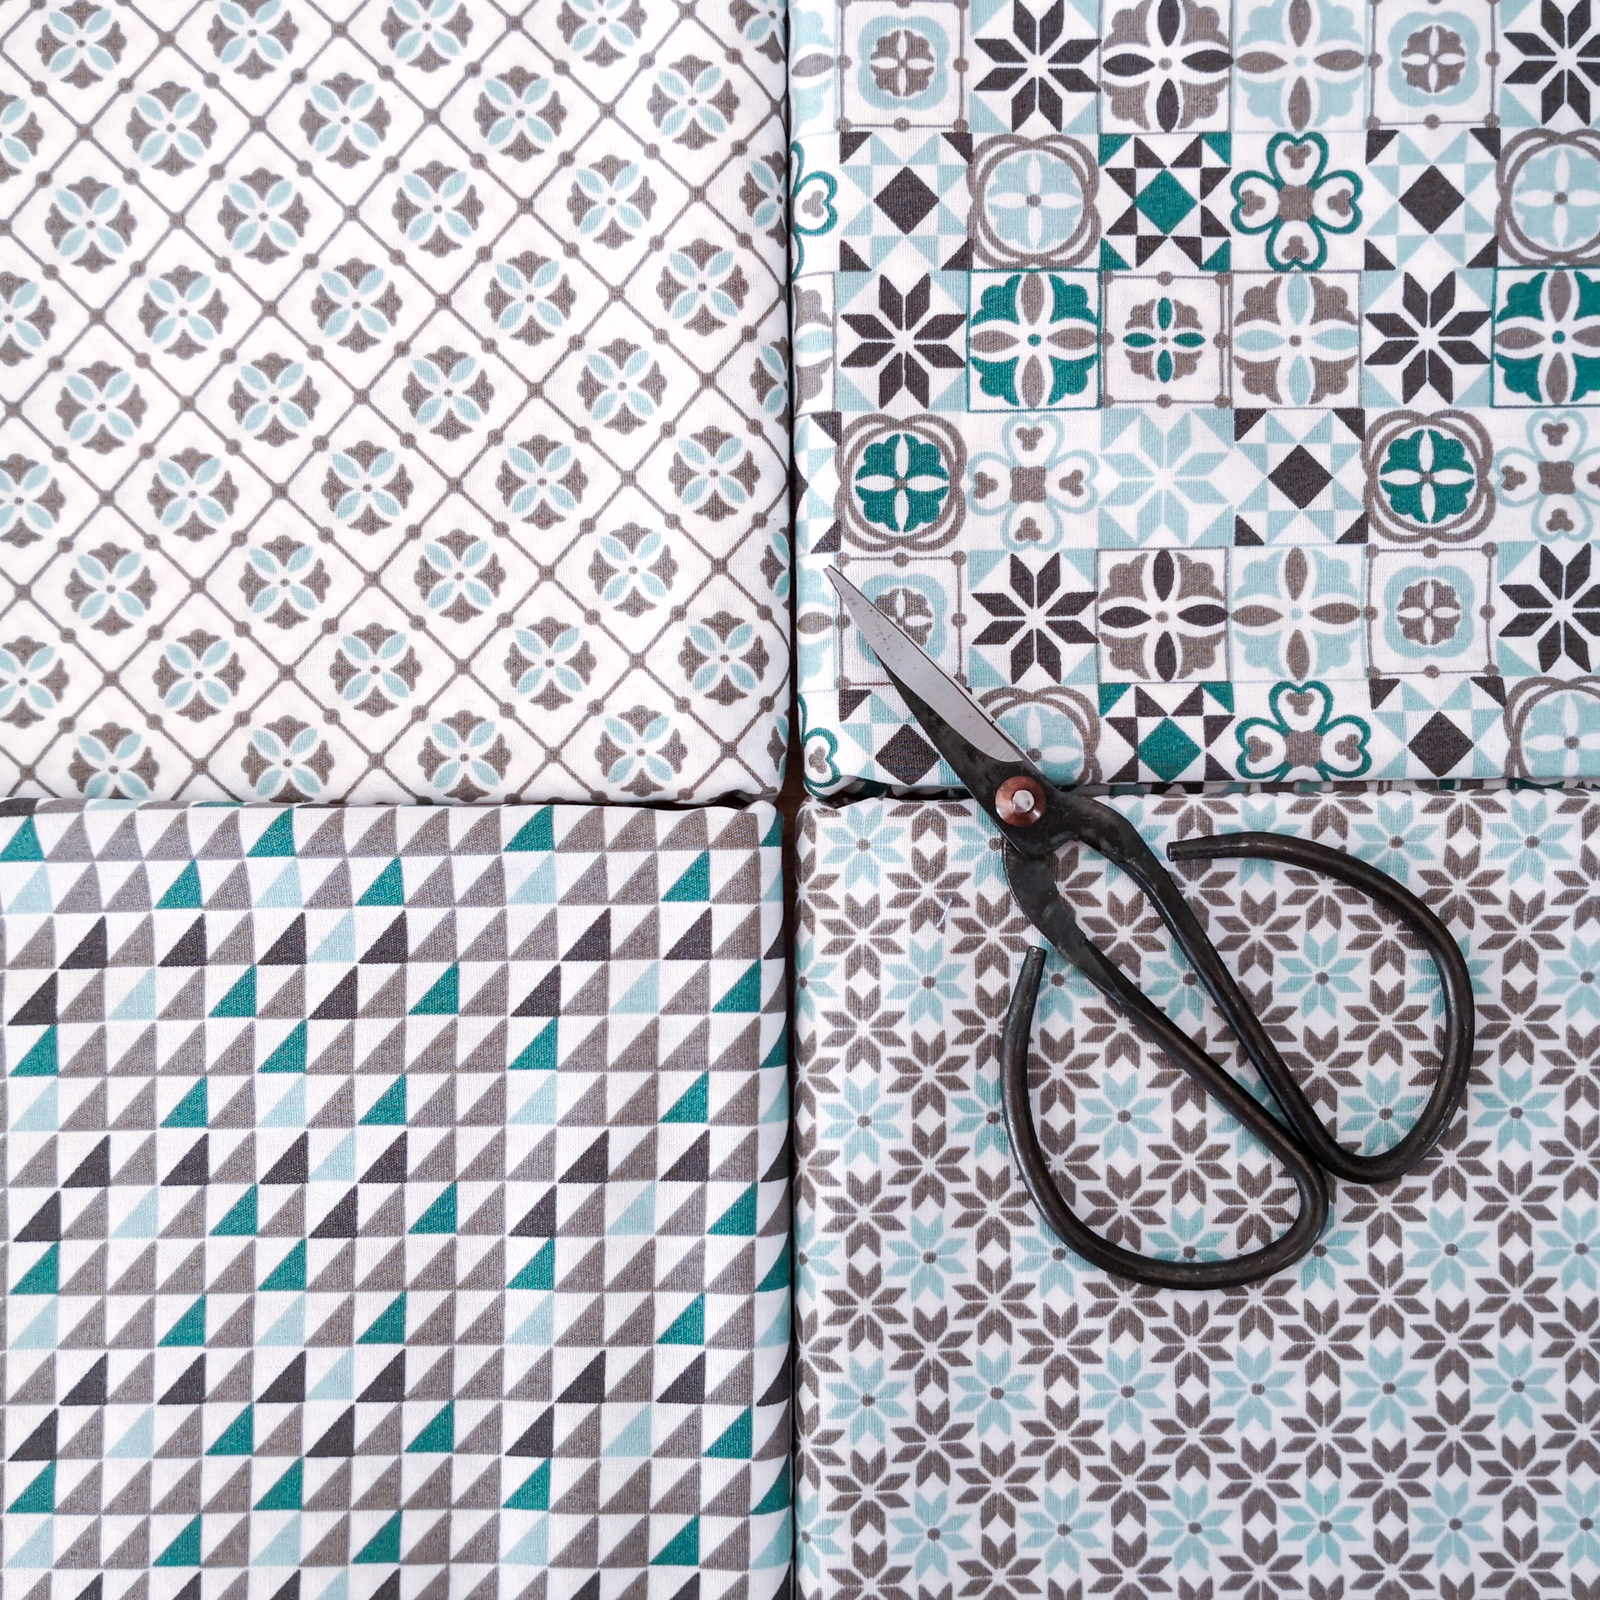
After my first patchwork or quilt making experiments (read more about it here), I wanted to incorporate that into a project bag. And I immediately knew what fabrics I wanted to use:
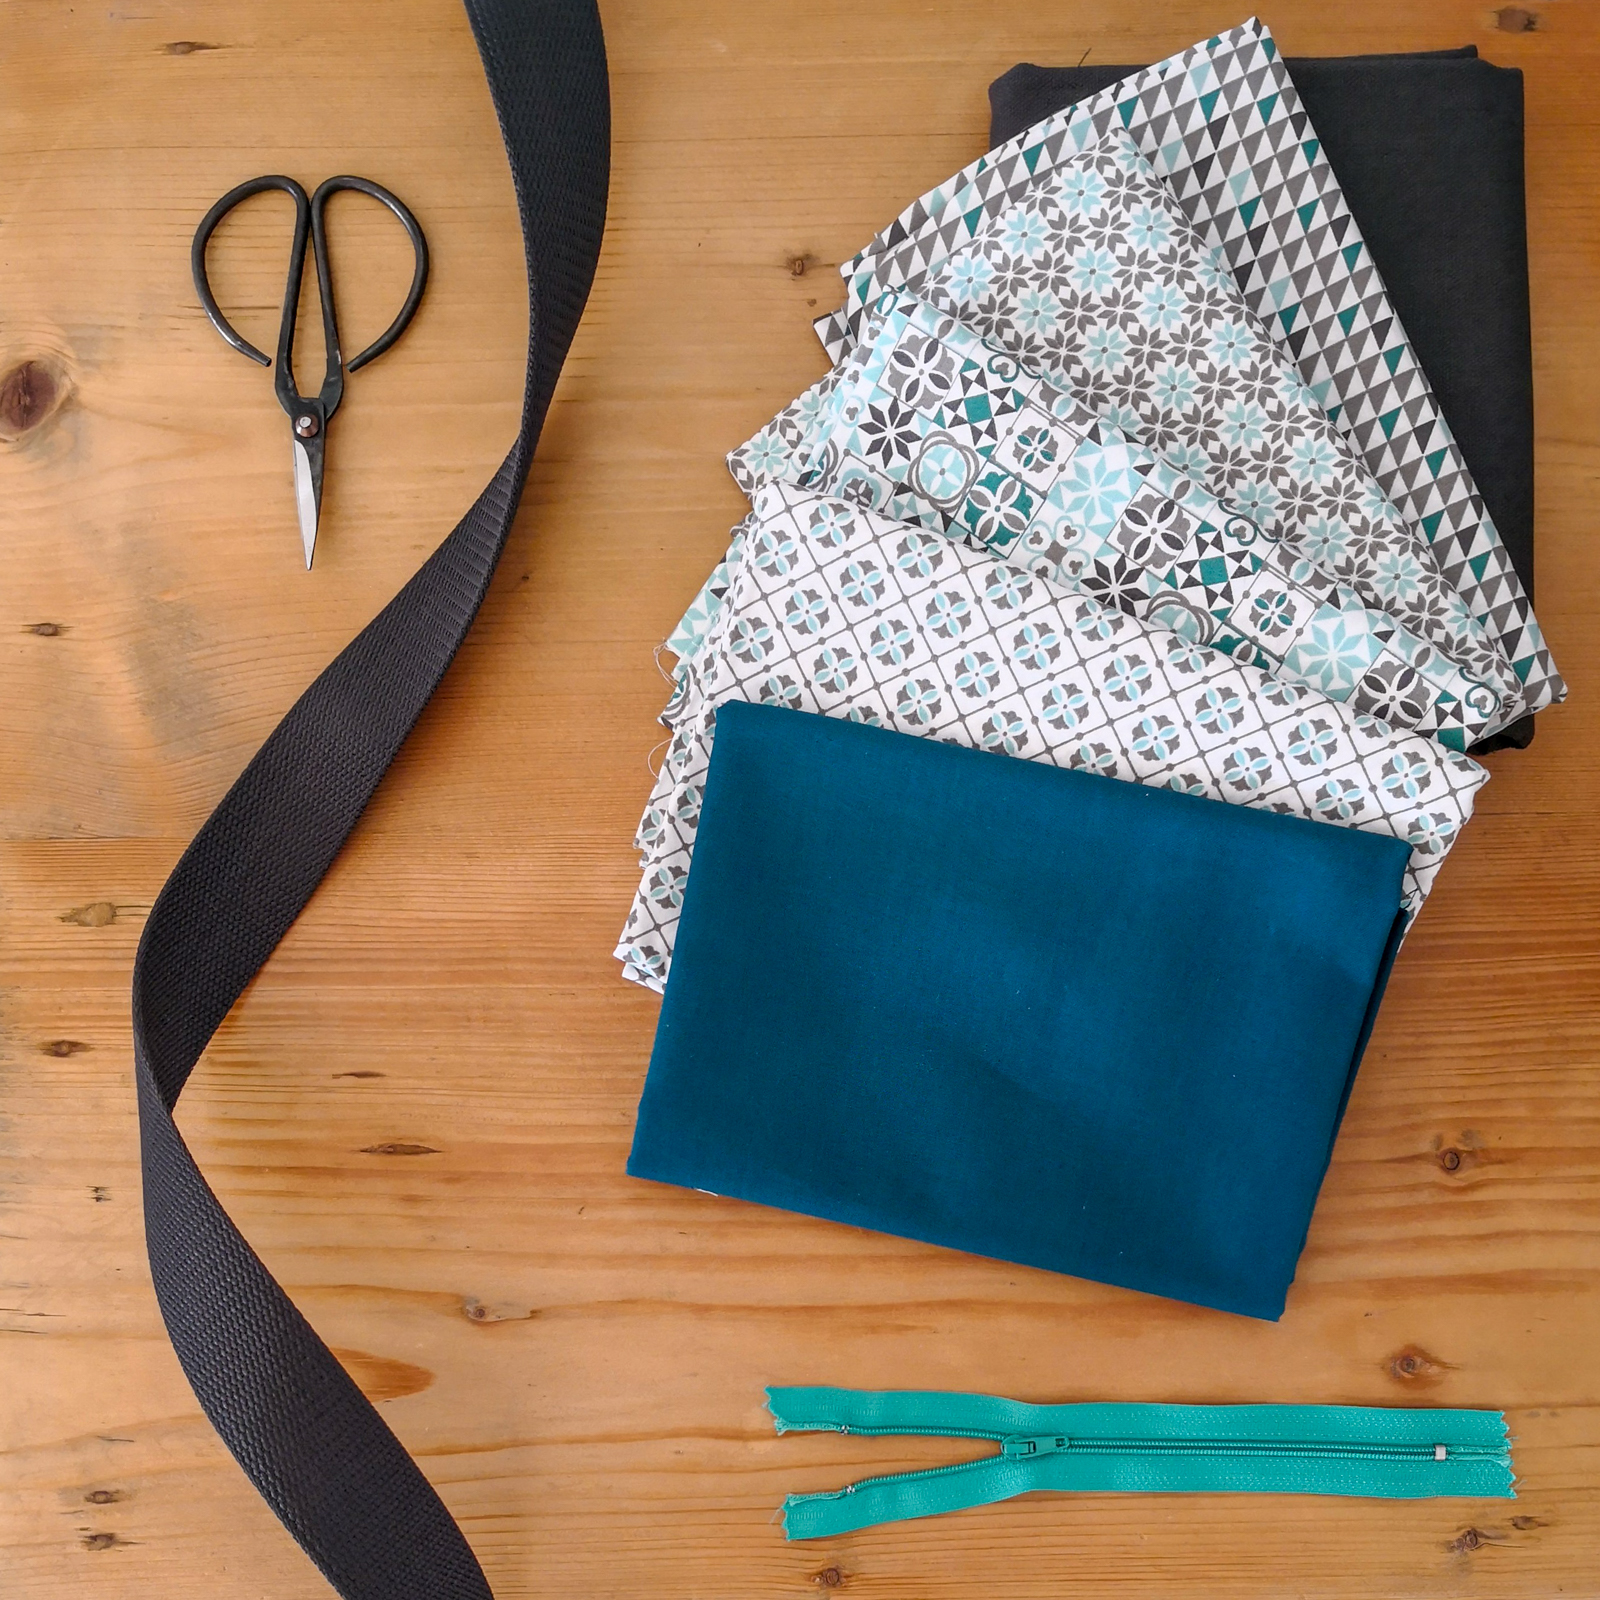
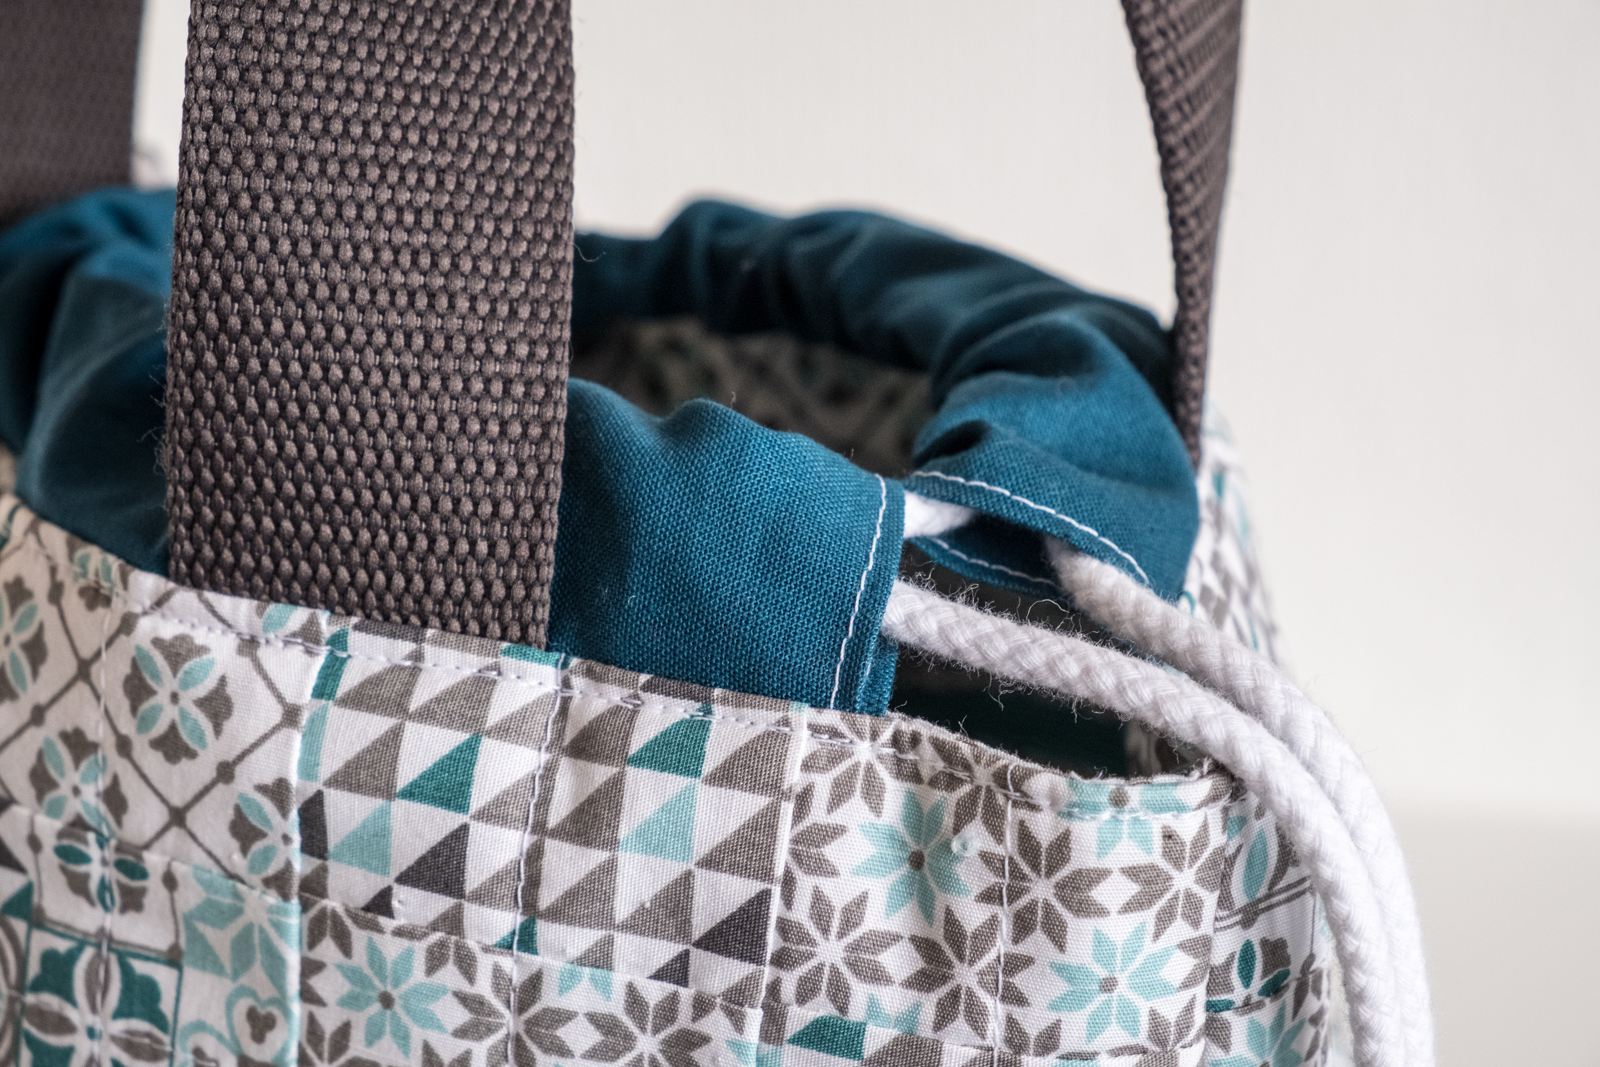
I also found a belt that I don’t use anymore which I could use for handles. A contrasting zipper had to go in there too!
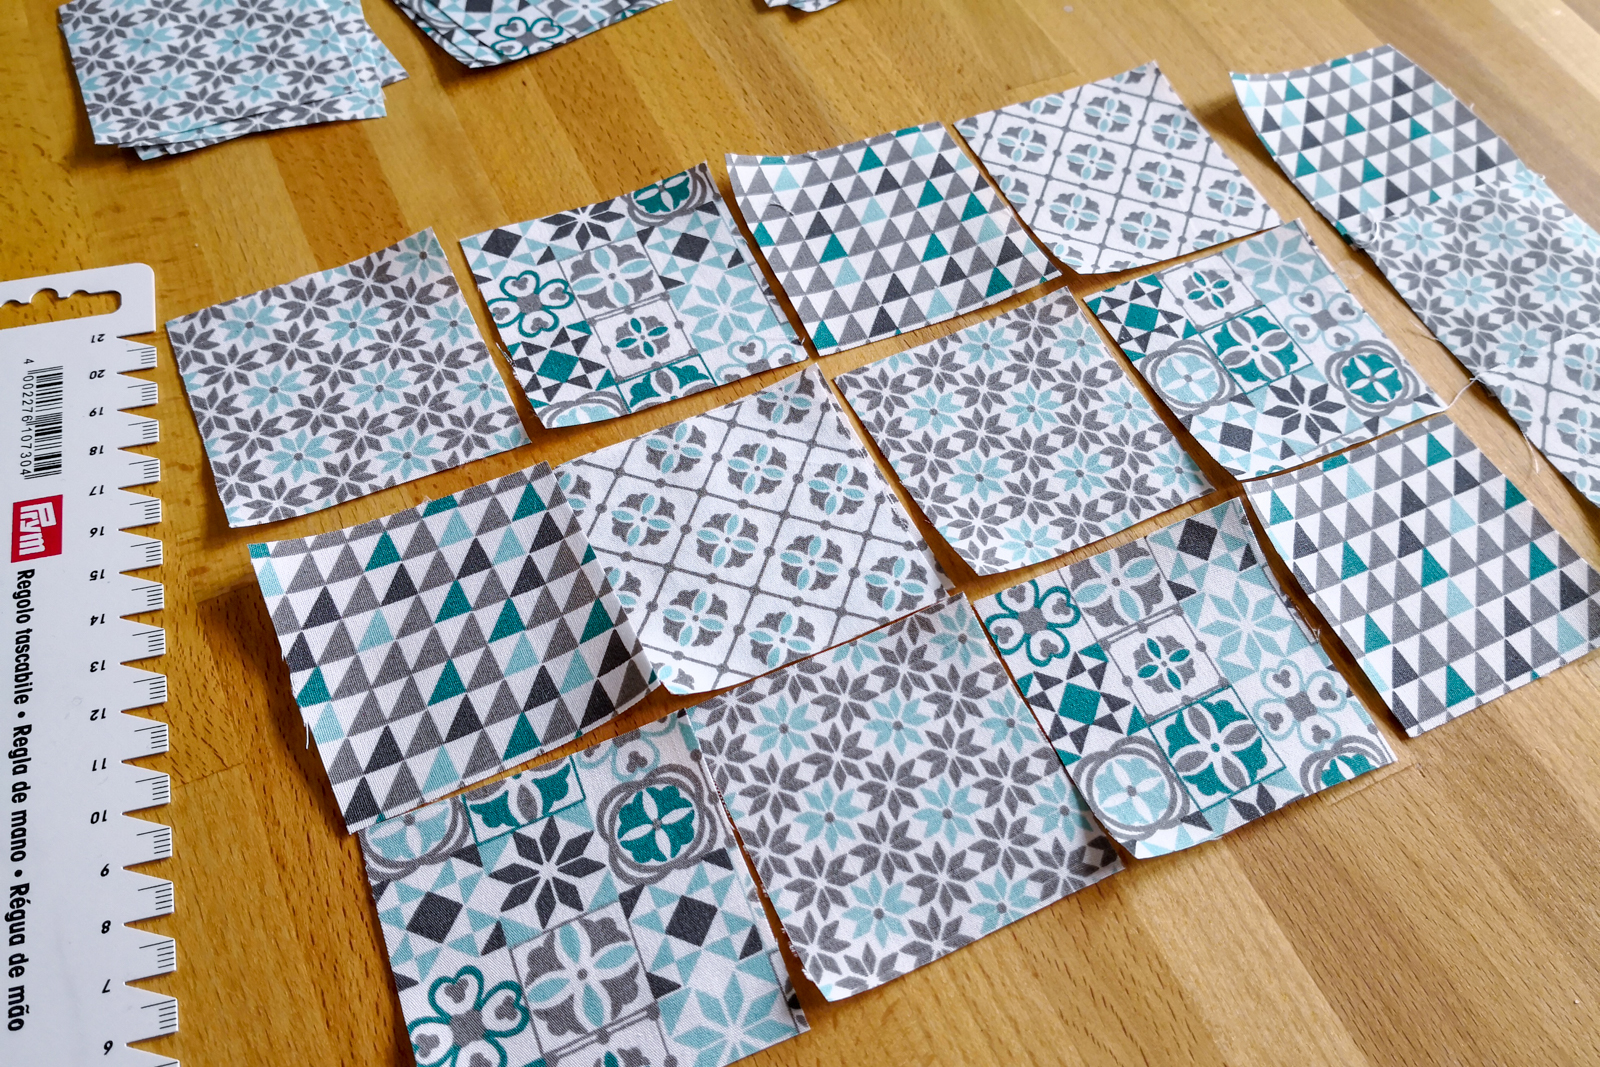
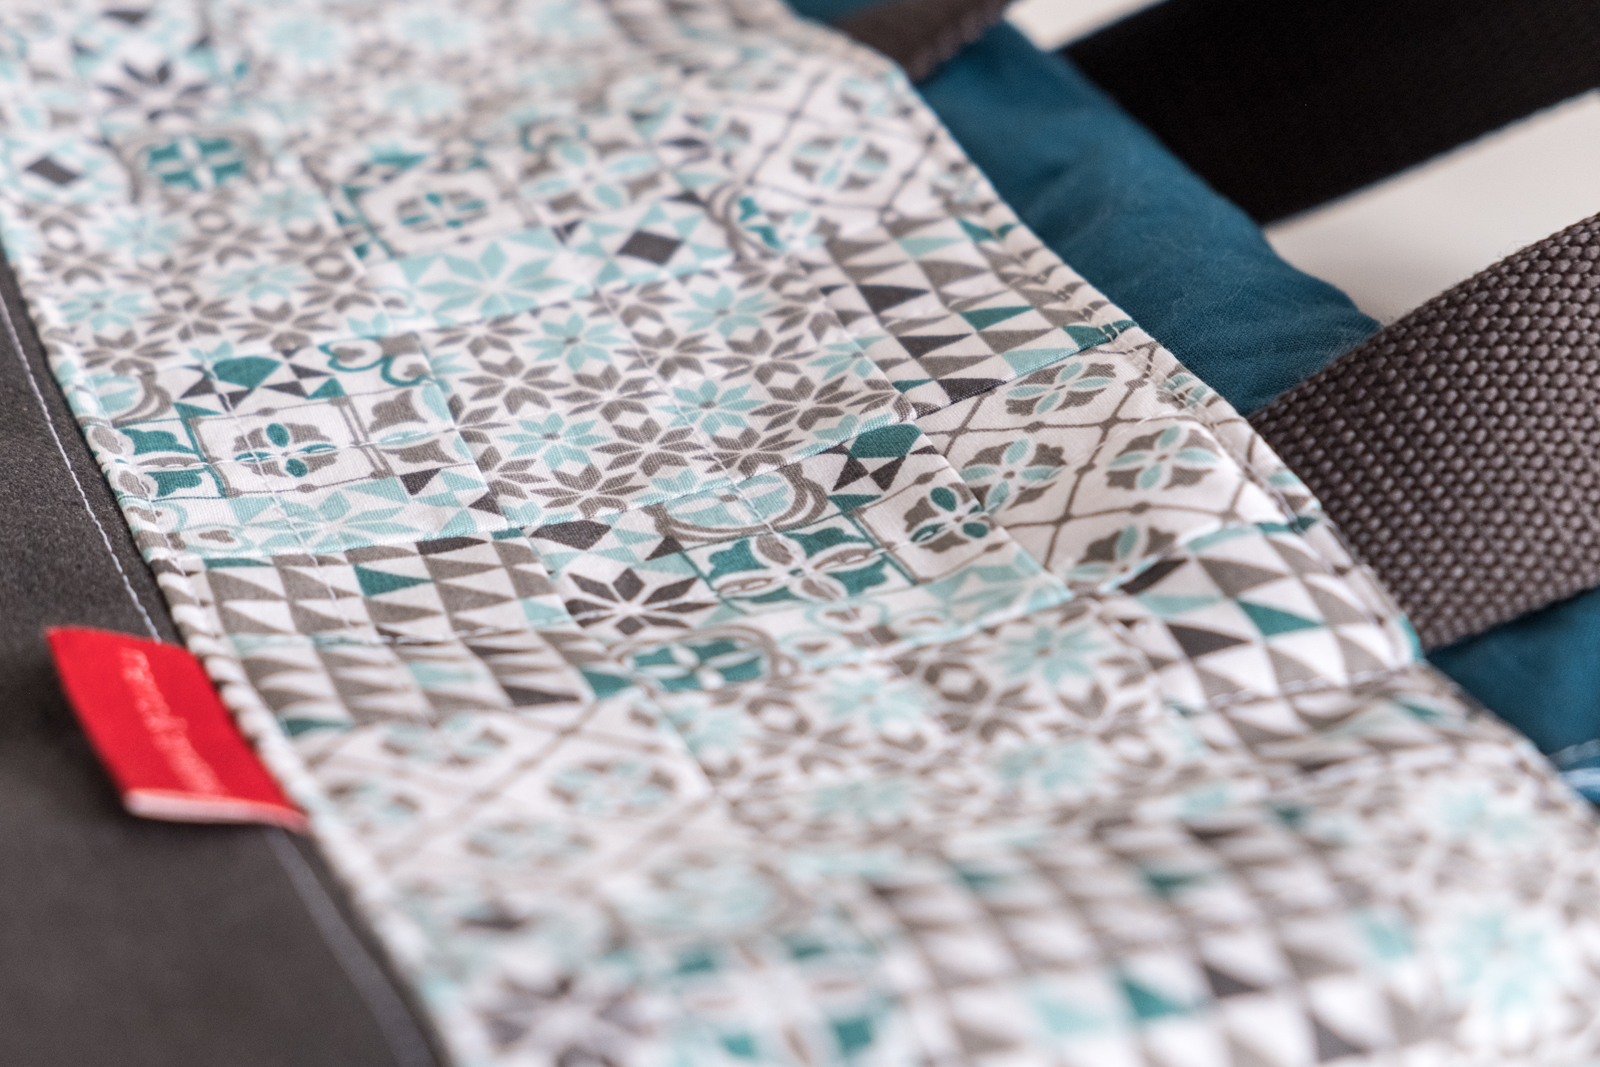
So I started by cutting little squares that I then sew together until I had two panels of squares. I fused the batting to them and added decorative sewing through the middle of the strips. Does that make sense?
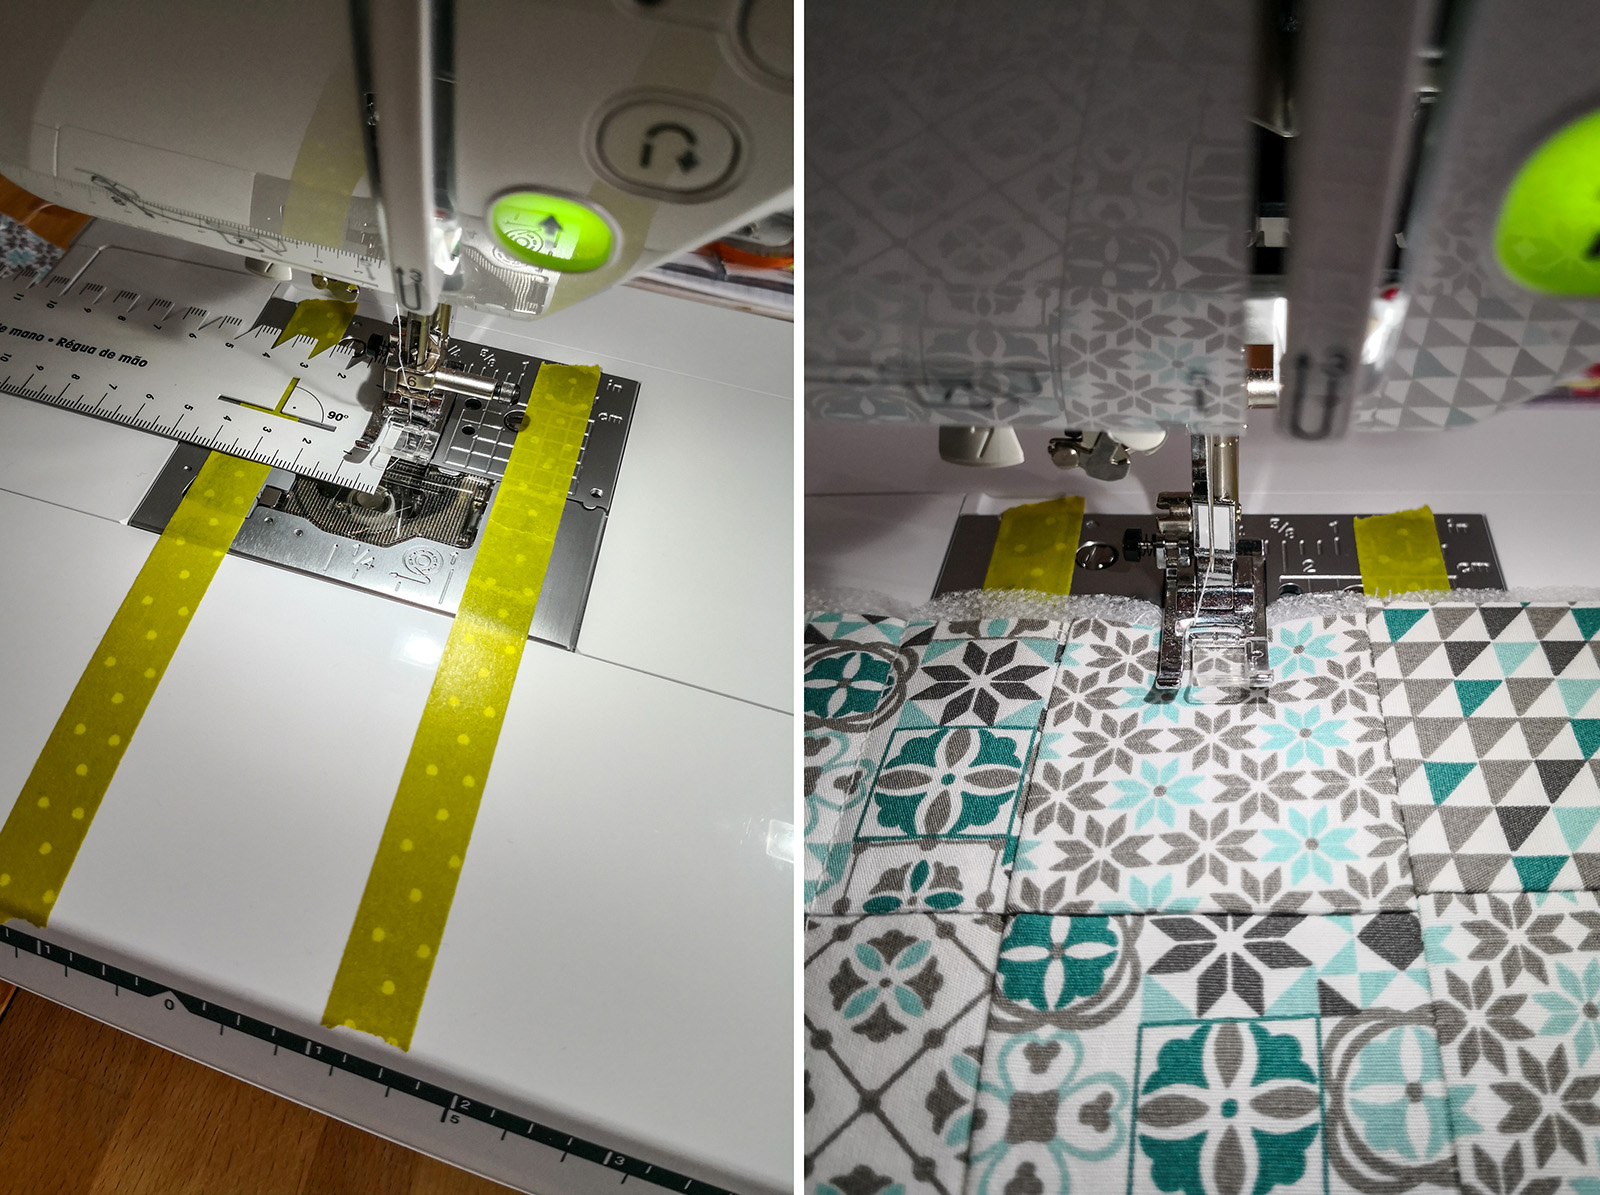
To help me with the decorative lines, I used washi tape guidelines that I put on my sewing machine.
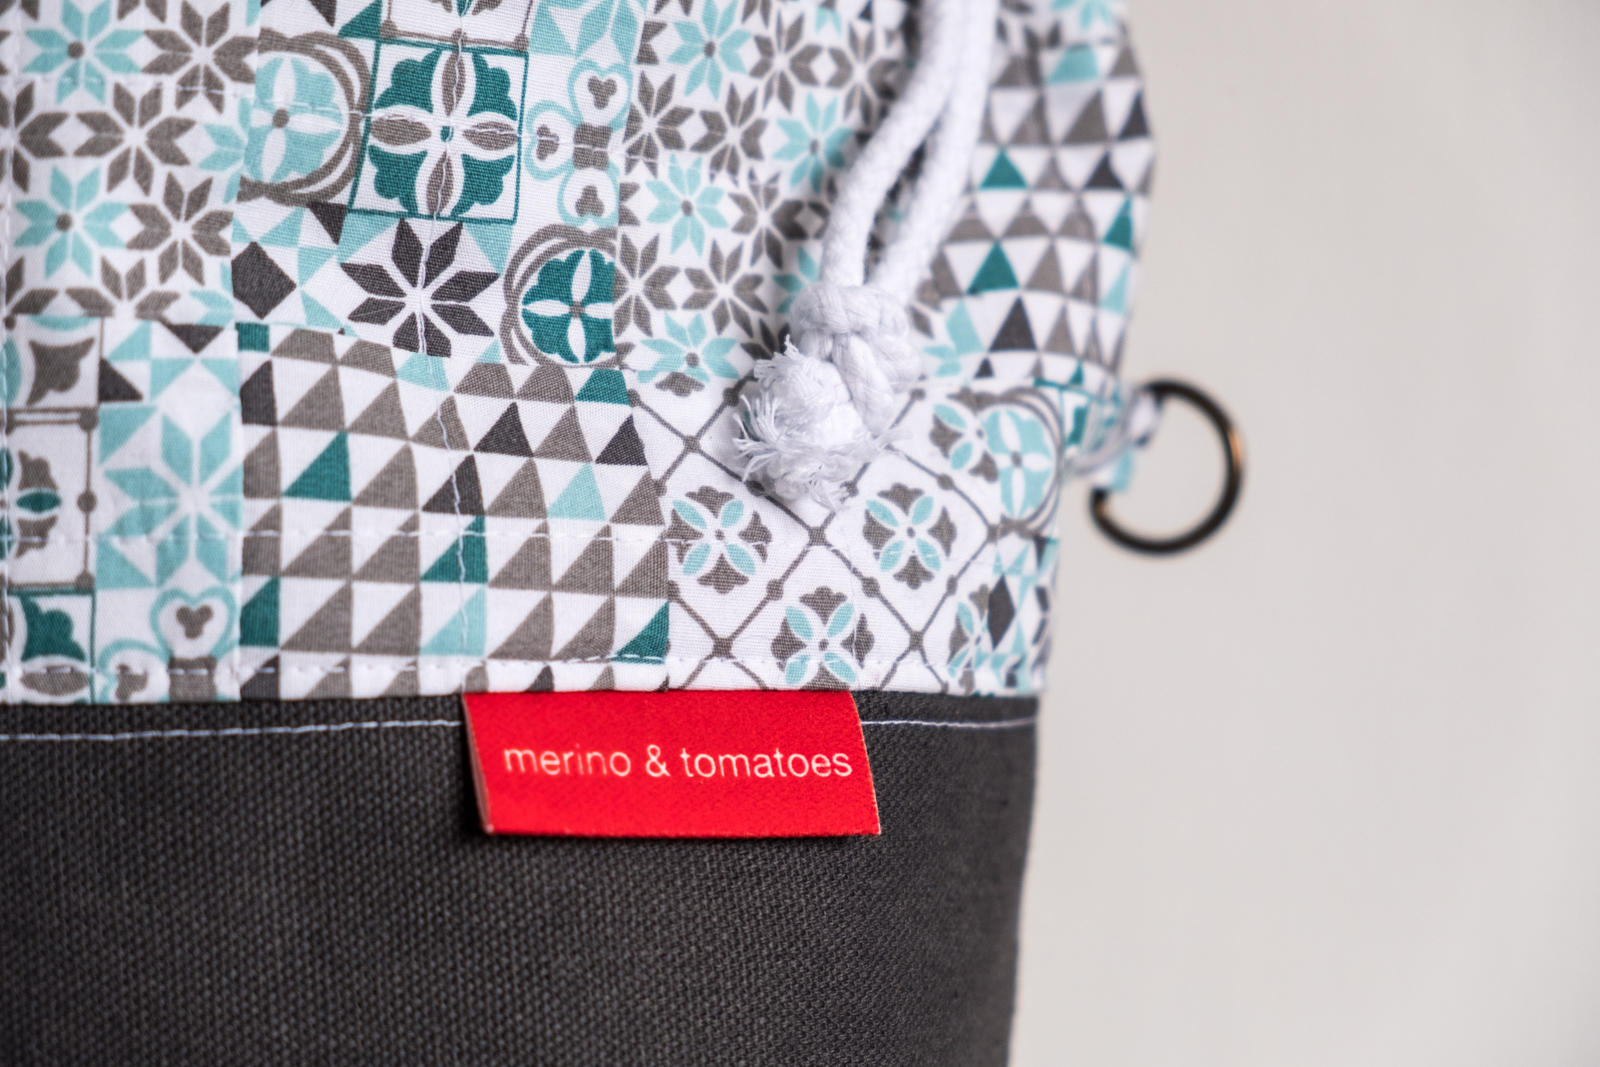
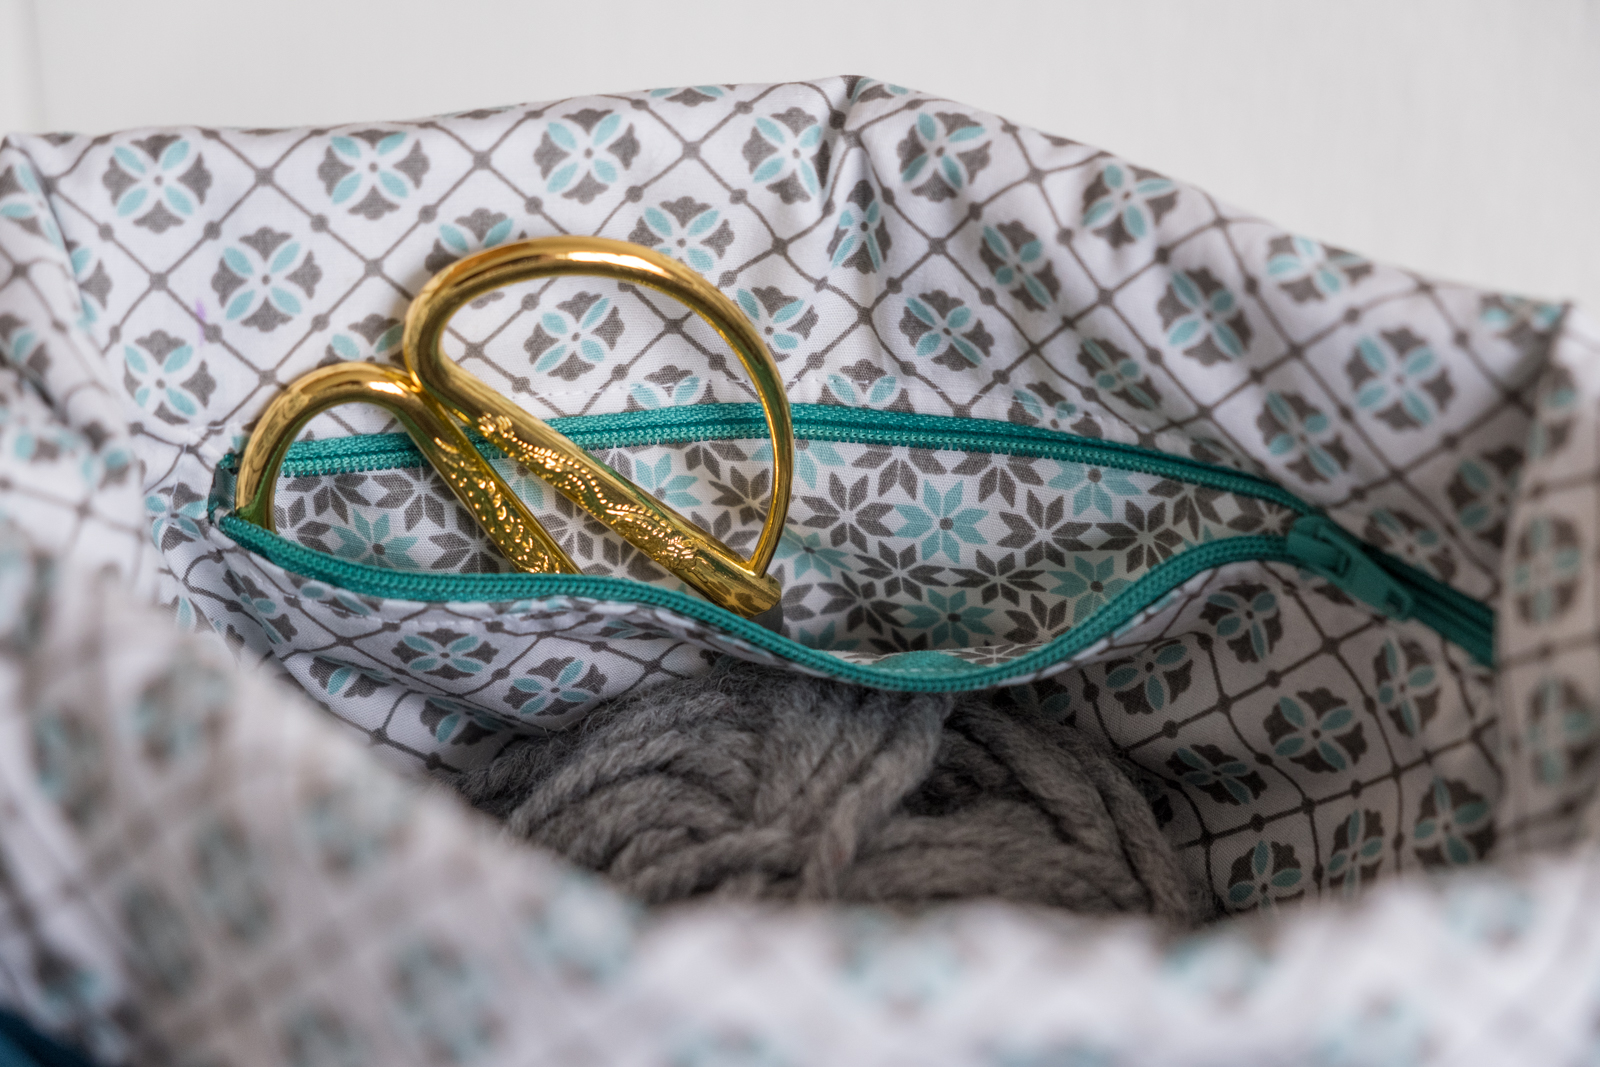
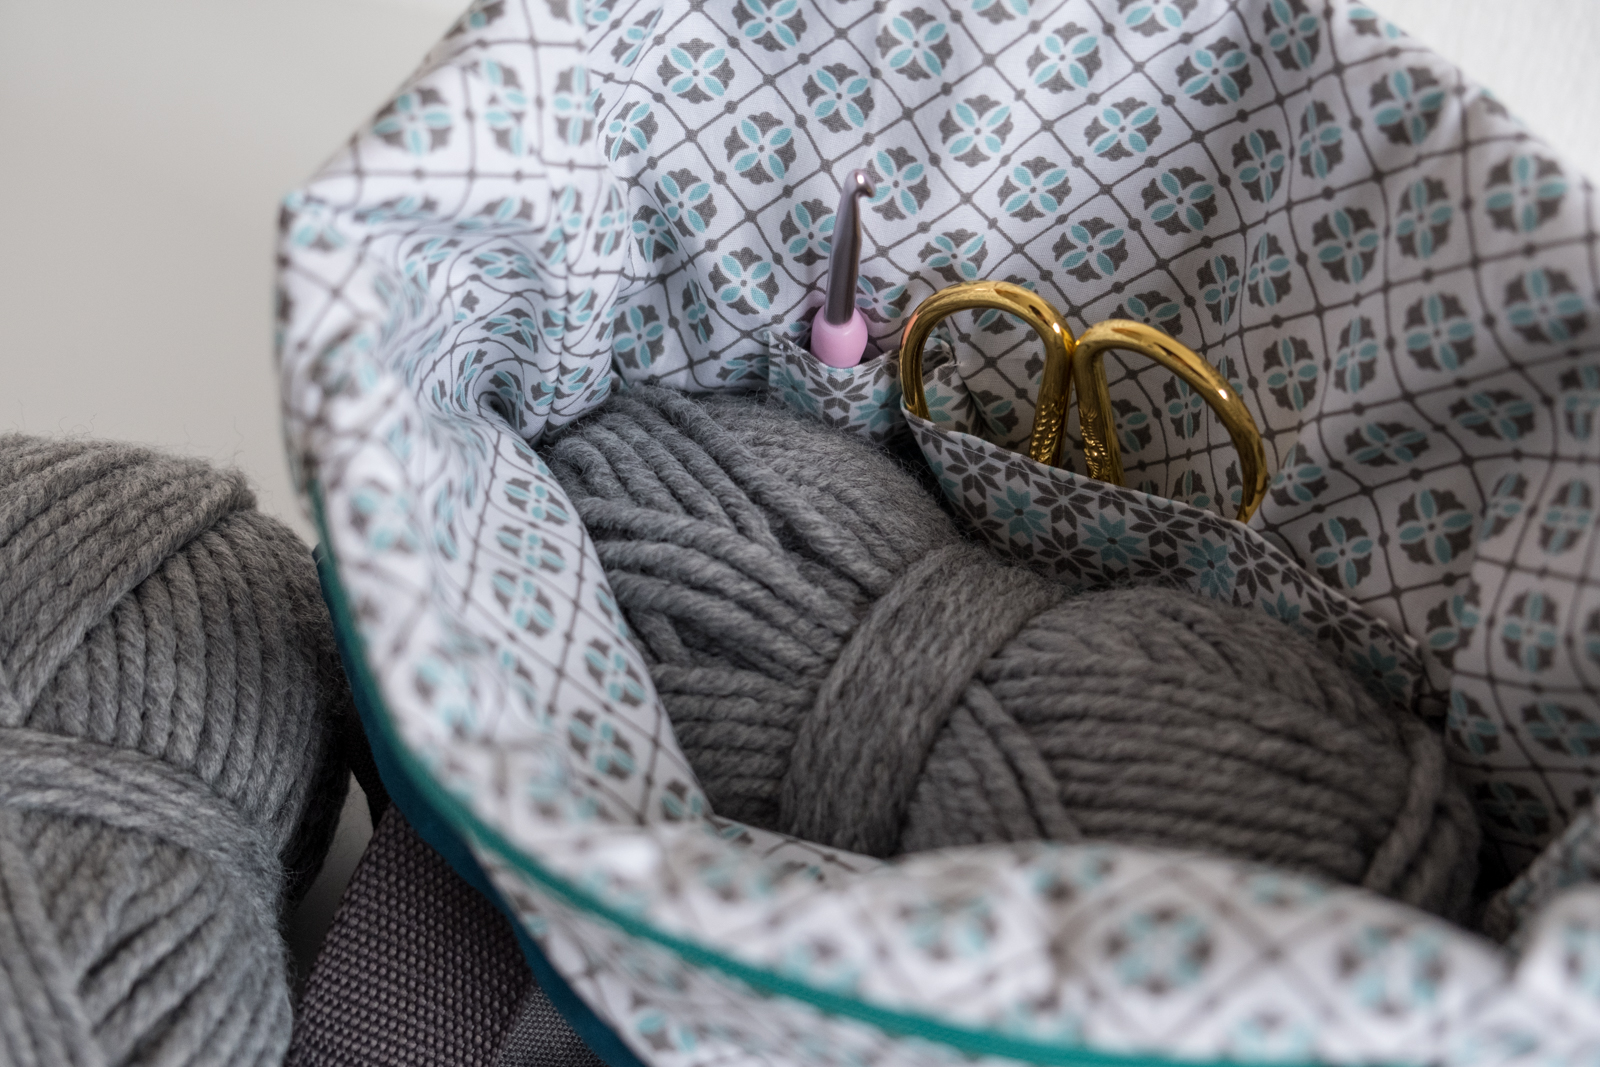
I then joined the canvas bottom parts (also with batting) of the outer bag to the patchwork panels and made them into a bag. After that, I made the lining of the bag (with a zippered pocket and a regular pocket). Finally, I assembled the different parts and I sew them all together (and broke the needle of the sewing machine 3cm before finishing the last seam).
This bag is my personal 2.0 version as I wanted to experiment with some new-to-me techniques:
- The quilted panels on the outside
- The zippered pocket on the inside
- Adding handles to the bag
- Using a different way to assemble the parts
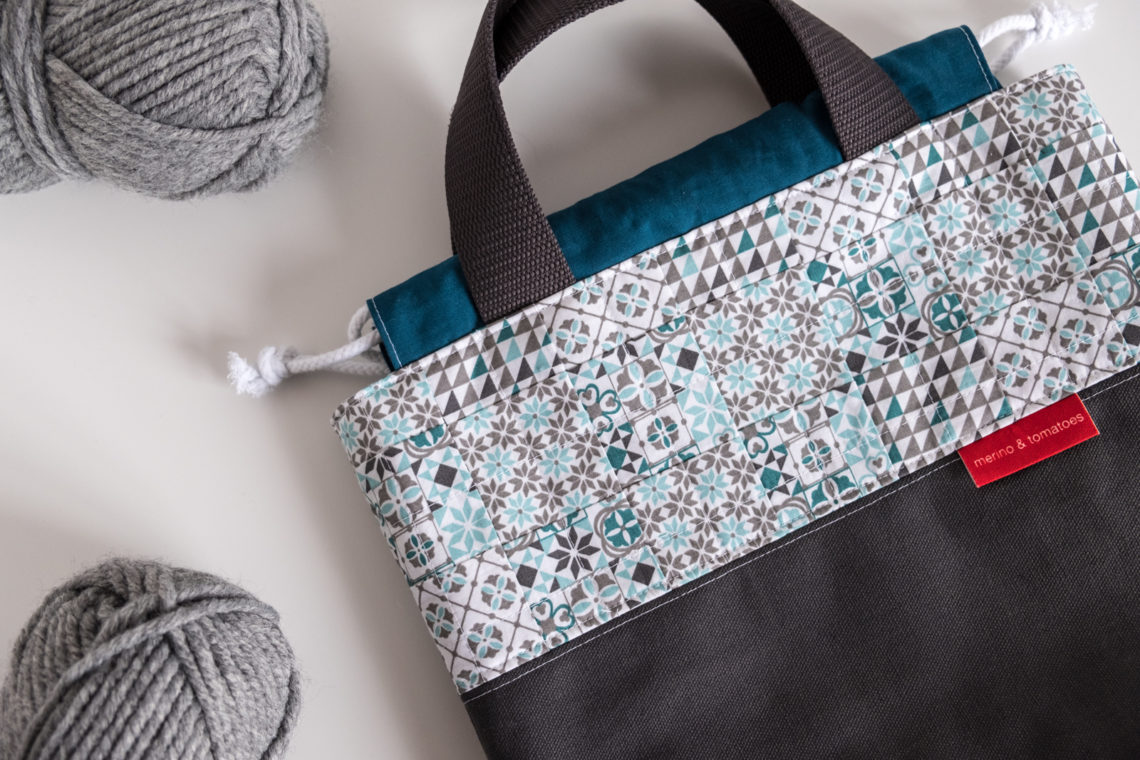
I’m very happy with the result, not bad for first attempts! The shape is a bit different than I initially had in mind… that’s the thing with sewing: once the fabric is cut, there’s no way back.
Tadaah!
Let’s have a look at the details, shall we?


Now let’s hope that my elbow keeps on healing like it does and I can soon actually use this new project bag!


2 Comments
Karyn
25th January 2019 at 18:02I adore this bag! Have you considered making a tutorial to help us make our own? Thank you.
Judith
7th February 2019 at 14:20Hi Karyn! Thank you so much! Actually, I haven’t… It was an experiment as I wanted to combine a few techniques and, luckily, the outcome was this one. You will find lots of tutorials online though!