
It’s ready, done, finito! I am talking about the Sea Glass Shawl. A finished item at last. However, not one from the list of works-in-progress that I talked about at the beginning of the year (a few of those are actually finished by now though). No, this was a new project that I made entirely out of yarns that I already had in my stash. That’s a milestone in itself: not buying new yarn for a project! Hurray!
The Pattern
This beautiful shawl is designed by Eline of Emmy + Lien and was published in a crochet magazine a while ago. I immediately liked it and even ordered a copy of the magazine to get hold of the pattern. But, as with many plans they sometimes remain in the planning stage. Then, Eline re-released the pattern with slight modifications and she announced a CAL based on this pattern. That was the trigger to pull this project out of the planning stage and actually start it! You’ll find the pattern in her Ravelry store by the way.
The Yarns
As I’ve mentioned at the beginning, this project is somewhat of a milestone since I did not buy new yarn for it. Yes, that’s right. No yarn shopping for this one. Although I was tempted to buy one of the kits offered to accompany the CAL…
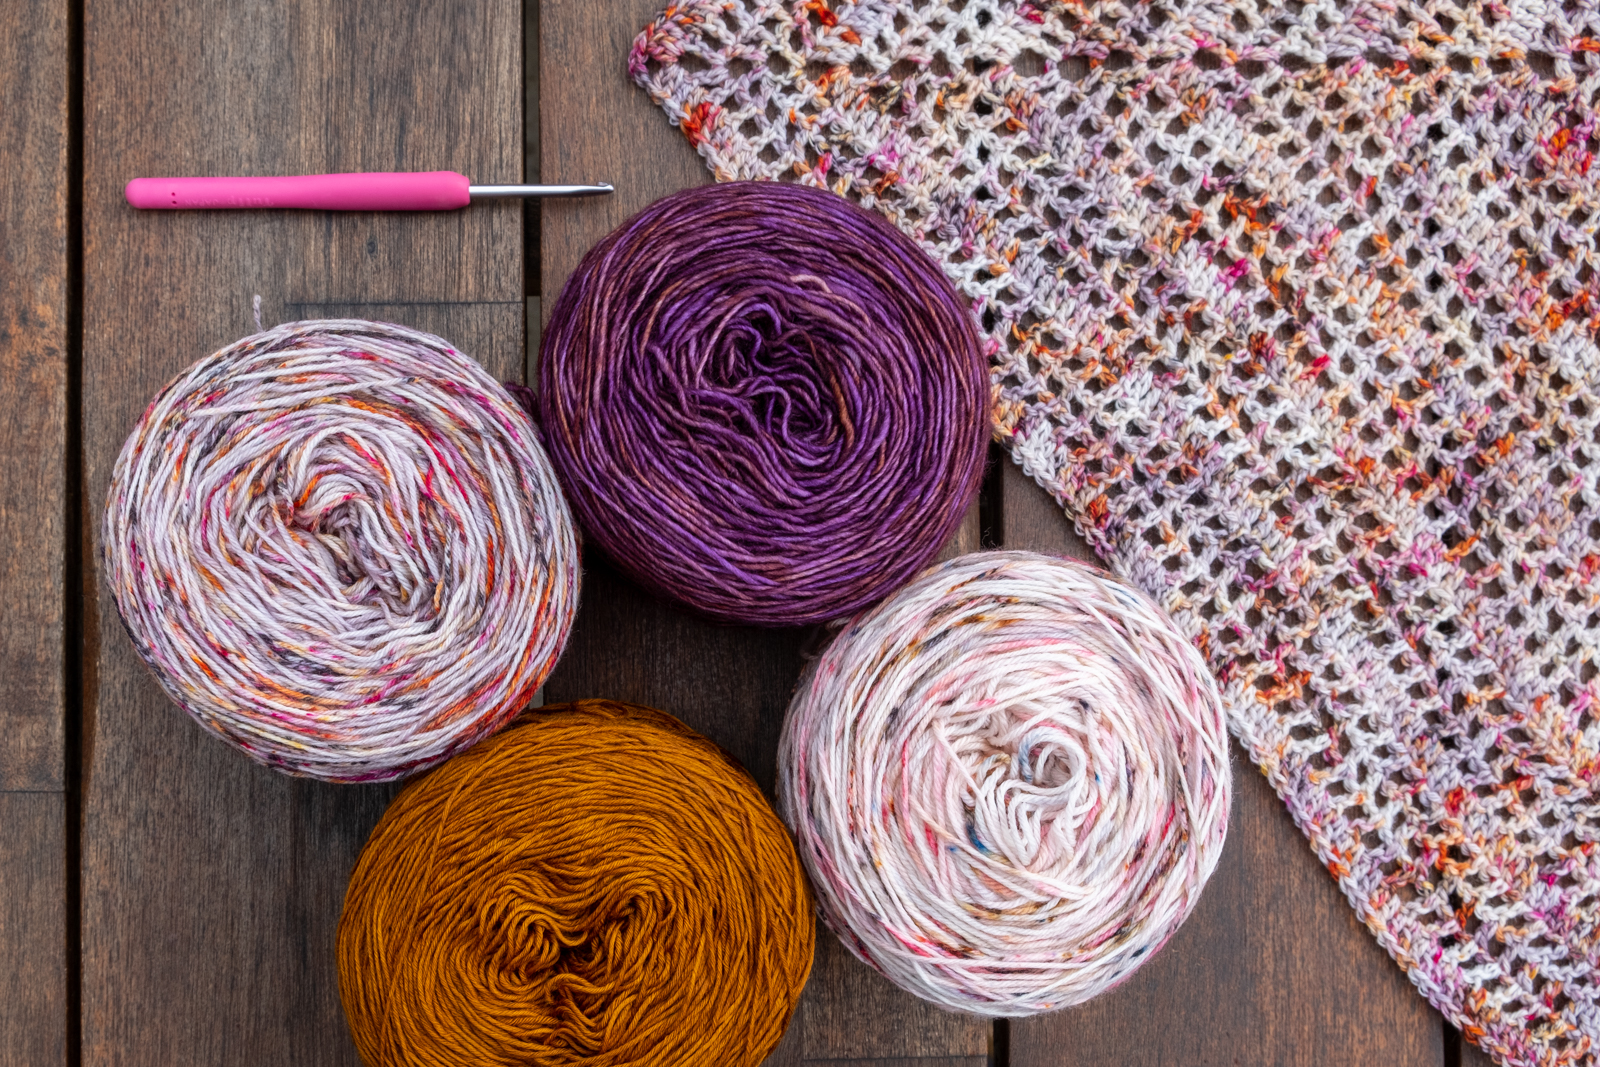
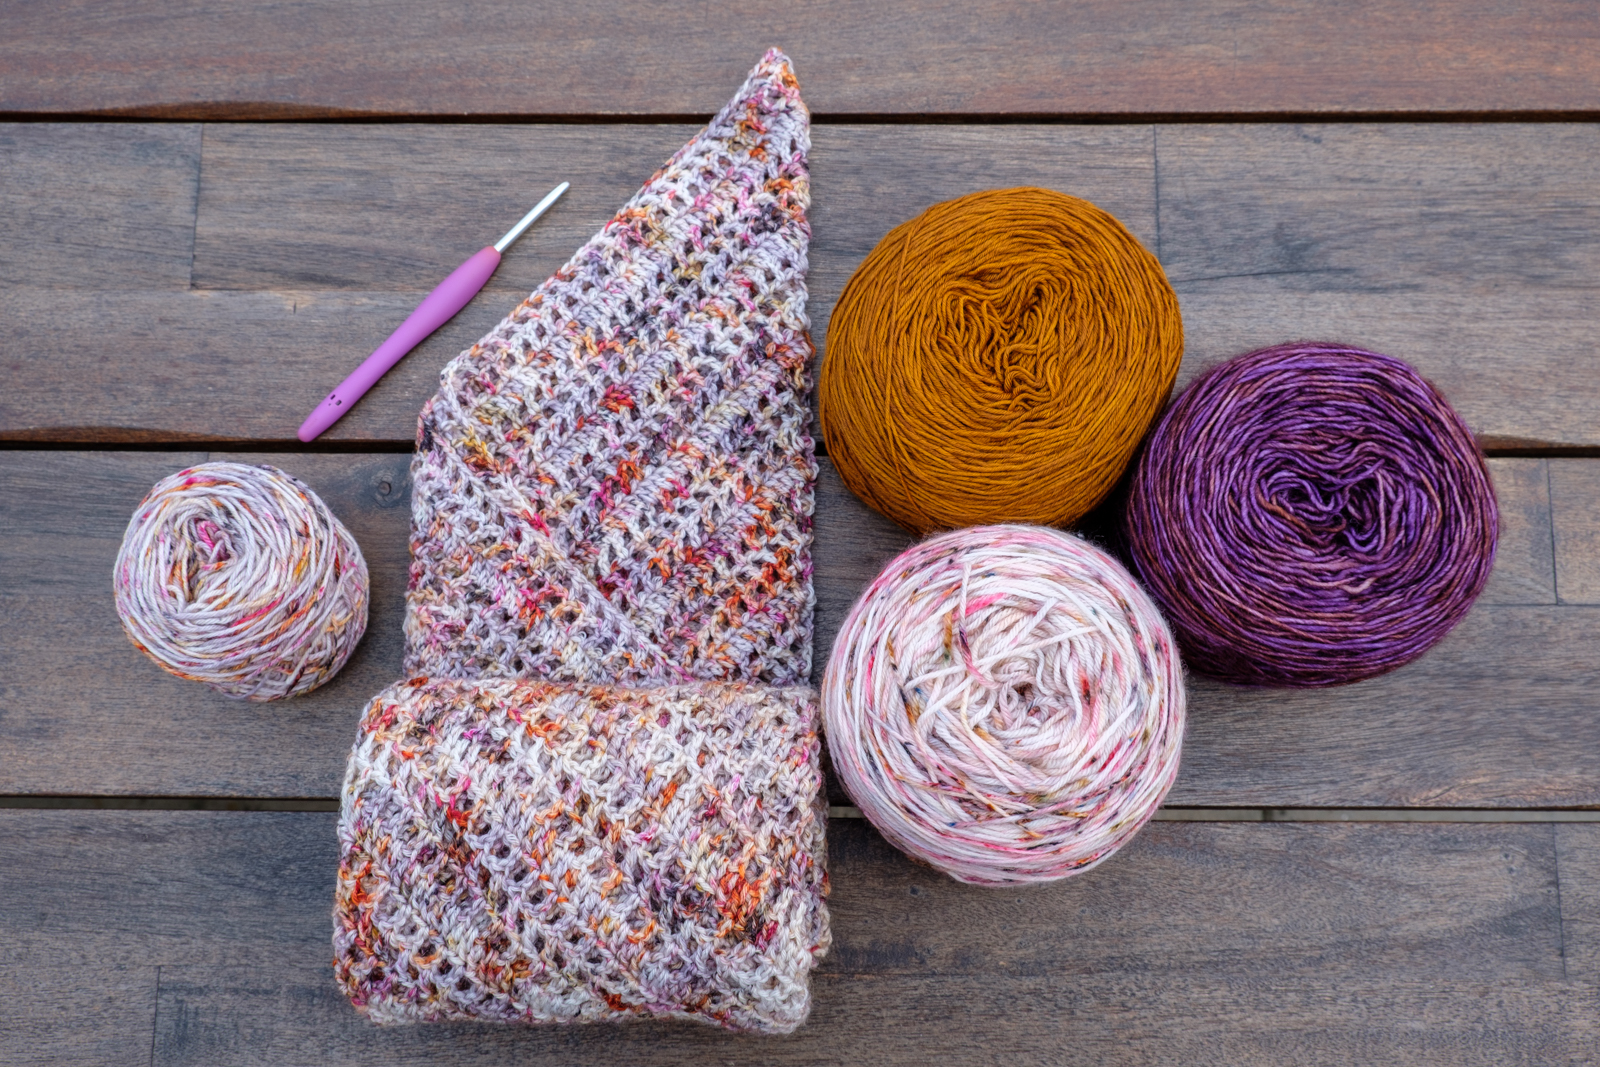
A thorough search in my stash resulted in the following colours:
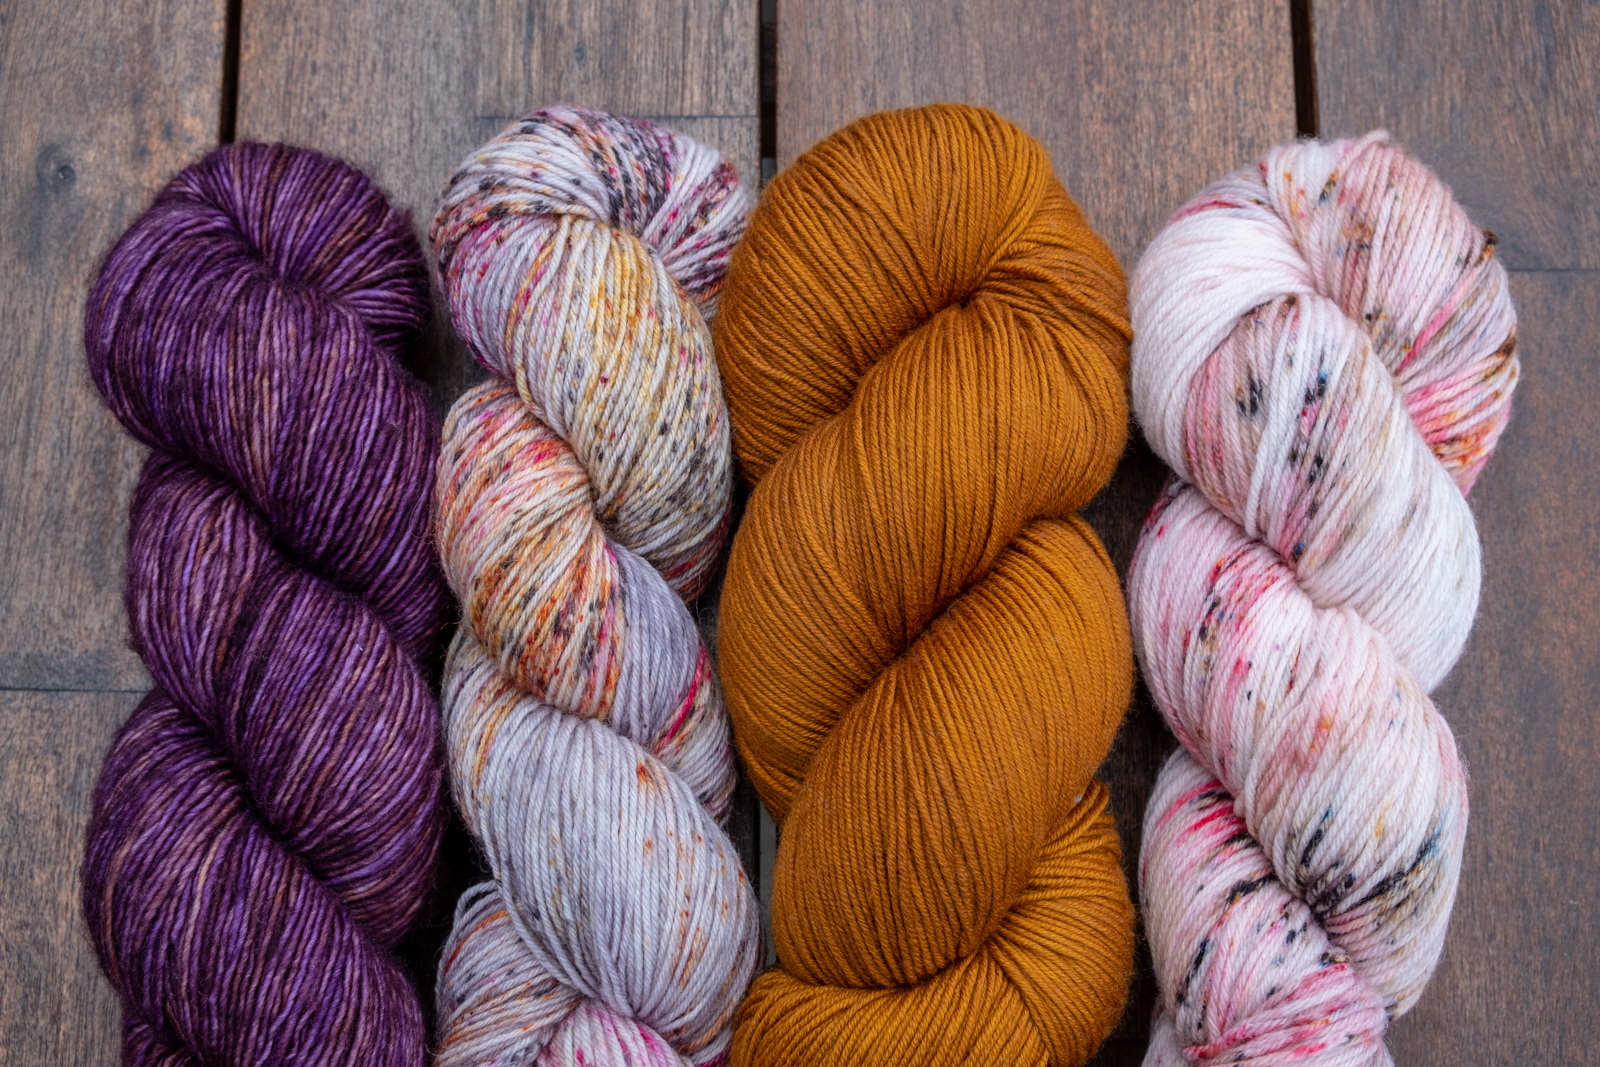
From left to right they are:
- Tosh Merino Light by Madeline Tosh, colourway Geode
- Basic Sock by Wol Met Verve, colourway Rocky Mountain
- Pure by Rohrspatz & Wollmeise, colourway Jeton
- Witch Hazel by Herbstblatt Regina, colourway Schwarzwälderkirschtorte
I have used the Wol Met Verve Basic Sock as my main colour as I had two skeins of that particular colourway in my stash. They had been waiting in there for a little while as I already bought them in 2016 (just checked that). There was a first attempt to use this yarn in a crochet project, but it turned out that pattern and yarn were not a great match. The pattern was made up out of treble crochet (US terms or UK double treble crochet) stitches and that did not work with the speckled character of the yarn.
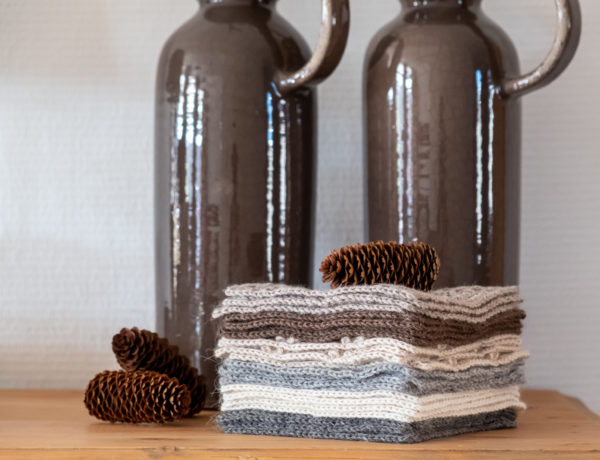
Speckled yarn and crochet project are a hit and miss kind of thing every time in my opinion. This kind of yarn works generally a lot better in a knitwear. I think it has to do with the length of the stitches when used in a crochet piece. Anyway, before really diving into this project, I decided to do a little test swatch to see how the yarn would work here and to determine on the size of the crochet hook

Making the test swatch turned out to be a very good idea! Just look at the difference! I already went up one hook size compared to the recommended one in the pattern. But, obviously, my tension is a lot tighter and I could even go up another size. I did also block both of the swatches and that made a real difference too.
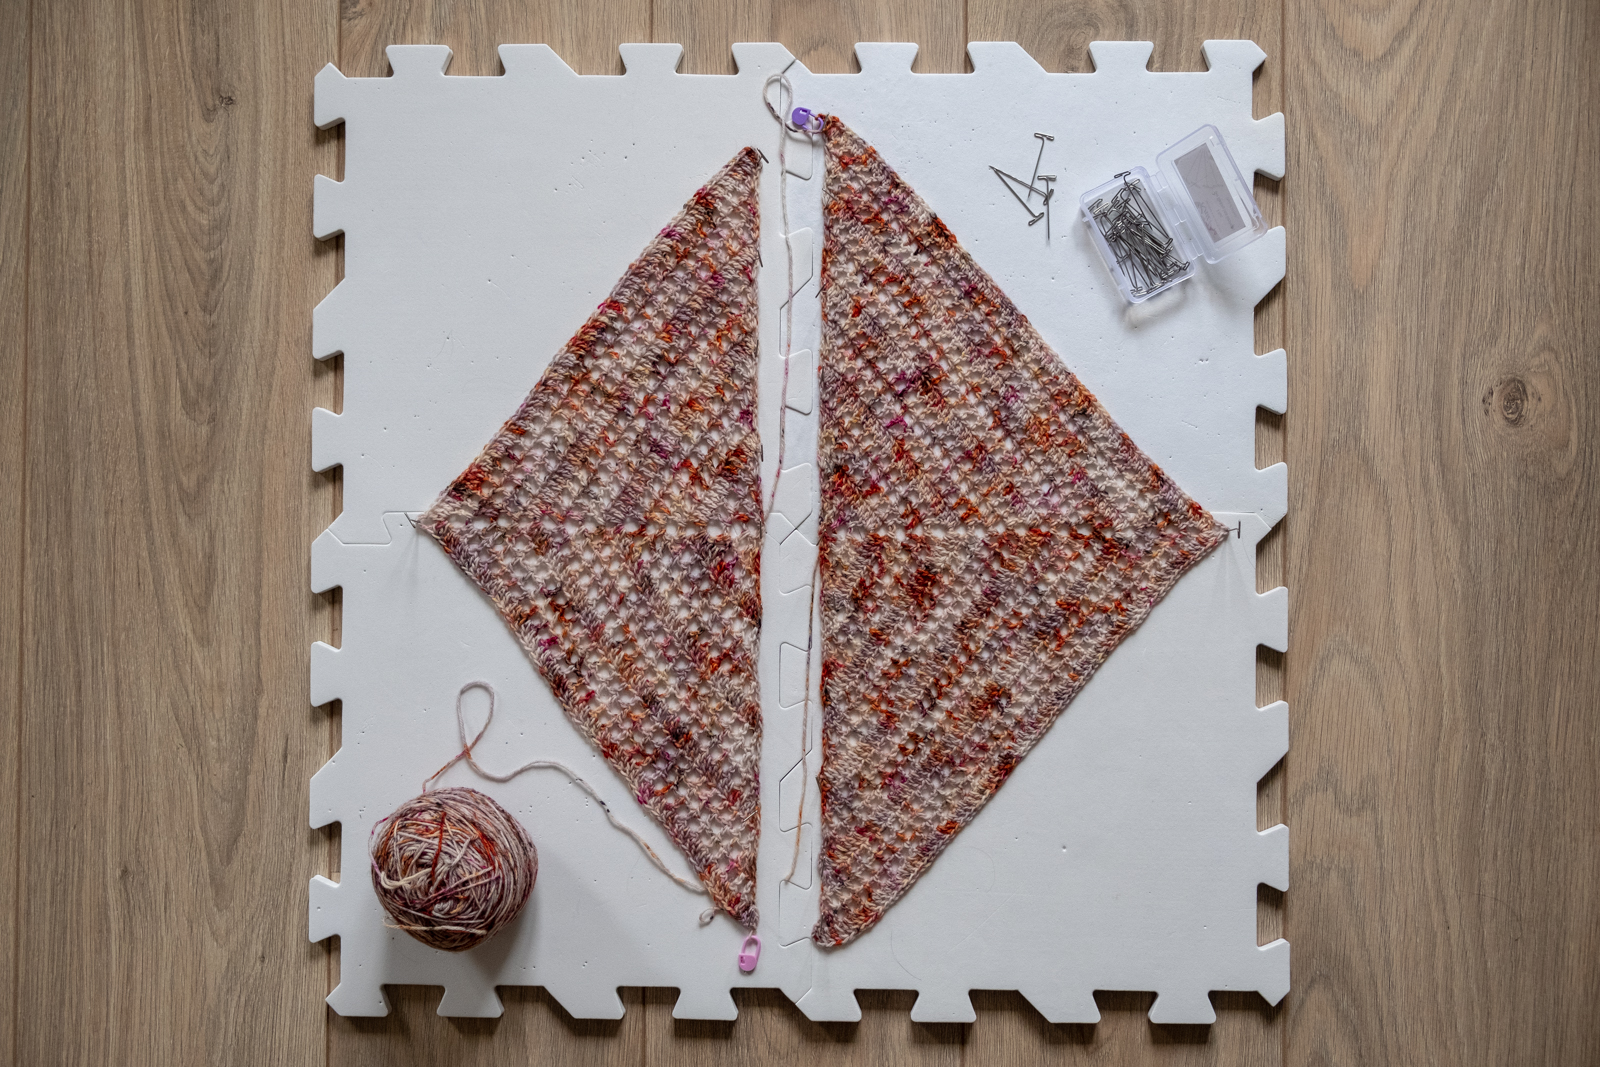
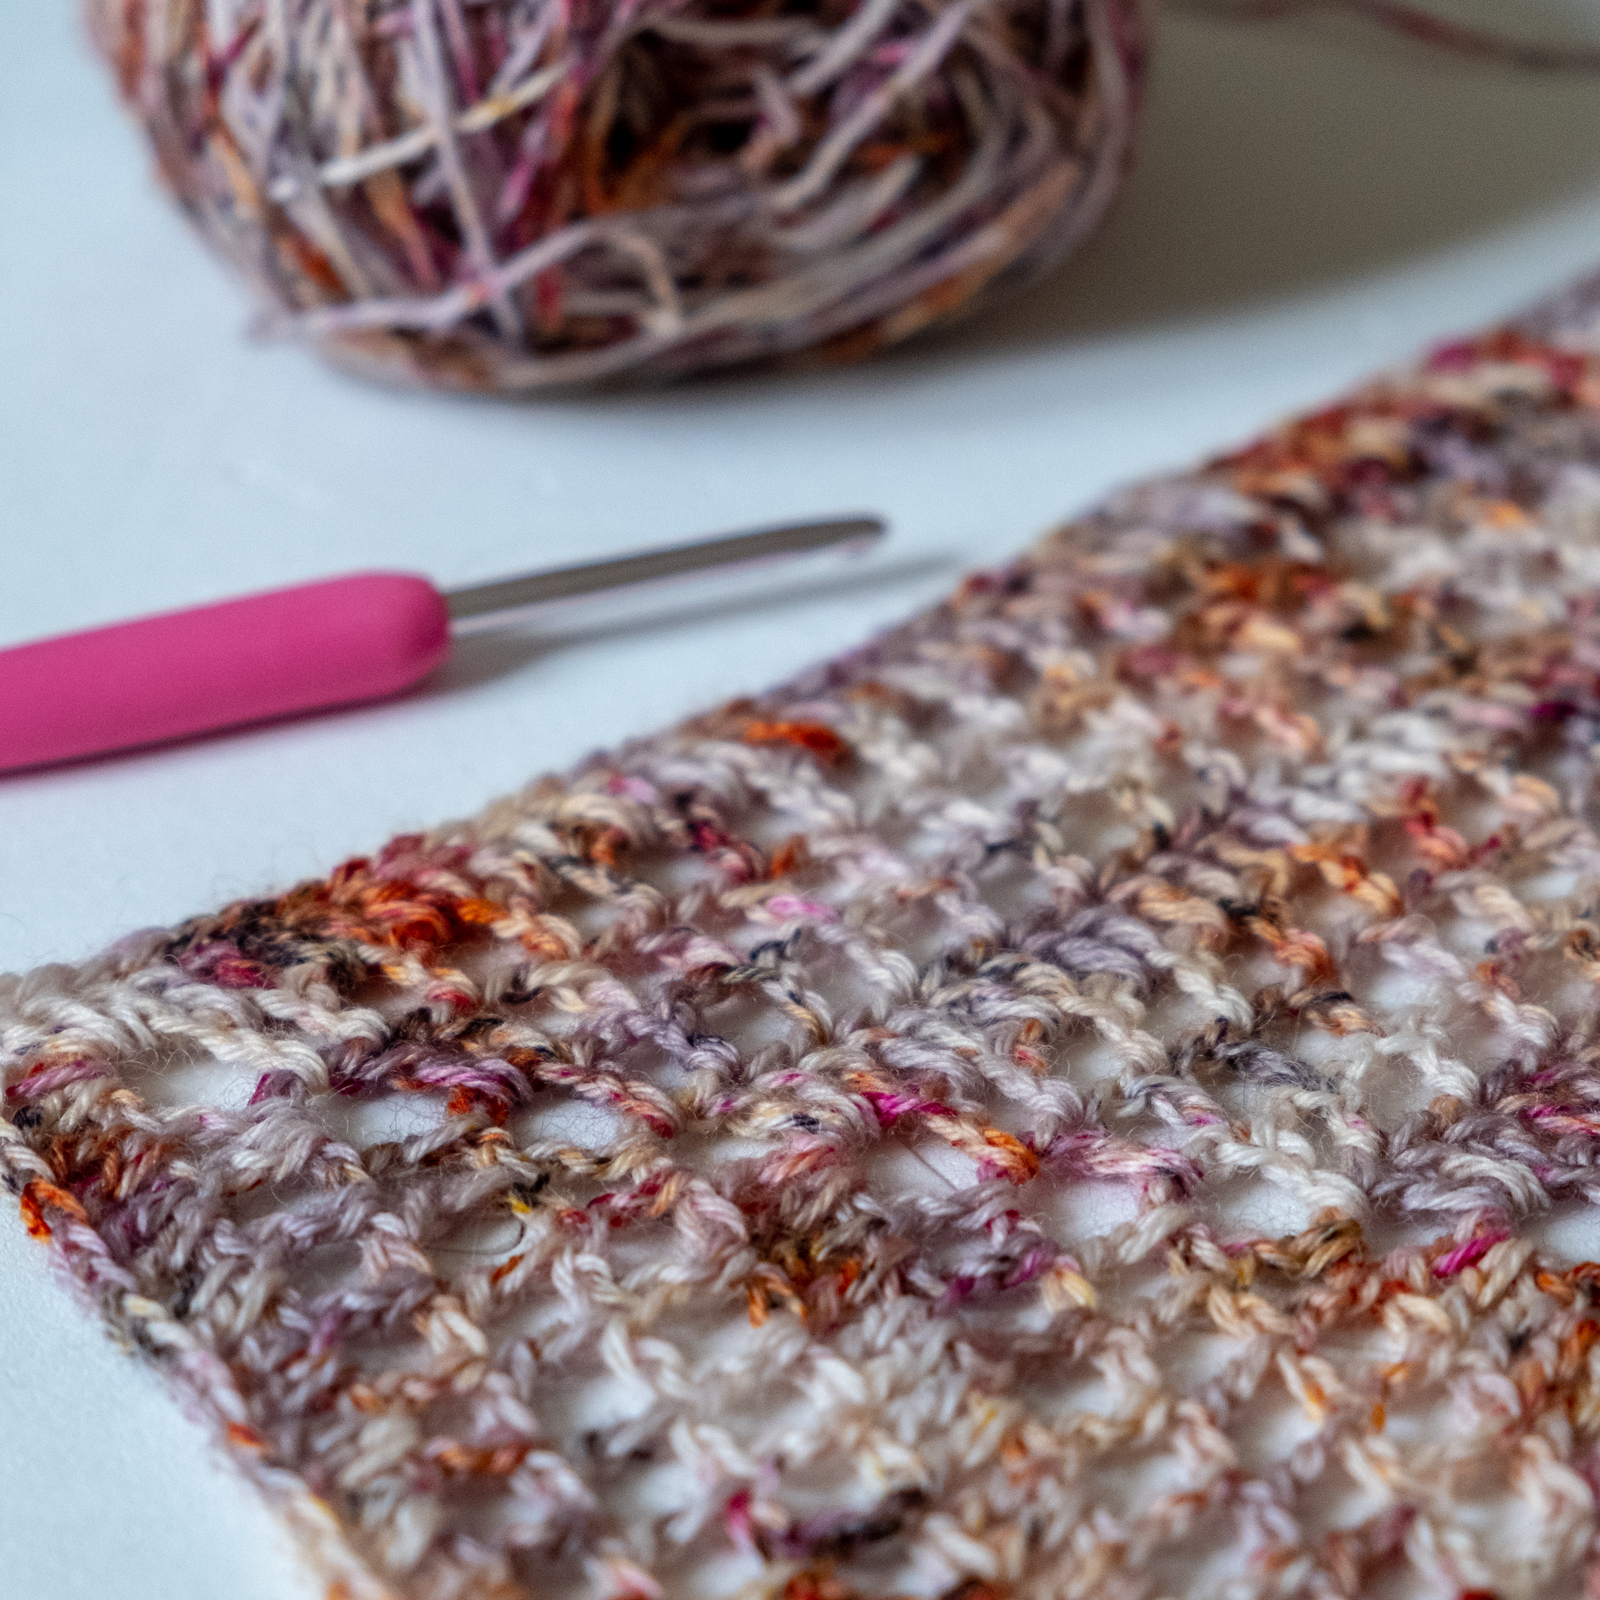
Oh, and the swatch definitely proved that in this case yarn and pattern are a good match!
The Making
The shawl was going to be my holiday project (and I actually managed to only take this particular project with me on holiday). Therefore, I made a start at home, but I didn’t want to work on it too much and save some for the holidays. Everything was neatly packed in a project bag and went with me to England (I’ll do a separate blog post about it). And even just this one project was too much :). I worked on the main part but didn’t even get to the border! There just was not more crochet time, which is a good sign. There was so much to see and do!
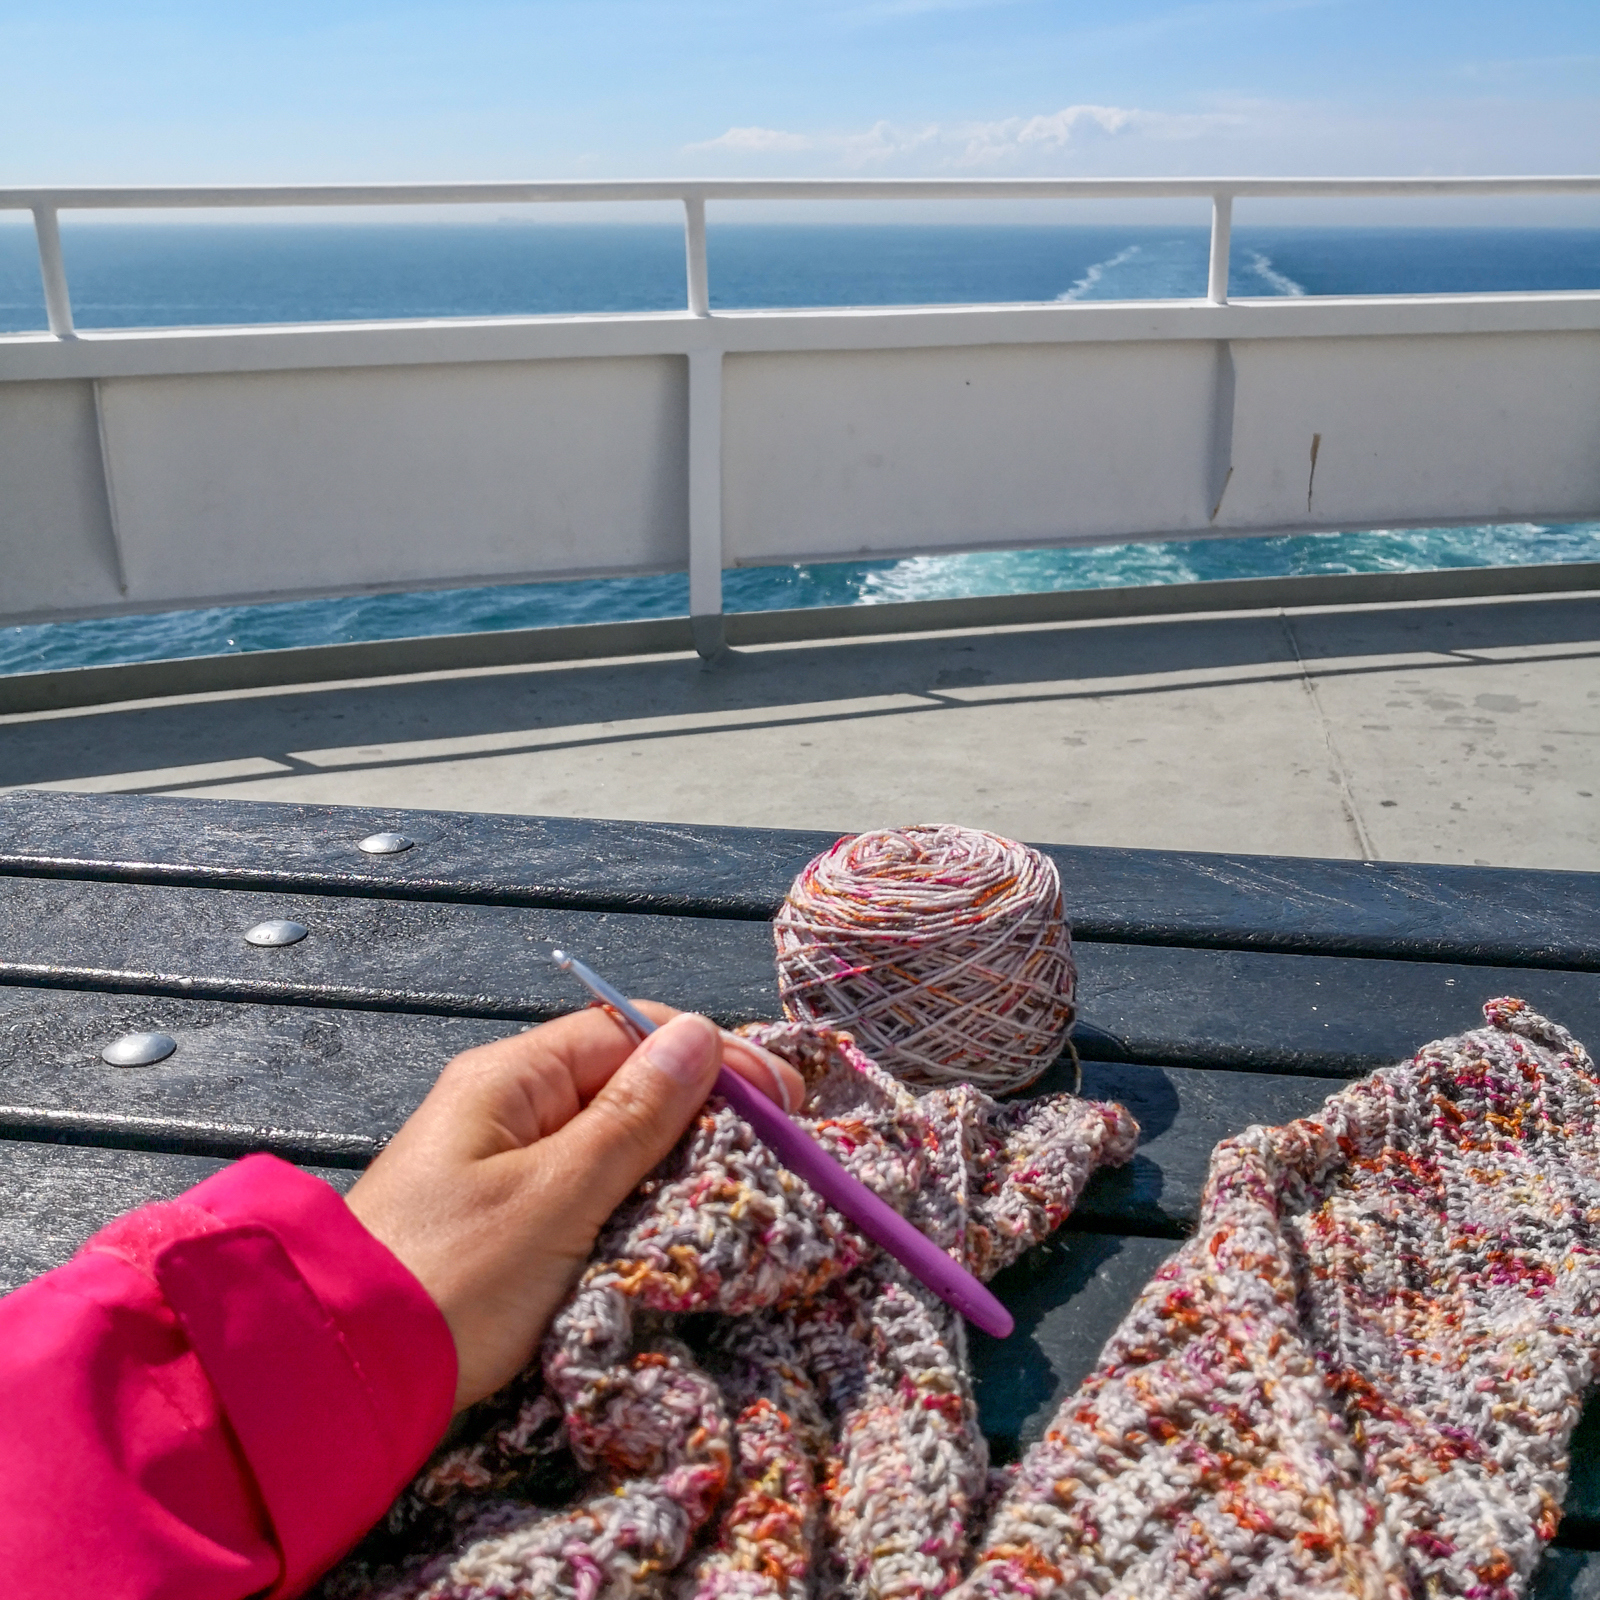
By the time we got home, I almost finished the main part, just a few more rows before I could start the more exciting part: the border!
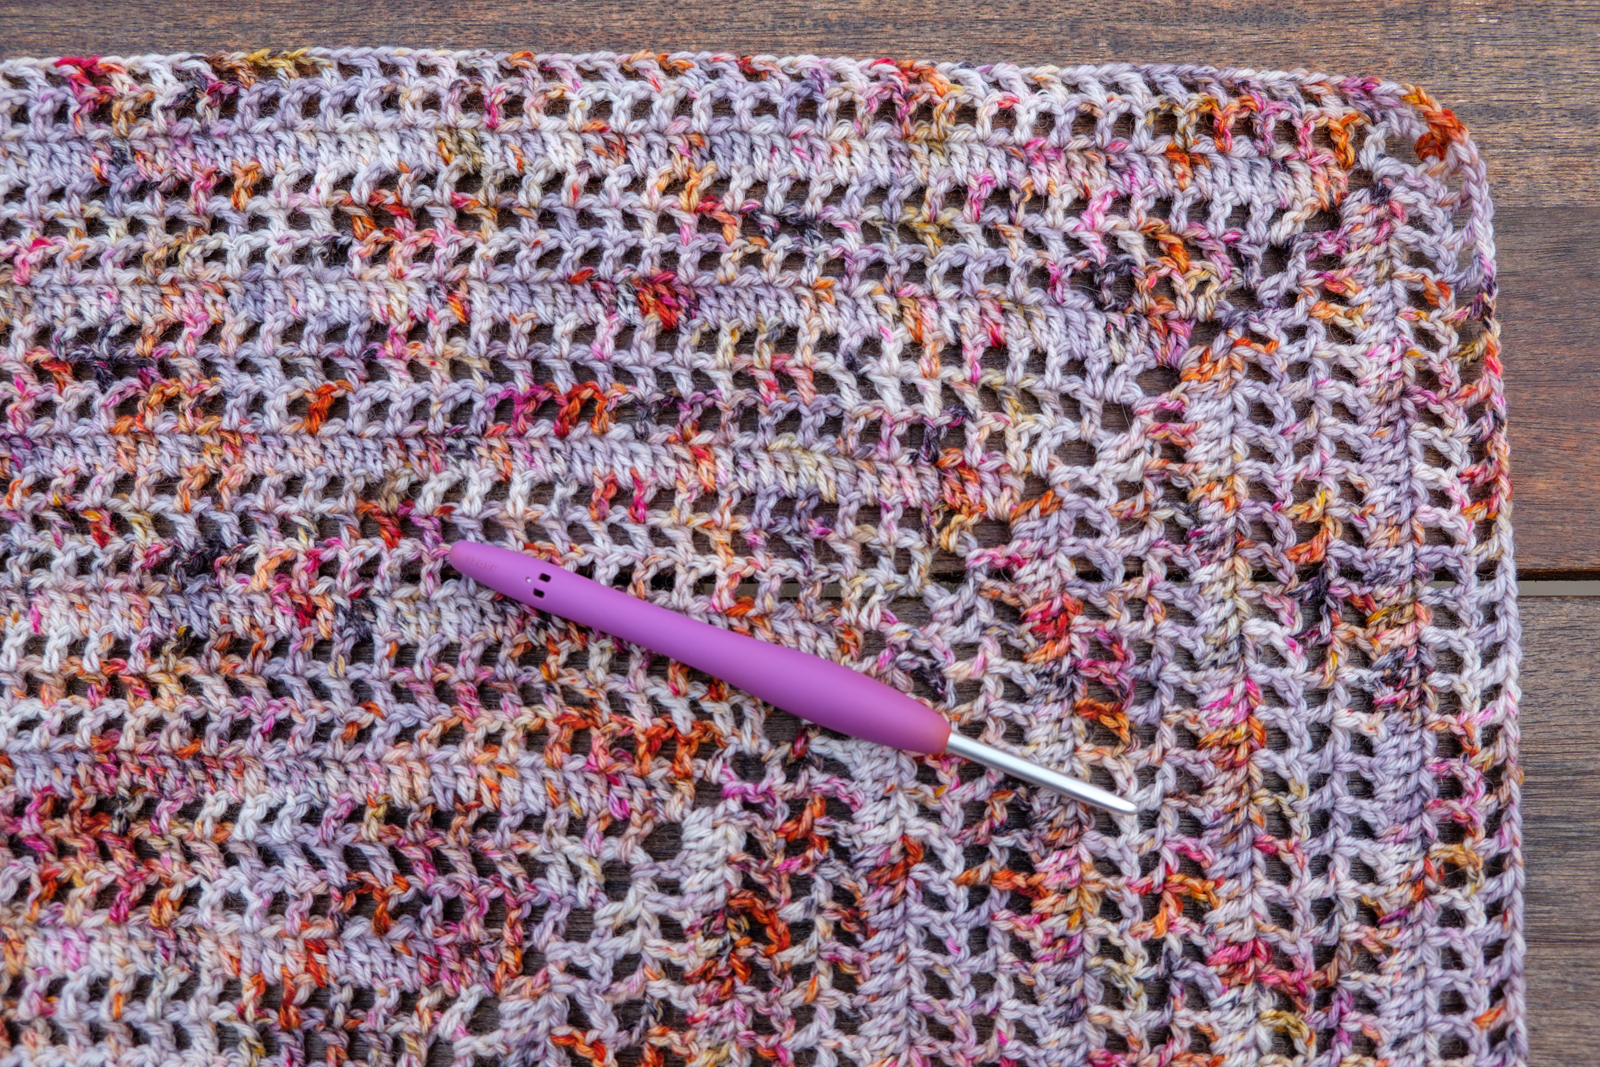
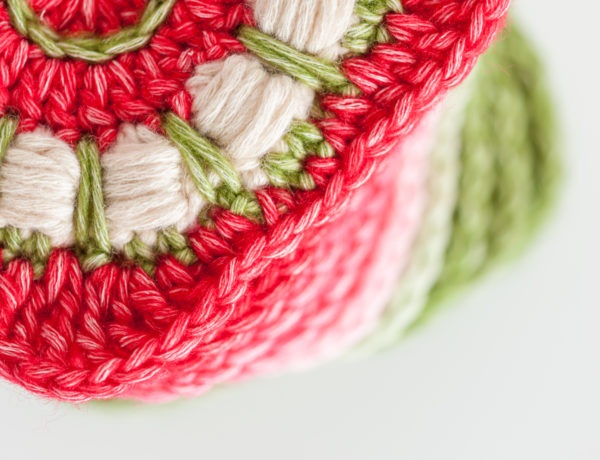
I like the texture of the main part, but (being easily distracted) I just couldn’t wait to start the border section. Because at that point I would finally see how well the colours that I had picked would work together!
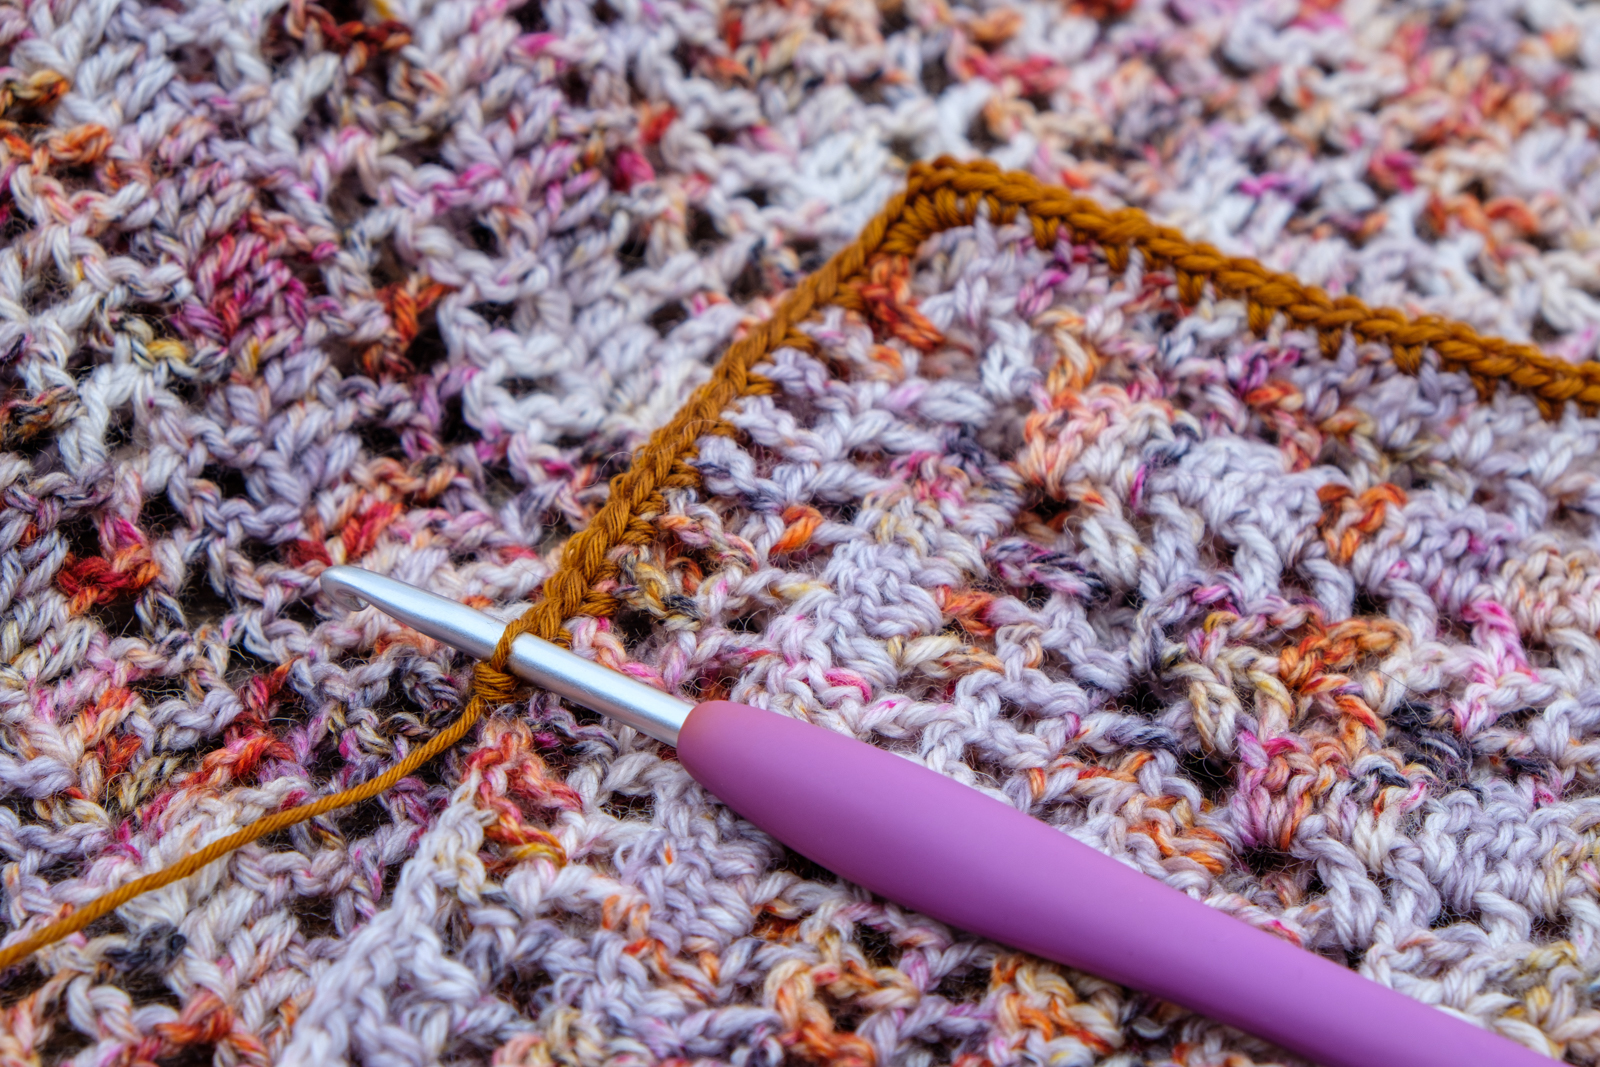
And yes! The totally do work very well together! Oh, and the other speckled yarn (the one from Herbstblatt Regina) works too, even with the longer stitches. Pfew… I’m happy about that!
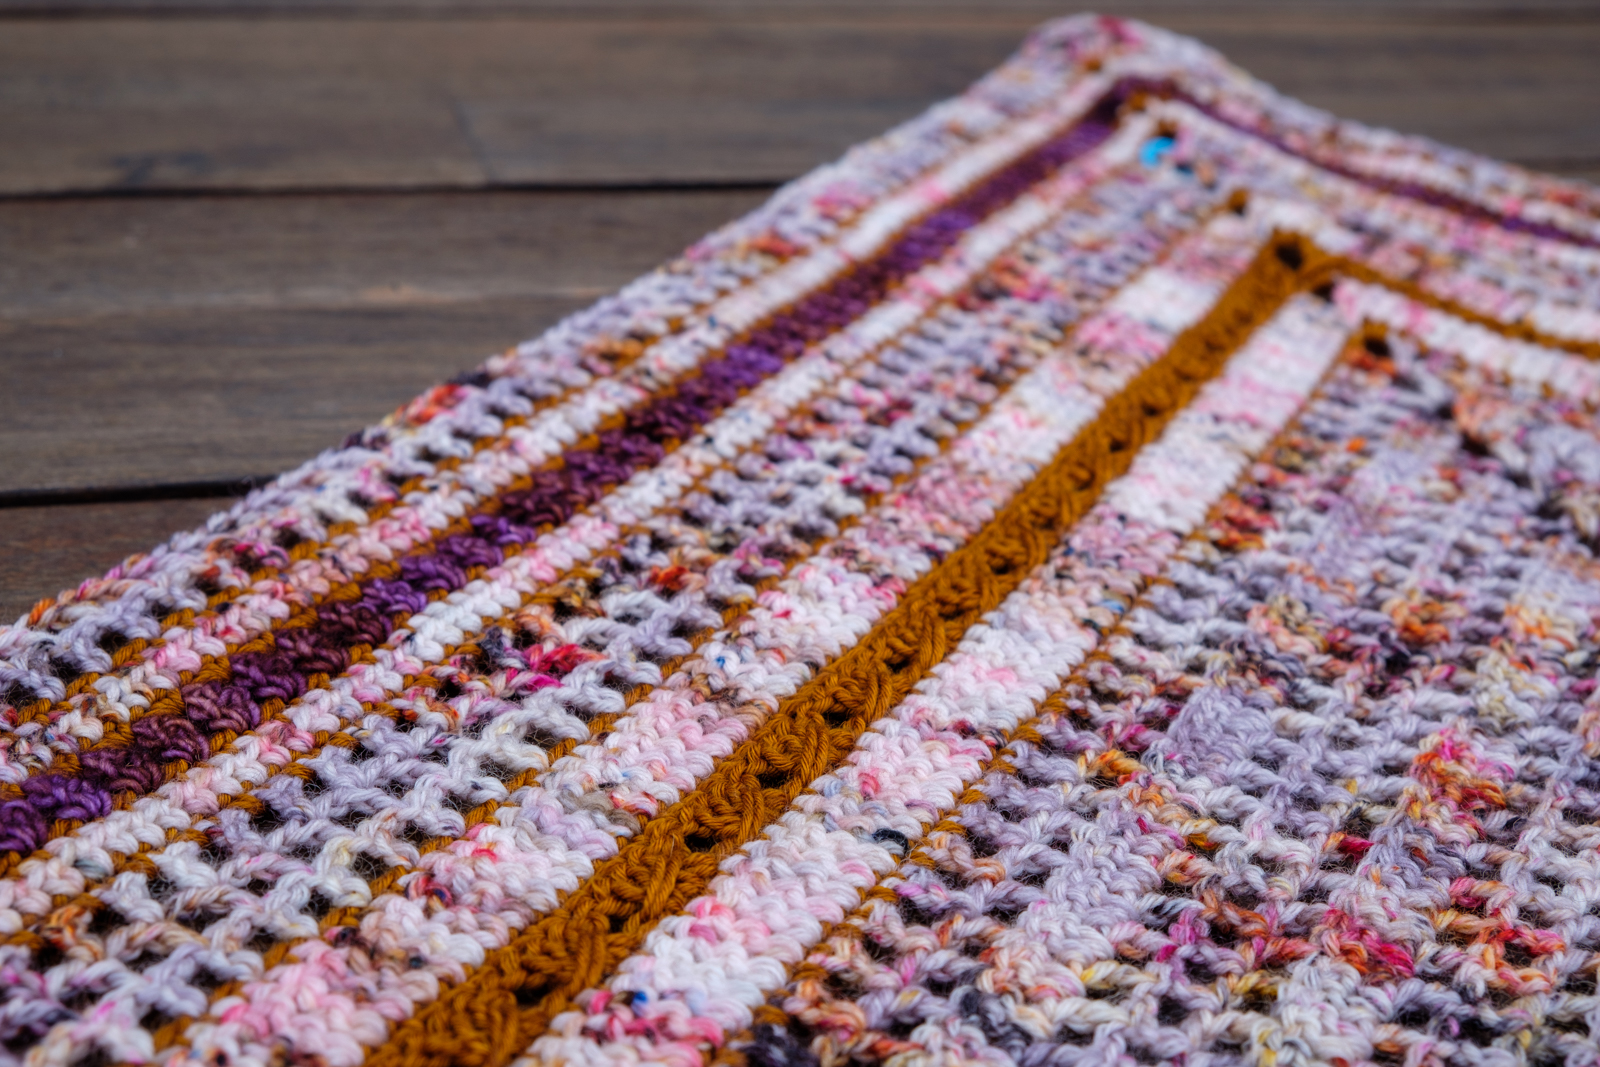
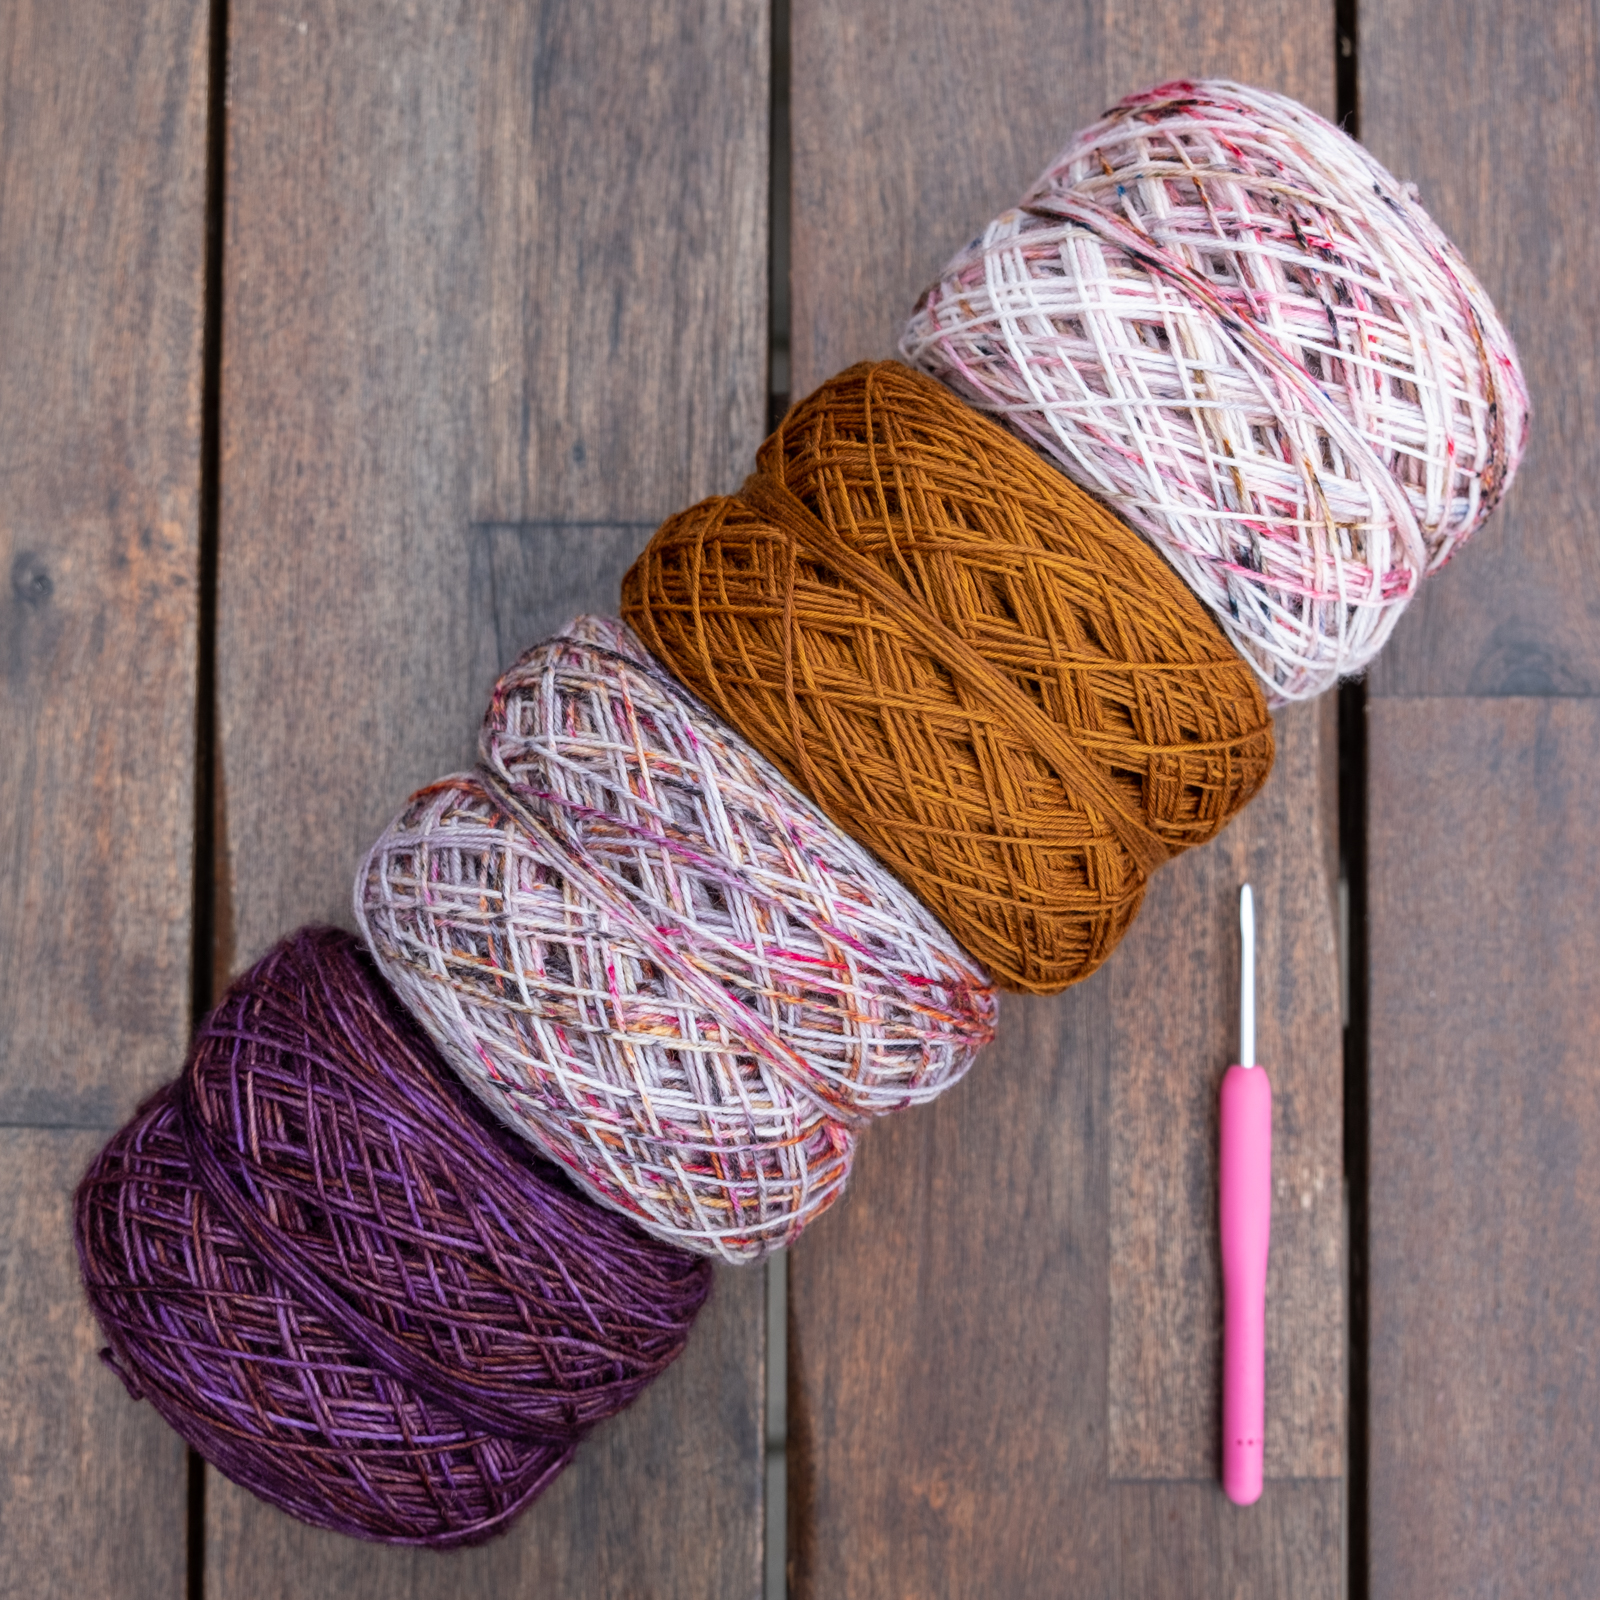
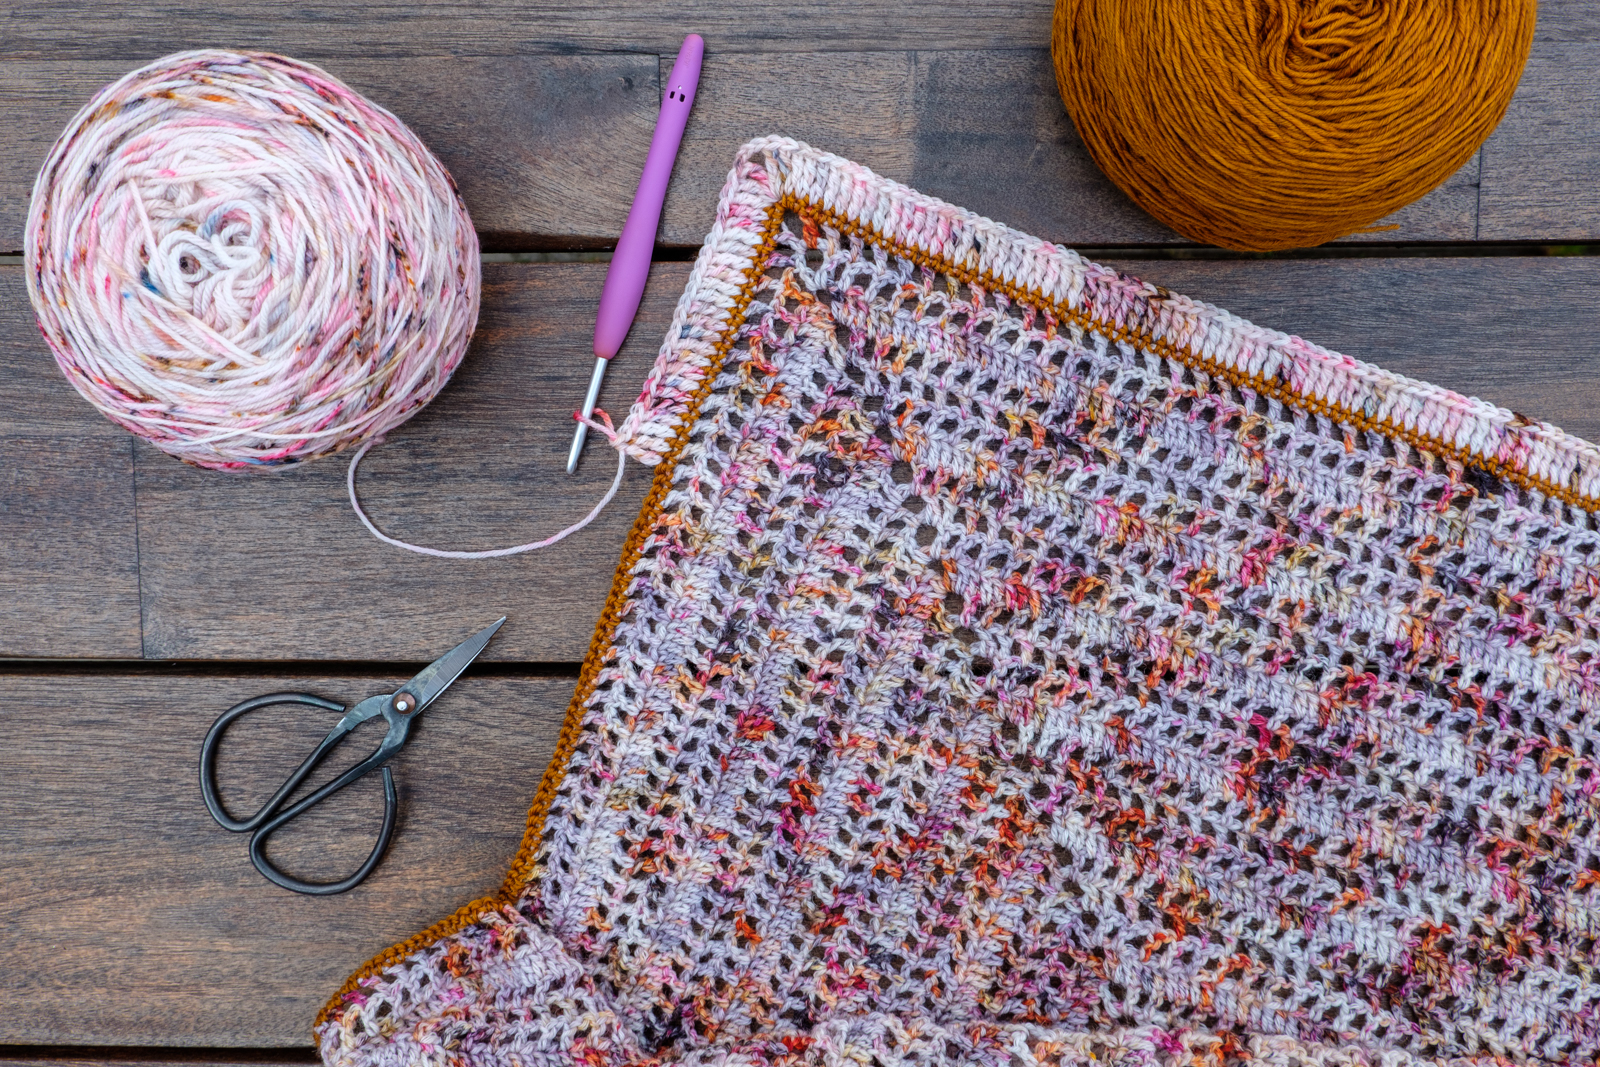
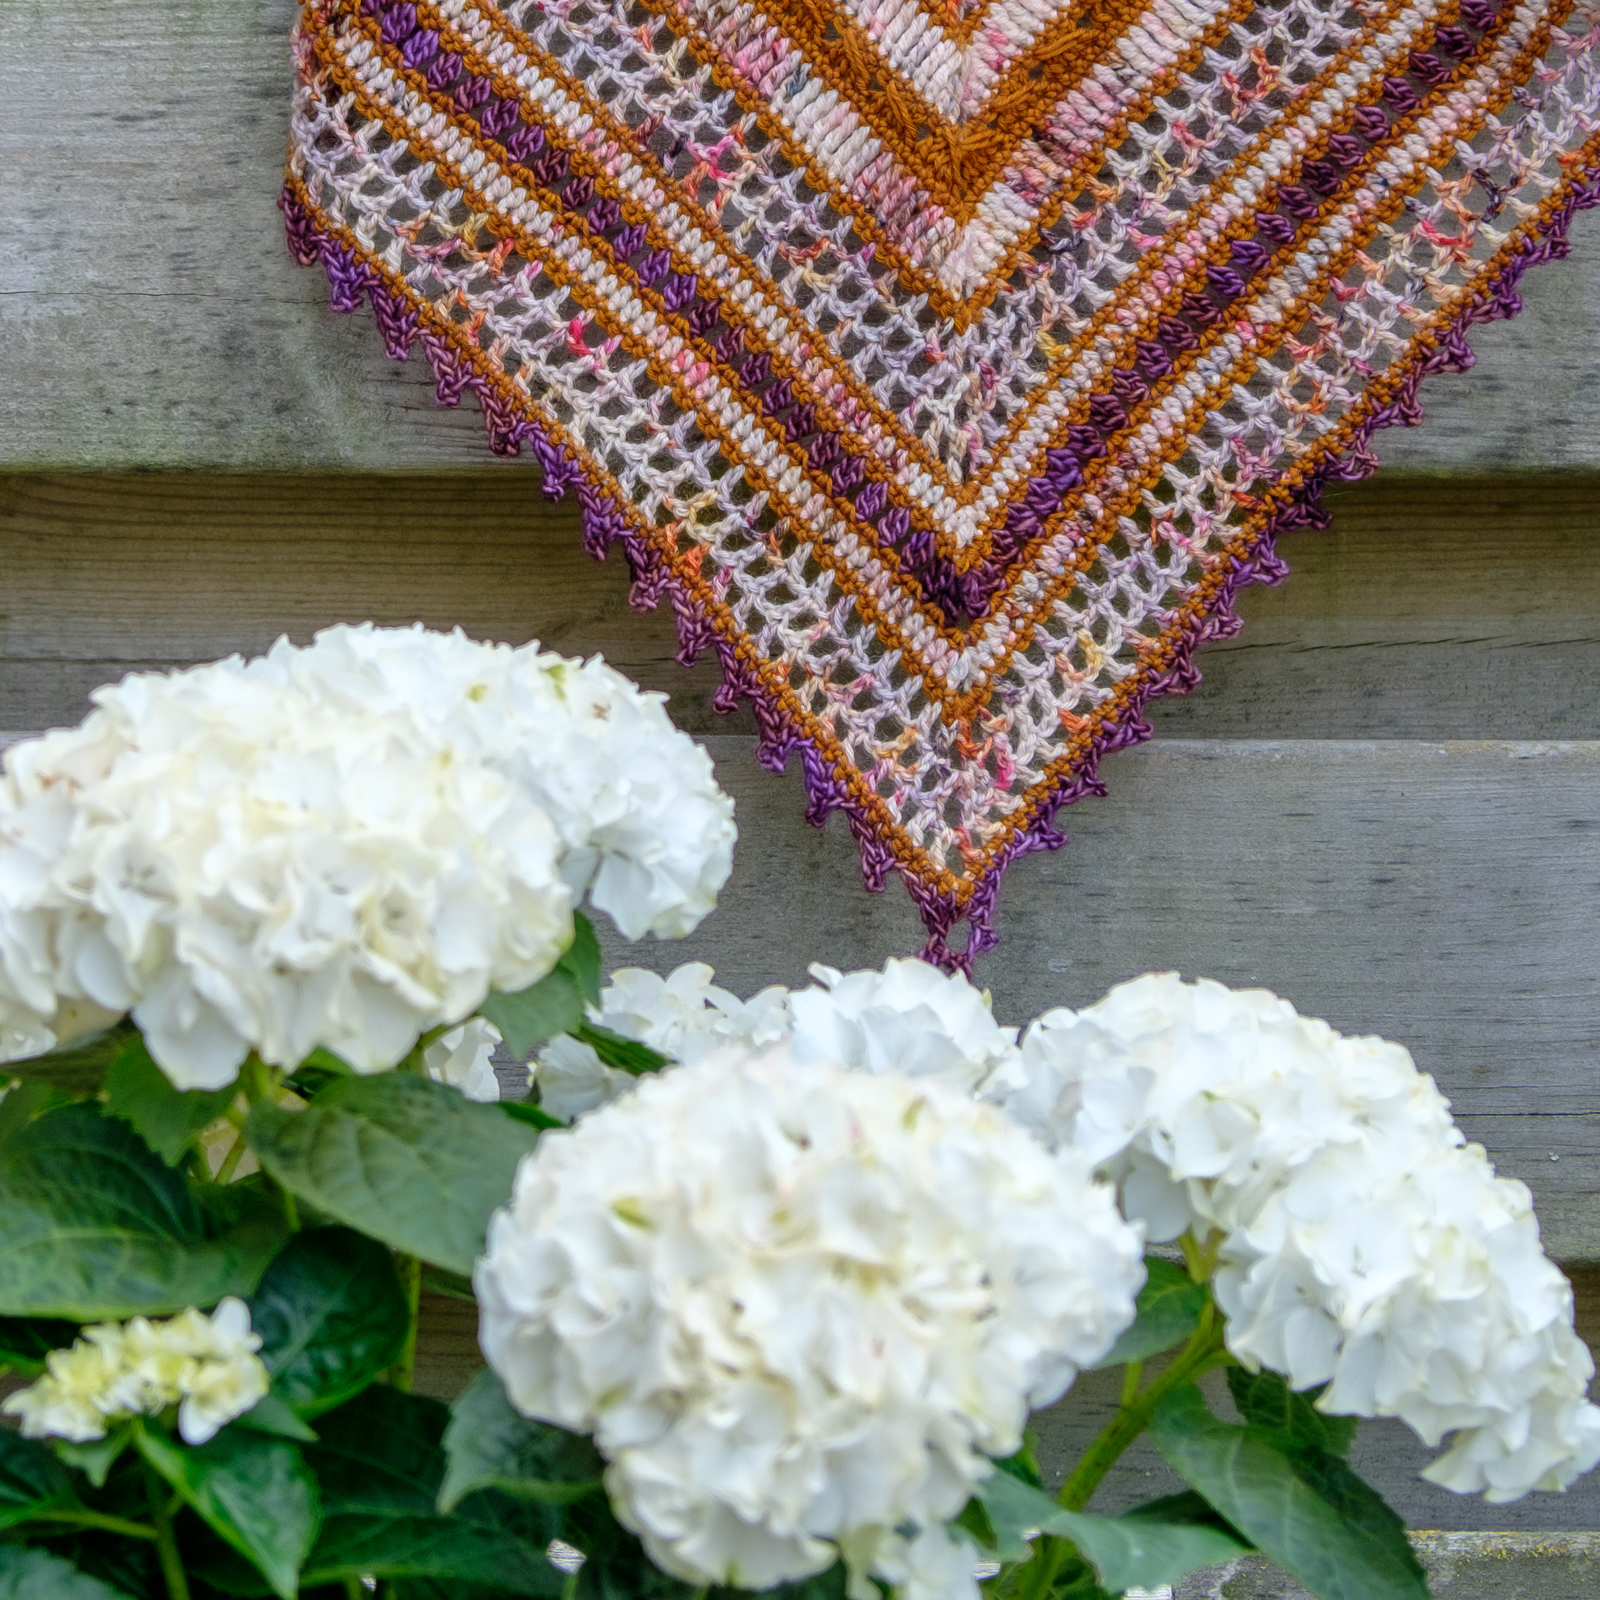
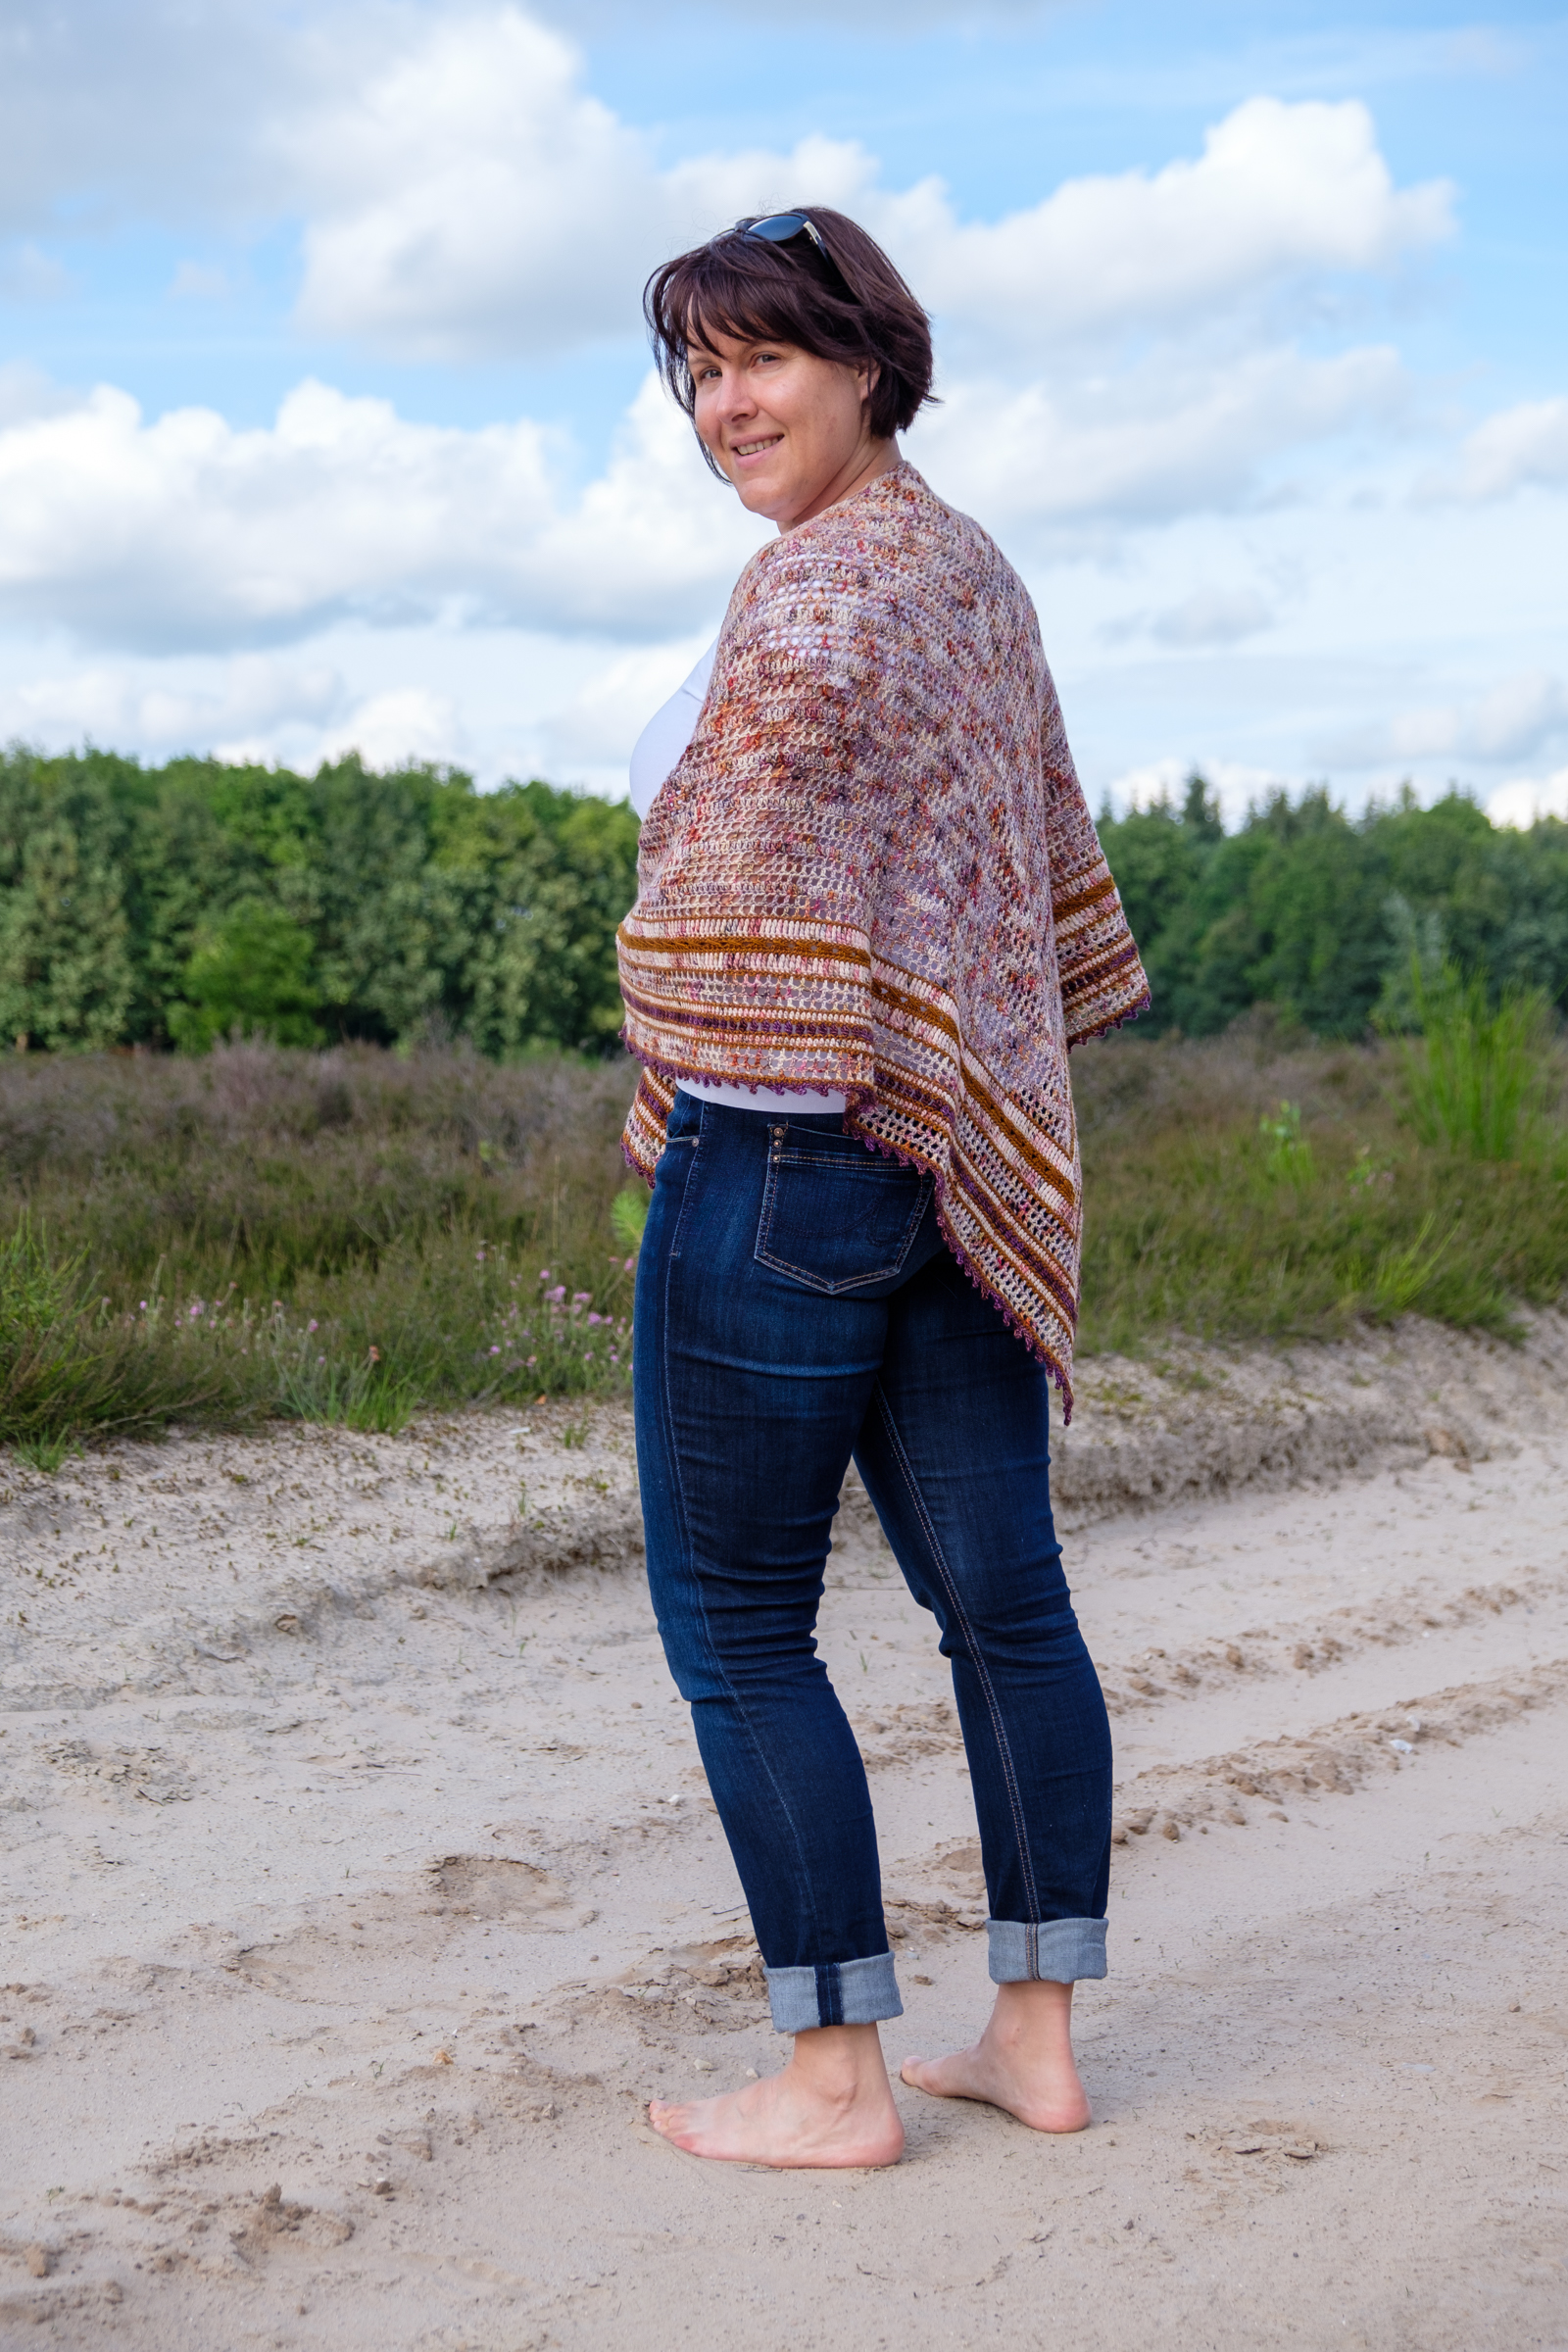
Don’t you just love the texture that the different stitches in the border create? I absolutely do! And I really have to say that all of the yarns are very nice to work with. Apart from the Wol Met Verve yarn (which contains nylon), all of the yarns are 100% wool. The purple one is a single ply (the others are 4-ply) which adds interest to the texture.

And by the time I was working up the last few rows in the main colour, I almost ran out of yarn! Luckily I had kept my swatch (the one that I made using the smaller hook) and I could work straight from that for the remaining rows.
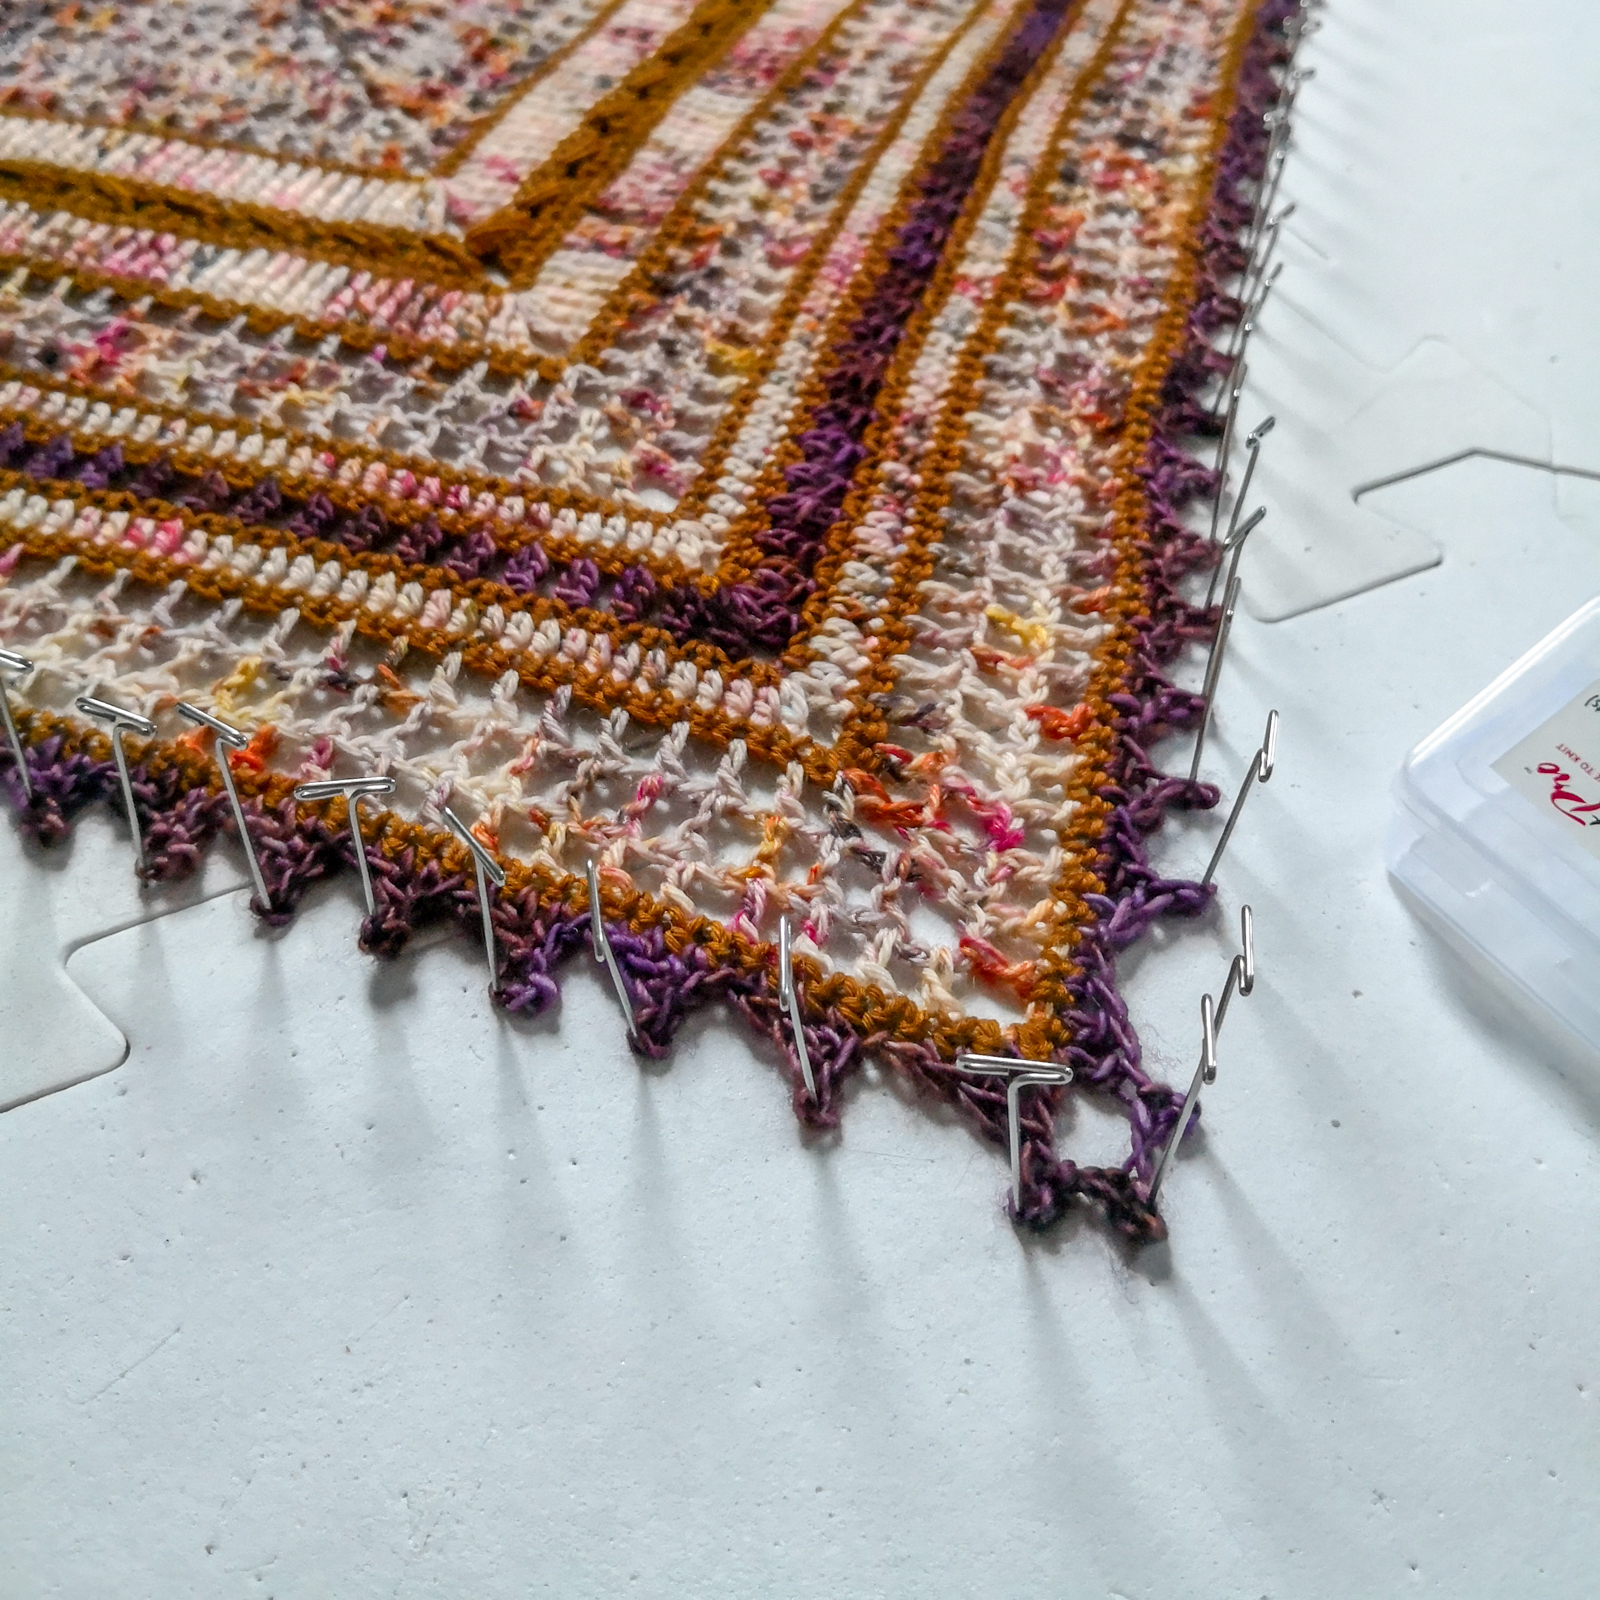
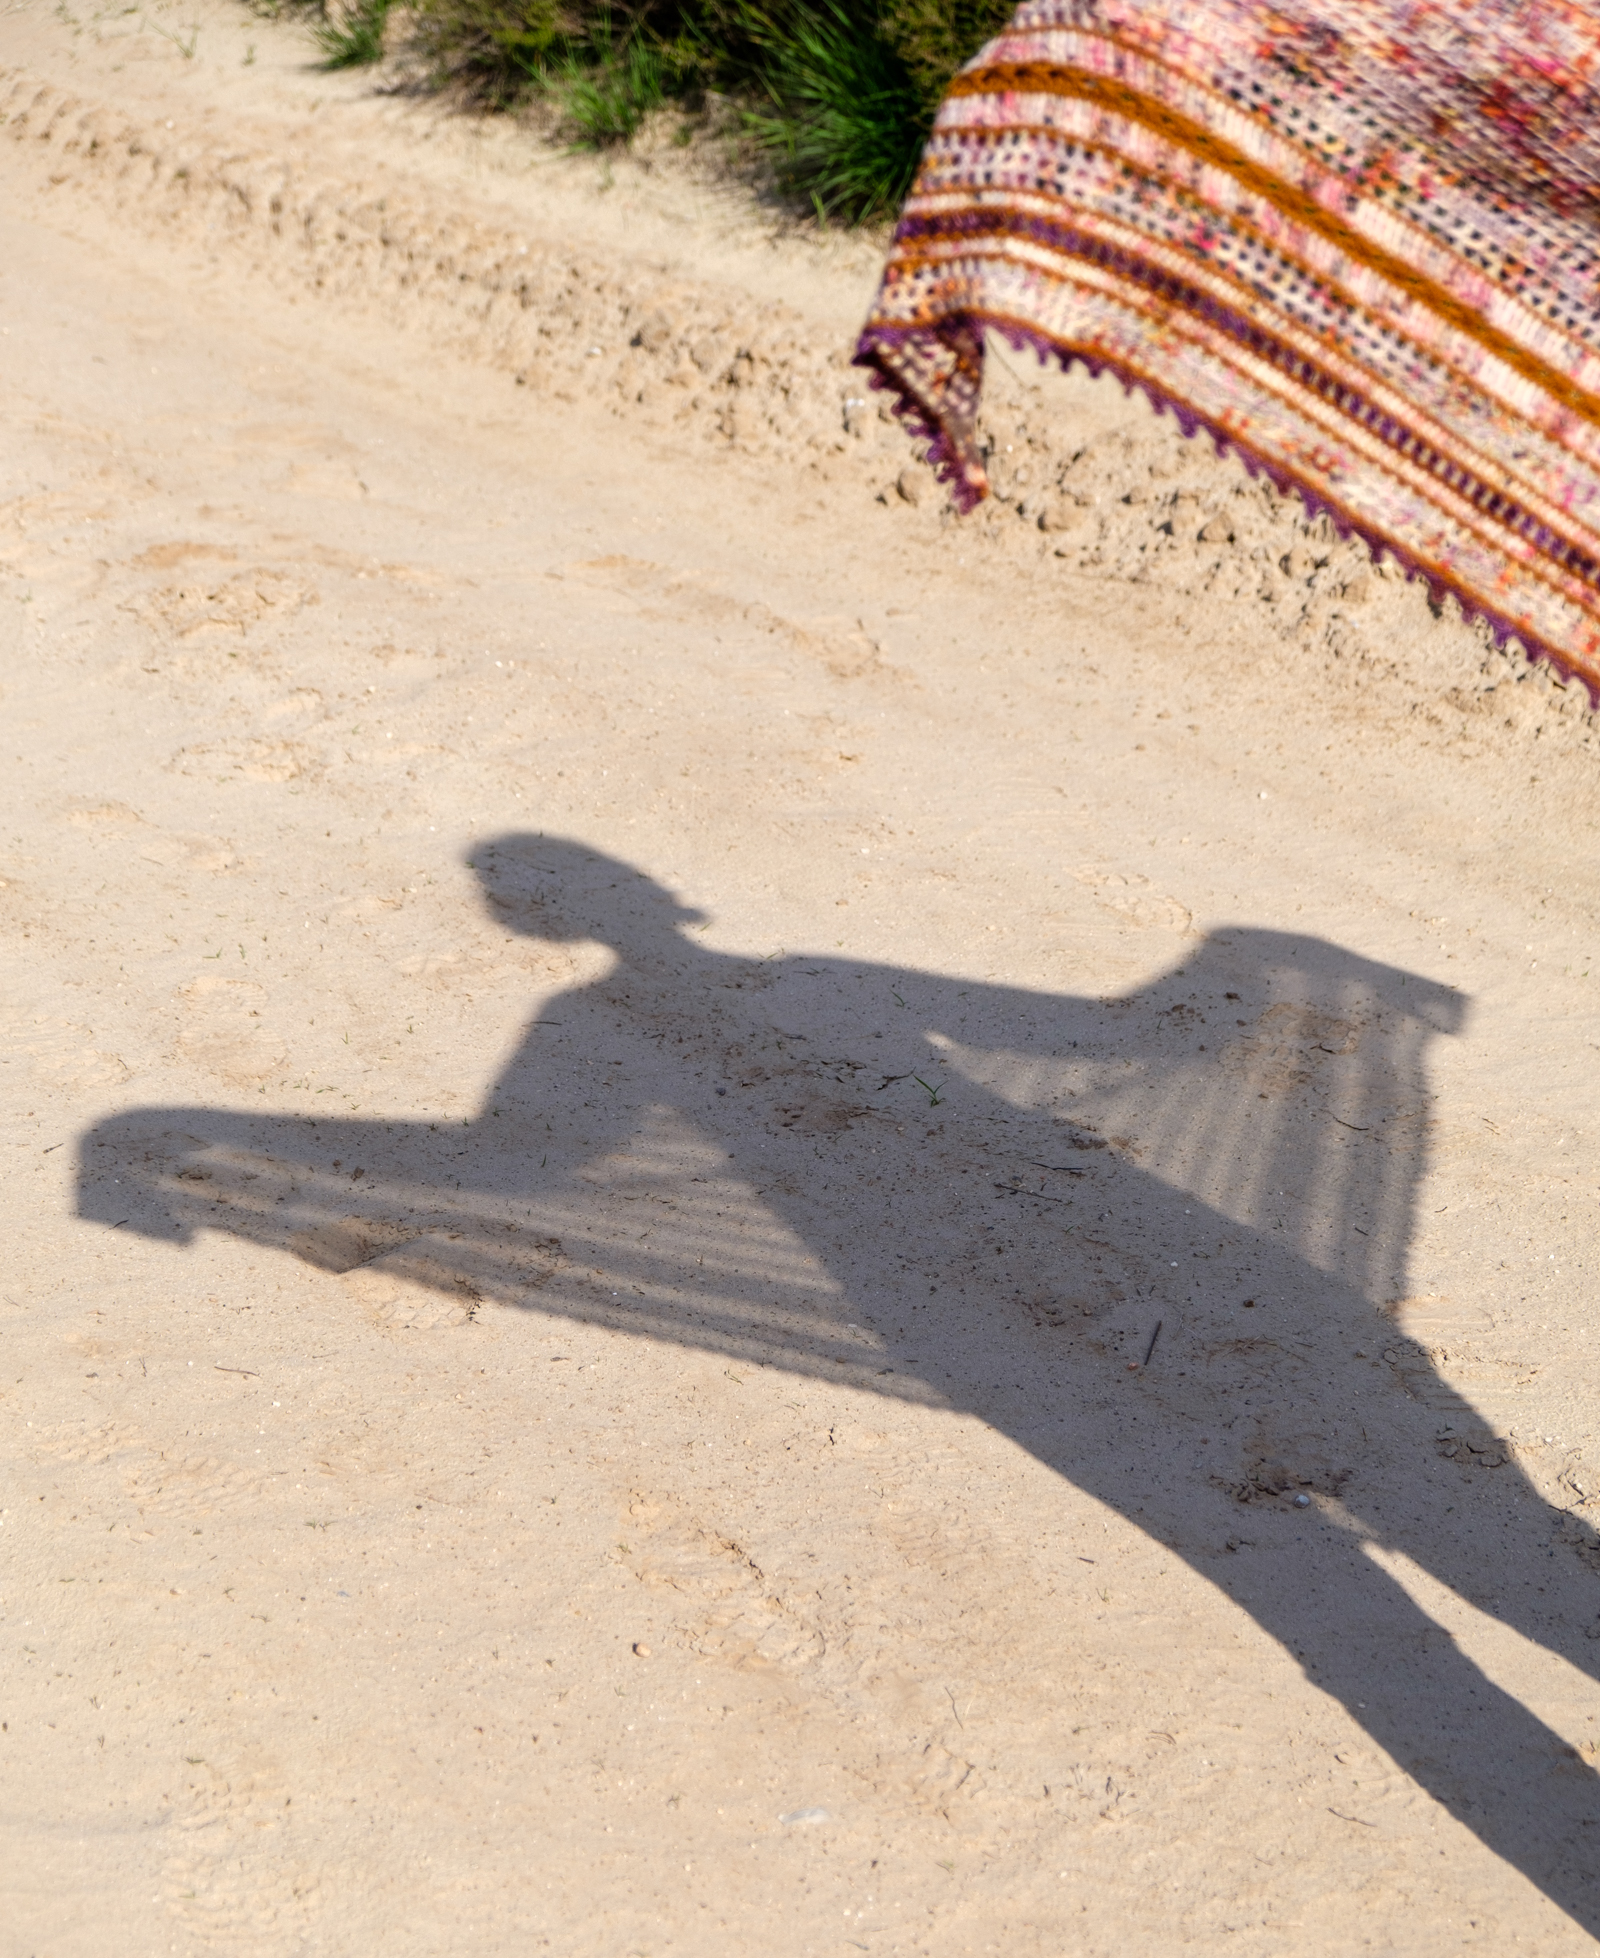
The last step was to make the edging… I like the pointy effect of the picot stitch but I don’t like making them. It’s a bit fiddly. So that took me a little longer and I had to make a slight adjustment at the tip of the shawl because apparently, my stitch count was a bit different. It was absolutely worth the effort though… The effect of blocking the shawl is beautiful!
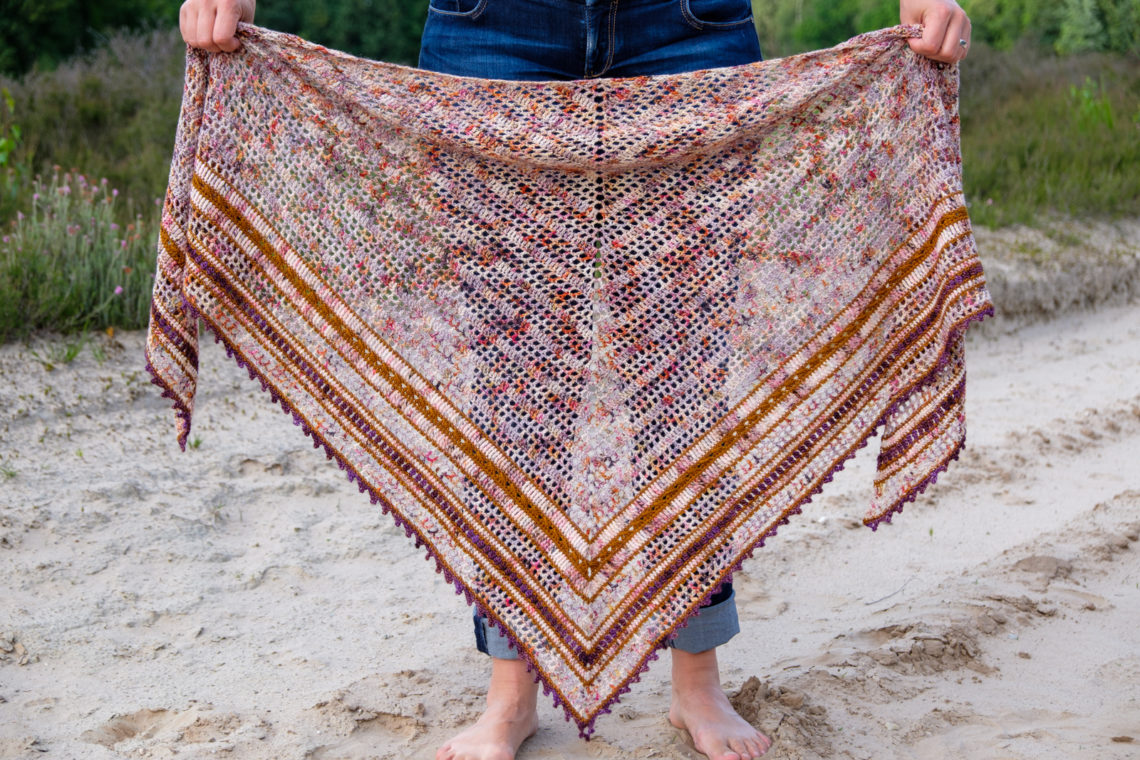
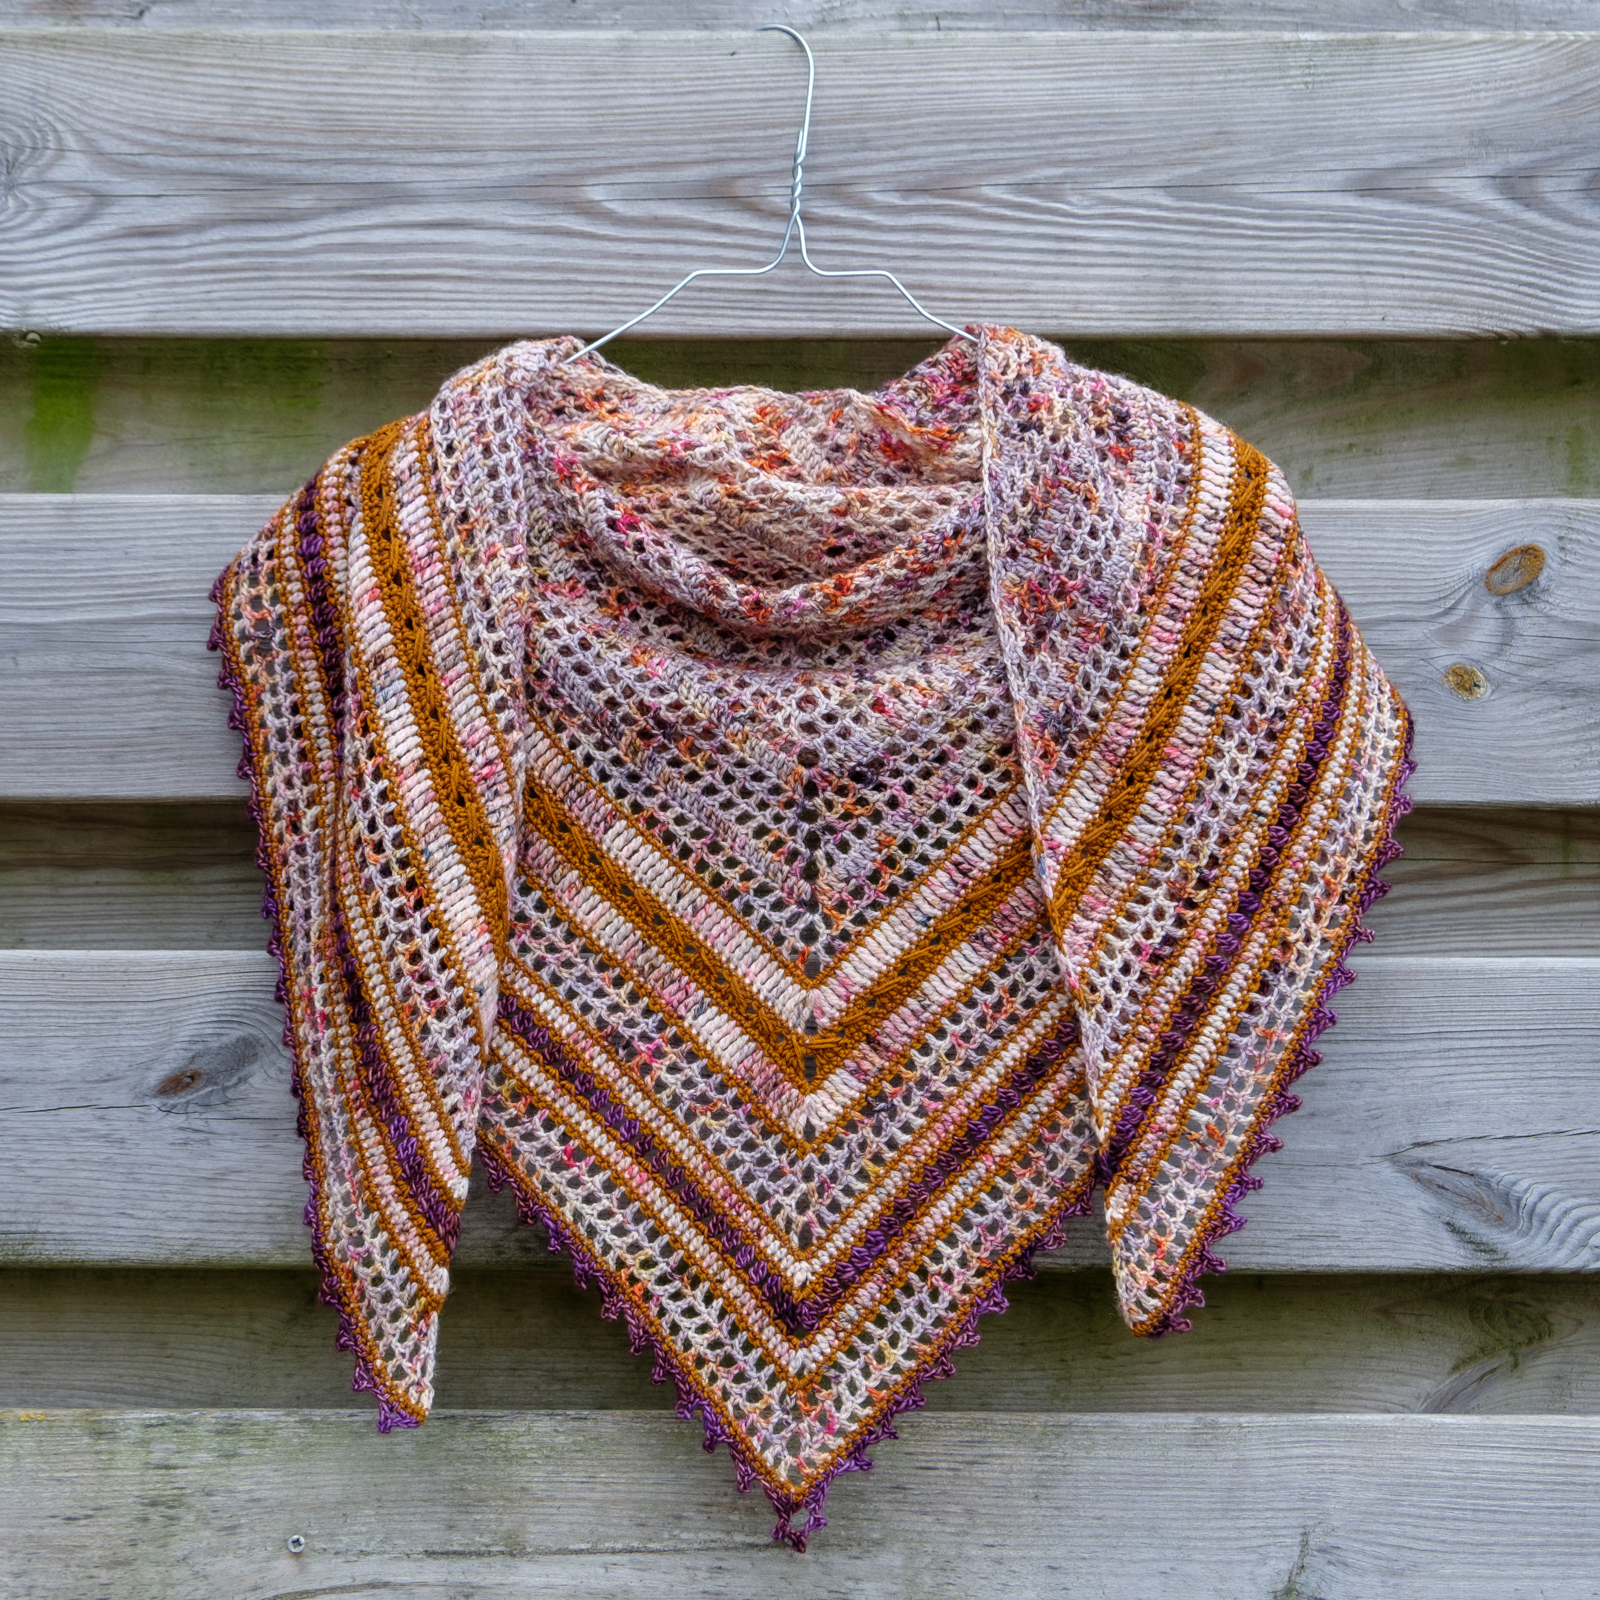
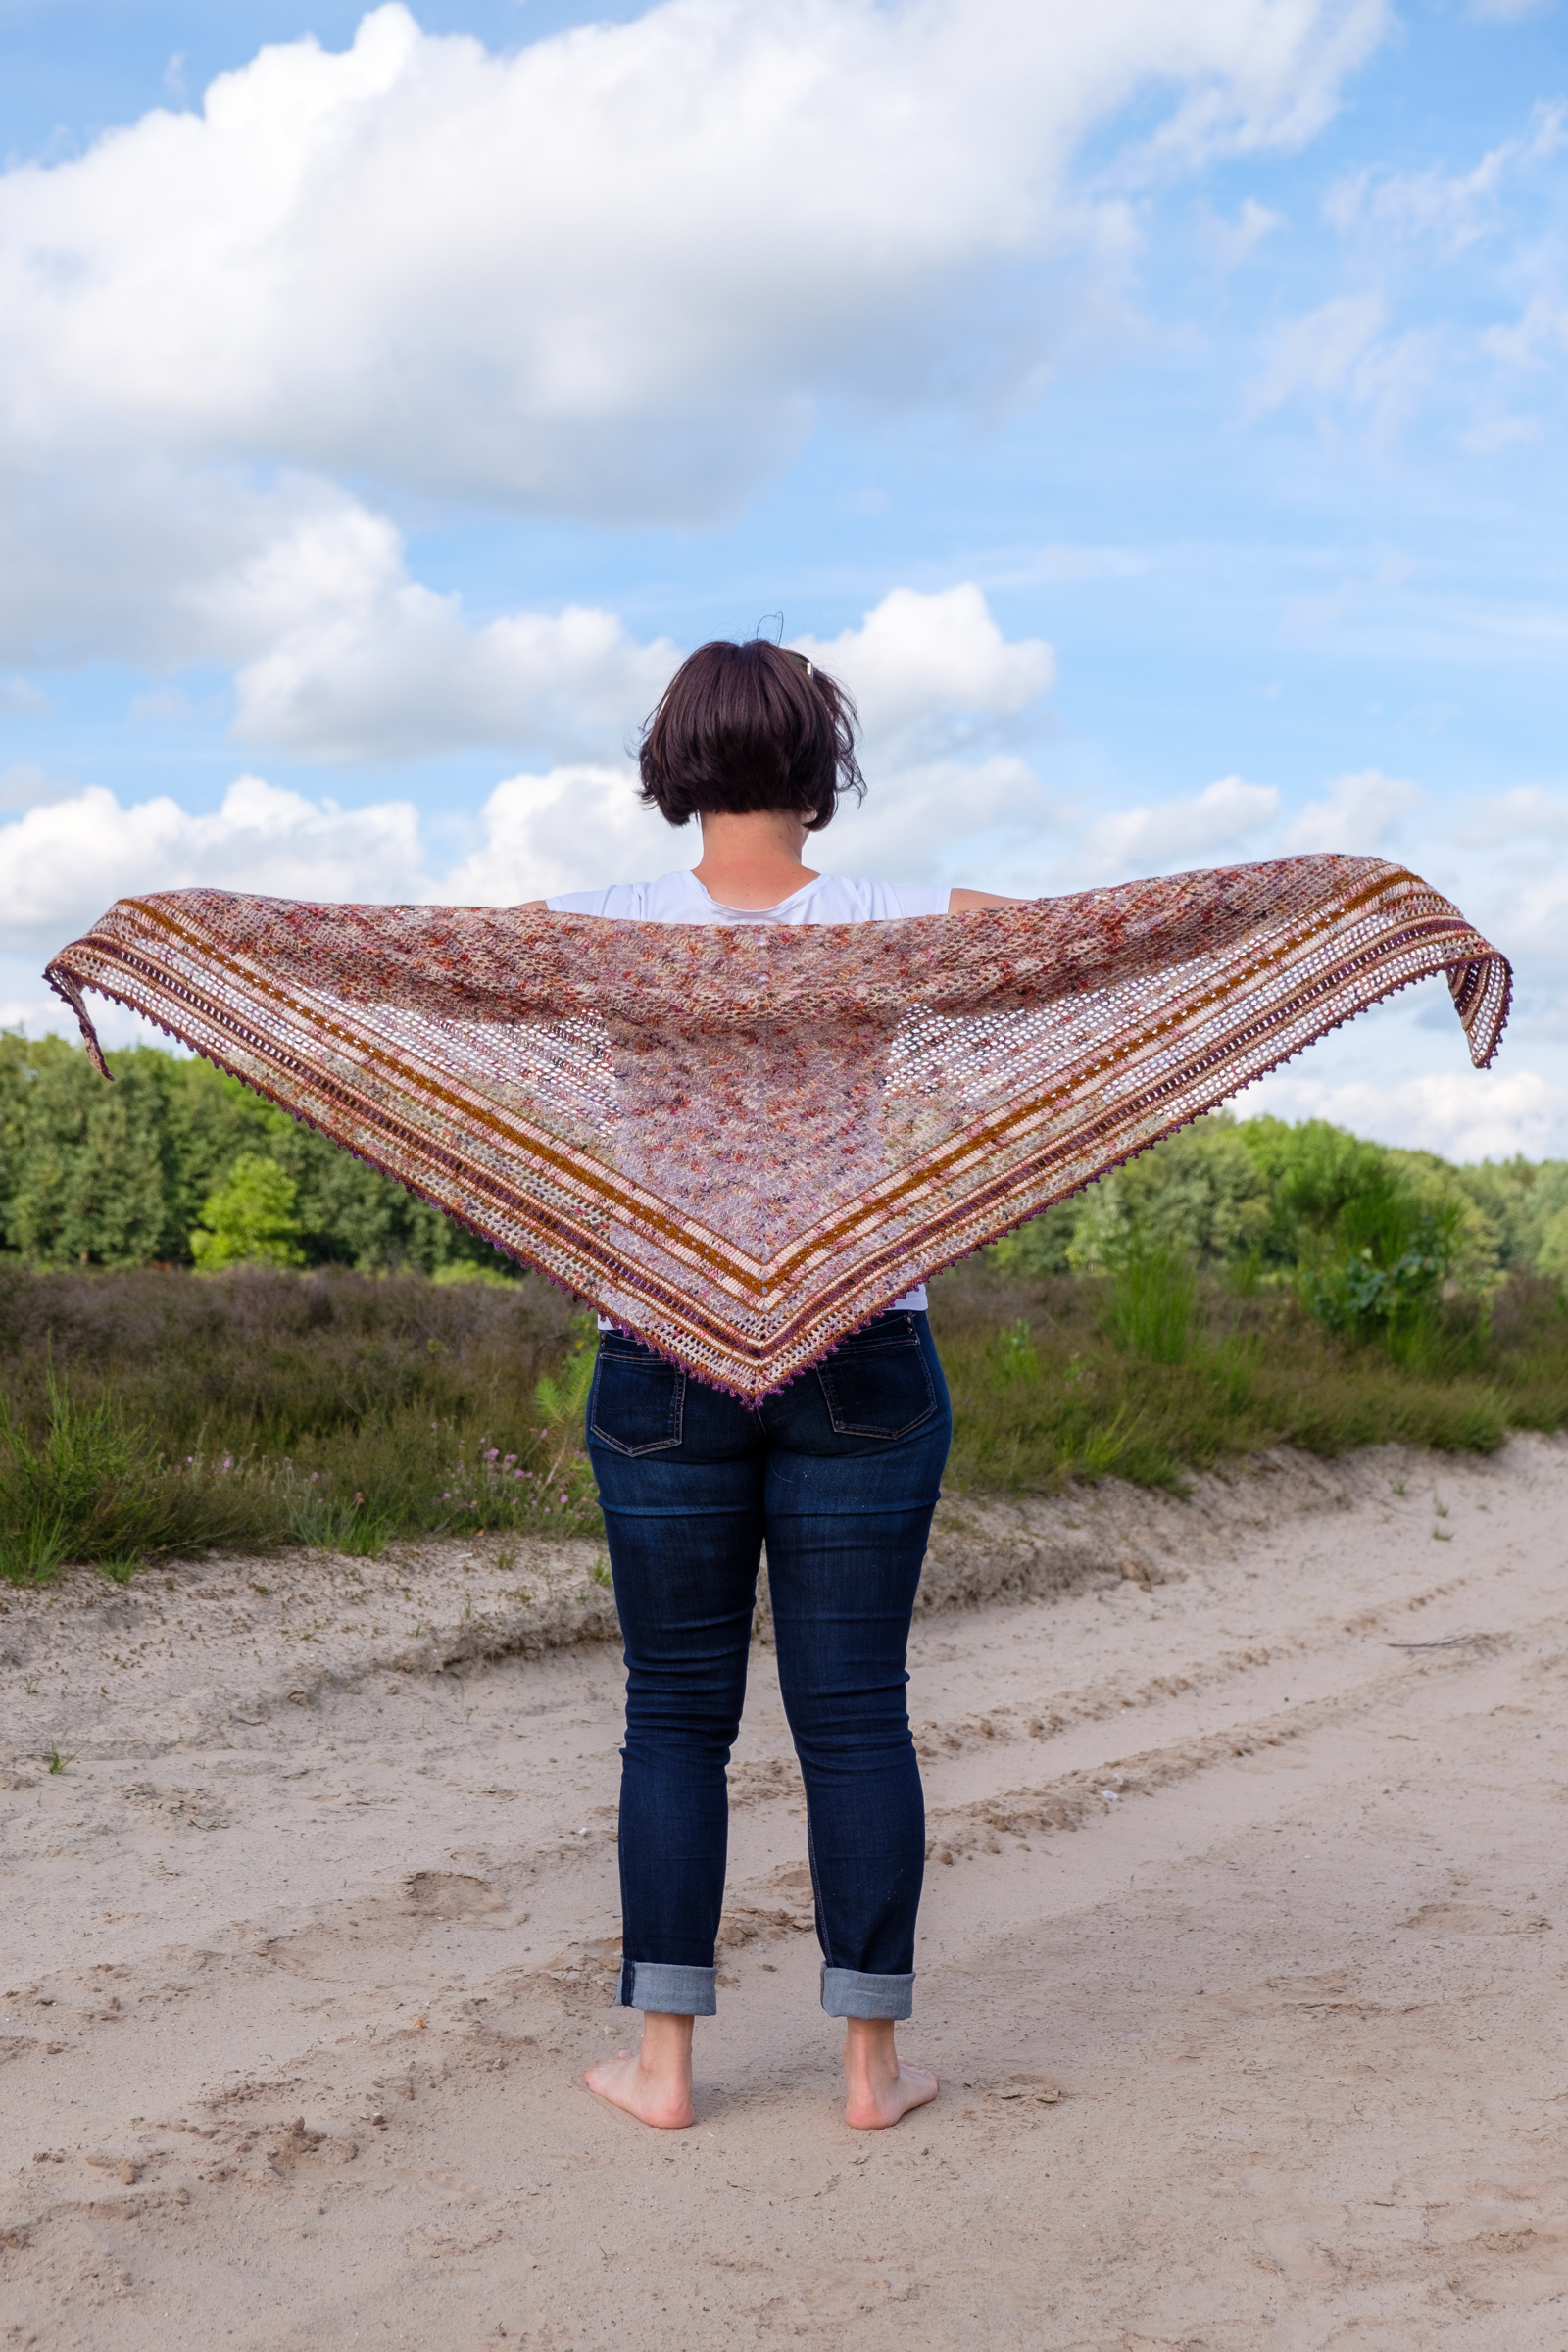
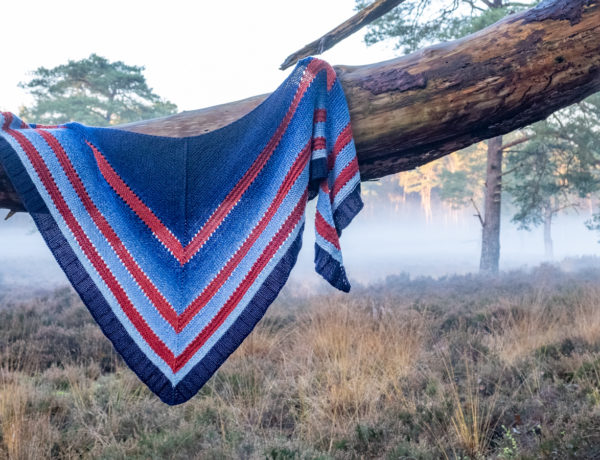
Ta-dah!
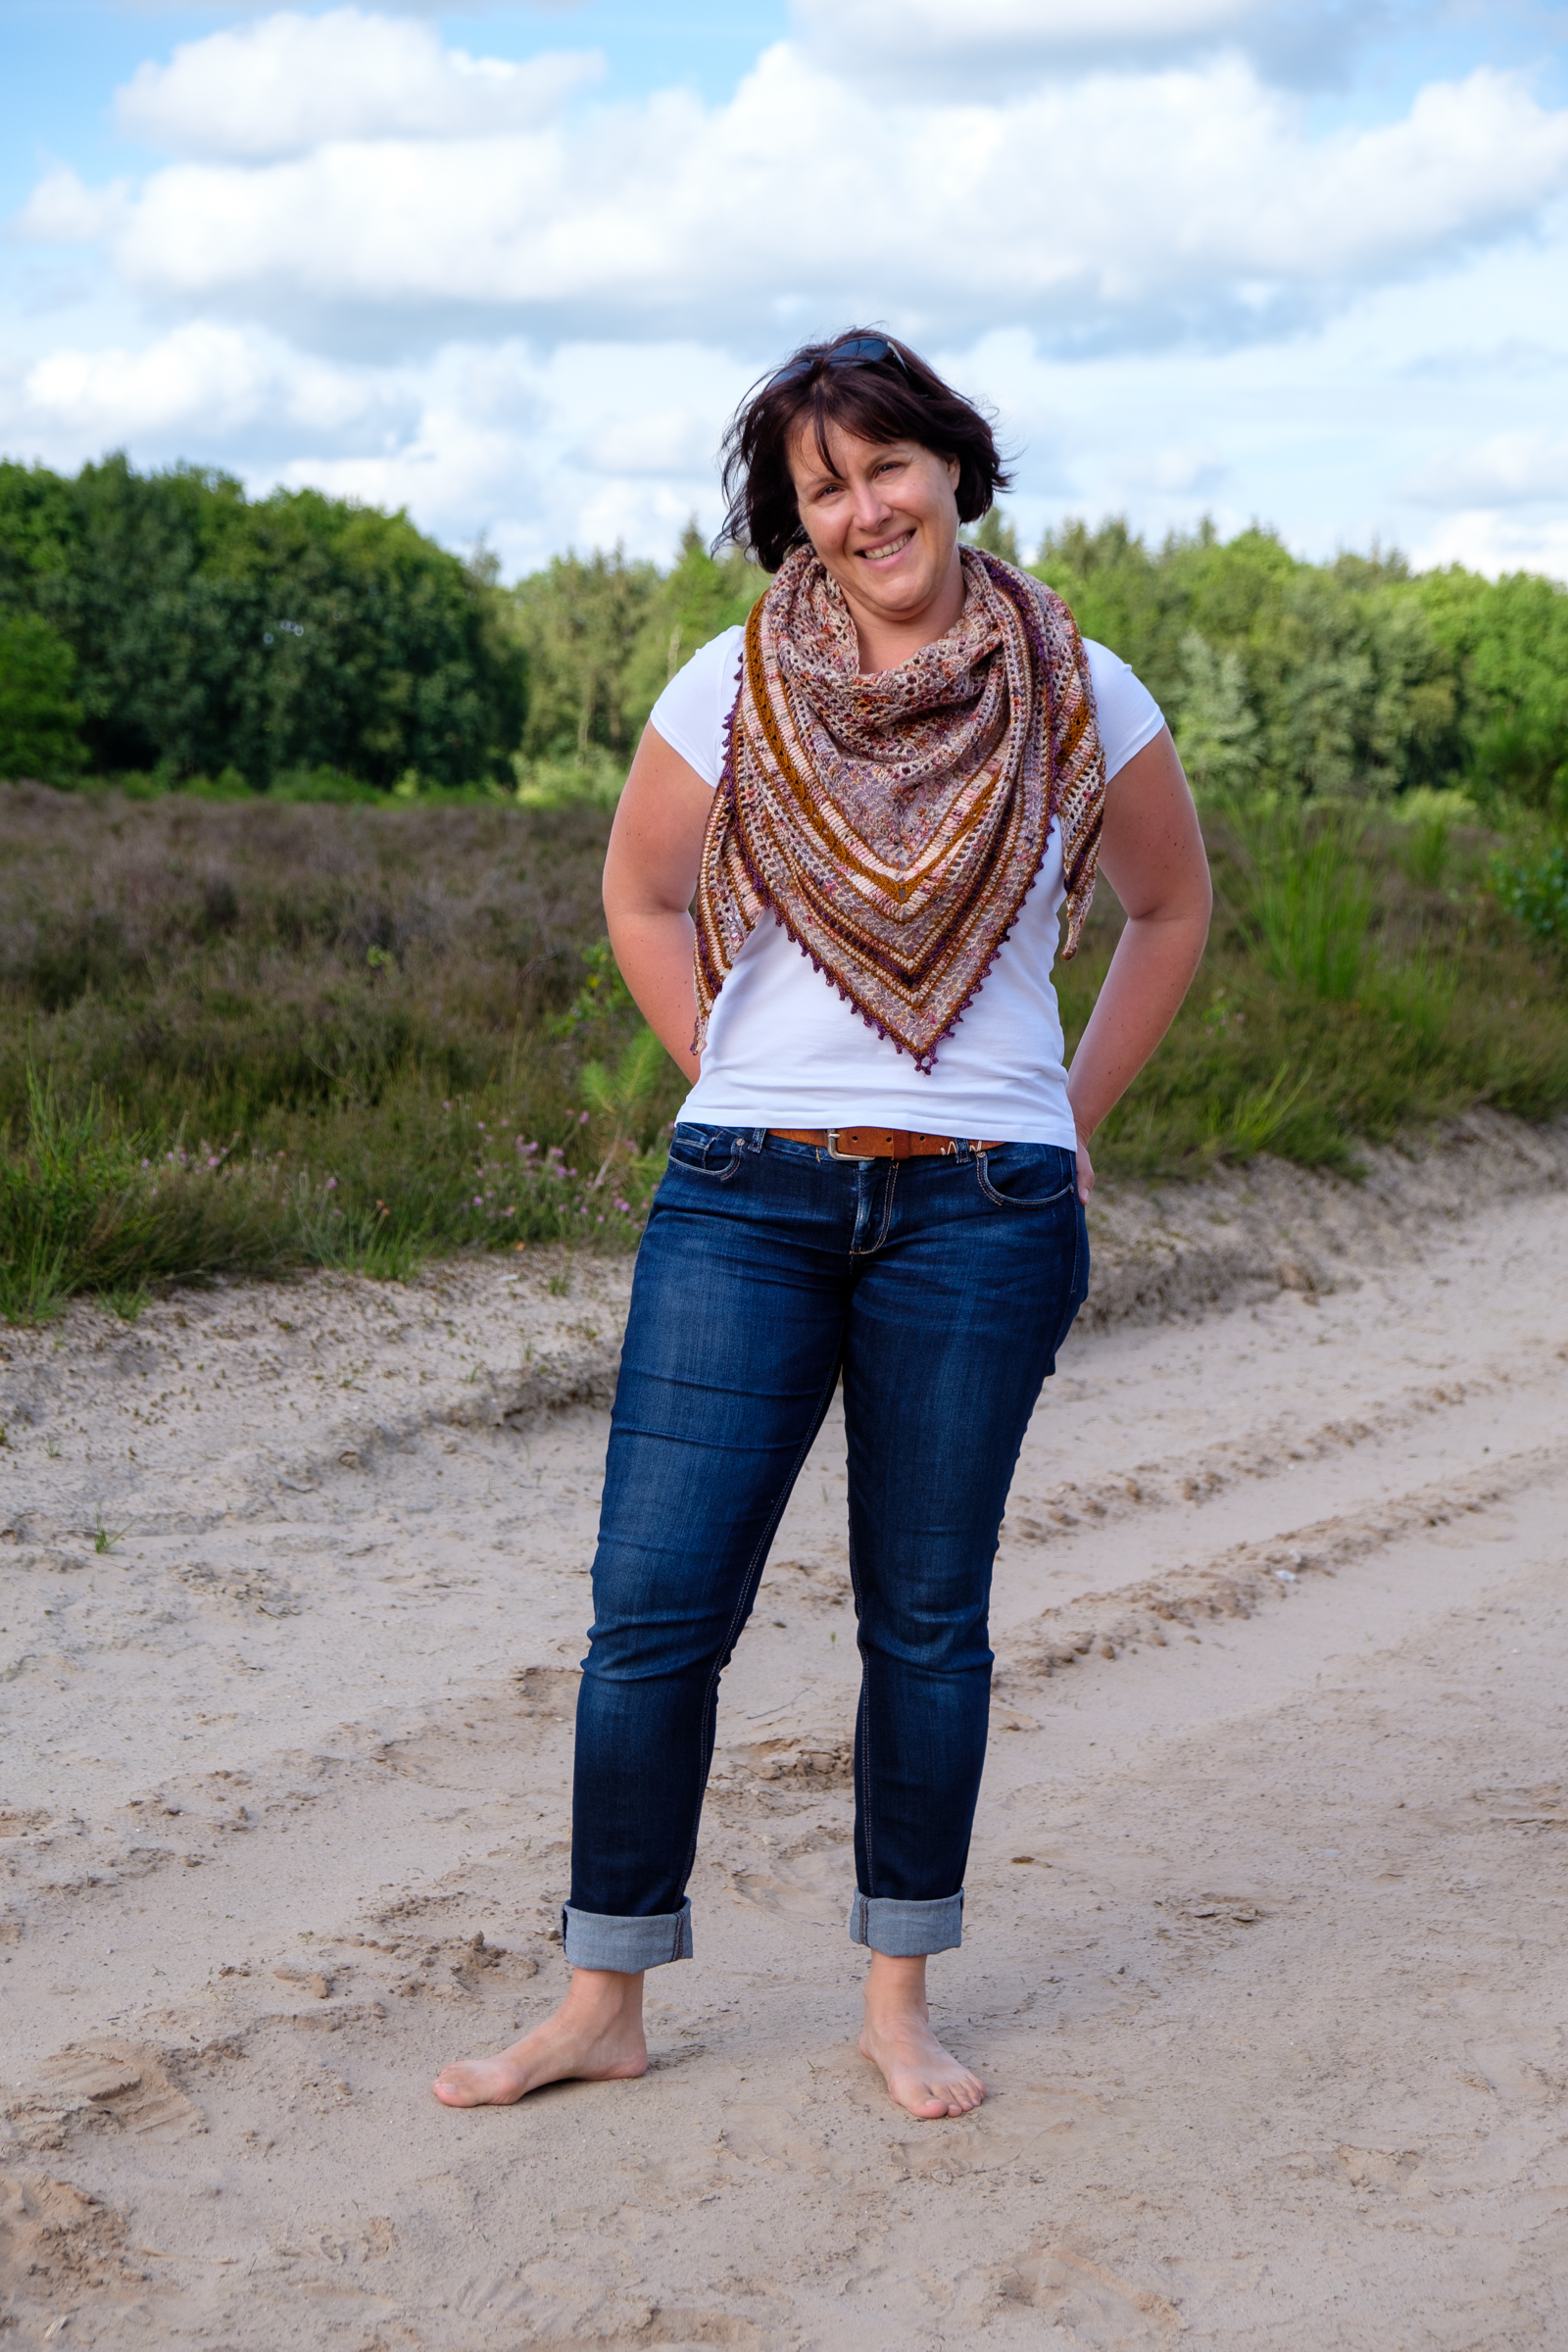
So… here it is… the finished Sea Glass Shawl! I am very pleased with the result and I love how the colours work together in this pattern!
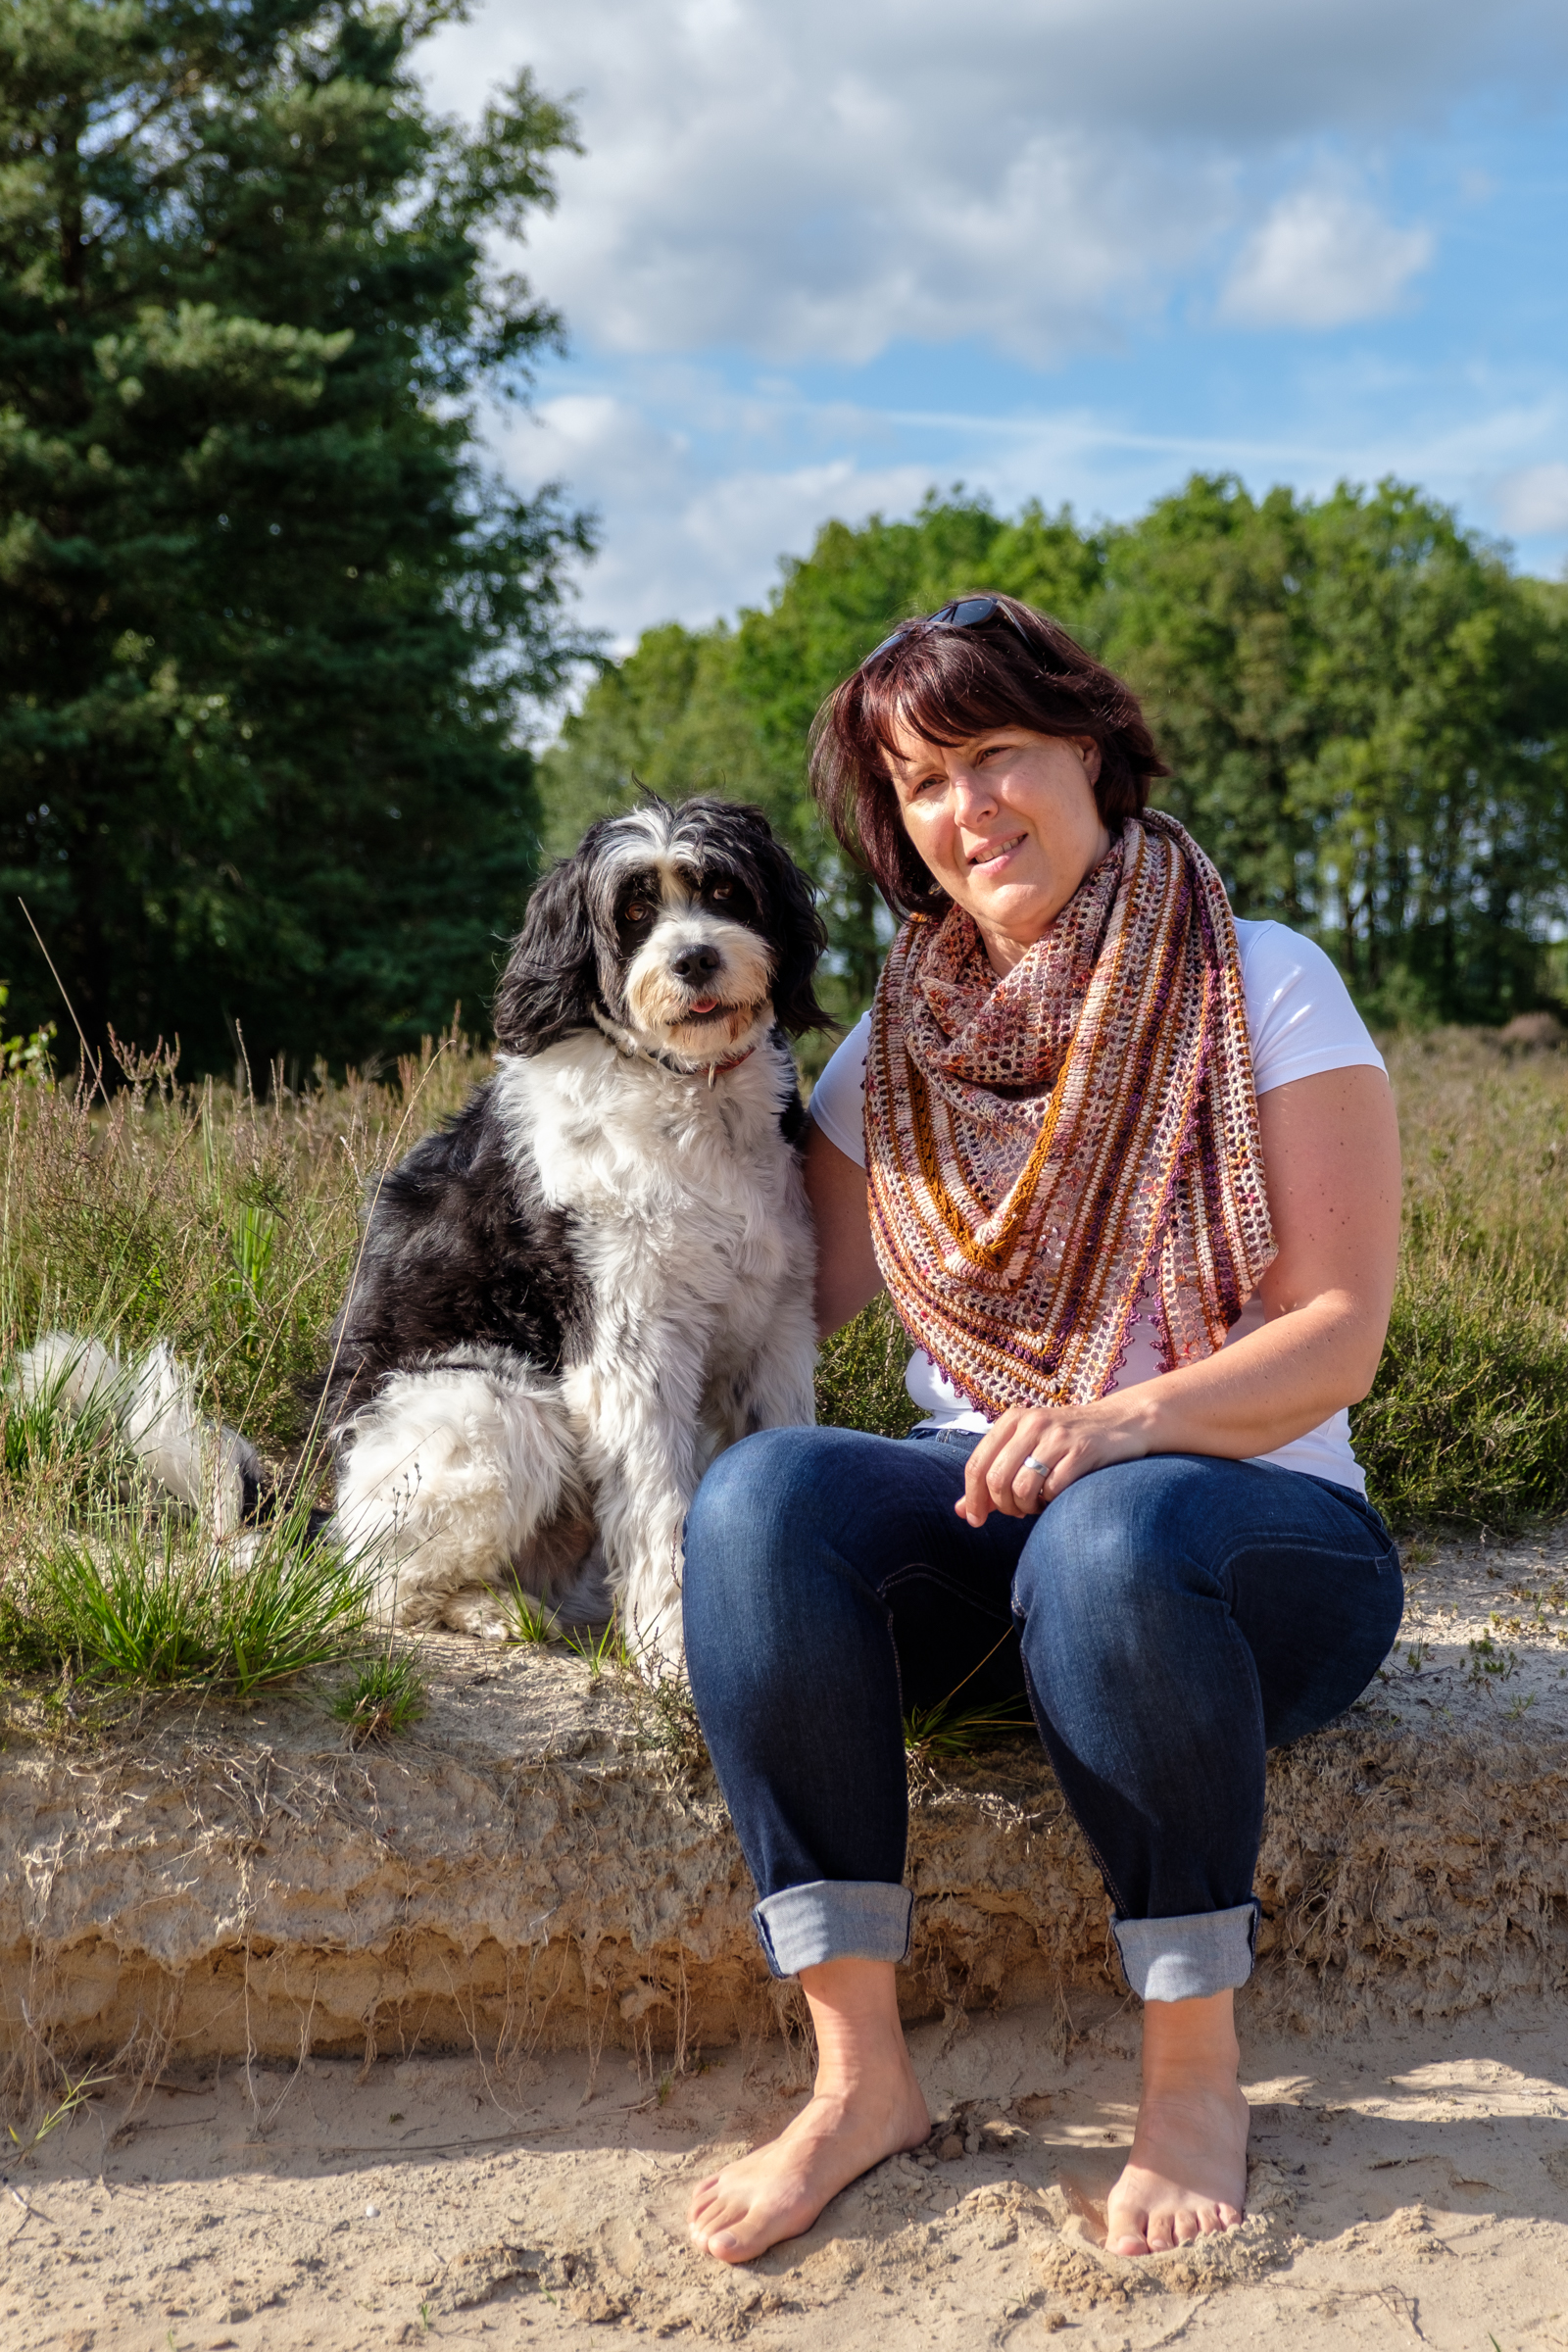
We did a little photo shoot during our dog walk… here they are!
I’ve enjoyed making this shawl and I am glad that Eline made a CAL out of it! I guess it would have remained at planning stage otherwise! Thank you, Eline, for the lovely pattern!
All details can also be found on the Ravelry project page of this shawl.

2 Comments
Eline @ Emmy + LIEN
26th June 2018 at 09:41Stunning photos of a stunning shawl! I’m so pleased that the beautiful yarns you chose for this worked out. It’s been a joy to follow your progress too, so thank you so much for taking part in the CAL and sharing everything with us x
Judith
26th June 2018 at 17:56Thank you Eline! It was a pleasure to make the pattern and as I wrote in the blog post: if there had not been a CAL then this one would still be in the planning stage (who knows for how long) :)!