
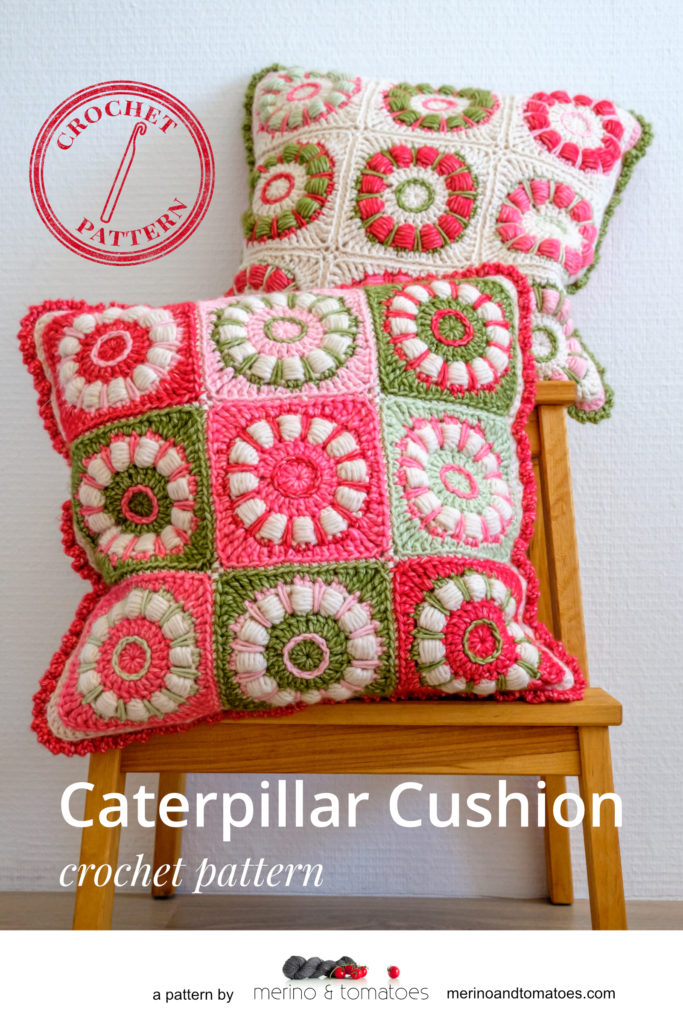
Sometimes ideas come easily and the time from concept to finished object and pattern is short. Sometimes that’s not the case. Like with this pattern. The short story is: it took me almost four years! Did you see the sneak peek here on the blog? Now it’s time to reveal my Caterpillar Cushion crochet pattern! I’ll take you through the process with a lot of photos in this blog post.
The Idea

The core of this pattern is the Caterpillar Granny Square. And, believe it or not, that one more or less came out of my hands naturally after attending a workshop about freestyle crochet. The workshop was a lot of fun and it really made design processes a lot easier for me. That sounds like a contradiction because the essence of freestyle (or freeform) crochet is that you work without a pattern. Maybe it untied a knot in my head? I found it a lot easier afterwards to just take a hook and yarn and simply try things. Nothing really can go wrong, can’t it? If you don’t like what you see you can simply frog it and start over!
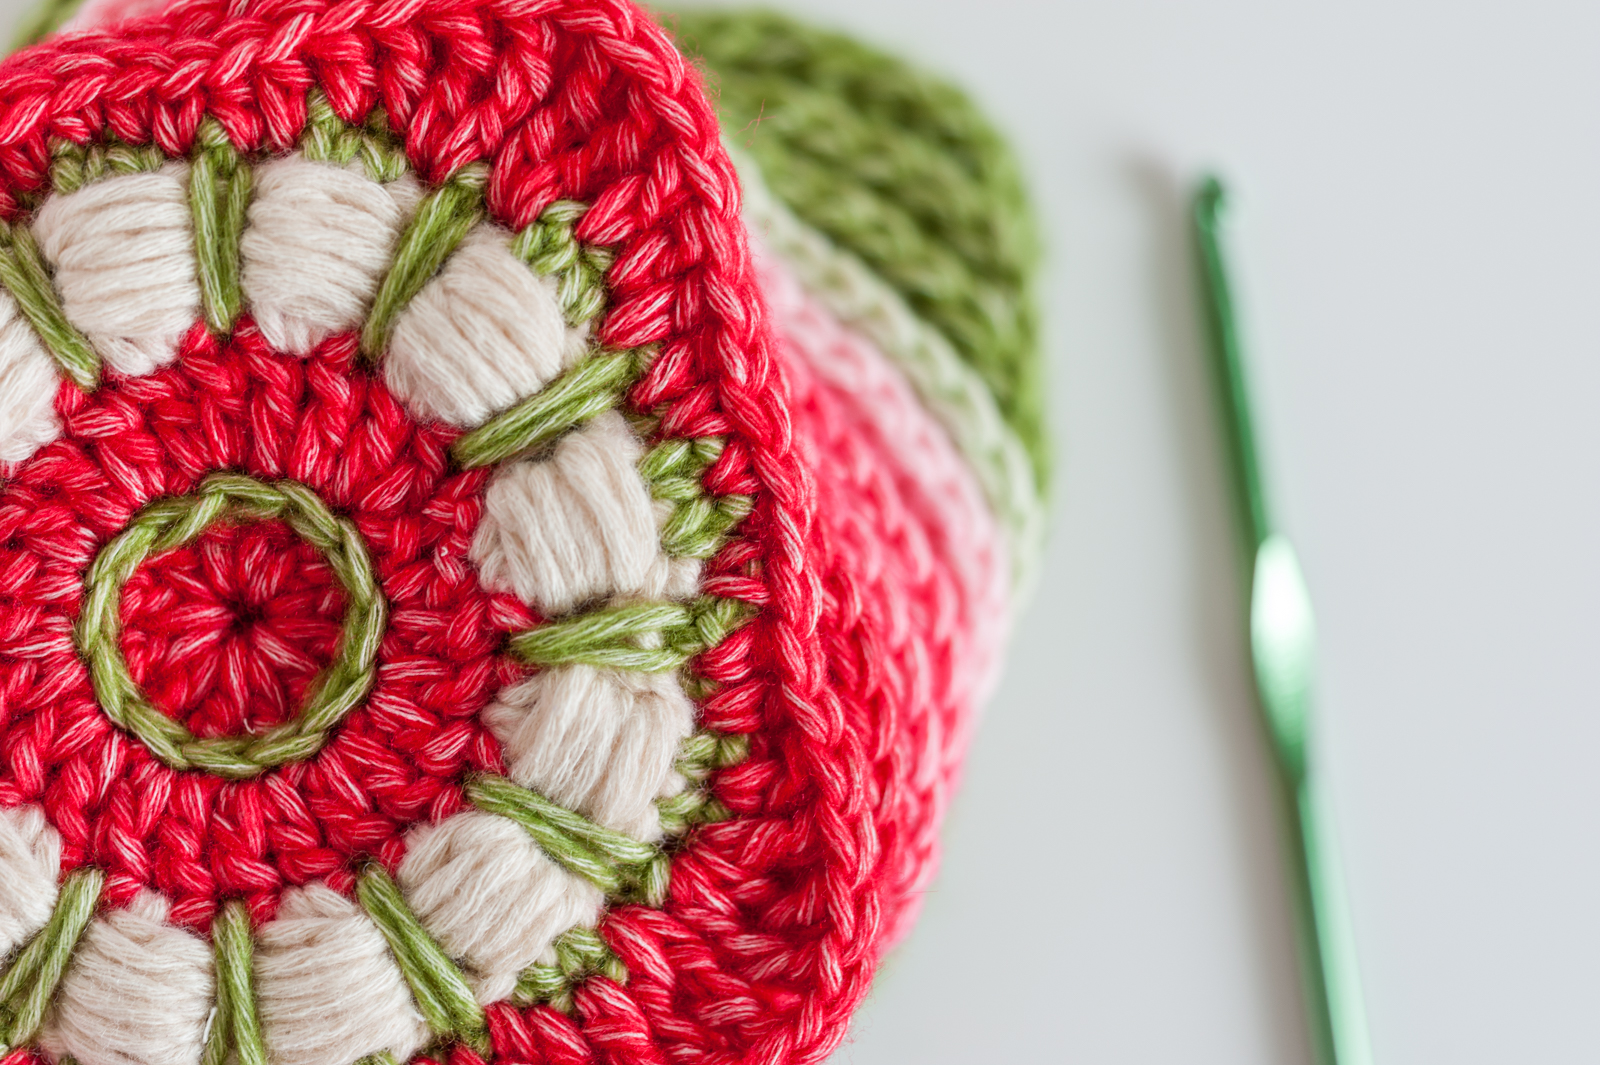
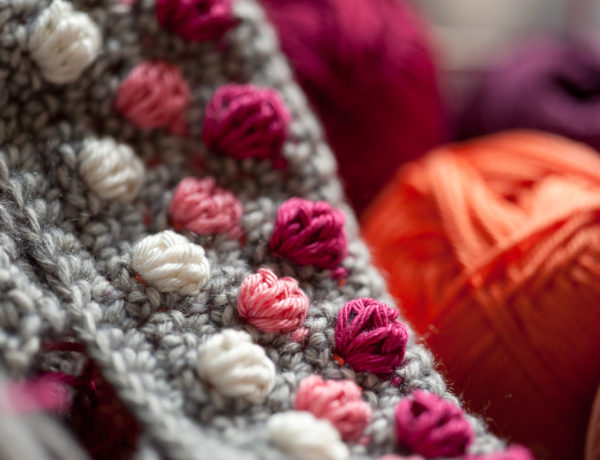
The Wrap Stitch
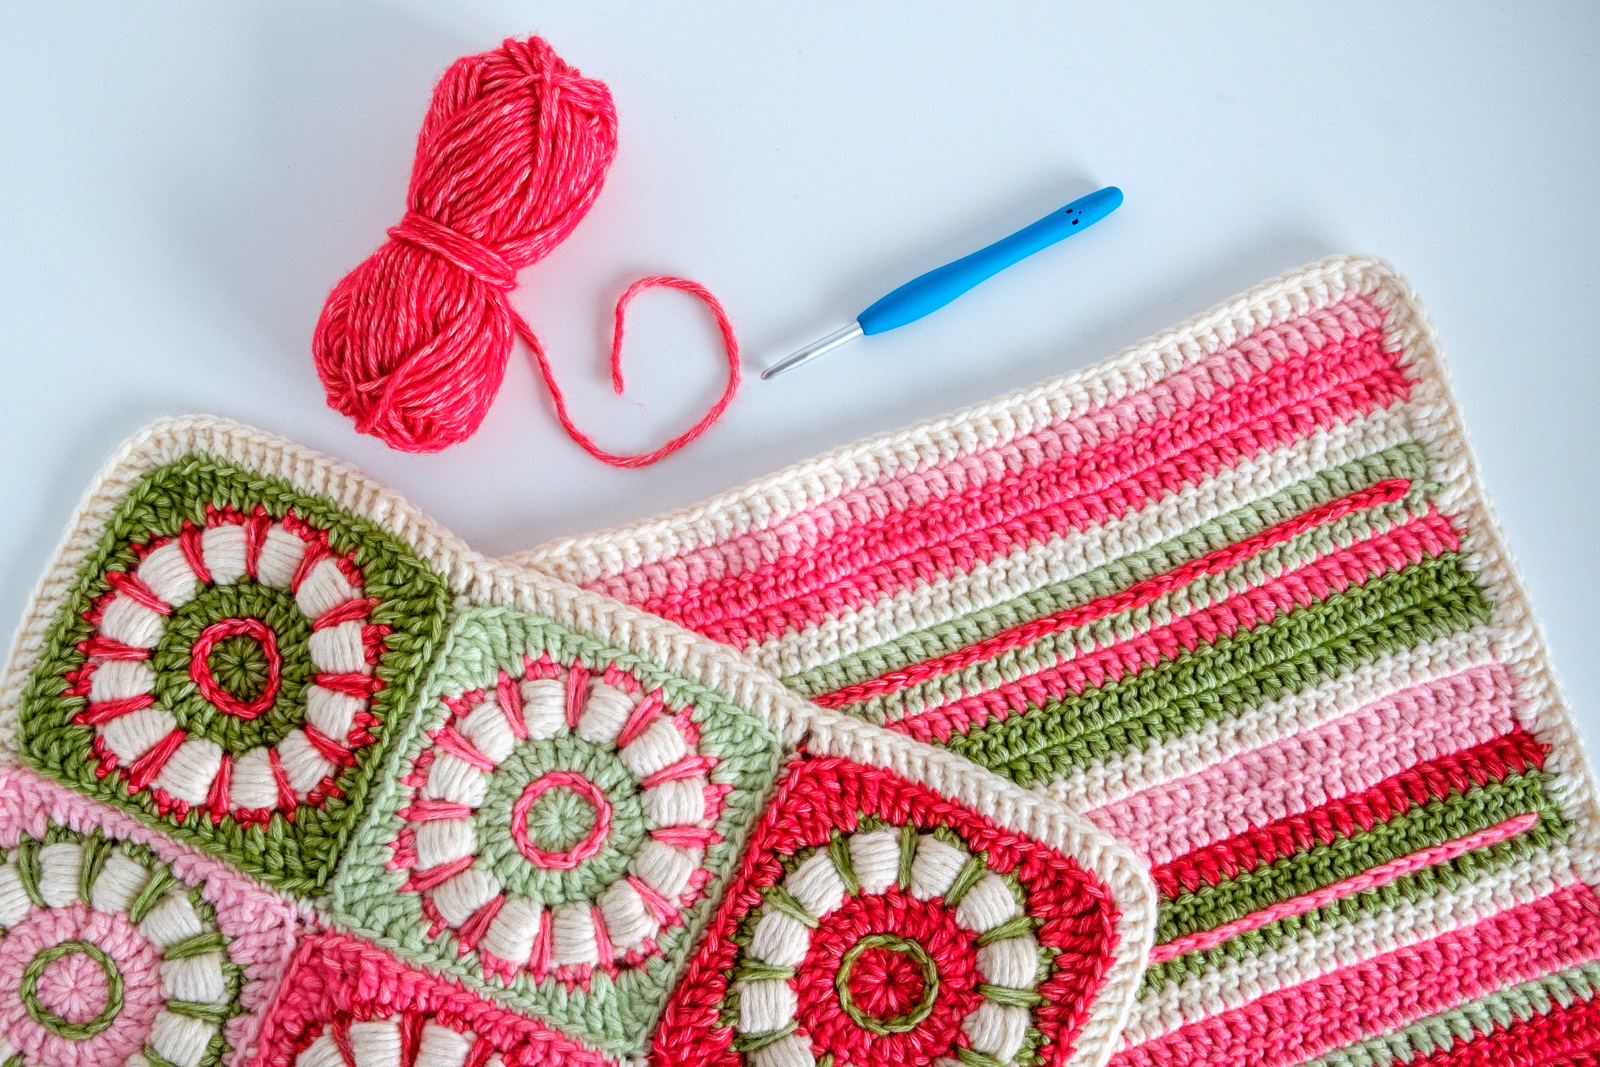
One of the elements that we used during the freestyle crochet workshop was the bullion stitch. You basically wrap the yarn around your hook or a special needle and a tall spiral of yarn is the result. I liked it a lot and I wanted to create something similar that is easier to incorporate in ‘regular’ crochet. I found tutorials of some variations on the stitch on the Internet. The result is a tweaked version of some of them and I call it the ‘wrap stitch’. The ring of wrap stitches really is the eye-catcher of the square.
I’ve included an extensive photo tutorial for the wrap stitch that’s included in the Caterpillar Cushion pattern!
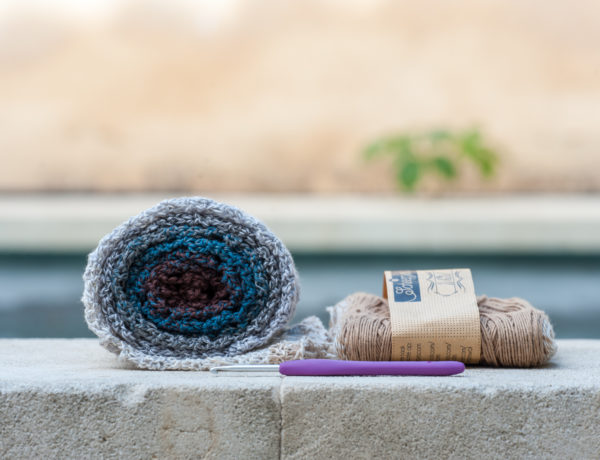
The Yarn
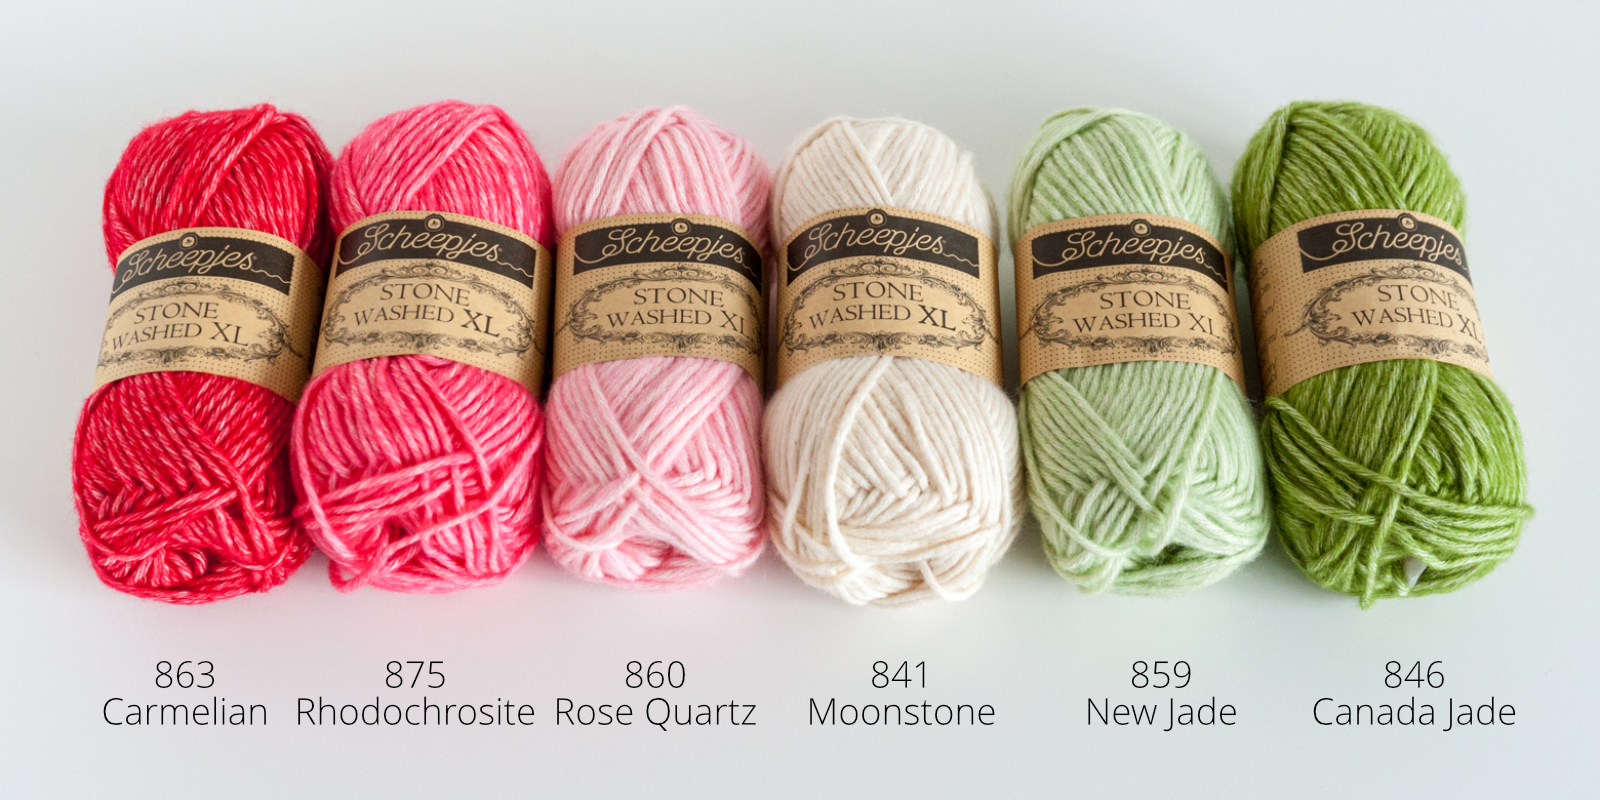
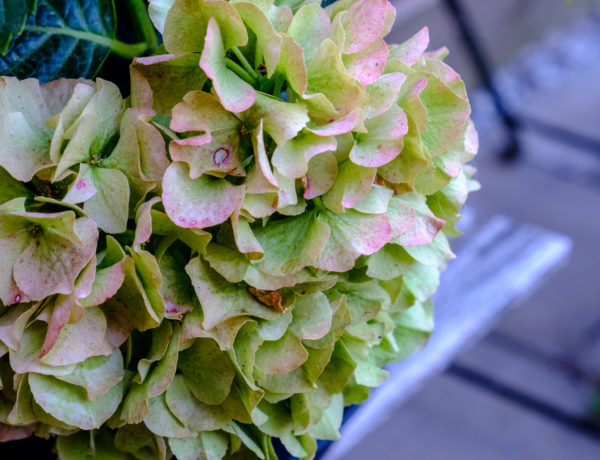
Scheepjes Stonewashed is one of the yarns that I like working with a lot. The yarn has a certain amount of fluff or bounce and I like the not-so-solid colours. There had just been added a few extra colours at the time I picked my colours for the Caterpillar Cushion. I wanted to use red and pink, combined with greens and white. A true red is complicated due to the construction of the yarn itself so I settled for the dark pink one called ‘Carmelian’. For this project, I used the XL version of the Stonewashed collection which is an Aran weight yarn. You can find all the details about this yarn and the available colours on the Scheepjes website.
This is my colour selection for the Caterpillar Cushion:
All Scheepjes Stonewashed yarns have a white core which makes the colours a little soft. If you would like to use strong and bold colours then Scheepjes River Washed XL is the perfect substitute. The River Washed yarns use the same construction and composition as the Stonewashed yarns, but their core is a coloured one making the colours bolder.
If you decide to use an alternative yarn for your own Caterpillar Cushion then my suggestion would be to pick a yarn that has a bit of bounce. It should not be a very solid thread (like mercerised cotton is for example). In general, yarns with a certain wool or acrylic content are better. It will make the wrap stitch look much better!
The Power of Colour
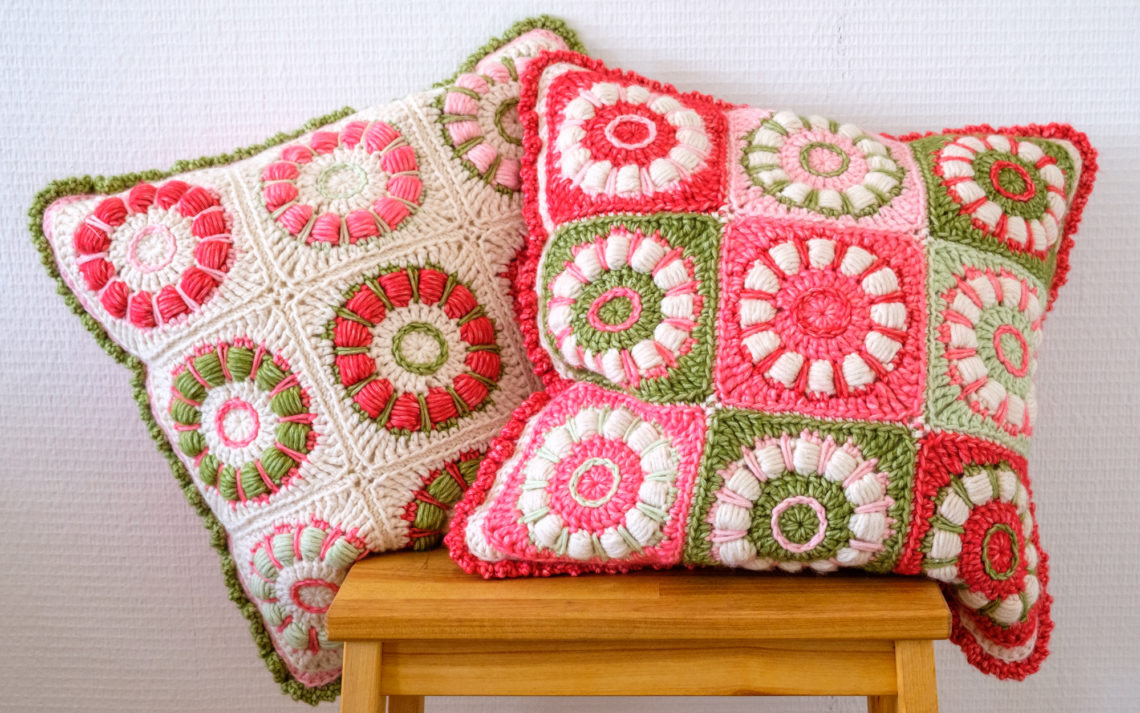
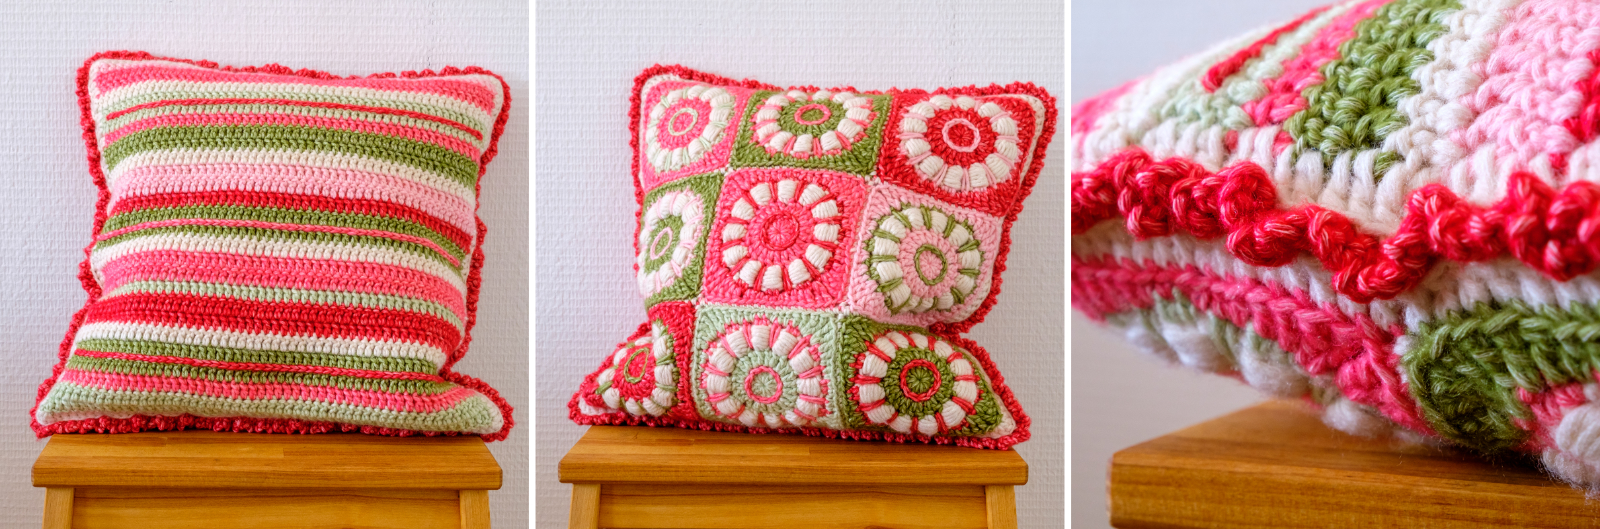
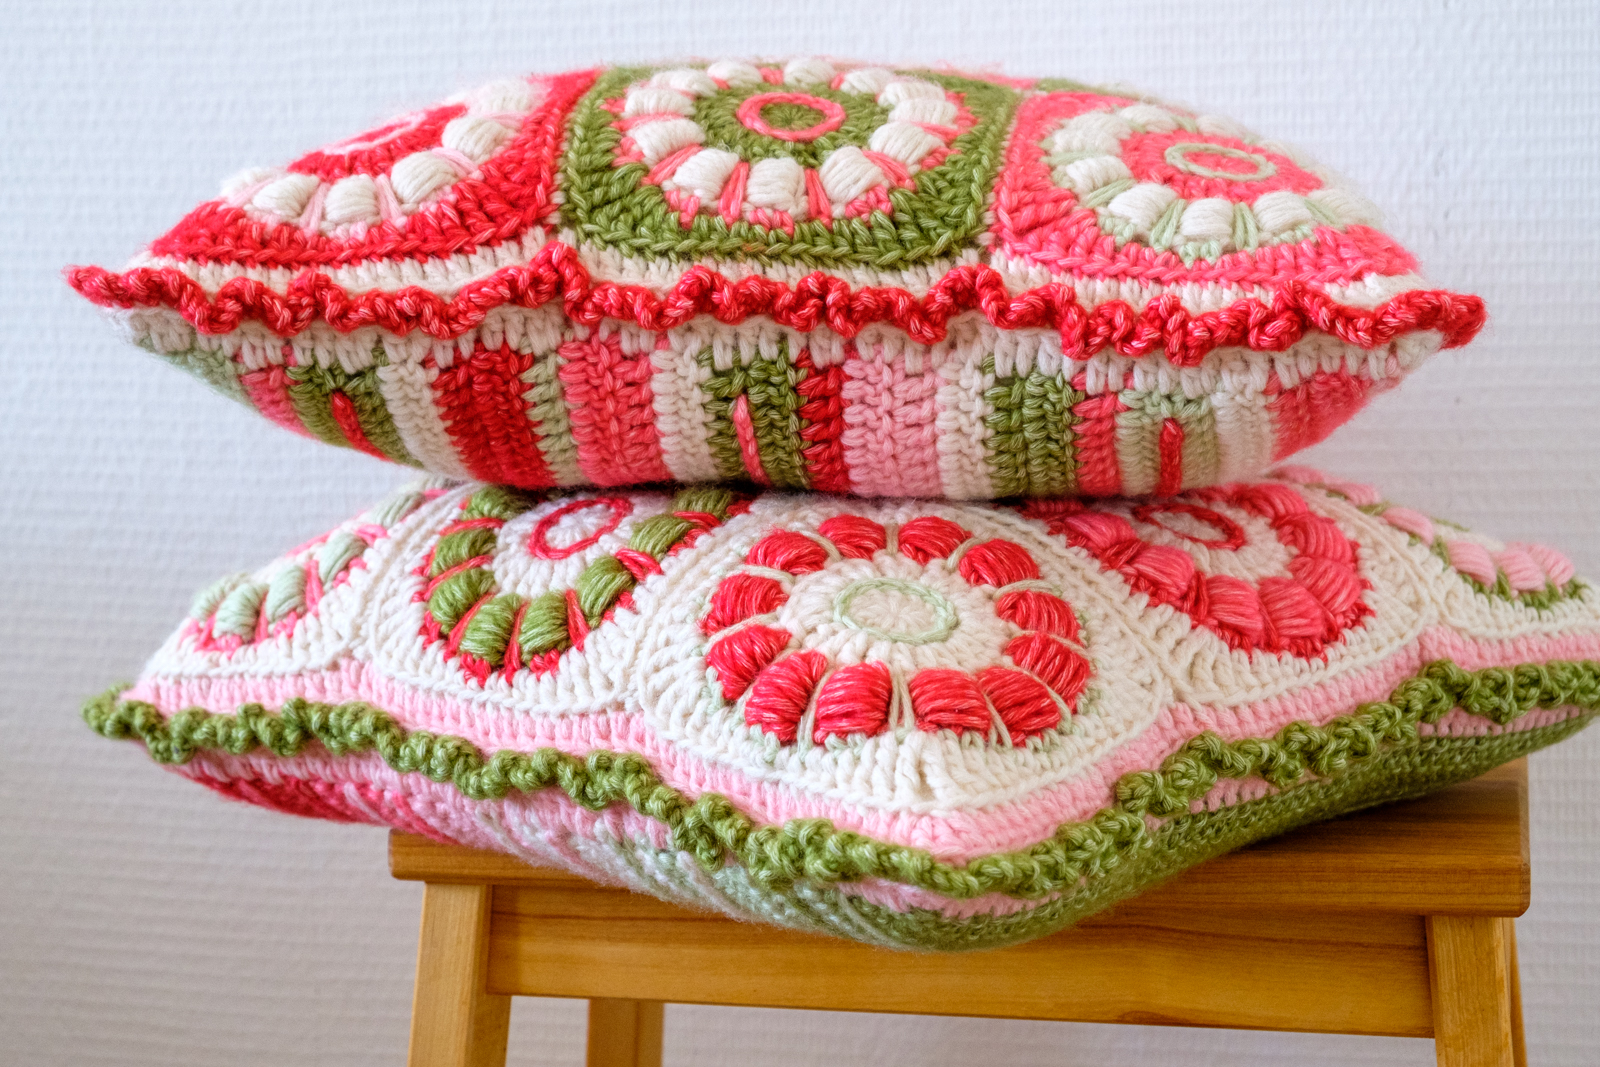
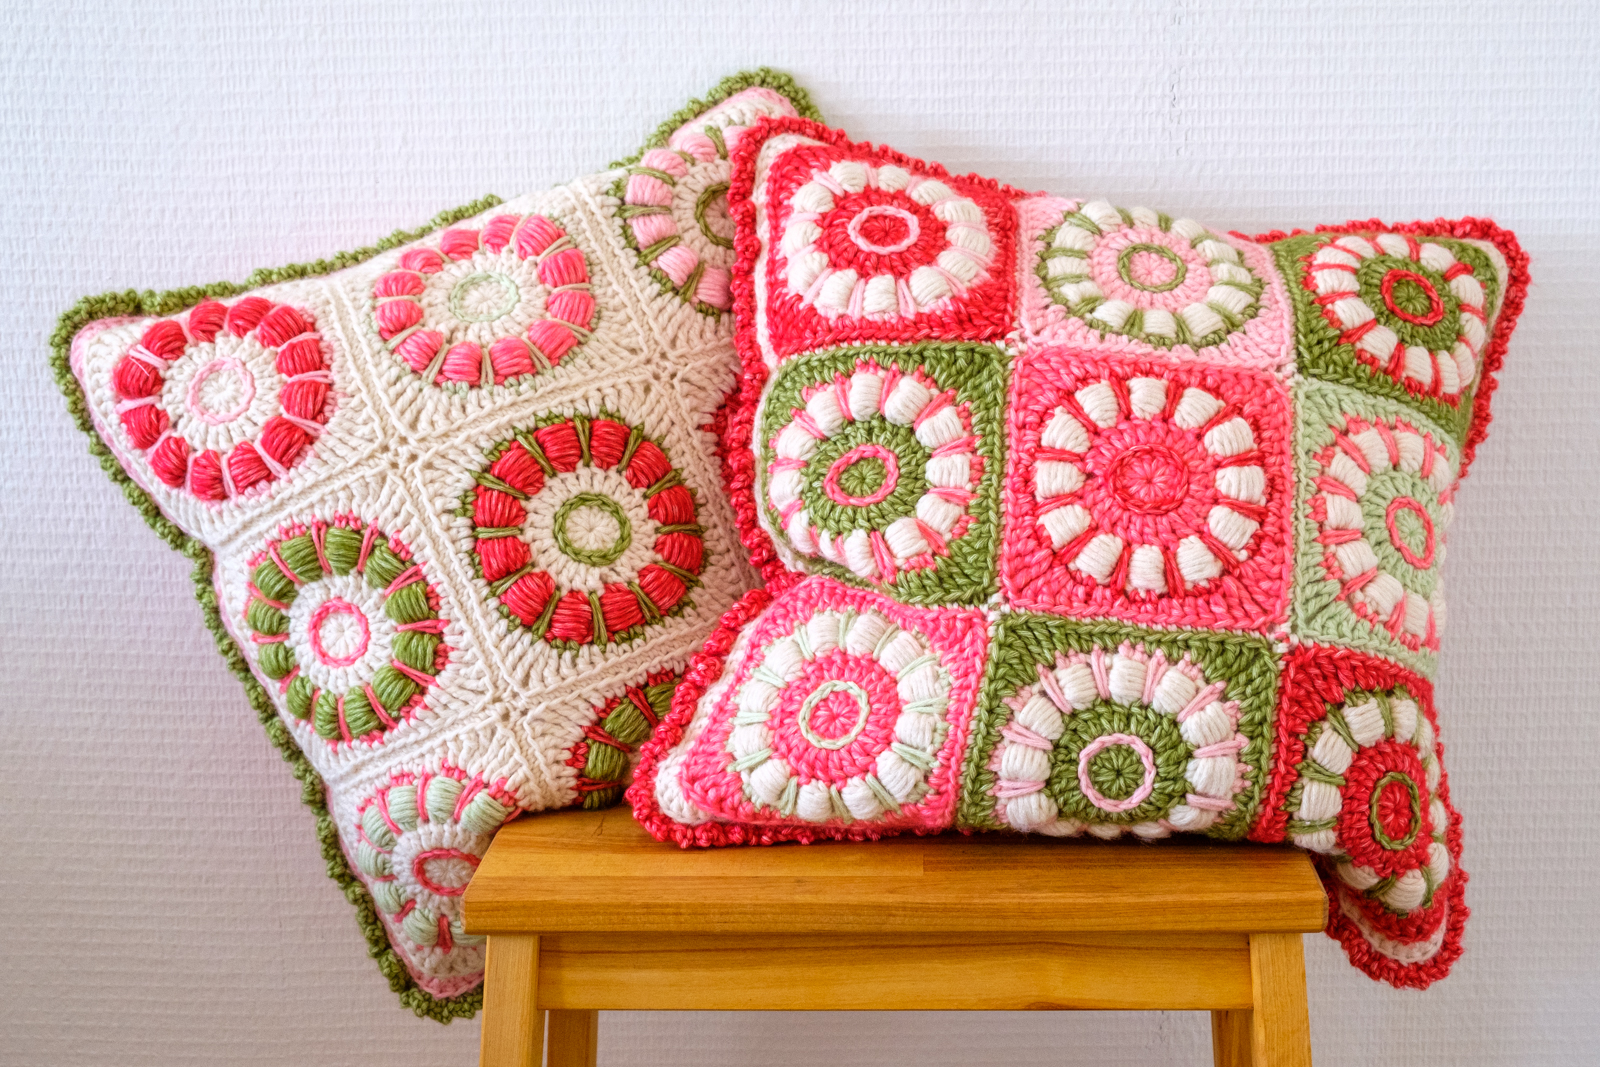
From the beginning, my plan was to make two versions of the Caterpillar Cushion to illustrate how different a piece can look if you place the same colours in a completely different way. For the front of one of the cushions I used the same background colour for all squares and I varied the colour of the wrap stitch circle. For the other cushion, I did the opposite: I used one colour for the wrap stitch circles and I varied the background colours of the squares. They look completely different!
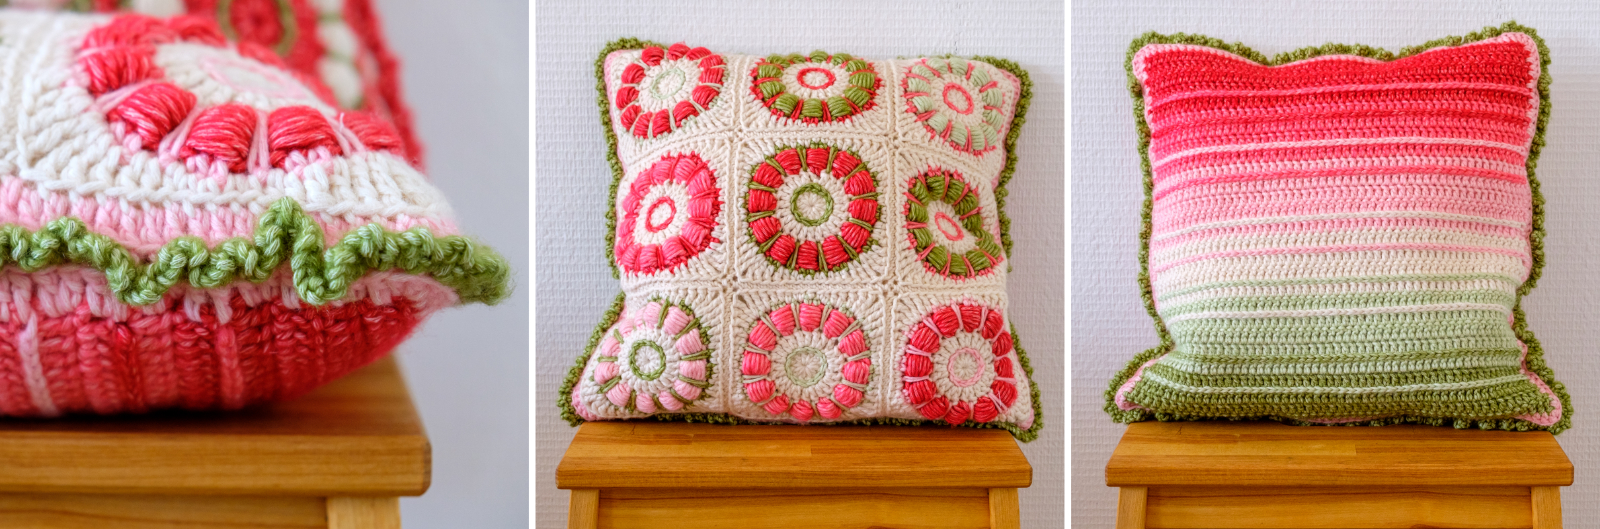
I used different colour orders for the backside as well. The cushion with the neutral squares got a backside with a fade effect. The colour order on the backside of the other cushion is more random, just like the squares on the front.
Both the front and the backside have added details using the surface crochet technique. It makes the squares pop a little bit more and it enhances the fade effect on the backside. The pattern contains a photo tutorial on this technique to help you in case you are not familiar with it.
The Four-Year Process
As I mentioned at the beginning of this blog post, it took me almost four years to finish this pattern. I can’t really explain why there was so much time between the concept phase and the publication of the Caterpillar Cushion crochet pattern… What I did learn though, is that writing a crochet pattern is a lot of work! I’ve set the standards high for myself as I wanted to include photo tutorials for the different techniques that I used to make the cushion. That takes time! Particularly when ‘perfectionism’ is your middle name, haha!

And I have to admit that there were some motivation issues as well… Especially when it came to making the second cushion. I rarely make more than one version of a pattern regardless of whether it’s my own or someone else’s pattern. I find it very hard to stay focused and I’m easily bored. In my head, it also took ages to make one cushion. But in reality, it’s a rather quick make!
The Pattern
The Caterpillar Cushion Crochet Pattern is available on Ravelry and it’s an extensive 18-page digital document! You will get:
- A written pattern for all elements of the cushion.
- Crochet diagrams for the square and parts of the borders.
- Photo tutorials for:
- Making the wrap stitch.
- Making the spike stitch.
- The surface crochet technique.
- Joining the squares.
- Detailed yarn requirements and information on the two colour schemes.
- A colouring page for designing your own colour scheme.
The pattern is written in English and uses US crochet terms.
Ta-dah!
Finally, let me show your some more photos of the finished Caterpillar Cushions!
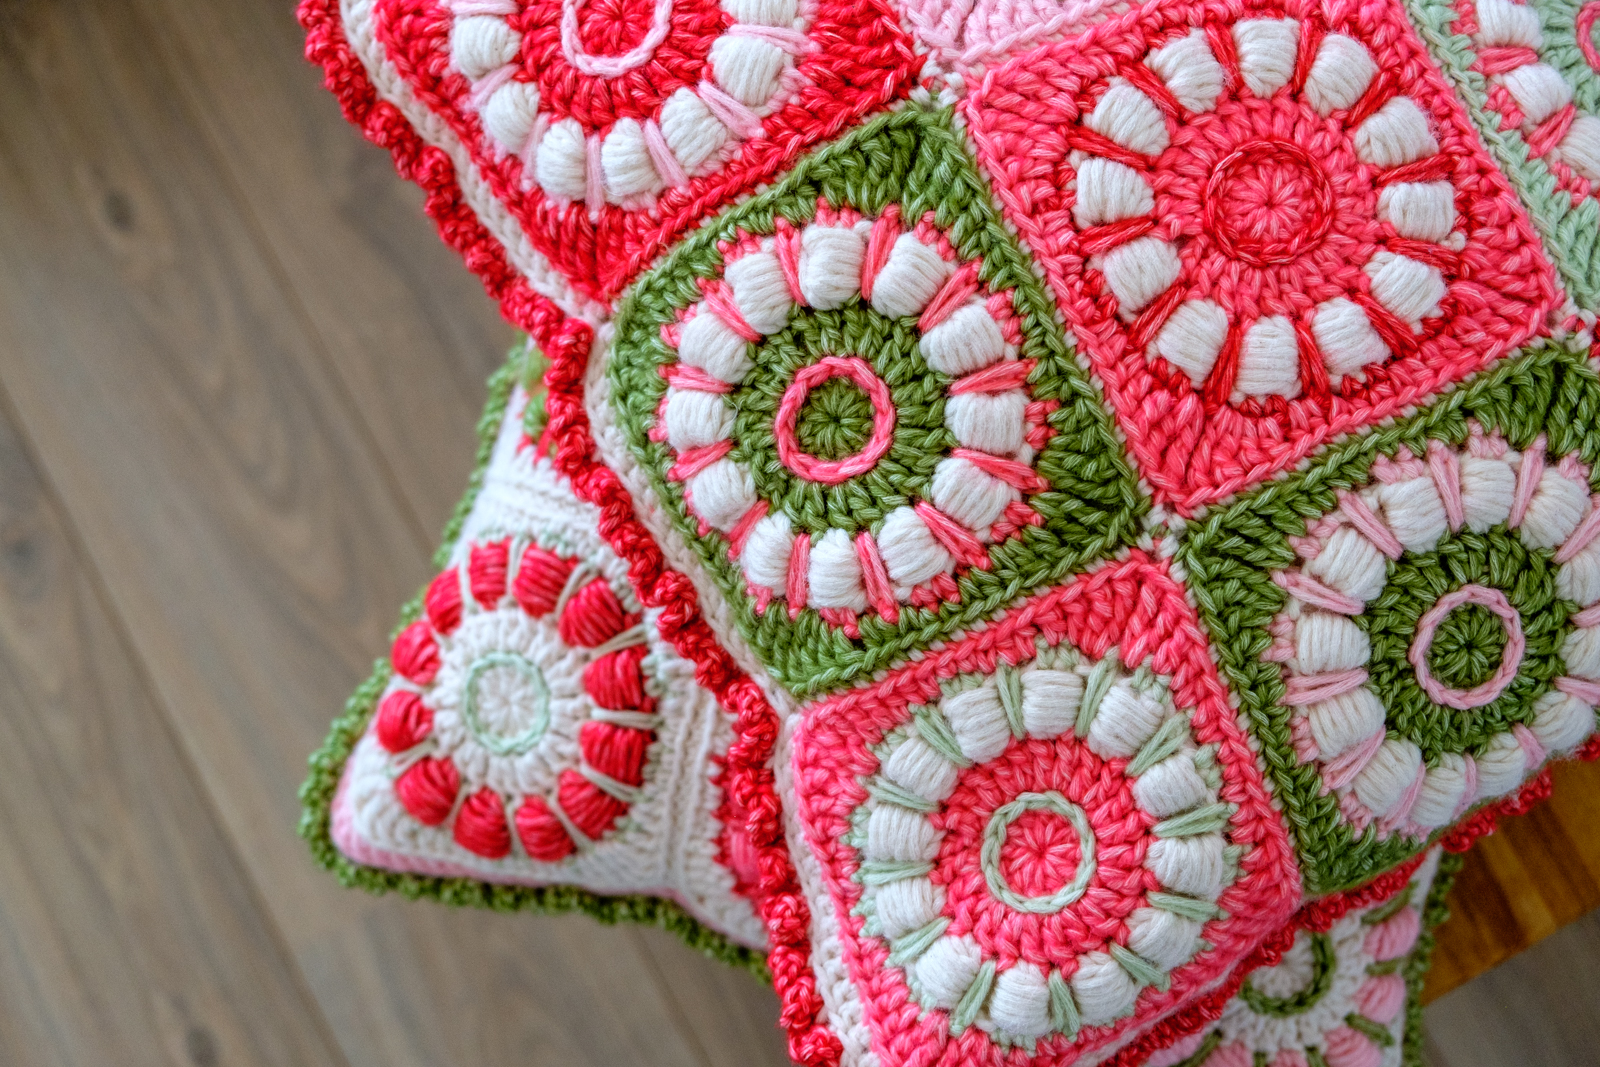
I really hope you like it as much as I do! Please share your cushions by tagging me and using #merinoandtomatoes and #caterpillarcushion on social media. I’m looking forward to seeing your makes!
The yarn for this project is kindly provided by Scheepjes.

No Comments