It’s been a while since I posted about sewing. I have been knitting a lot and the sewing machine gathered a fair amount of dust. Until recently! I’ve dusted off my machine and in recent months, I’ve been making several things. I’ve sewn some clothes: a skirt, a top, a few shorts. I have plans to make a quilt but I am waiting for the last fabrics to arrive. I have also been making a few smaller things like little pouches and placemats. In this blog post, I would like to show you the placemats.
Addictive Fabric Boxes
Before we get to the placemats, I would like to introduce you to Barbara. Barbara is from Germany and you may know her from her blog ‘Das mach ich nachts’ (which can be translated as ‘That’s what I do at night’). She blogs about sewing for several years now. Last year she started her own business and she sells subscription fabric boxes. Each month she selects the most beautiful fabrics, puts them in a box and sends them to you.
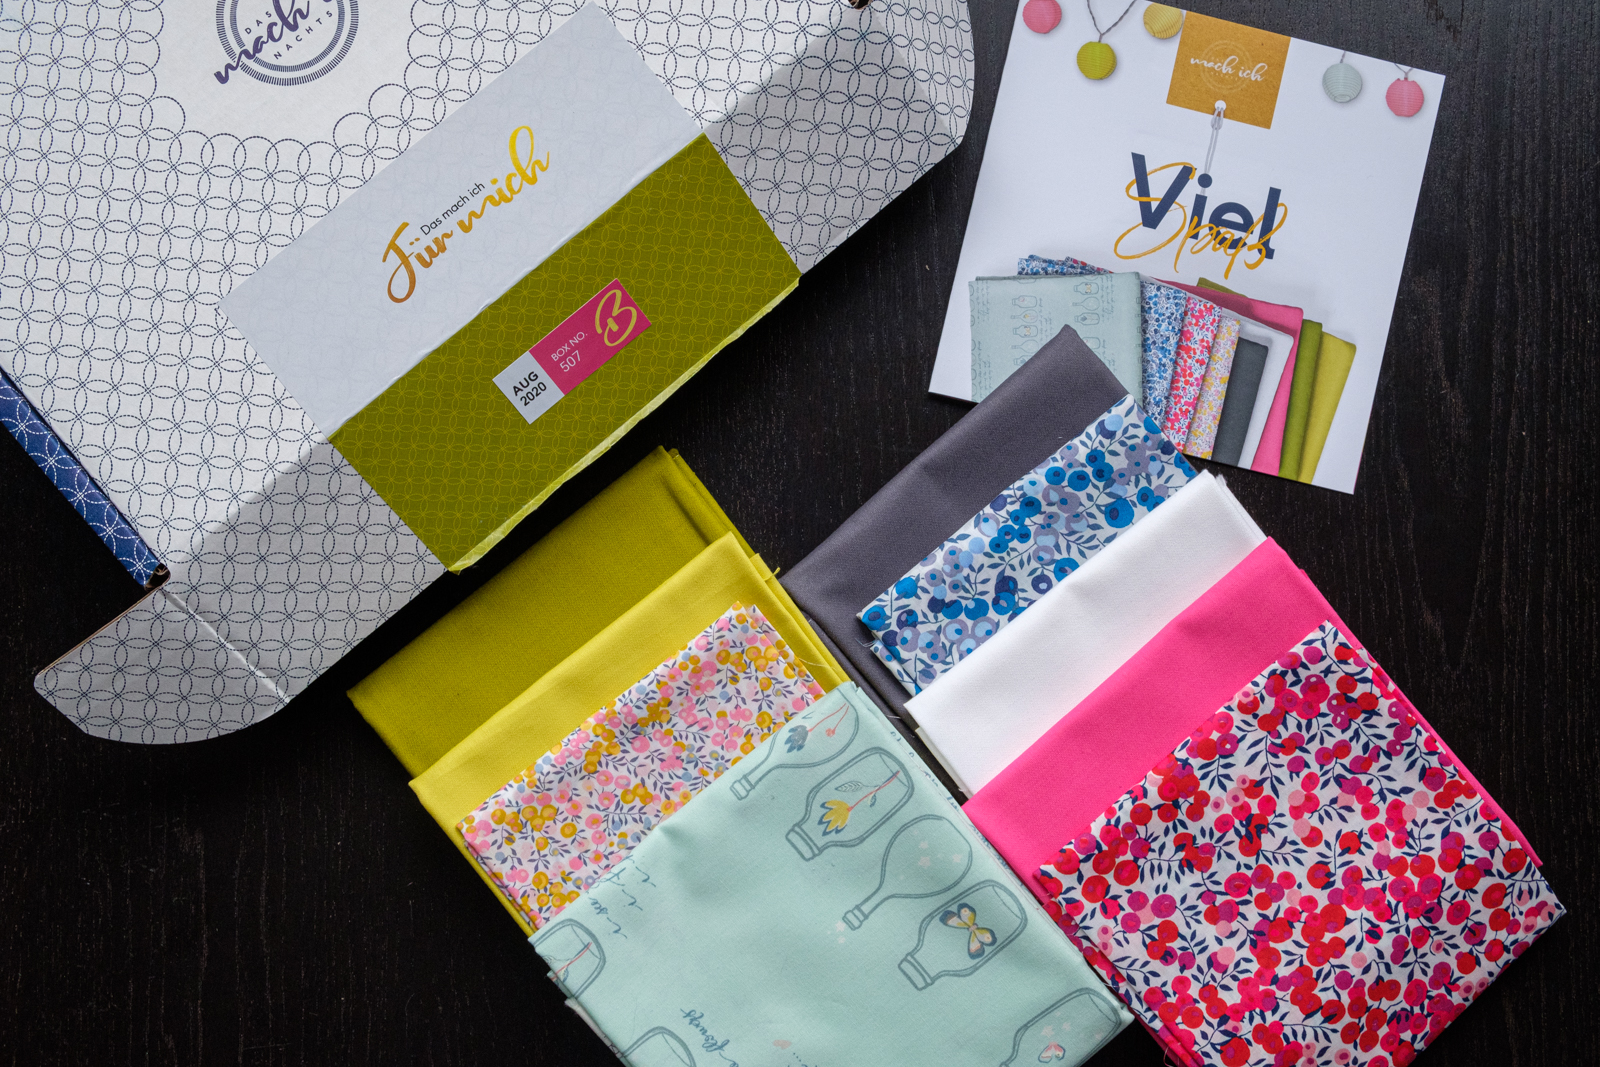
The contents of these boxes are a surprise. Usually, the fabrics are accompanied by a few accessories, such as zippers, batting or even a pair of scissors. And each month at least one pattern is published to make with the contents of the box. I did not get myself a subscription to these boxes (shipping costs are the reason because she’s in Germany and I am in the Netherlands), but every now and then I buy a single box. I also did buy the most recent August box (we happened to be in Germany when this one would be shipped, so yay to free shipping!). Above you see the lovely fabrics that were in that box: a few beautiful Liberty London fabrics, a piece of print fabric and a few matching solids.
A Virtual Get Together
Since Corona lockdown, Barbara started to do live sewing sessions via her YouTube channel (go have a look to see her beautiful sewing room!). One of the patterns that accompanies the box will be made during these live sessions. It usually takes a few evenings to complete the project because there is a lot of chitchat going on too. It’s a lot of fun to virtually spend the evening with like-minded people! (Just in case you want to join in, subscribe to her newsletter and you will receive all the details. Be aware, it’s all in German!)
Back to the placemats!
The project for this month’s live sewing session was to make placemats. I decided to join in but with my fabric selection. I want to save the precious Liberty fabrics for something else. I’ve picked some fabrics from my stash that match the outdoor cushions because I would like to use the placemats when we eat outside.
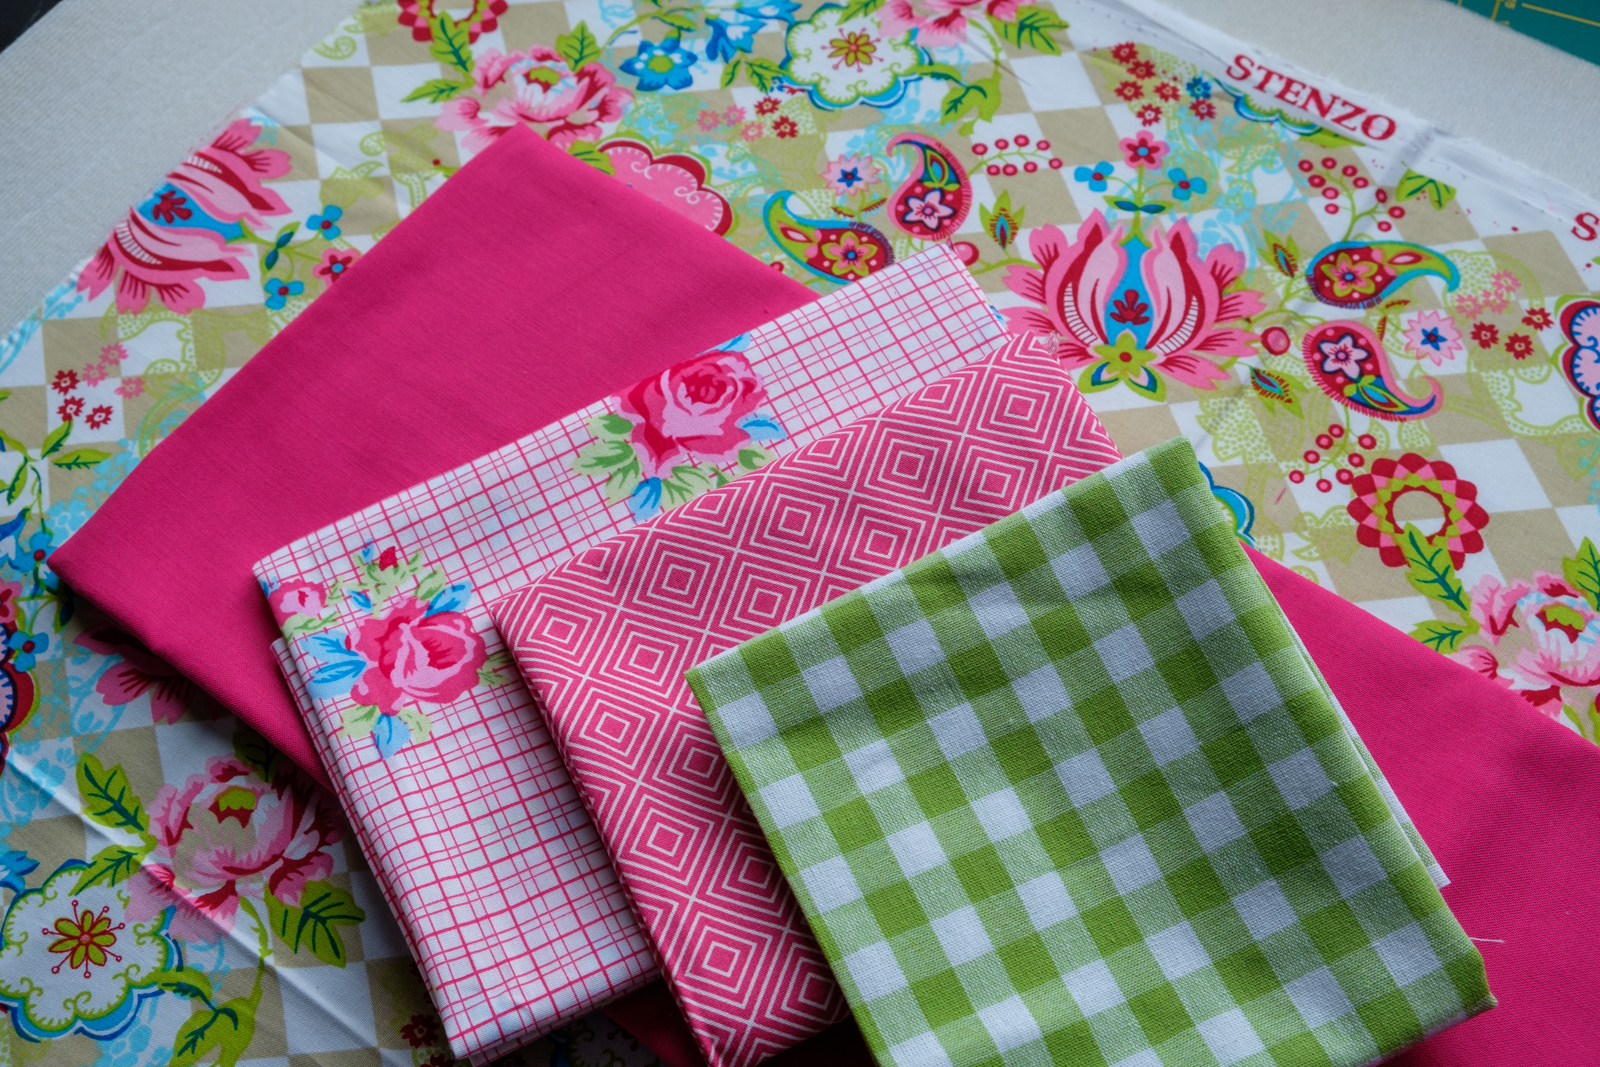
So, this was my initial fabric pull. A floral base fabric, a few fabrics with a smaller print and two solids. Let me just say that this was my initial fabric selection. Things changed a lot during the process!
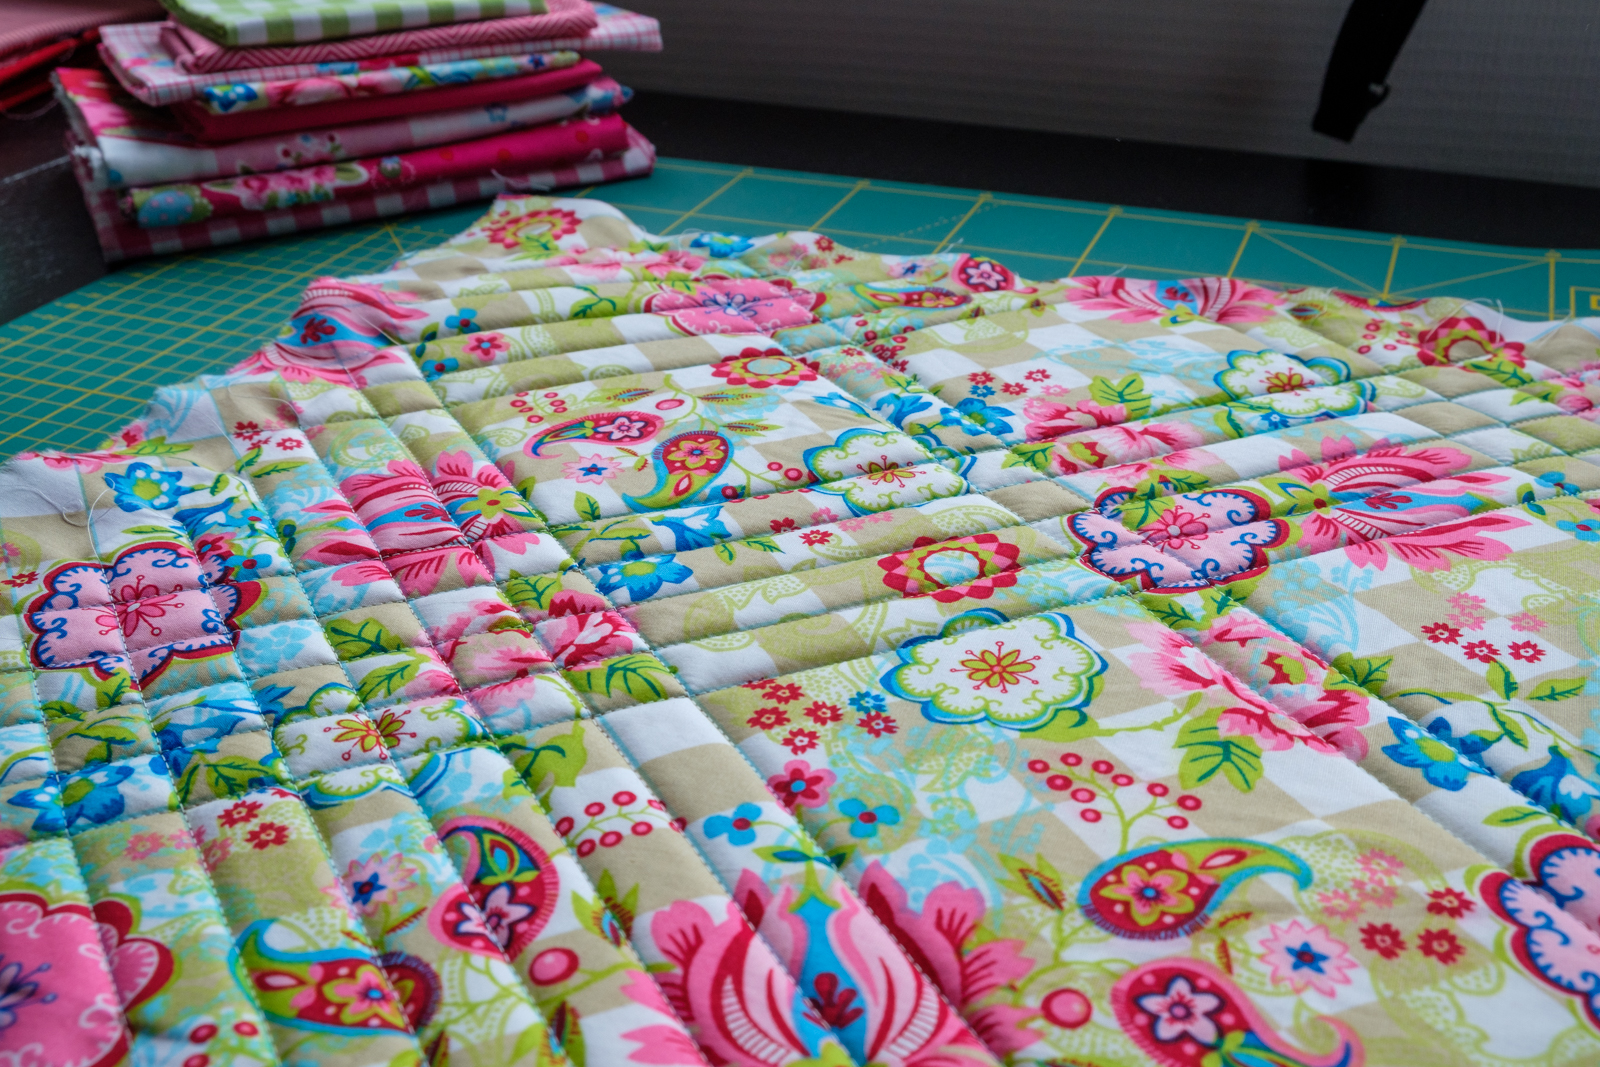
The first step in making the colourful placemats is to create a quilting sandwich. A quilting sandwich consists of the top layer of fabric (either pieced or not), the bottom layer of fabric and the batting in between. These layers are held together by sewing them together using just straight lines or a pattern (the actual quilting). In this case, instead of a traditional quilting batting, a foam-based fabric is being used. I have used Style Vil by Vlieseline, which can also be used as a padding in pouches or bags. The foam-based fabric stabilises the placemat and also creates a nice 3D effect.
I only partly quilted my placemat and I used the fabric background pattern as my guide for the quilting.
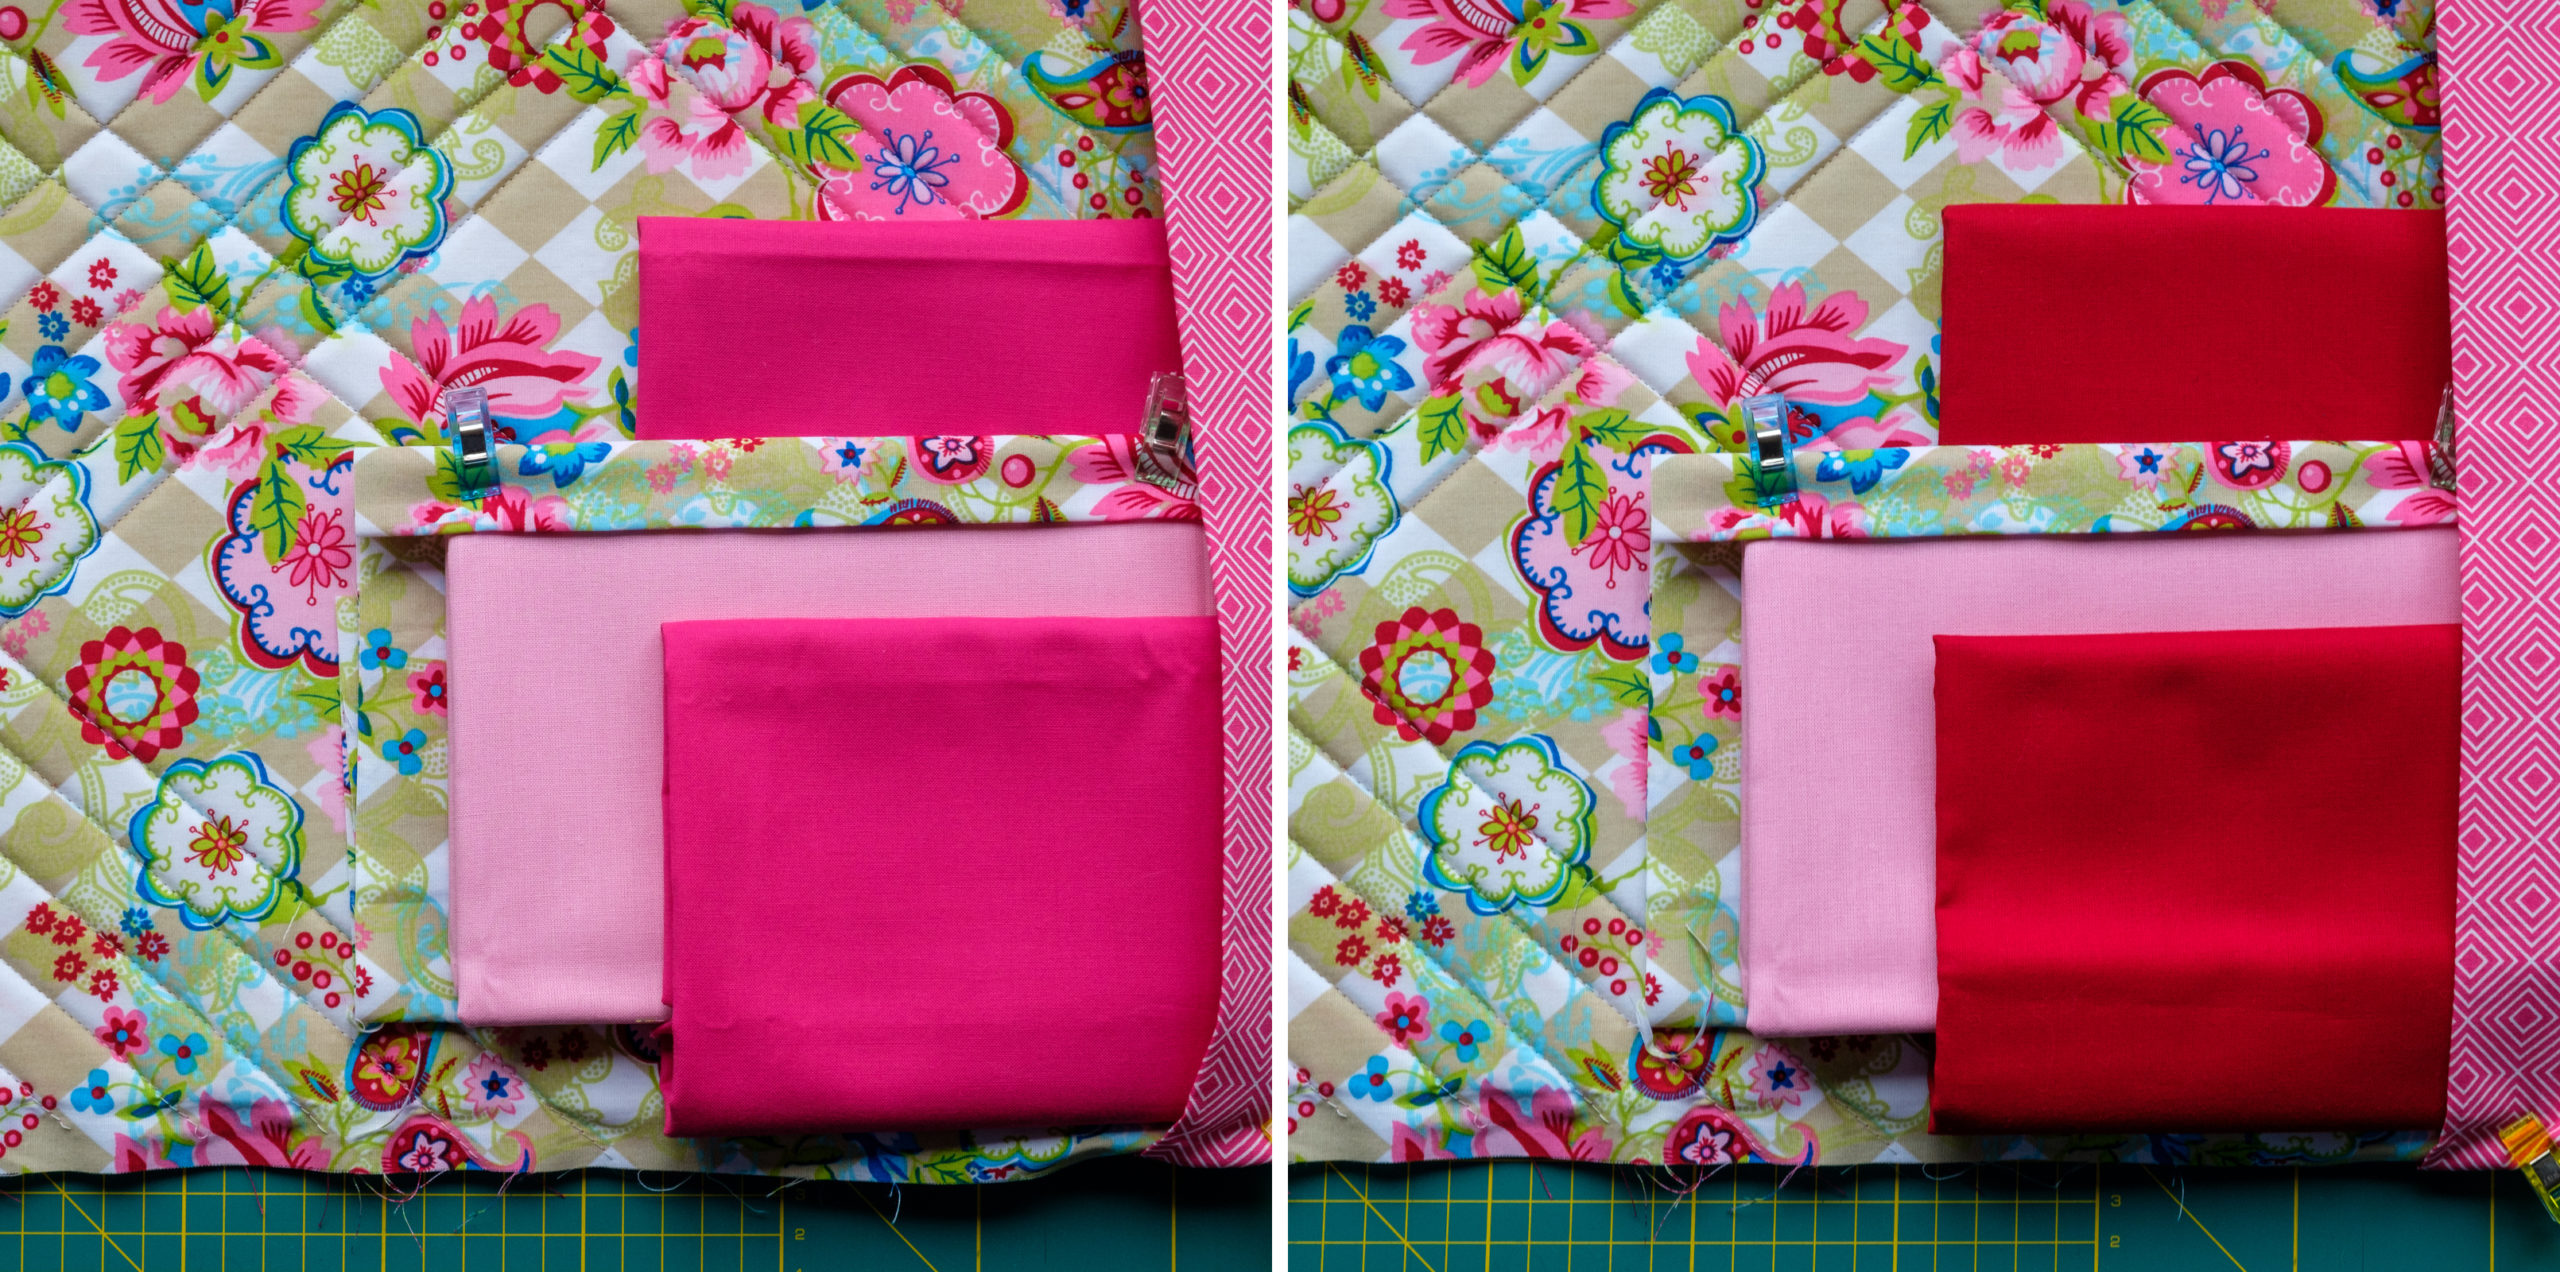
The next step is to create pockets for the cutlery. And this is where I started to rethink my original fabric choices. I did like the dark pink solid fabric (I use it for the back of the placemat), however, it all got to pinky! At least, that’s what the husband said. So I swapped the dark solid pink fabric for a red one. I do like the combination a lot better because it also adds contrast. By the way, when I asked you guys on Instagram which one you preferred, you clearly voted for the pink version.
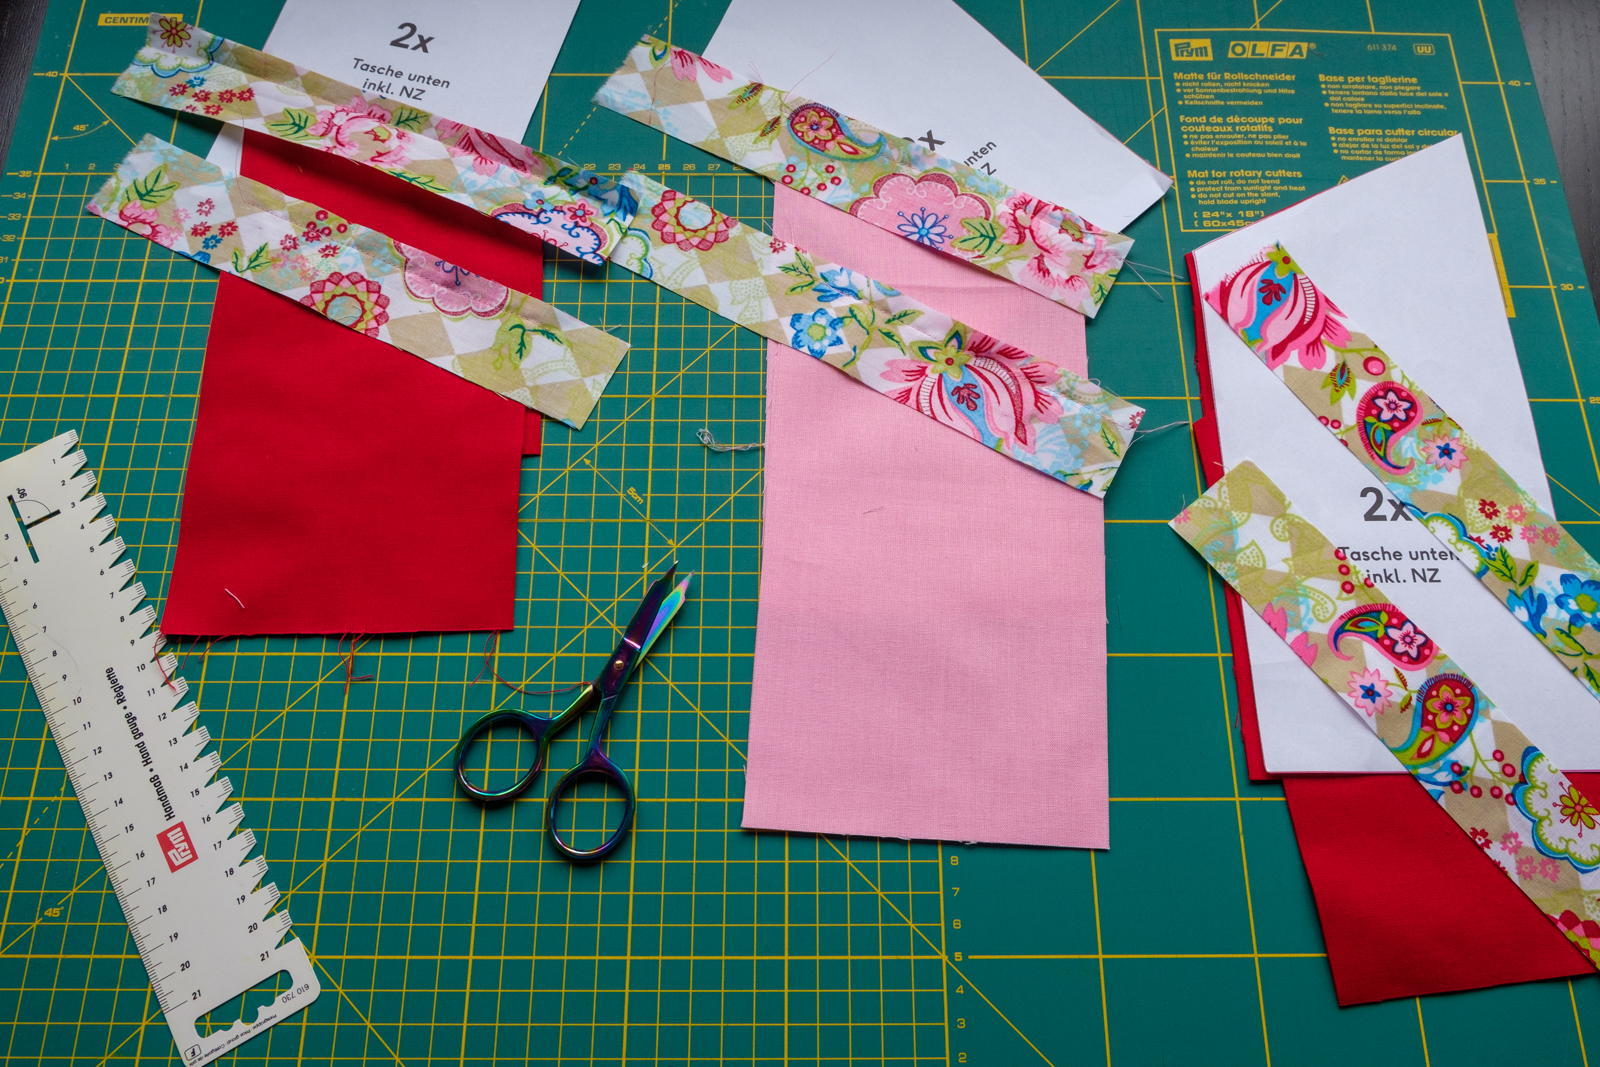
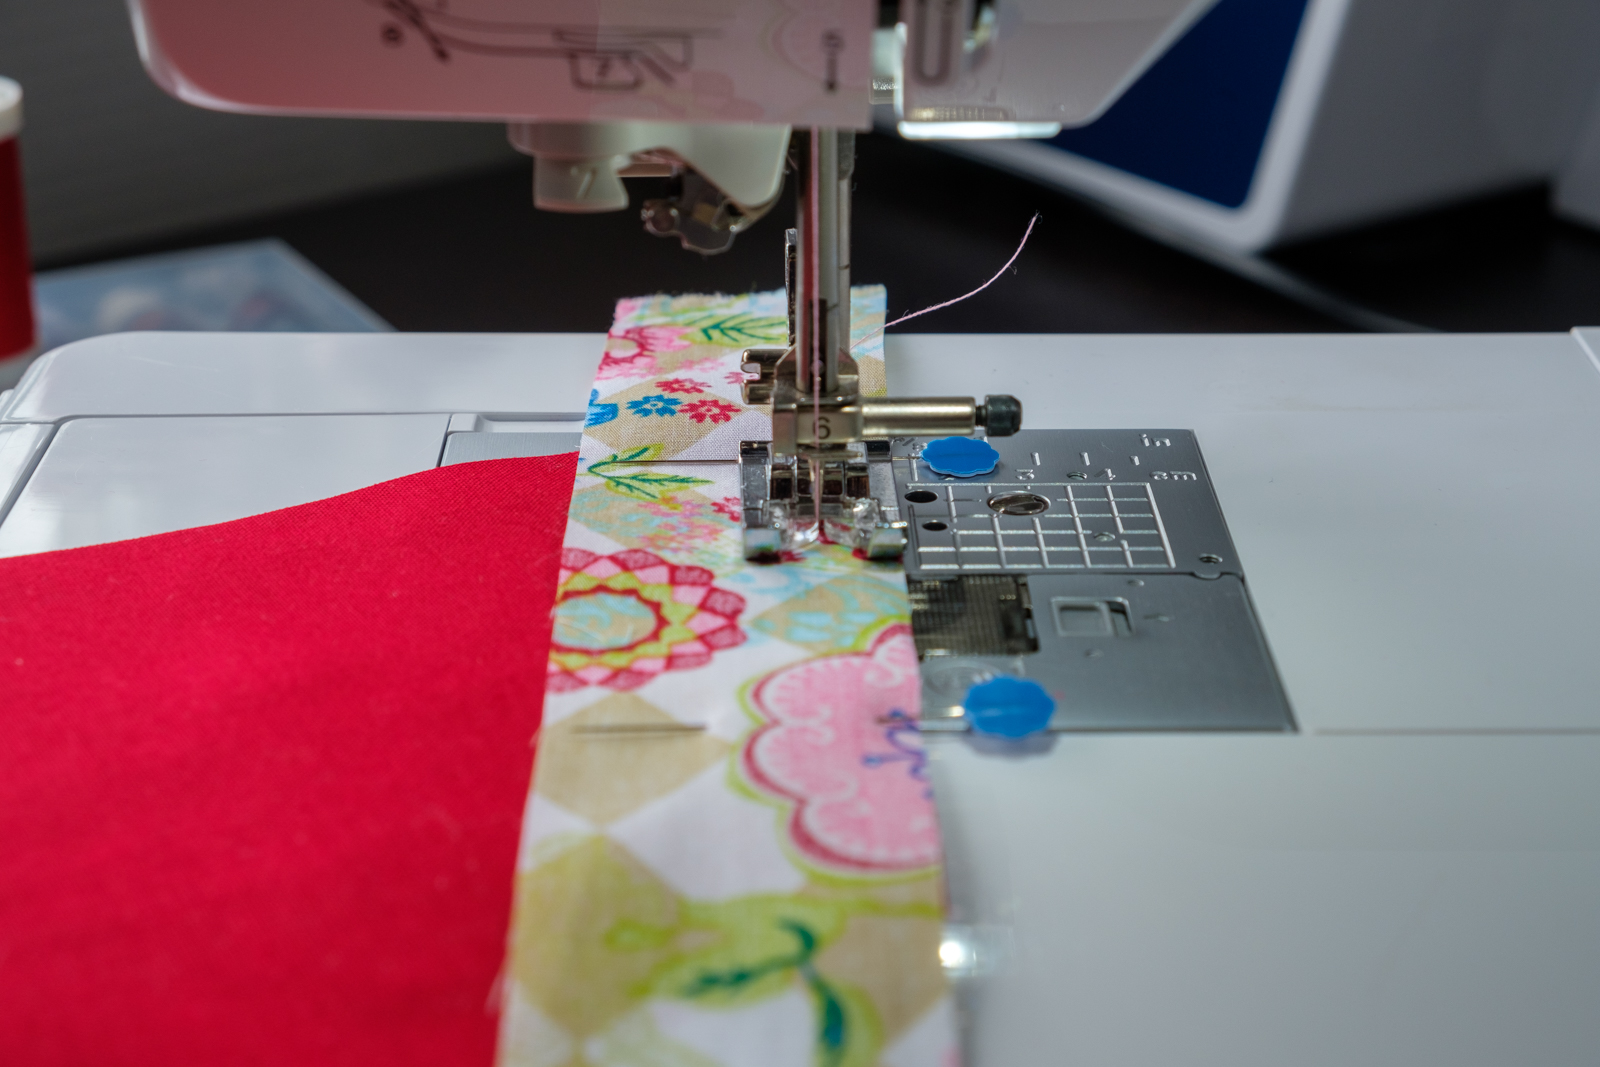
Adding binding to edges is something that I recently learned how to do (thank you, Barbara) and I really like how neat the edge of the fabric looks with a binding. Of course, it is also a great way to use smaller prints and to add interest to your piece.
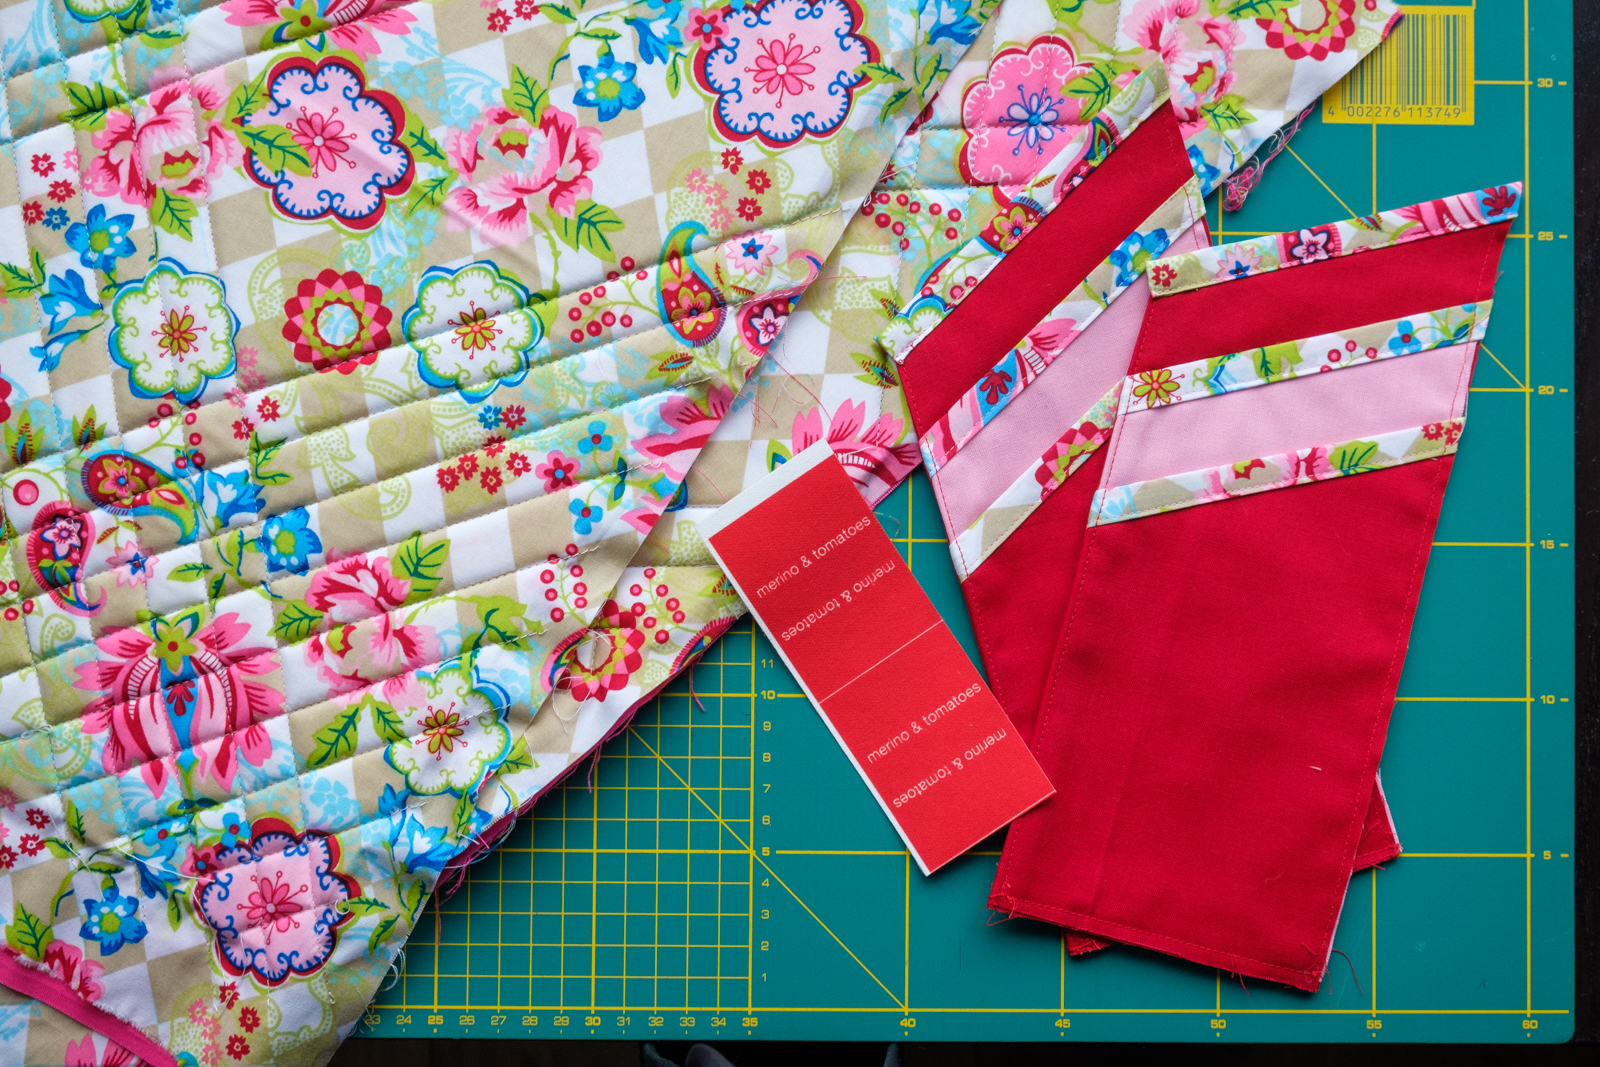
Once the cutlery pockets are done, it’s time to assemble the placemats. I decided to do two colourful placemats at a time because I know that when I would make them one at a time, I probably wouldn’t even start the second one after finishing the first one. There are just too many things on my to-do list, and I would love to start something else right away. Concentrating on just one thing is not something that I am very good at. This way I am sure that both of us have a colourful placemat on the garden table when eating outside!
Oh, and guess what? I, of course, forgot to sew in my label!
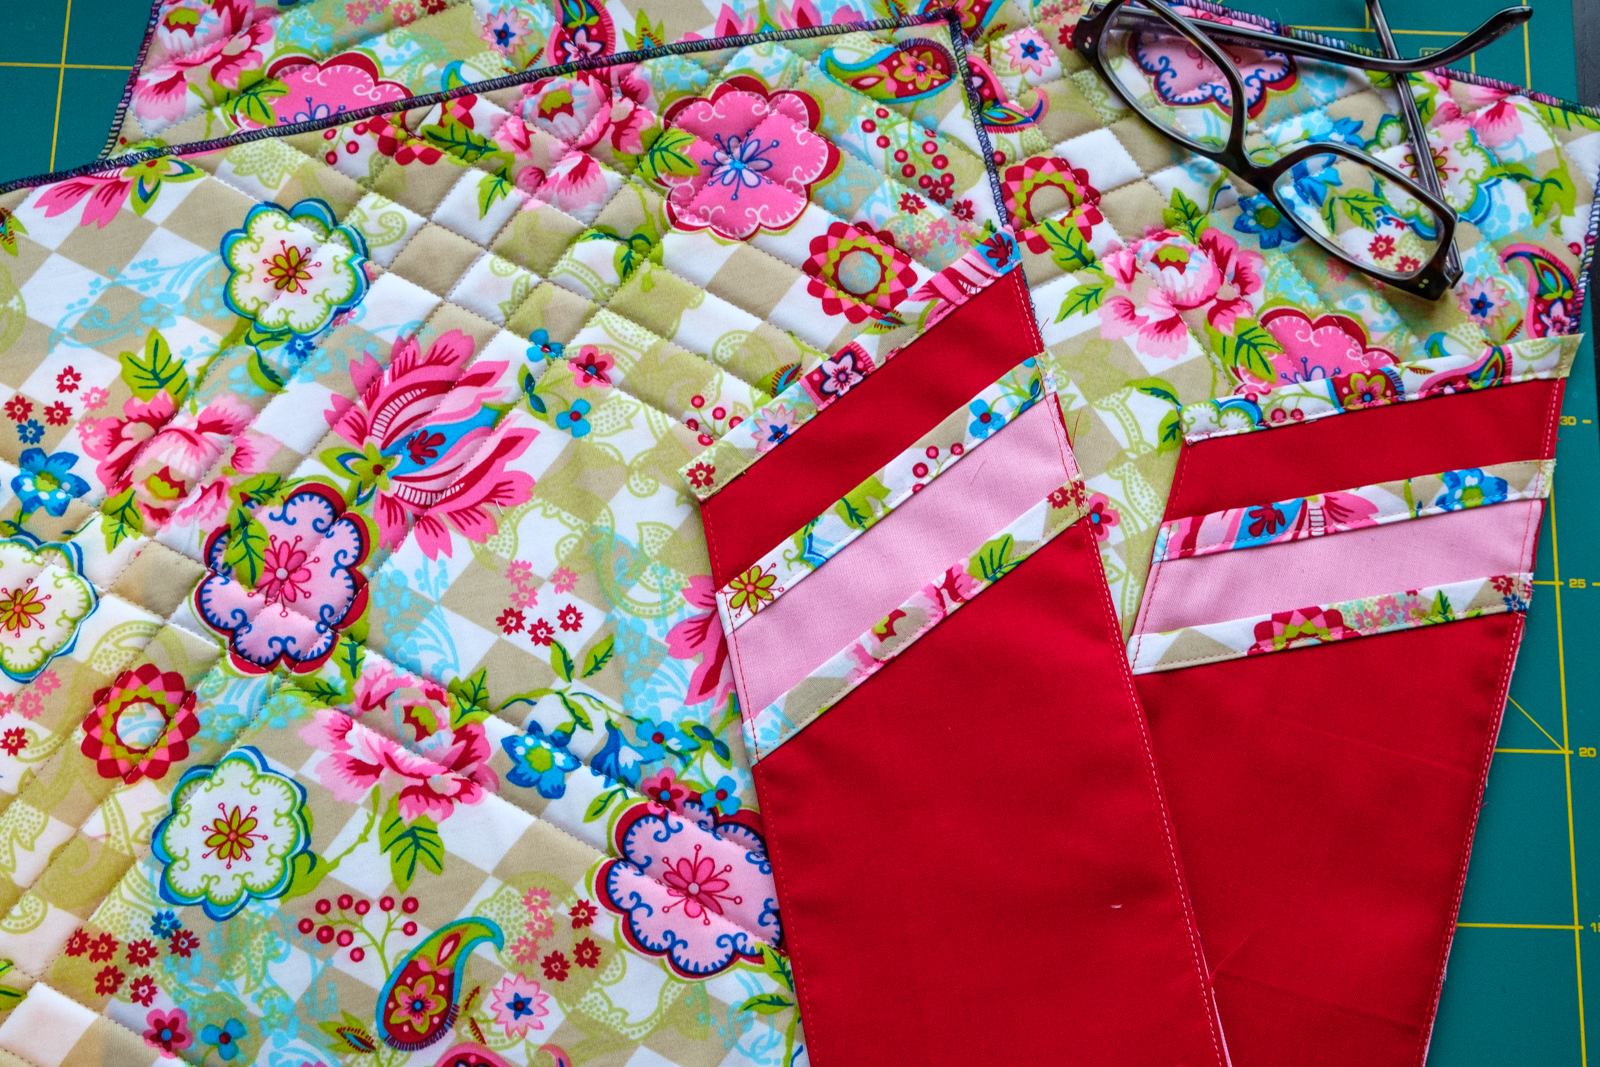
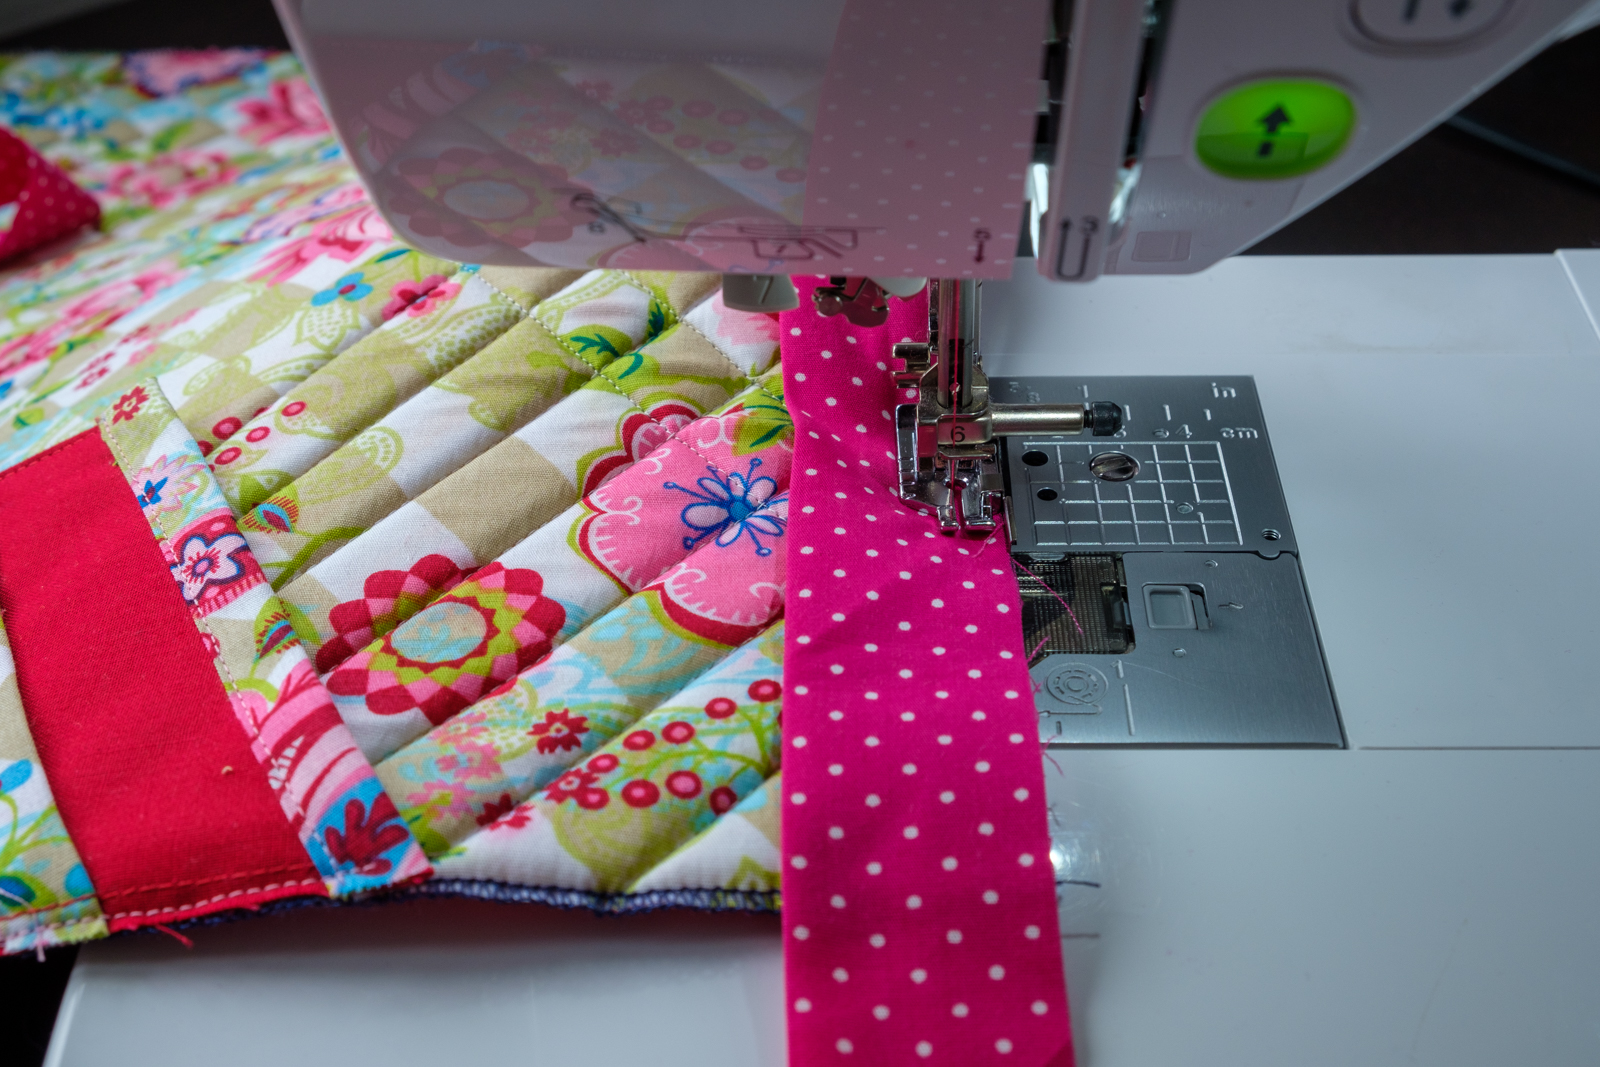
The last step is to add the binding around the outside of the placemat. A great tip from Barbara, which she shared during the live sewing session, is to create a neat edge by sewing around the entire placemat using a serger (or overlock machine) before adding the binding.
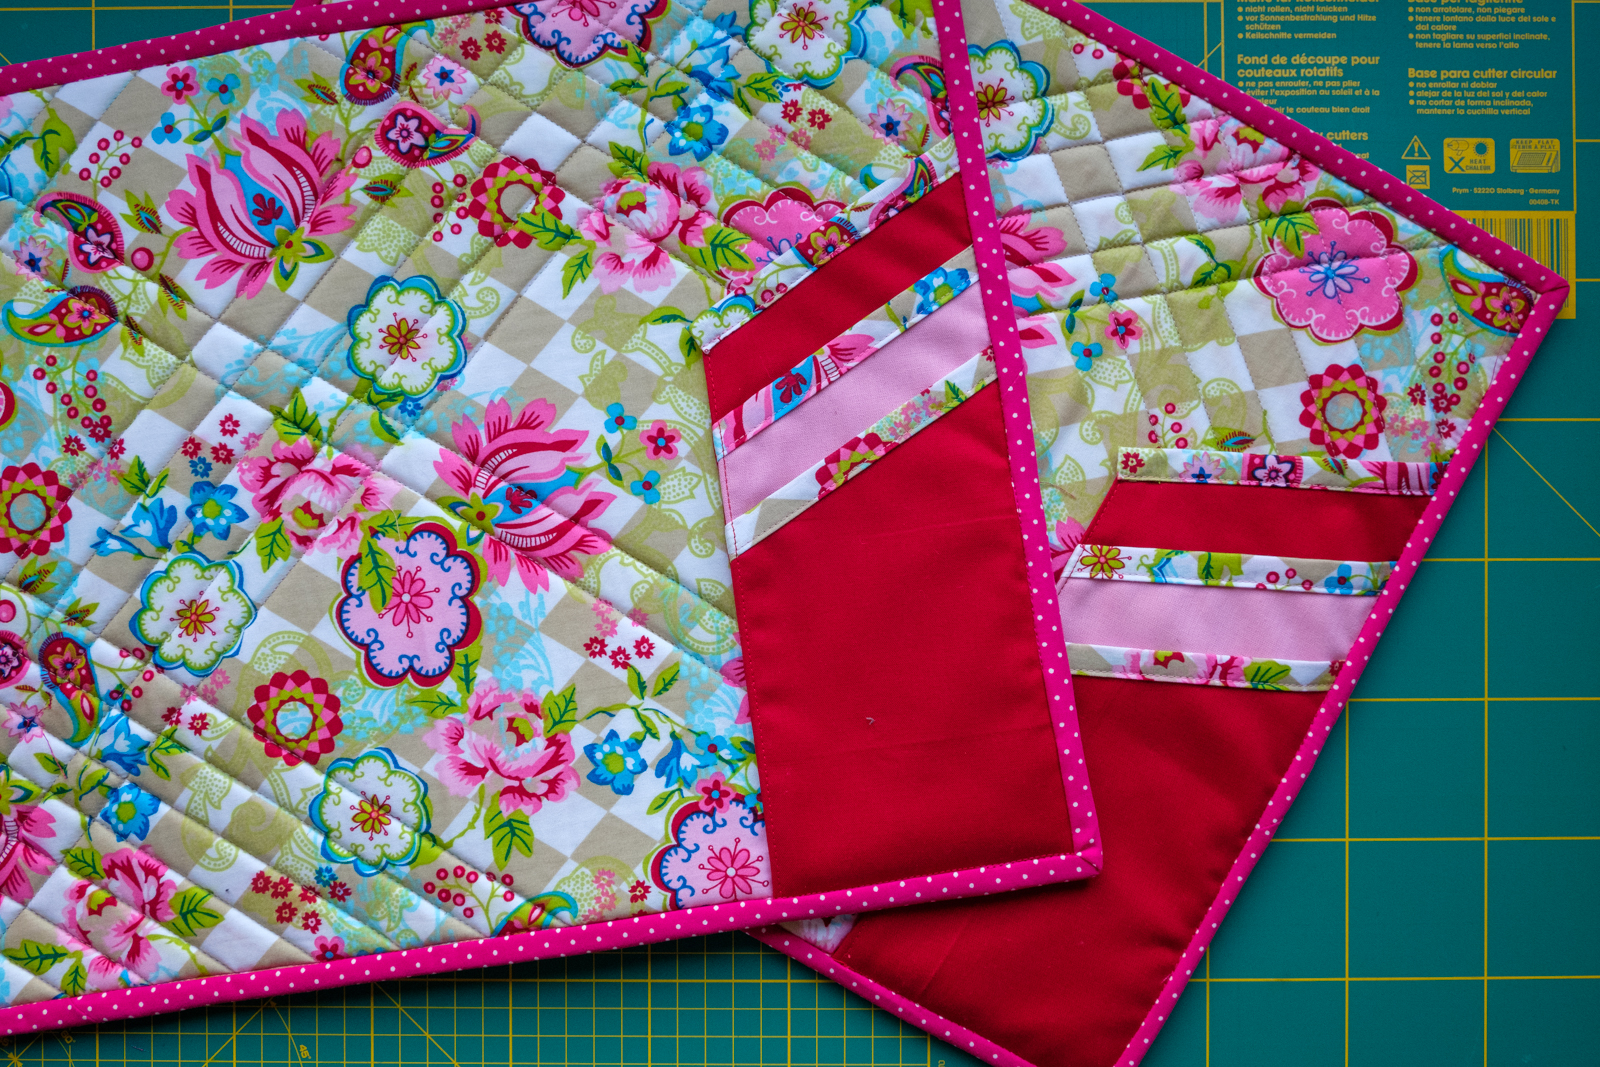
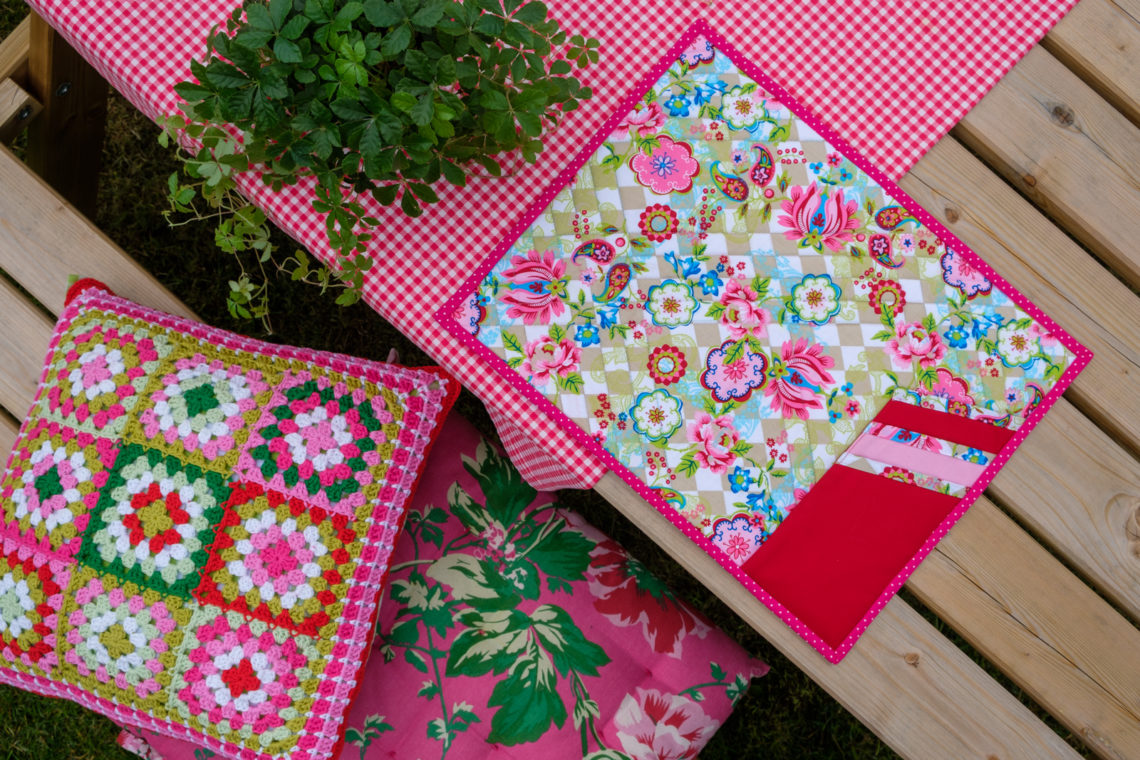
And here they are, to colourful placemats. I chose the lazy version too close to binding which is to use the sewing machine for that instead of doing that by hand. Therefore I won’t show you the backside! I have to practice a little bit more on attaching binding with the sewing machine, I guess.
Ta-da!
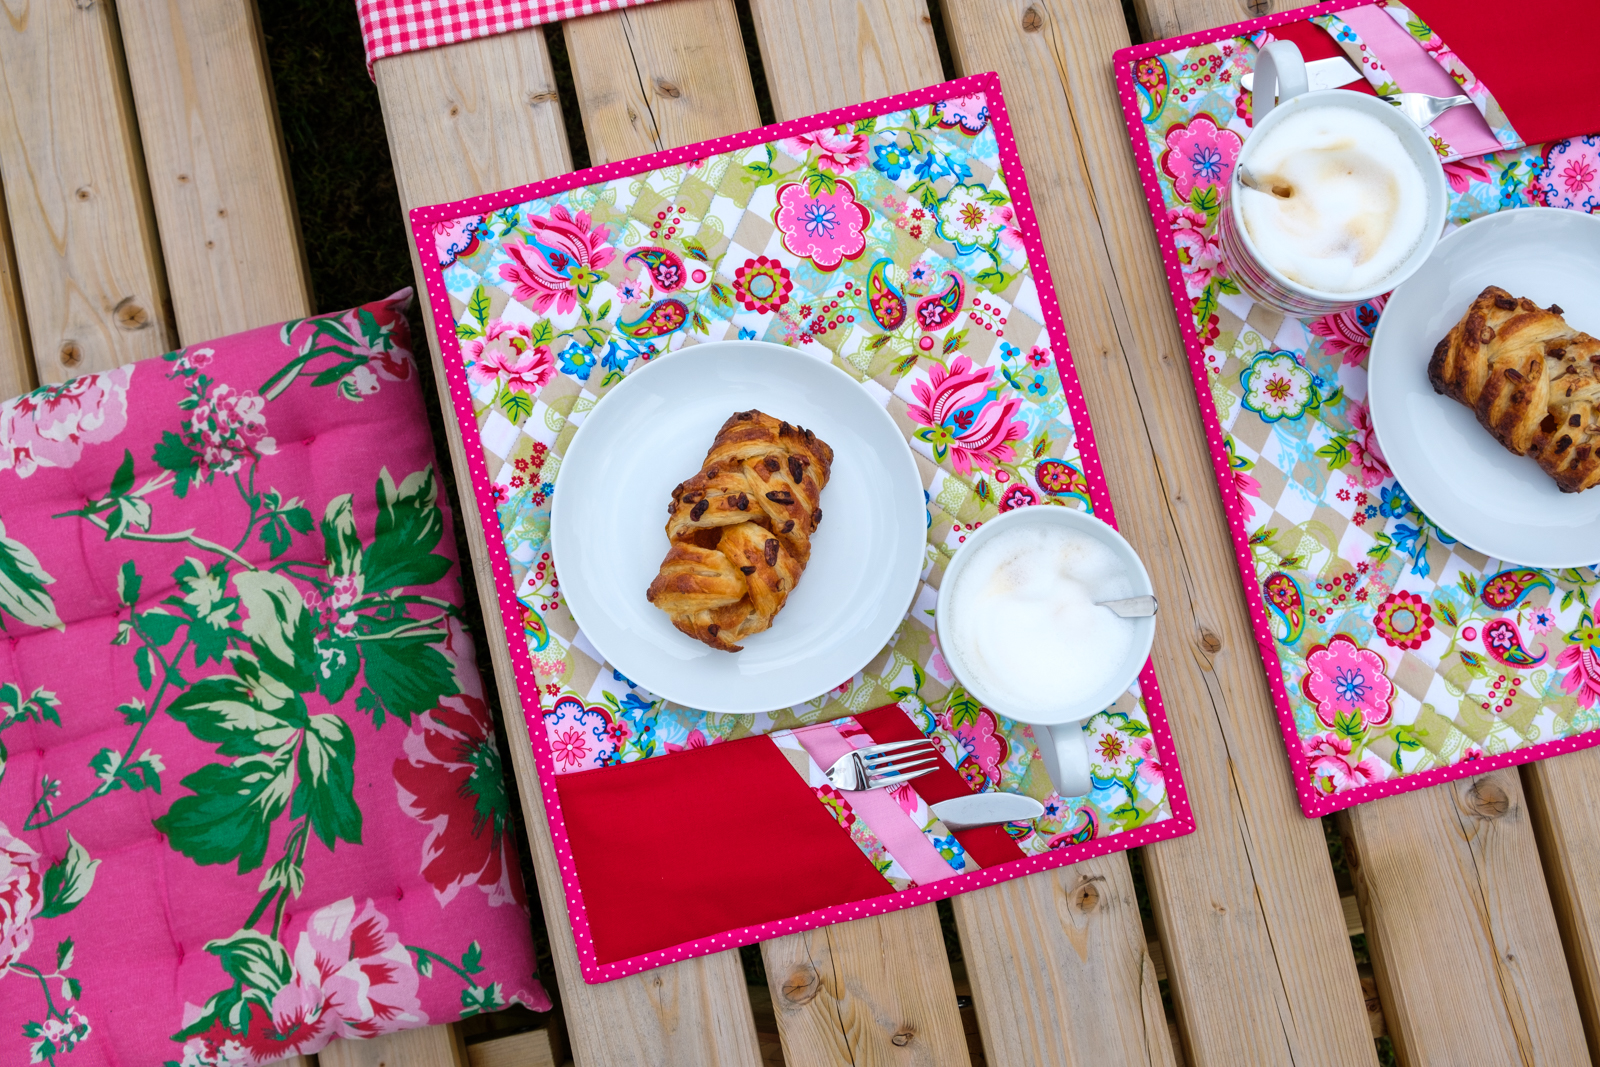
Of course, we had to use them immediately! So, when we had coffee with a sweet bite earlier this week, I put them on the outdoor pick nick table to take some photos. The cutlery is only decoration here, we just used our hands to eat them, haha!
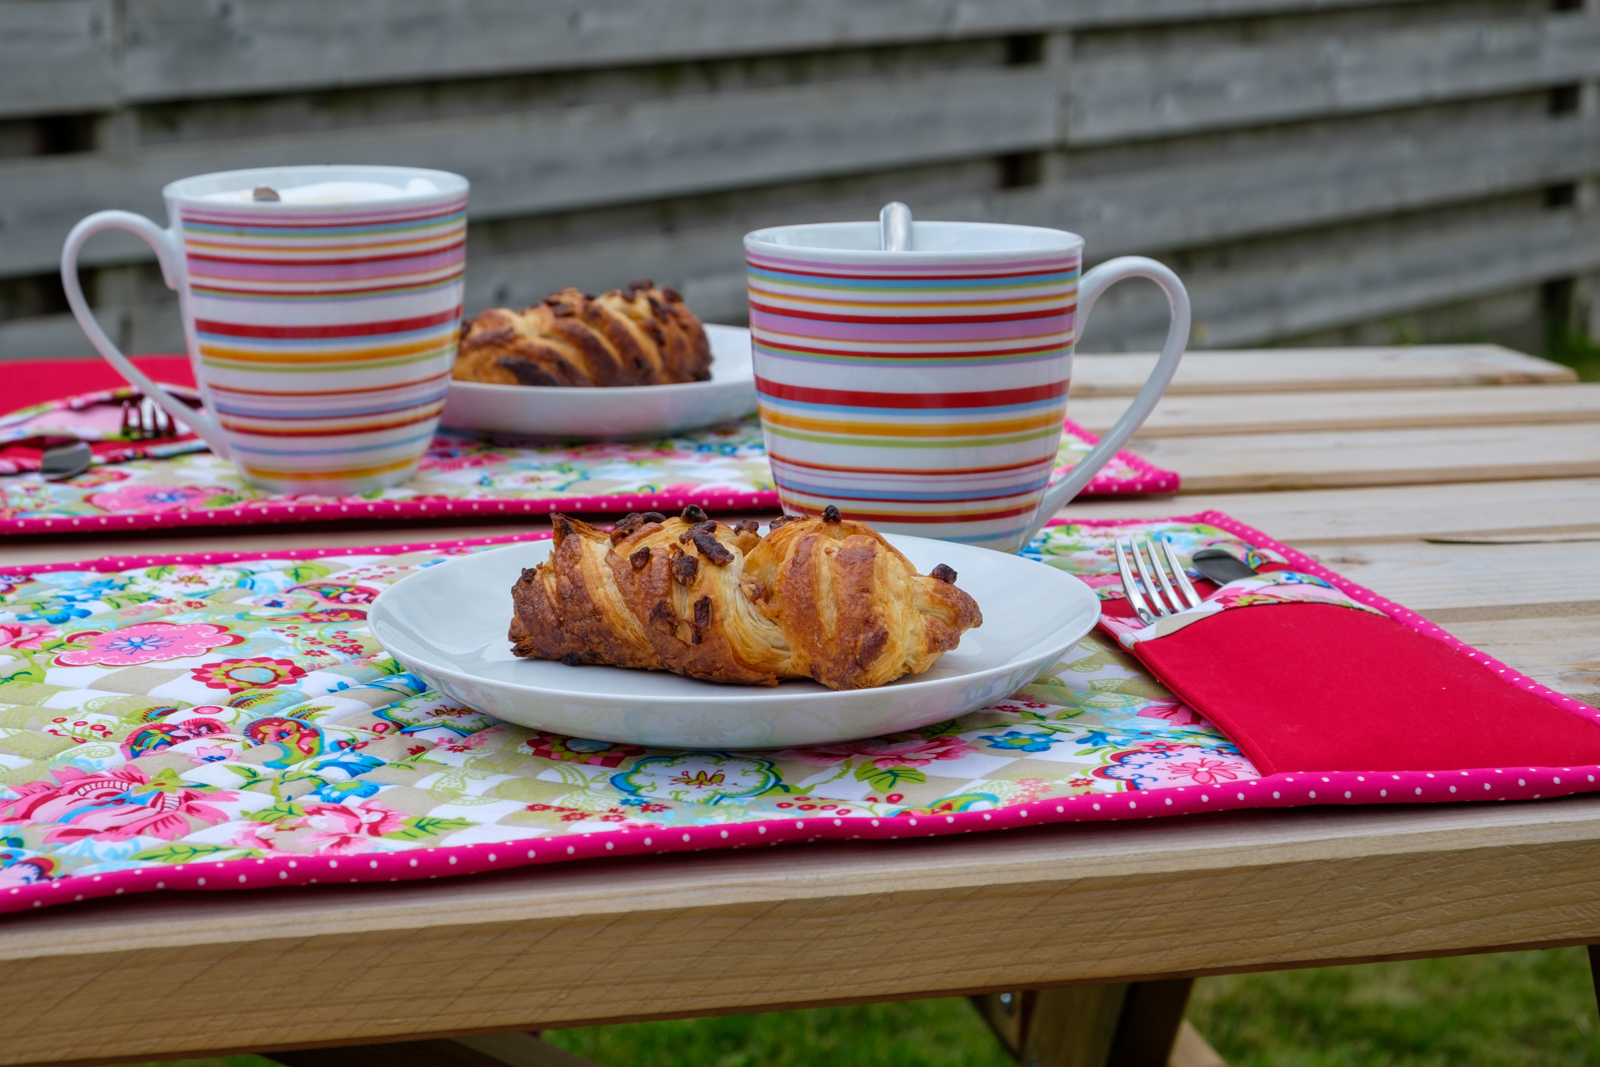
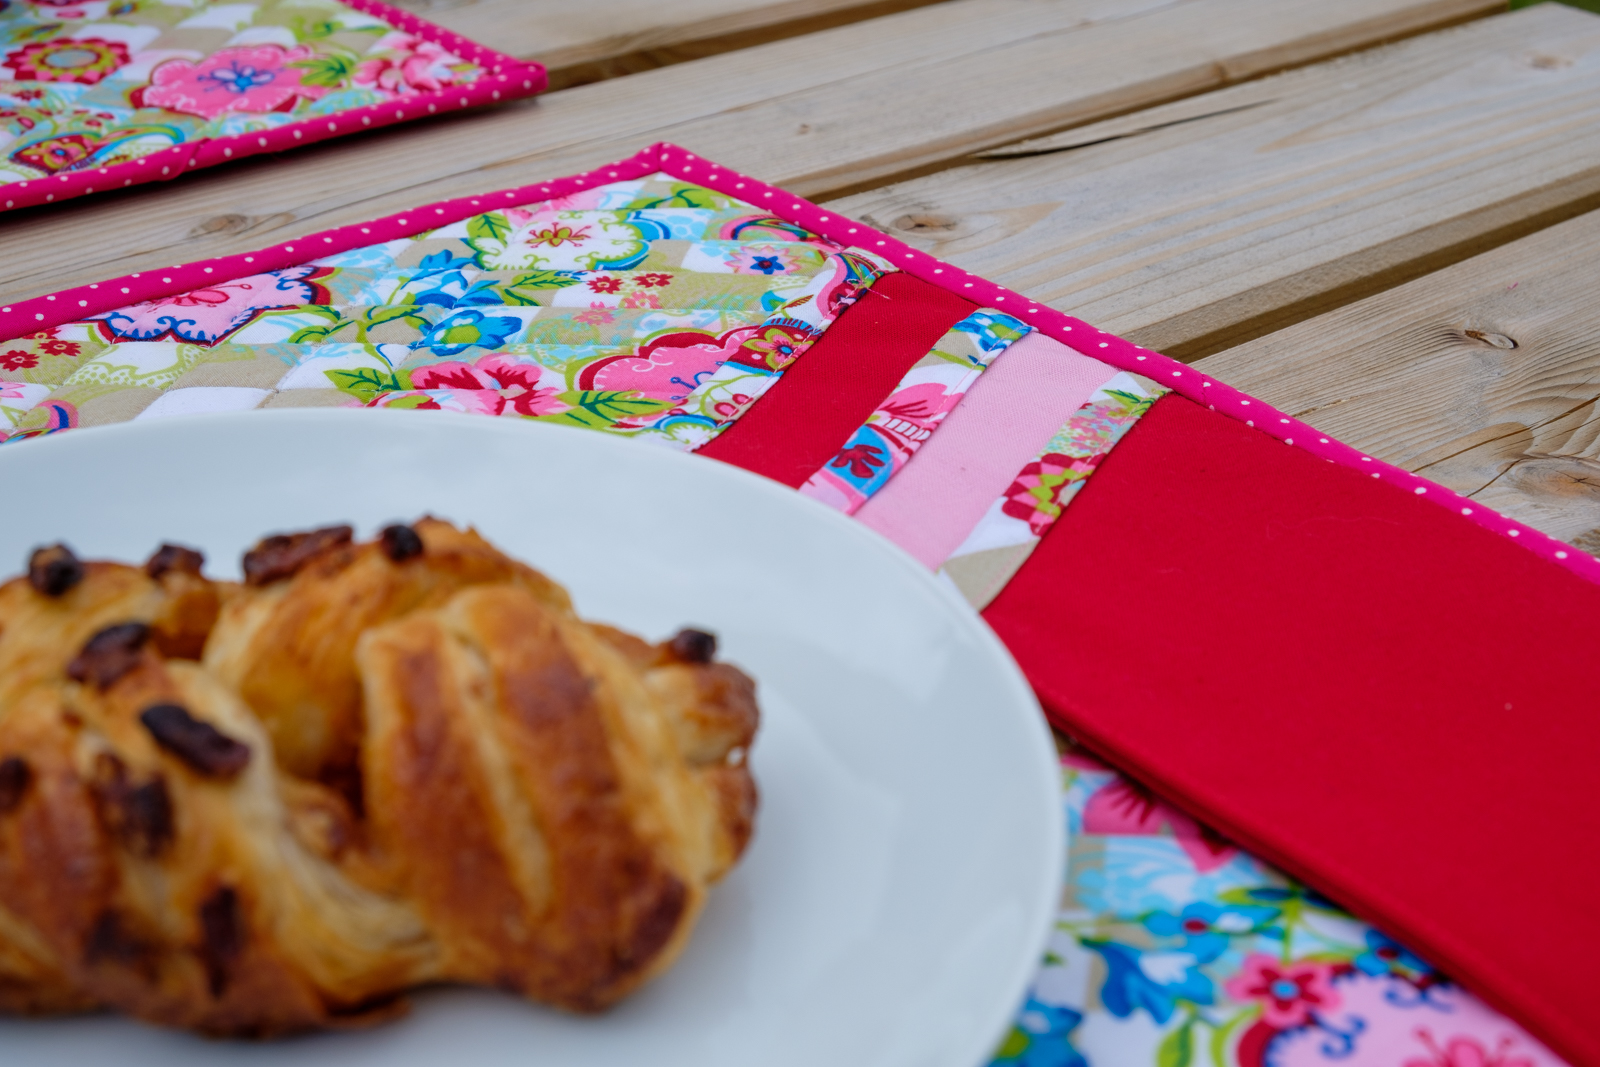
I’m very happy with how the placemats turned out, they are bright and colourful and match nicely with the garden cushions. I’m happy that I swapped the pink for red because there’s a lot of pinks already present!
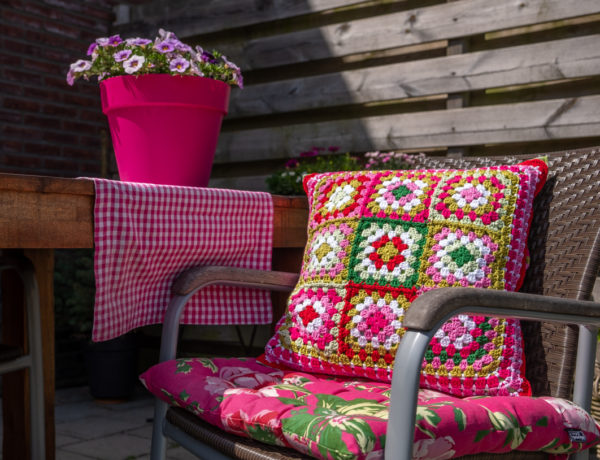
Did you see the crochet cushion in the photo at the top? It’s my Granny Square Cushion and you can find the free pattern here on the blog as well!


No Comments