If there is one long overdue blog post, then it certainly is this one. The one about a blanket that has been finished a long time ago, but didn’t make its appearance here yet. The one that was originally a CAL (crochet-a-long) and that I started last September. I am talking about my Nature’s Walk Blanket! It’s time for a proper reveal now!
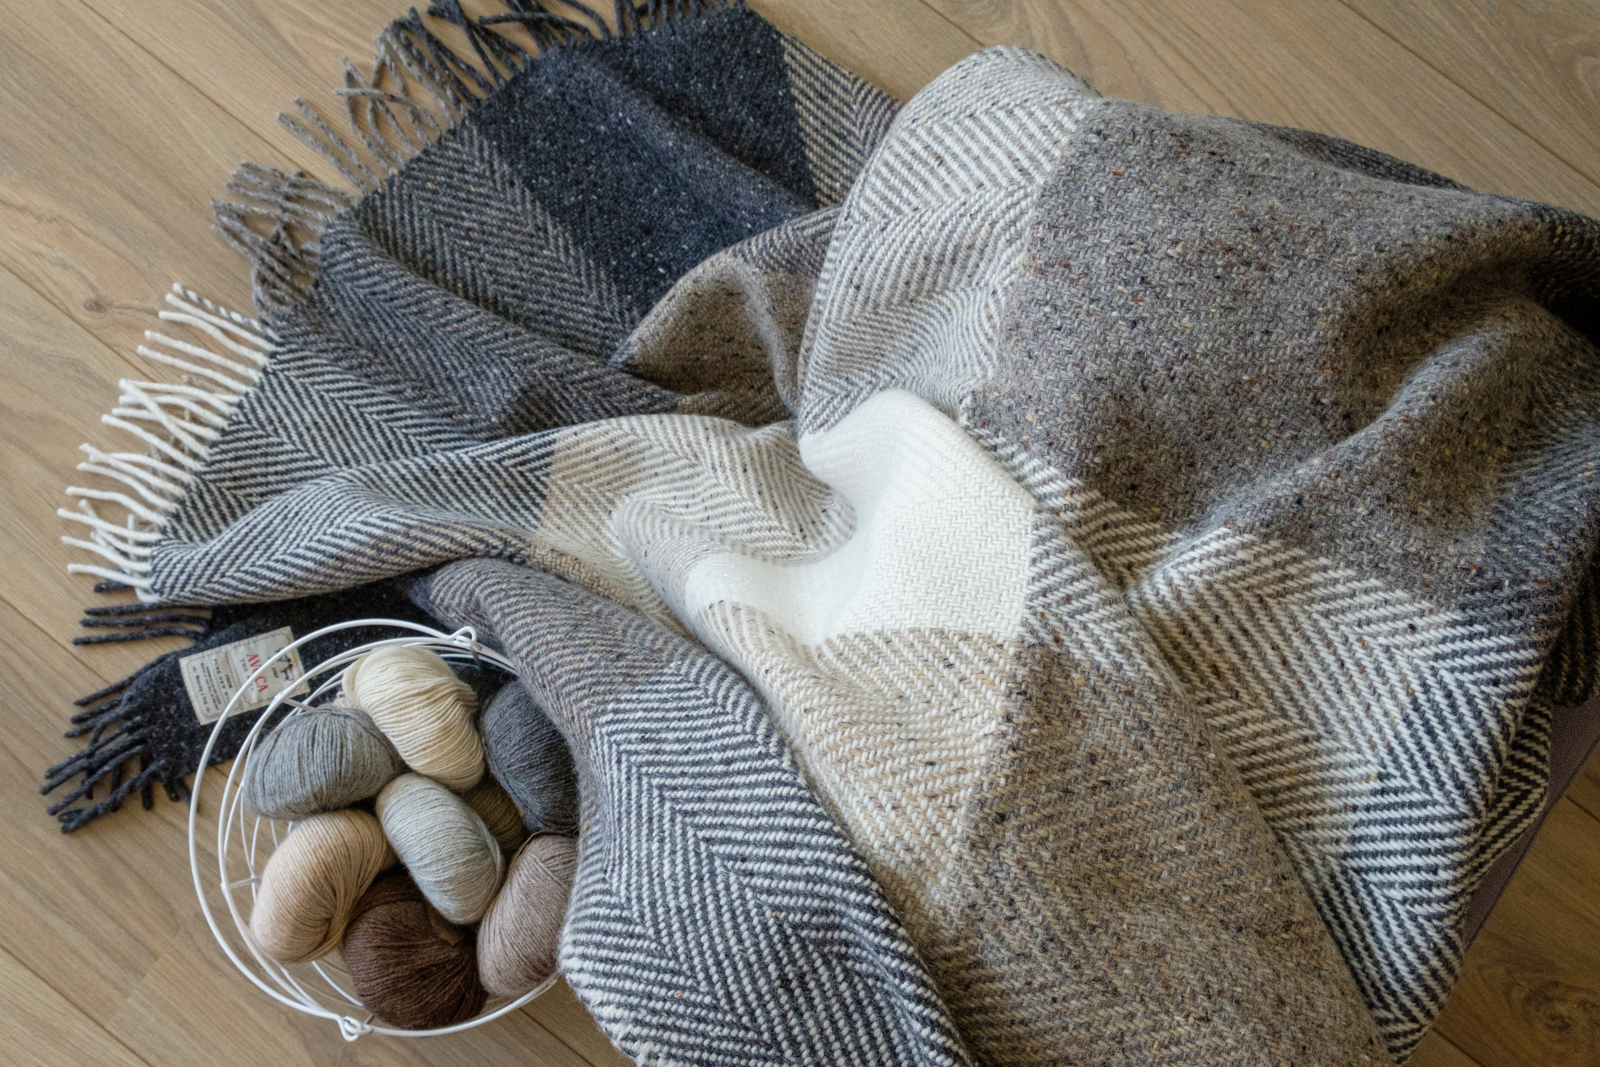
Back to the Beginning
Let’s do a short re-cap on this one, shall we? Last September, Sandra (Cherryheart) announced a crochet-a-long for which she had designed a beautiful blanket. I had injured my foot while on holidays in France a few weeks before and was wearing a cast (and therefore had loads of crochet time!) Feeling a bit sorry for myself because of the foot, I decided to join the CAL. I chose to work with my colour selection and I wrote about the inspiration for my colours here on the blog.
The pattern came in two versions at that time. A free pattern and a bonus pattern which was part of a yarn pack (and would be available to everyone later on). Since I really liked the bonus square patterns, I decided to make half the amount of the squares in the free pattern and wait for the bonus squares to be released. That meant that my blanket was put to rest somewhere in November: Half-term for the CAL.
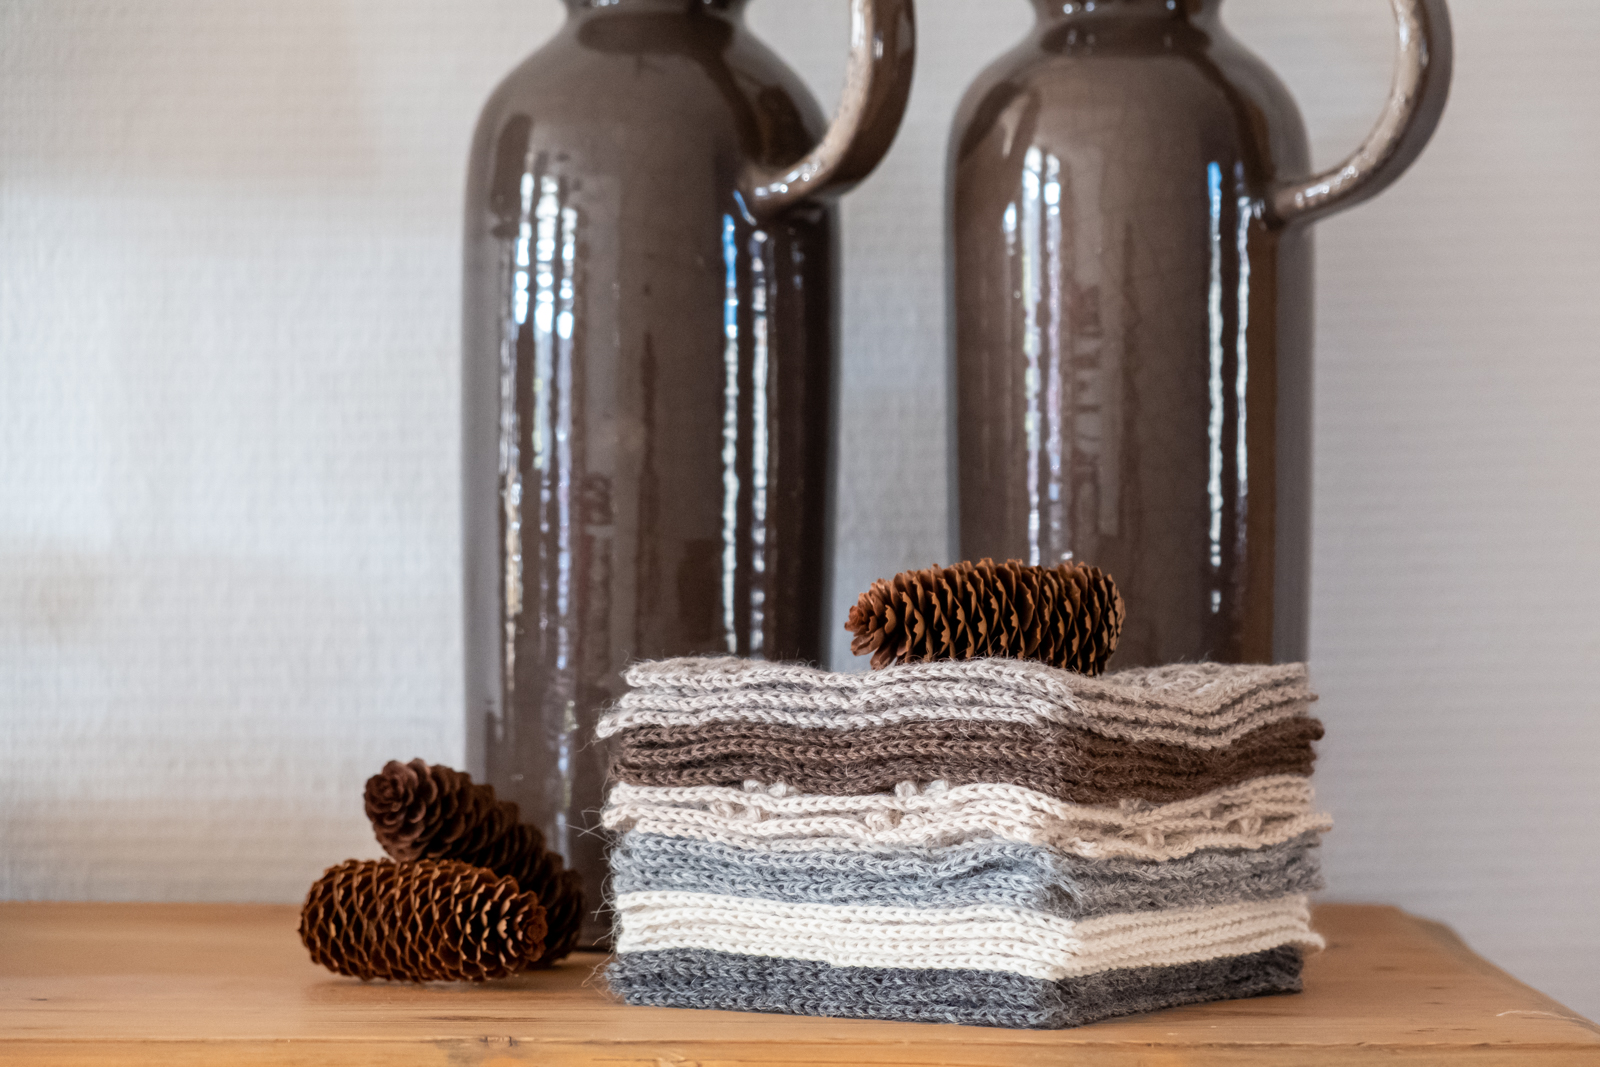
Second Half of the Blanket
Somewhere in January, Sandra released the bonus squares of the Nature’s Walk Blanket as a separate pattern and that meant that I could continue with my version. Using the bonus squares in addition to the free pattern means that you only have to make four squares of each pattern to reach the original 48 squares needed for the blanket. And, the extra patterns also add more variety to the finished blanket, which I like.
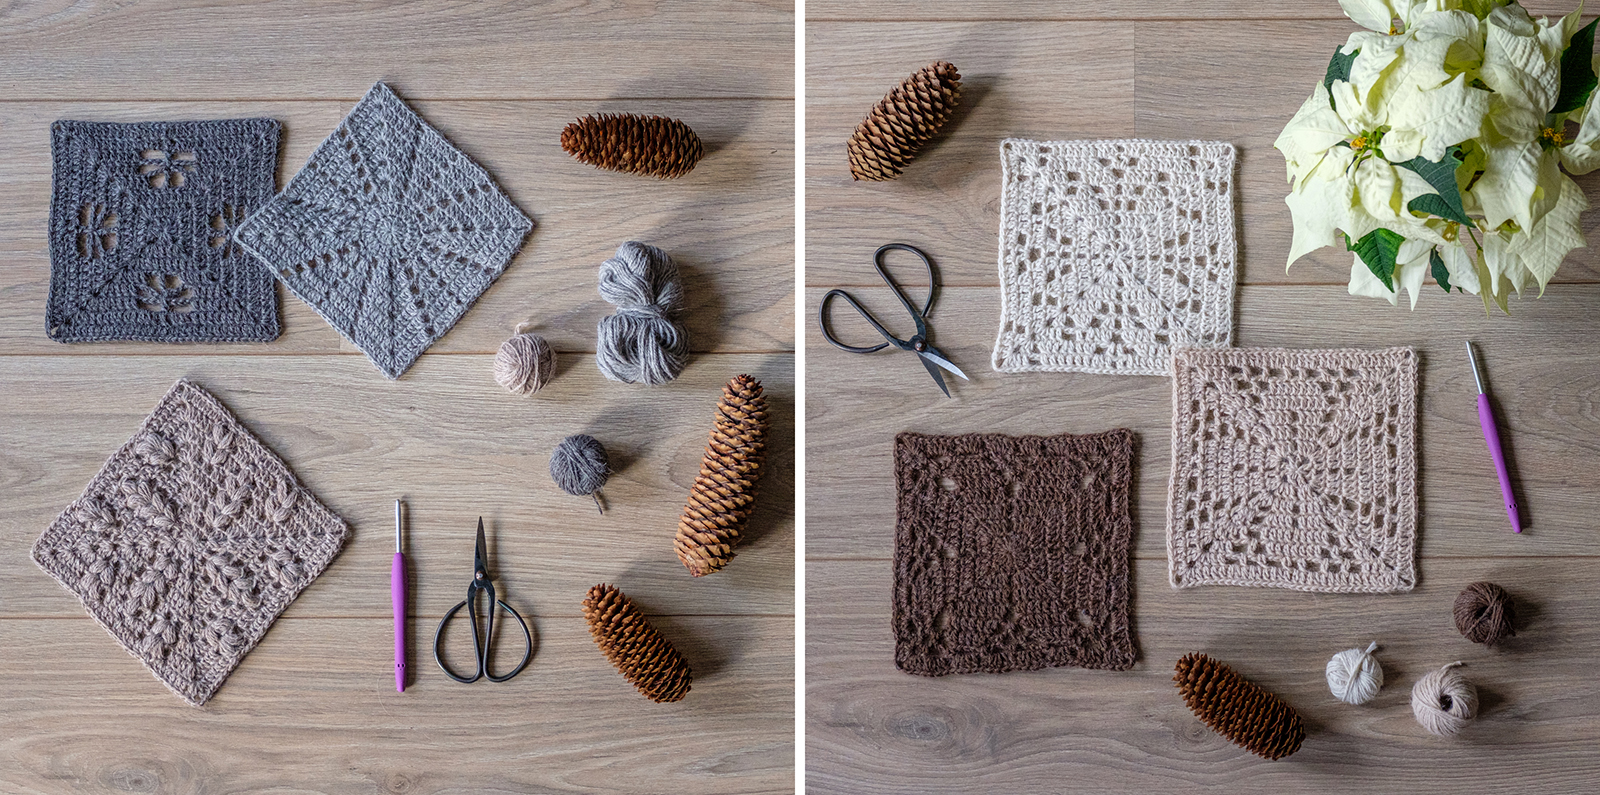
Four squares per pattern turned out to be a perfect number for me. I can (usually) easily memorise patterns by looking at the chart, which means that I can make them rather quickly. At the same time though, I easily lose interest when I have to repeat something too often (with the risk of it ending up in a basket to be neglected). Not with this one: four is perfect for my ability to concentrate on something, haha!
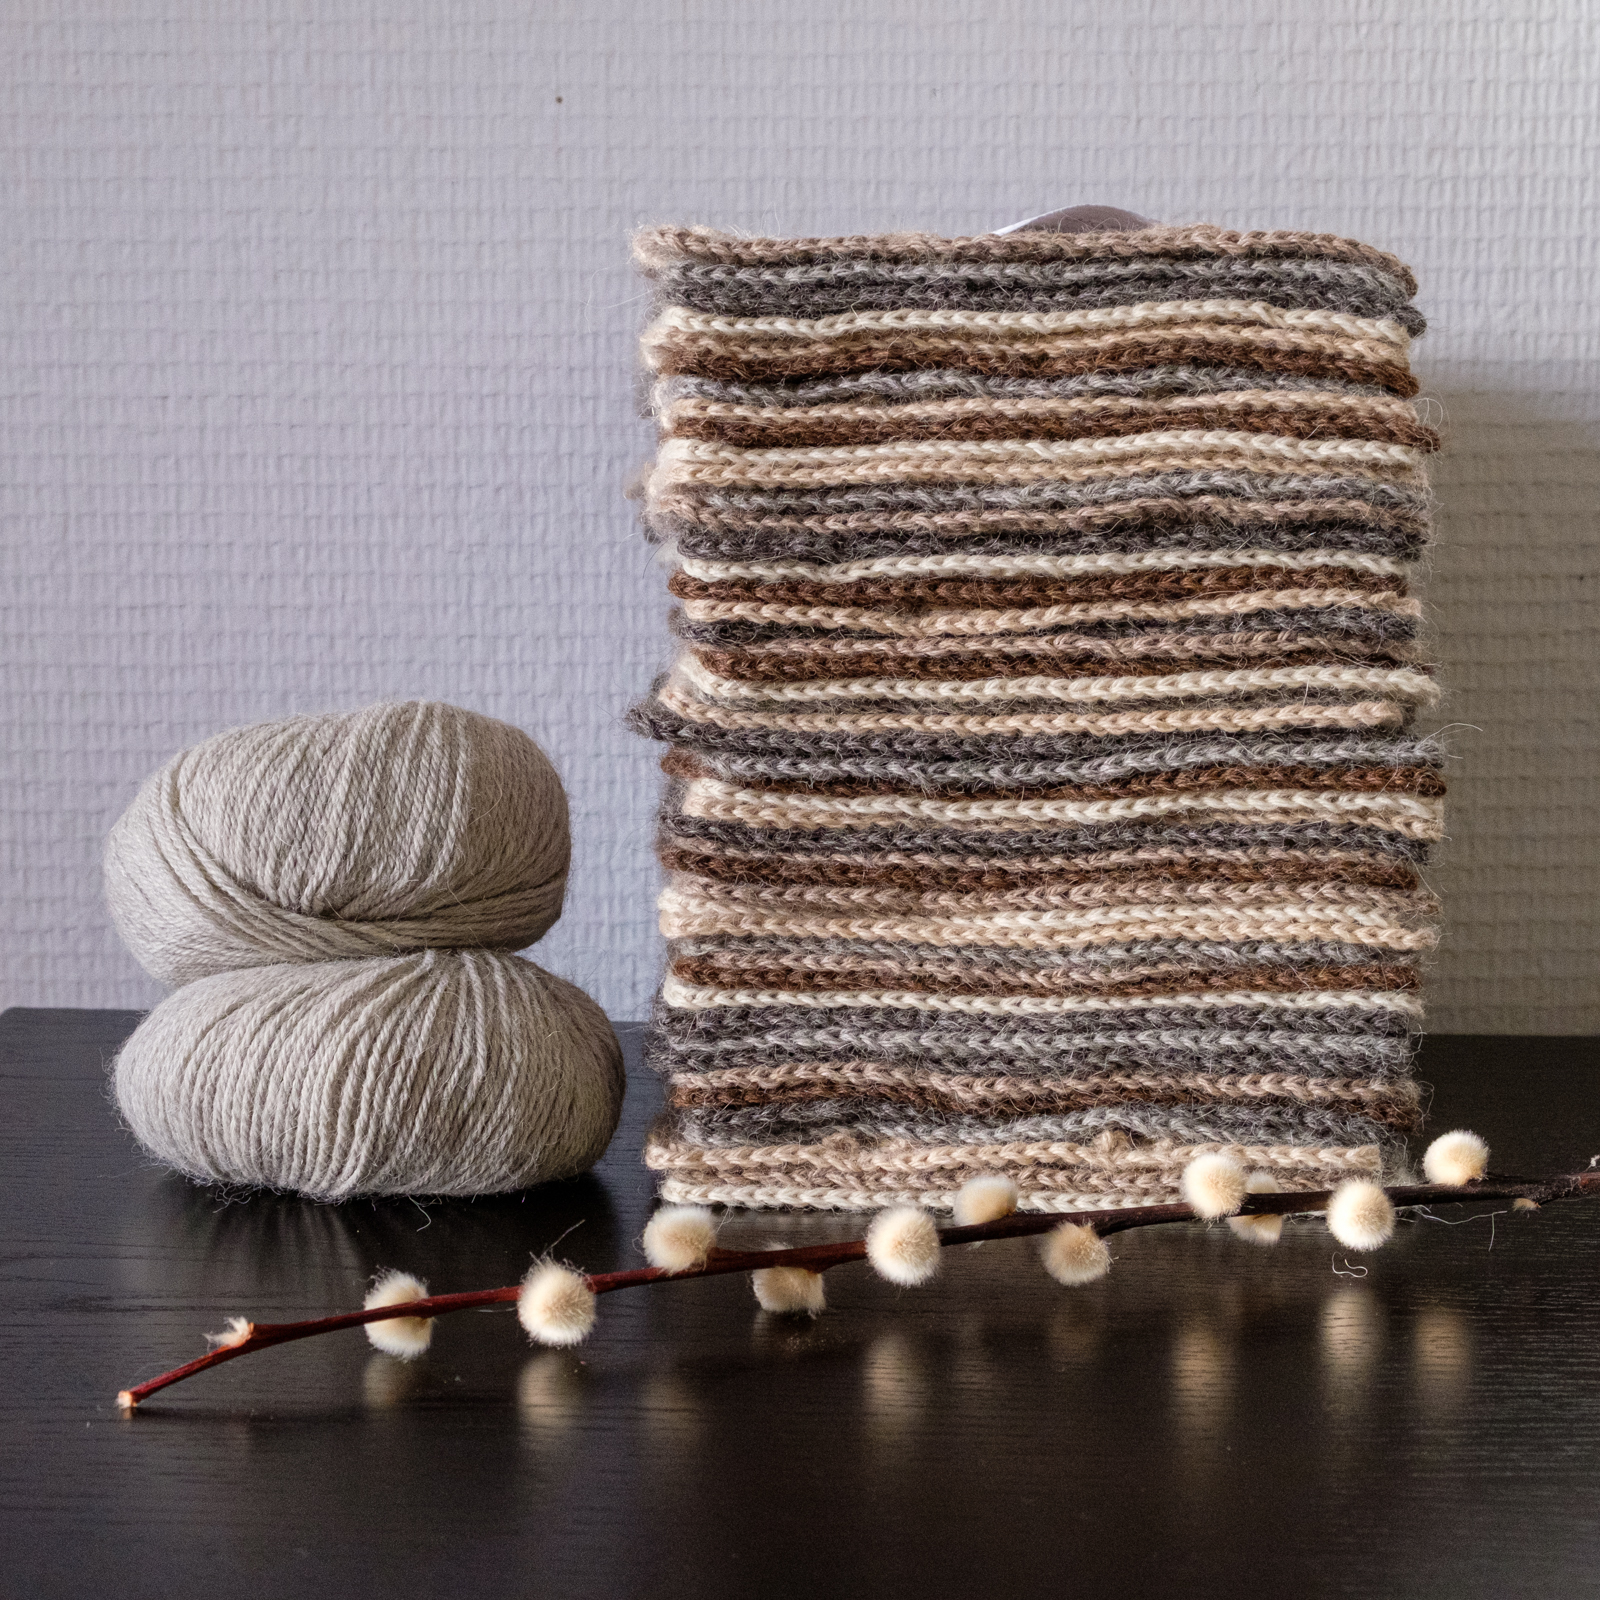
The pile of squares rapidly doubled in size!
Putting it all Together
So, now that the pile of squares had doubled in size, it was time to lay them out and sort them for joining. I blocked all of the squares after finishing them. That makes joining a lot easier.
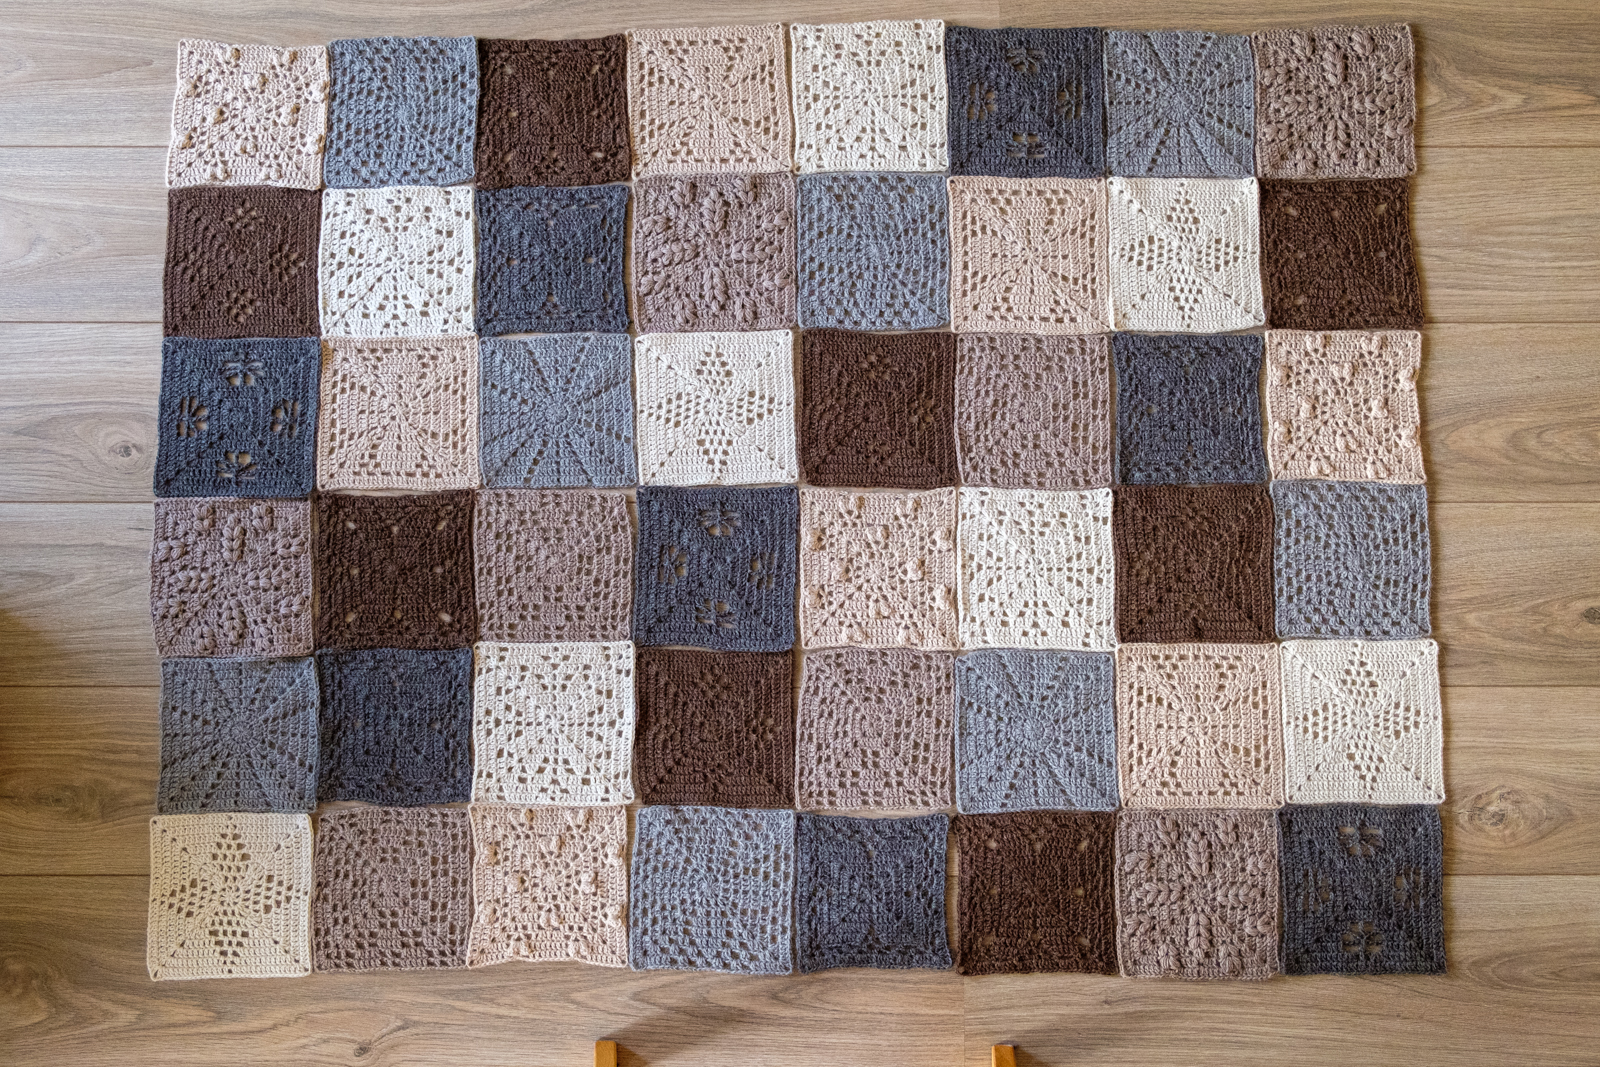
I arranged all finished squares on the floor in the order as suggested in the pattern. Being happy with the colour distribution of that layout, I didn’t adjust anything.
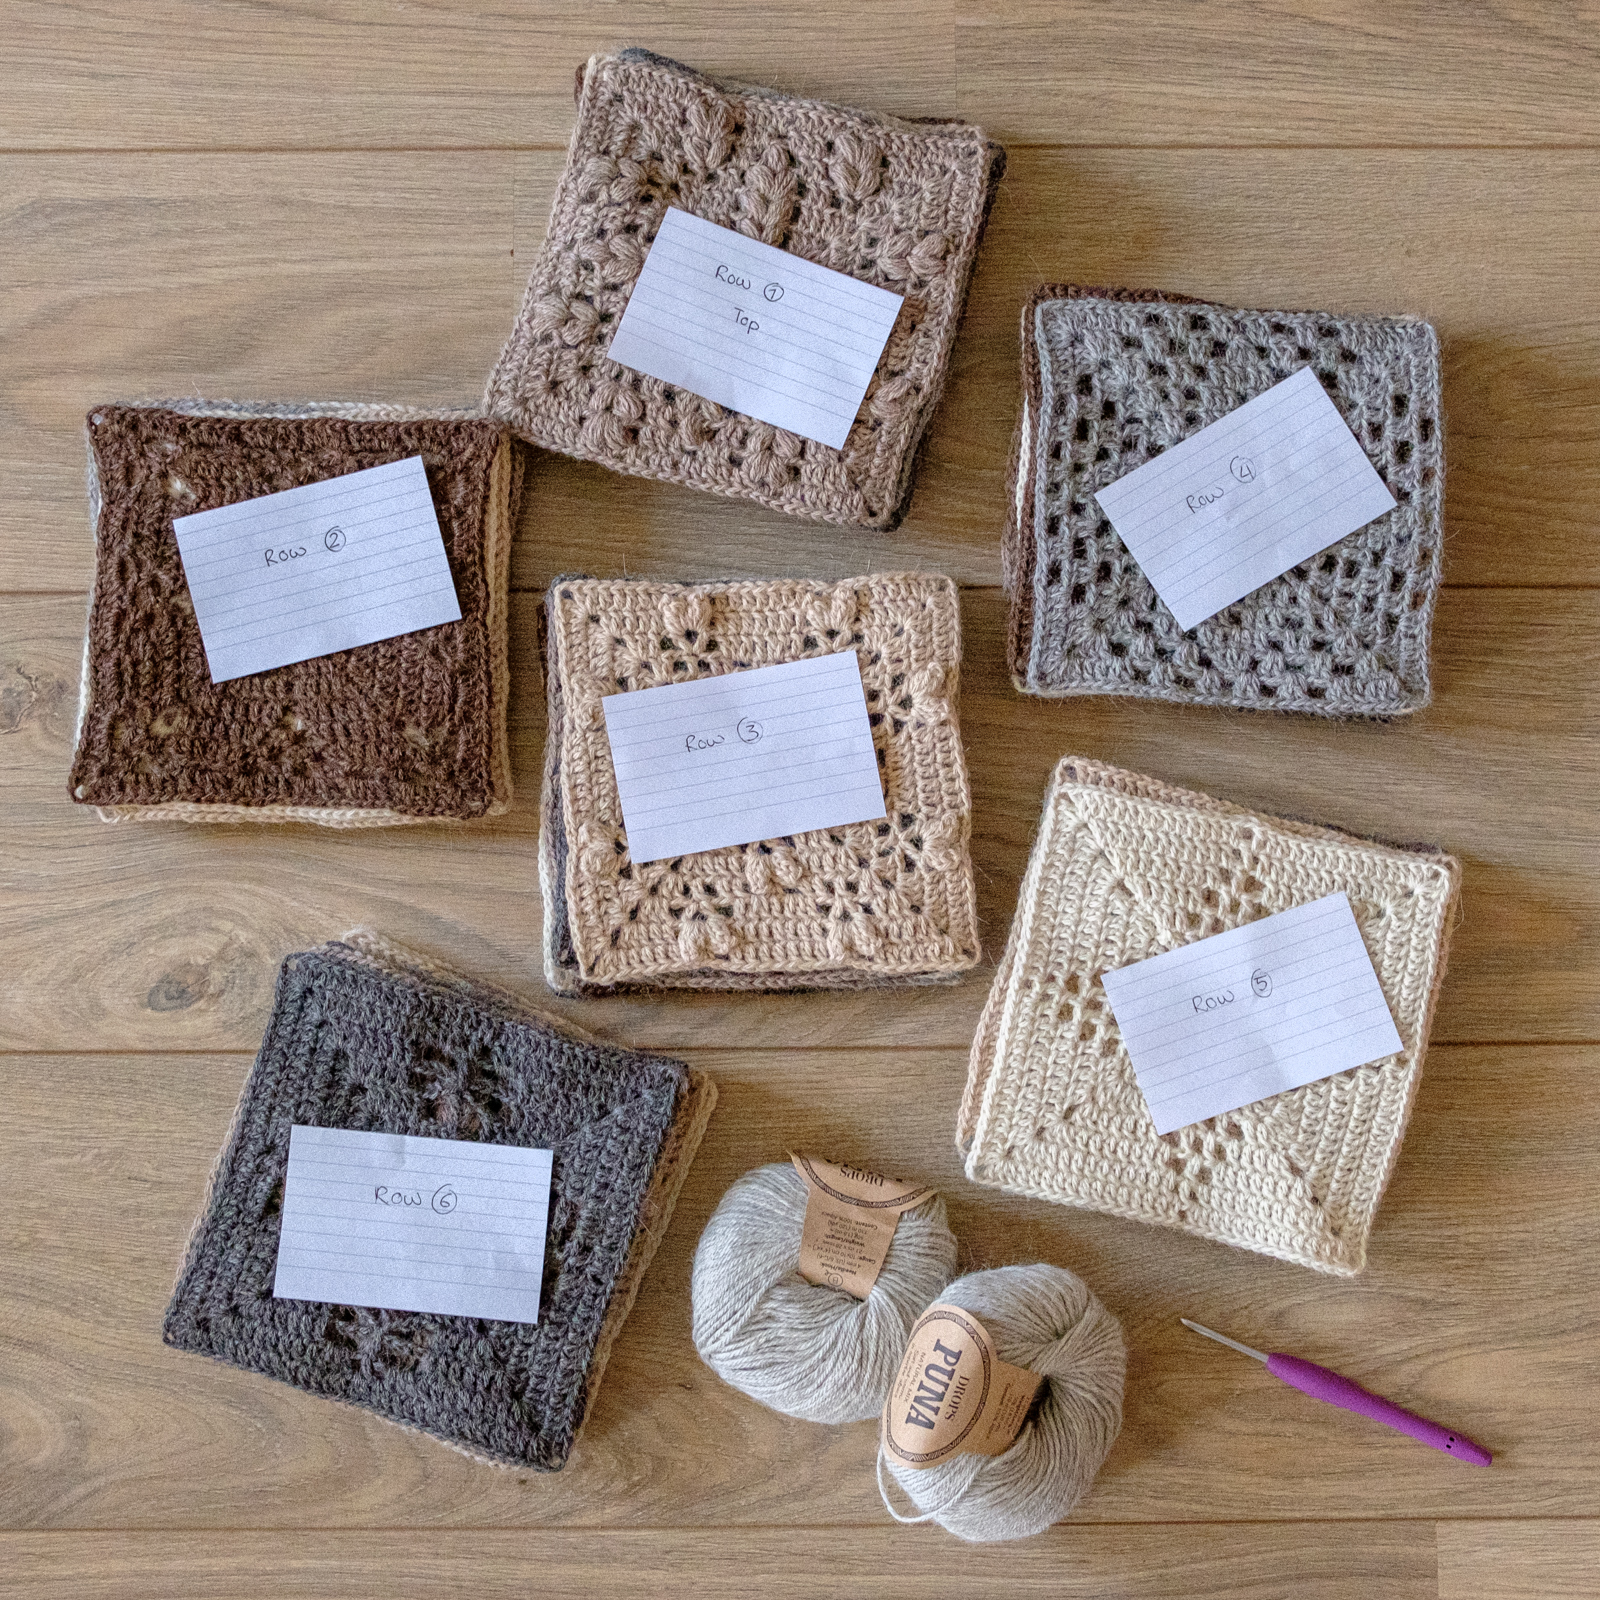
I made stacks for each row or column. That way I didn’t have to go through all the squares to find the right one.
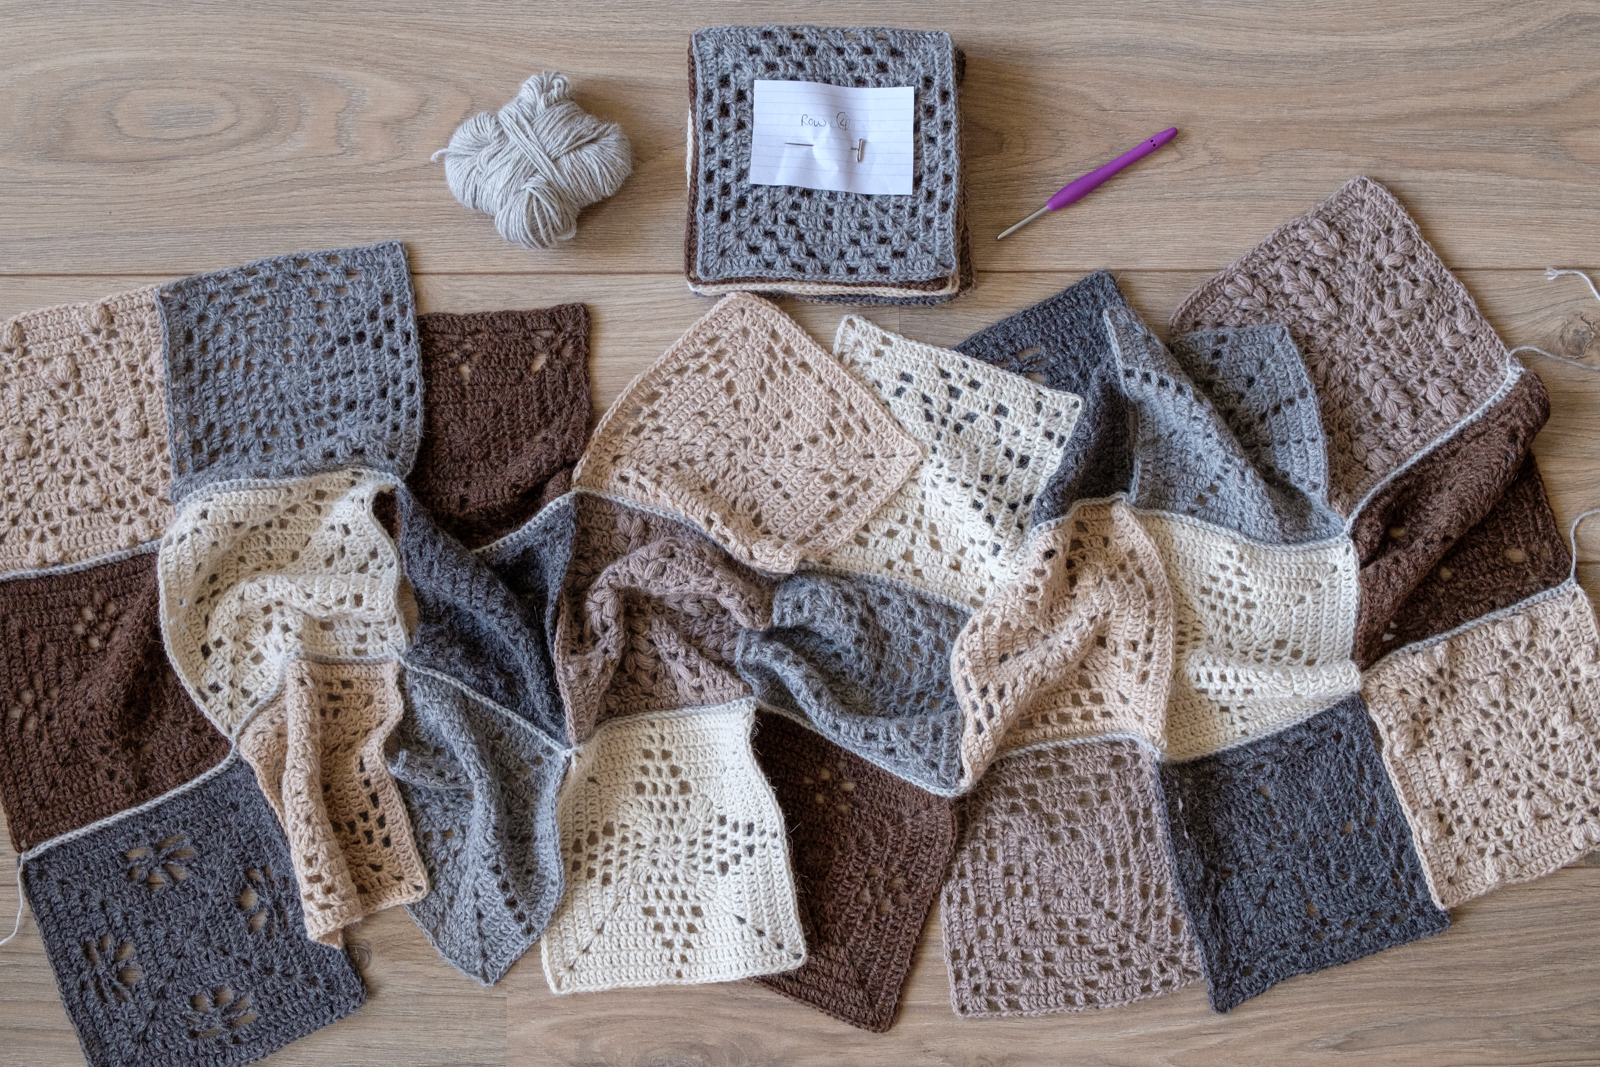
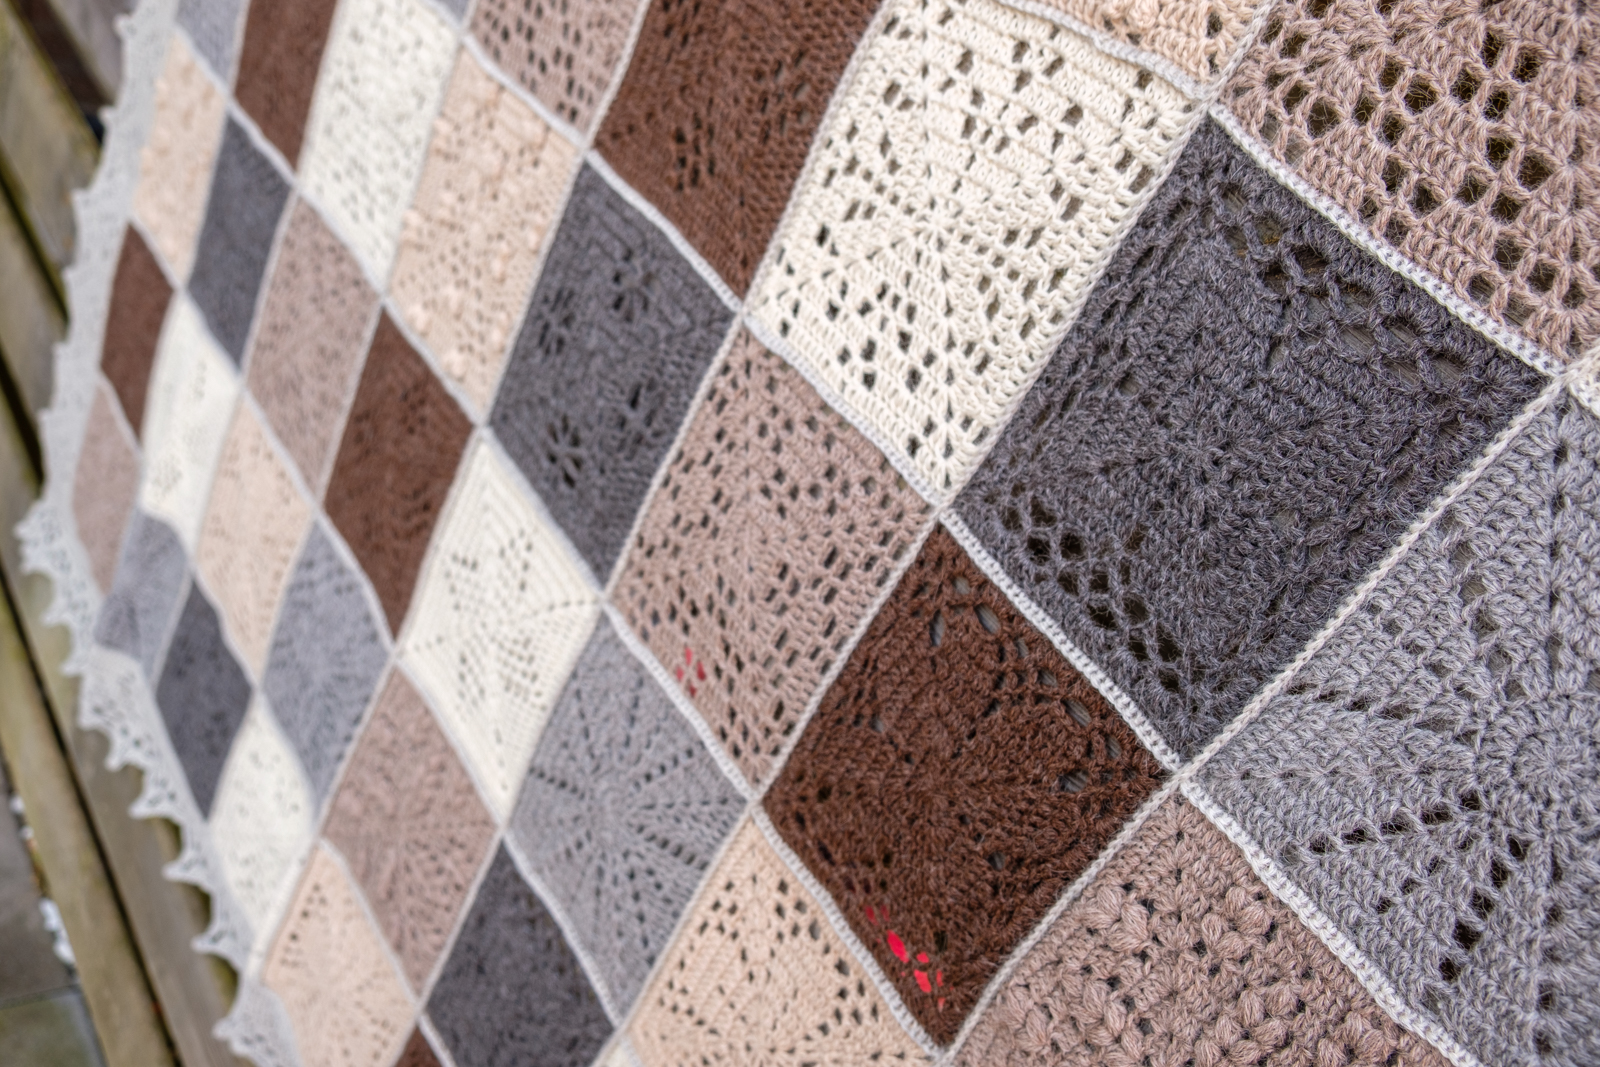
The squares are joined on the front side and the little frame that is created by that adds texture to the blanket as well.
Luckily, joining the squares went a lot faster than I thought it would go and soon enough the blanket only needed a border.
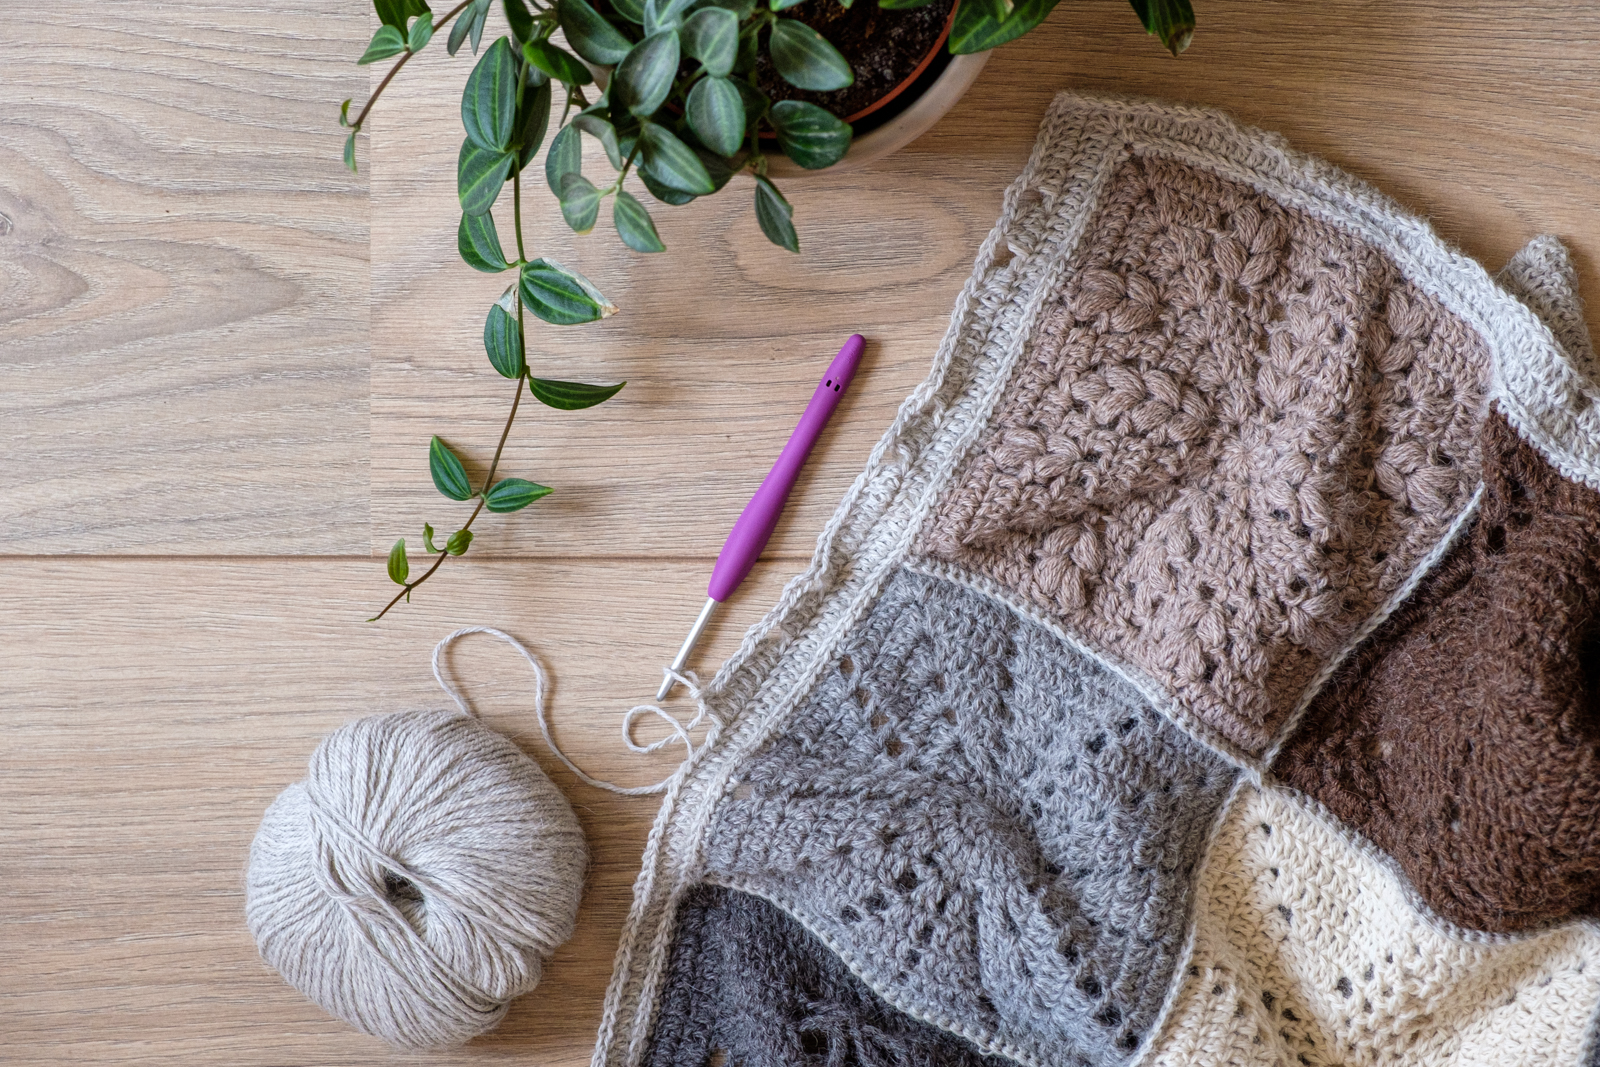
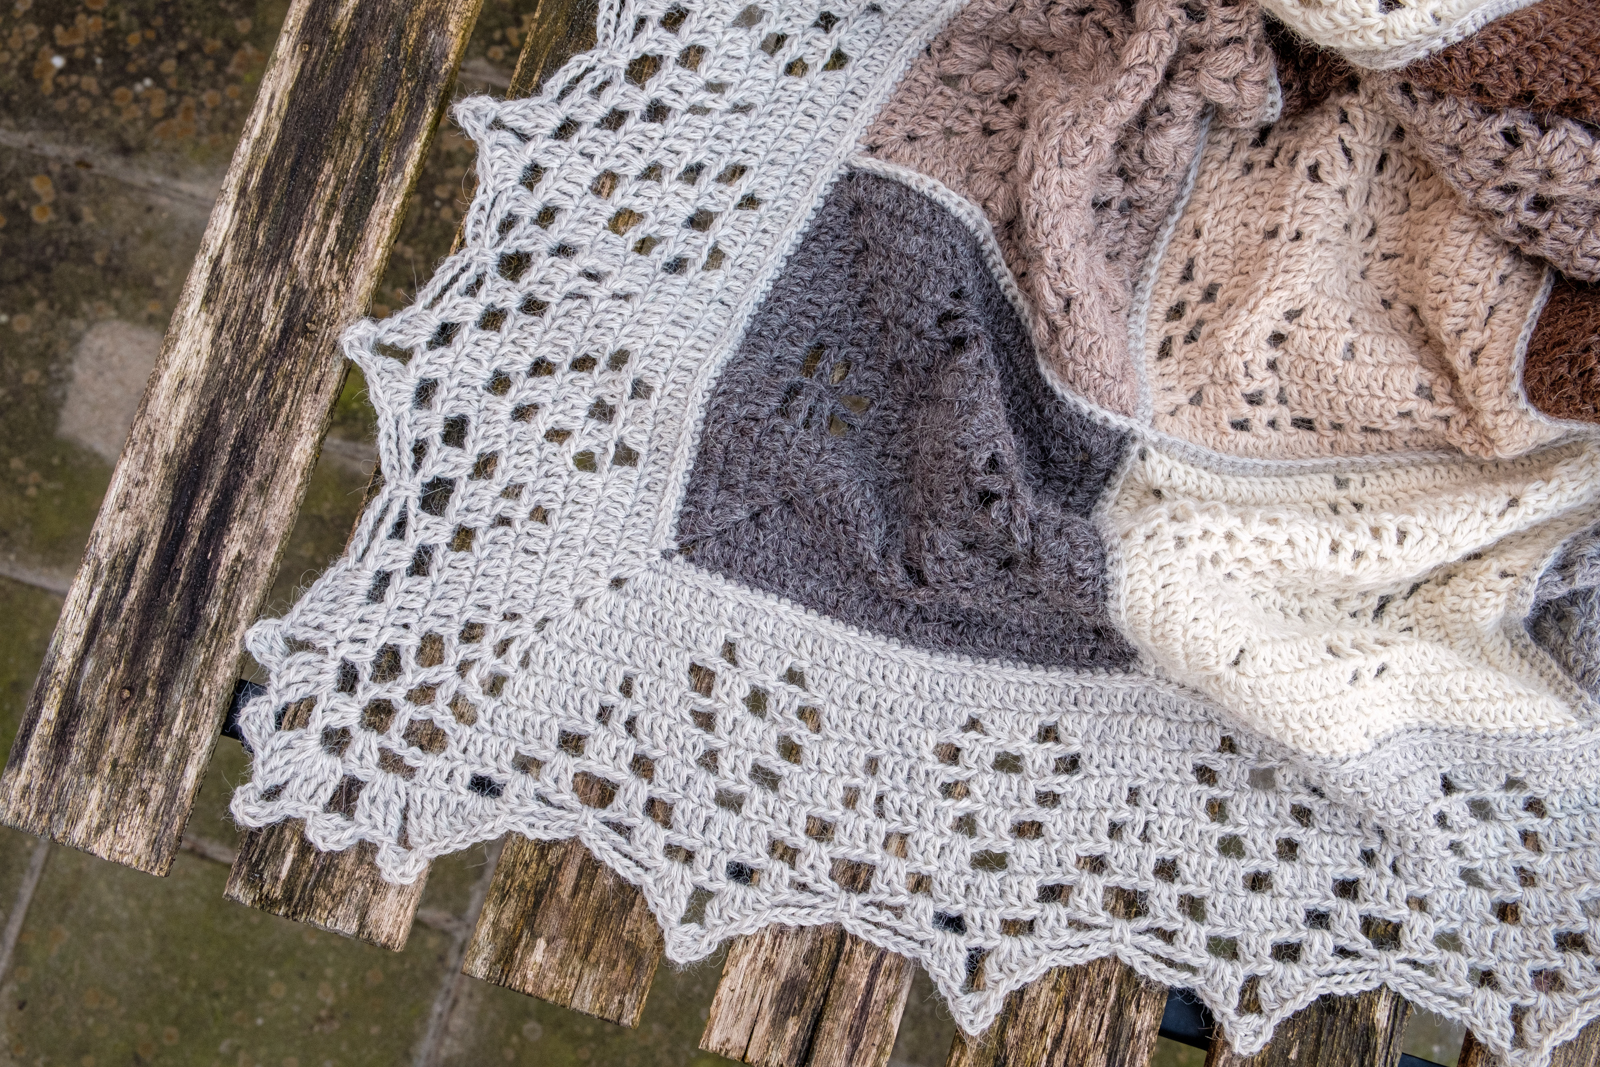
The border of the blanket is stunning! And it’s big! I think I went at a pace of one border round per evening… So, it took me about a week to finish it. I had been weaving all of my ends in while making the blanket so after getting rid of the last few yarn ends it was time for the final finishing: blocking.
Since I had already blocked my squares before joining them, all that I had to do now was block the border. I pinned it down with all of the blocking pins that I could find and it’s worth every pin because blocking makes such a difference! Especially with the woolly alpaca yarn that I picked.
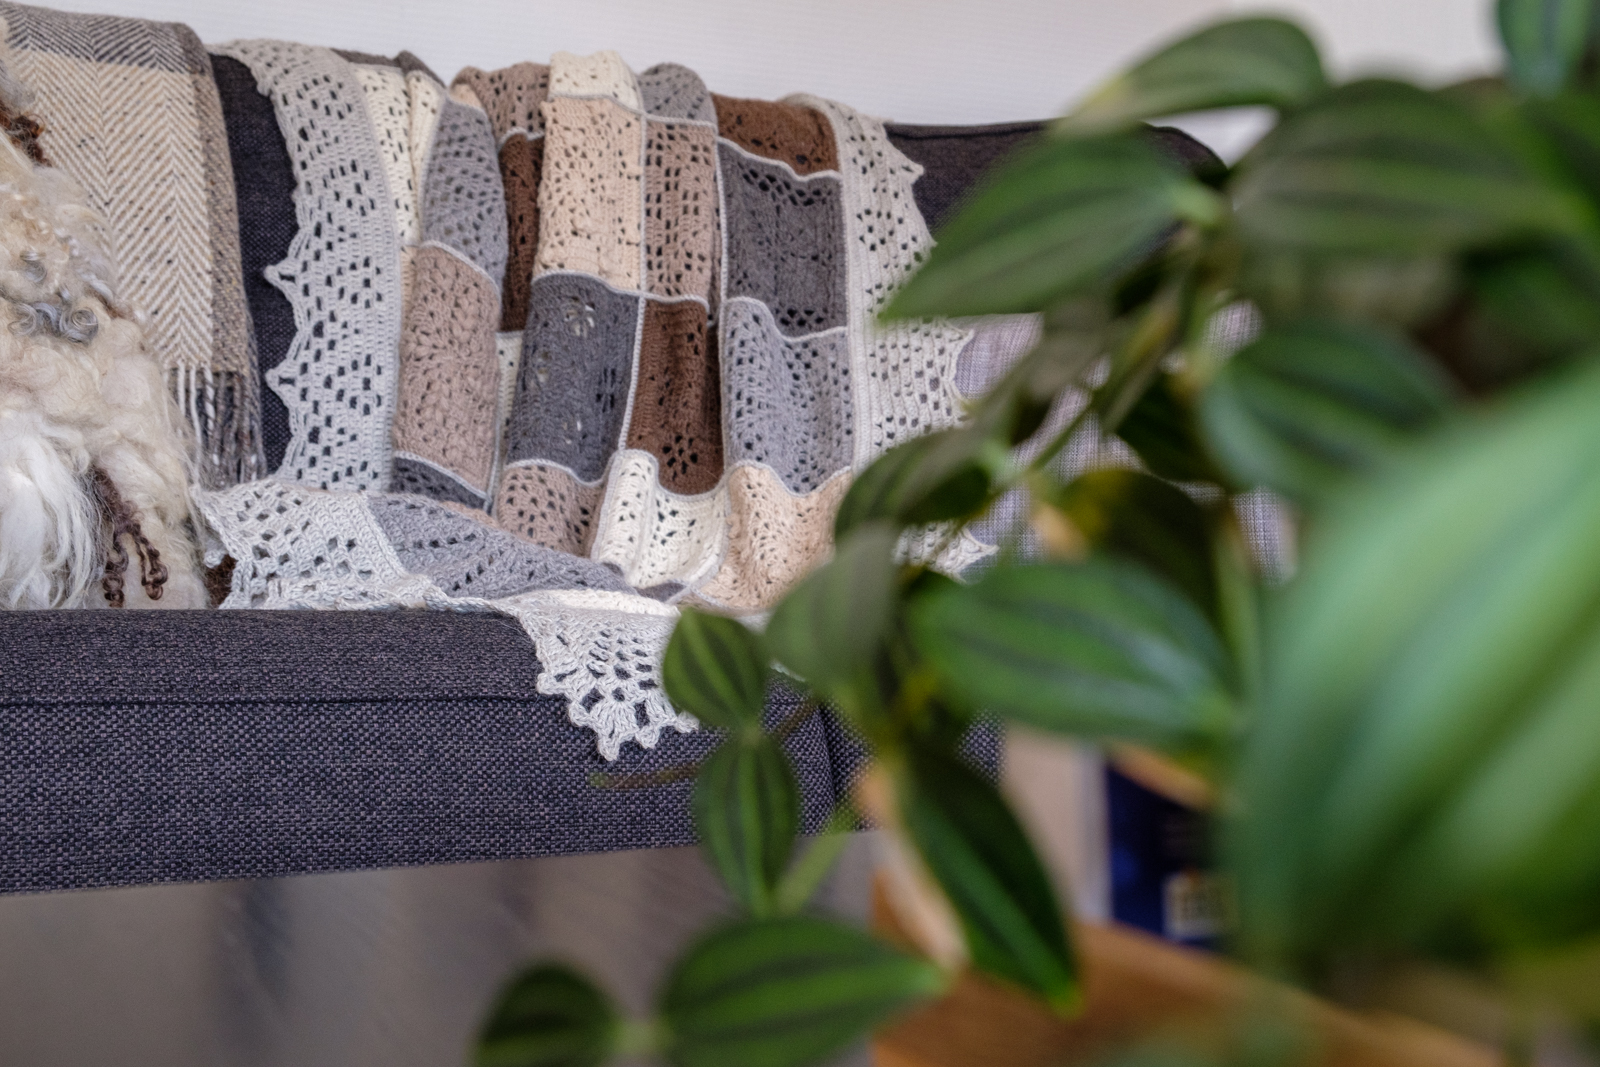
Tadaah!
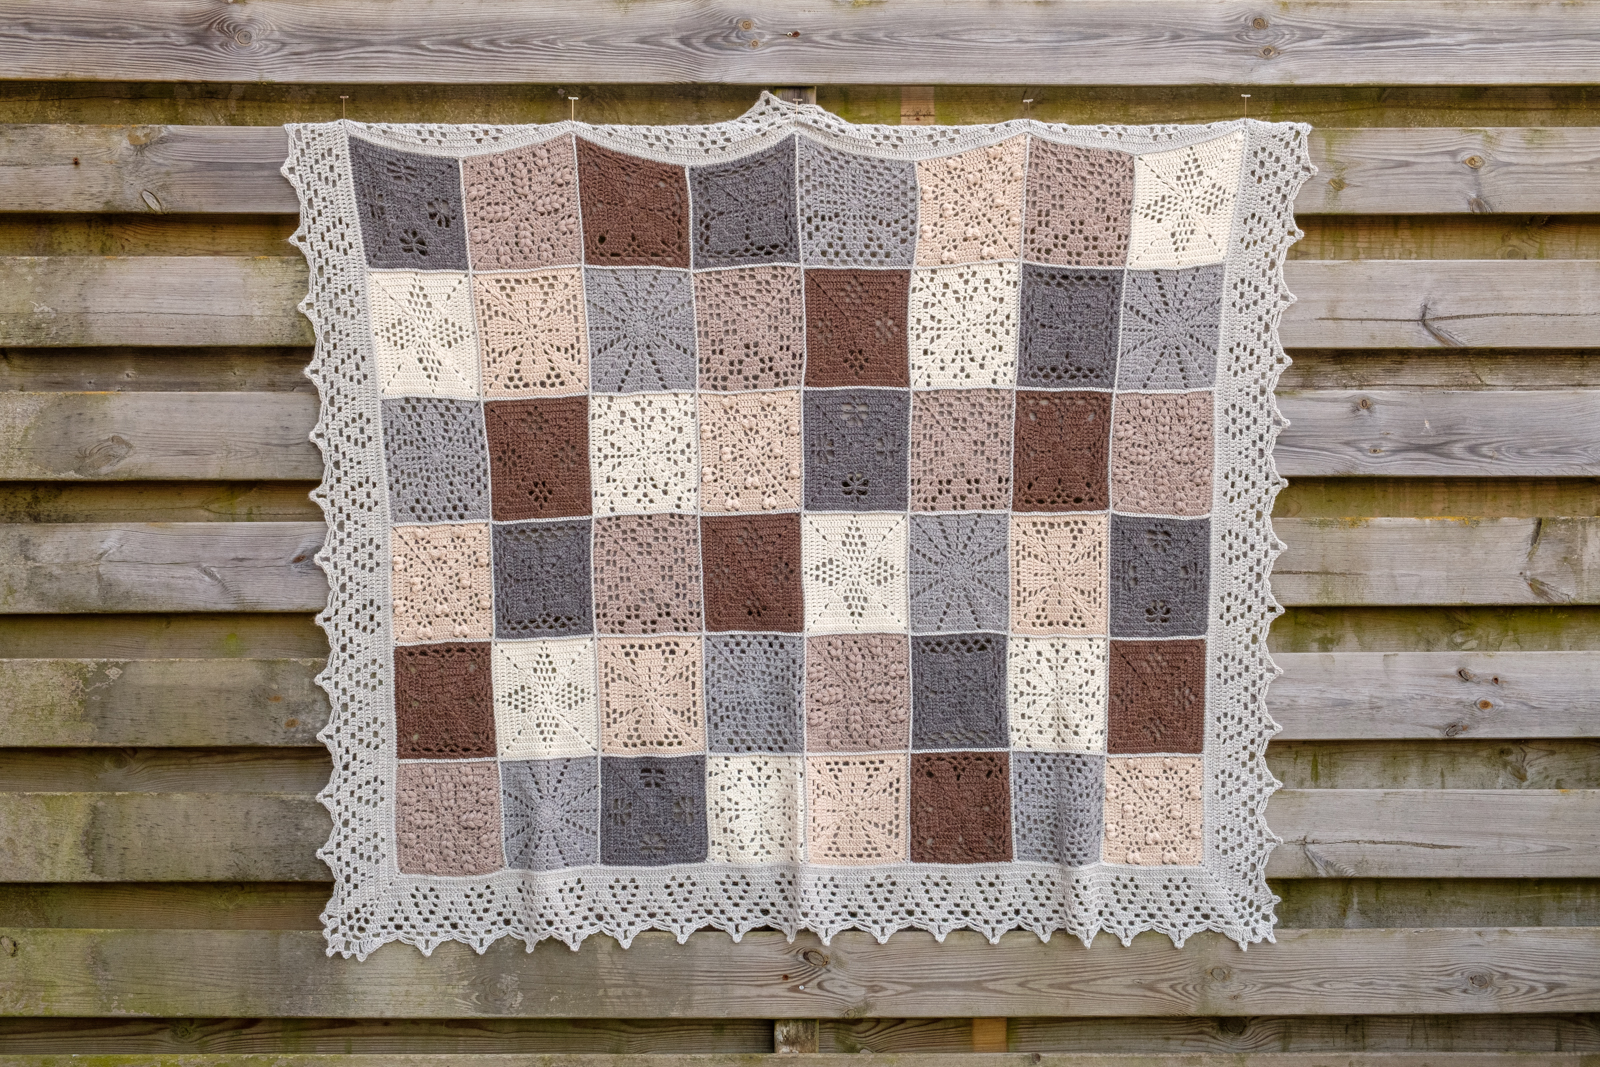
And here it is, in full glory: my Nature’s Walk Blanket!
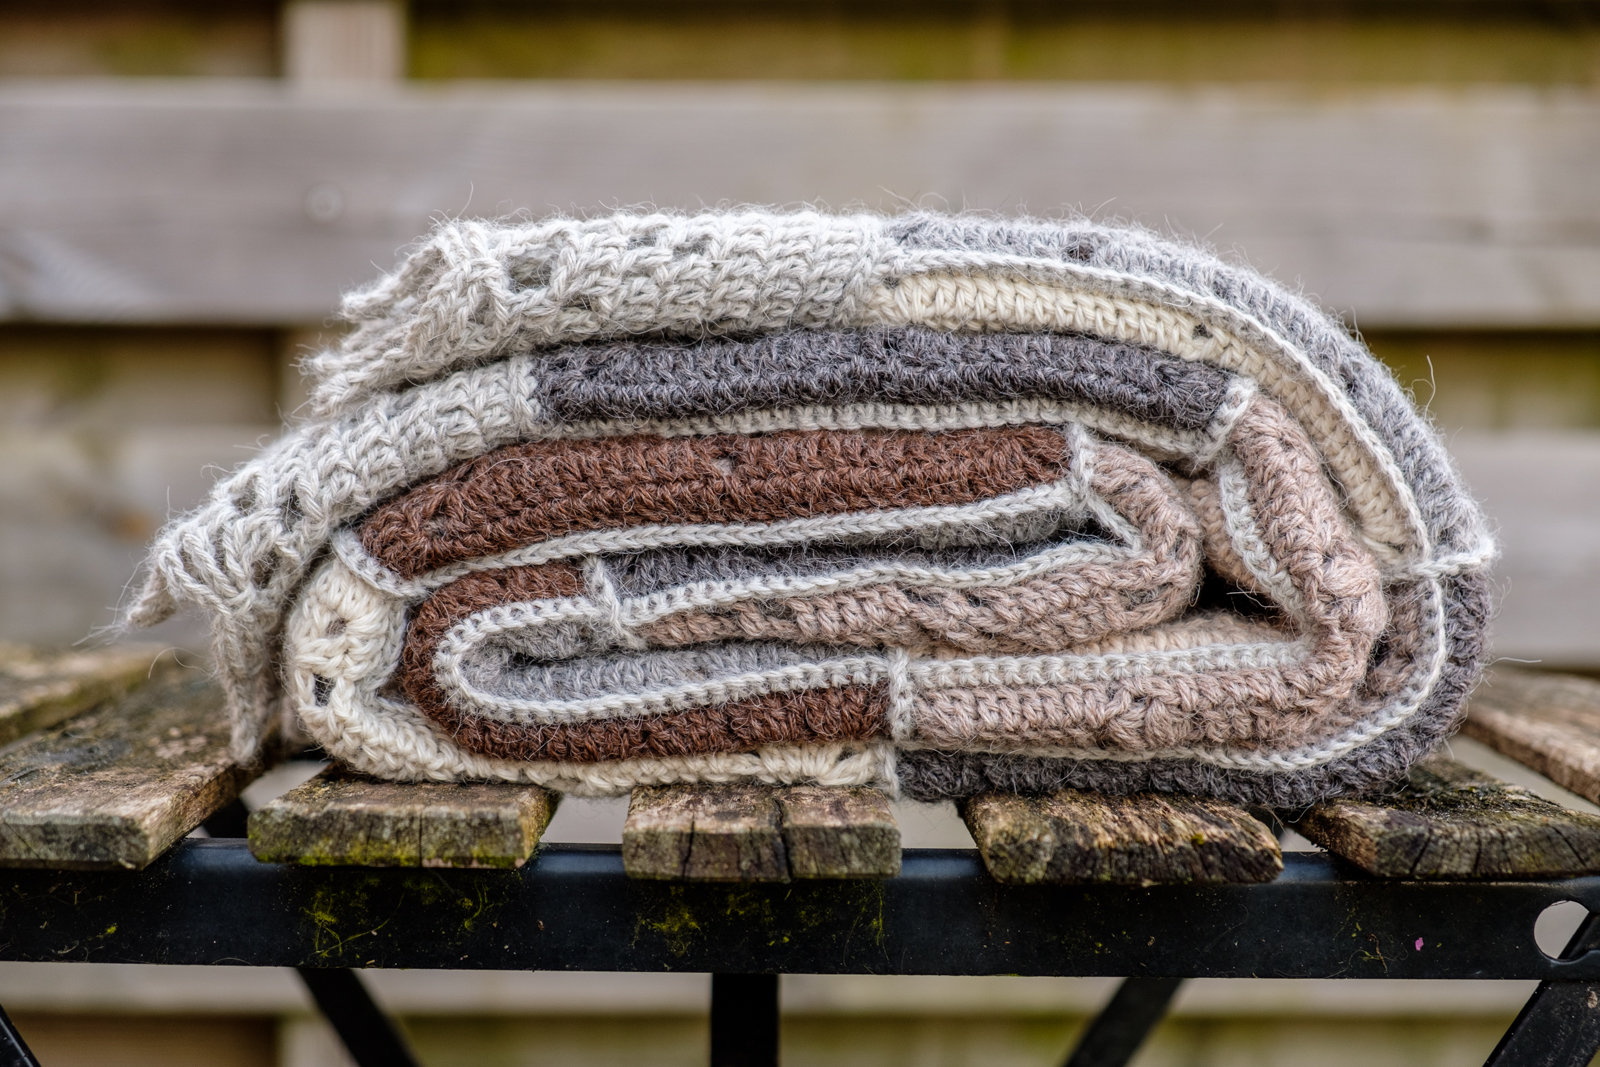

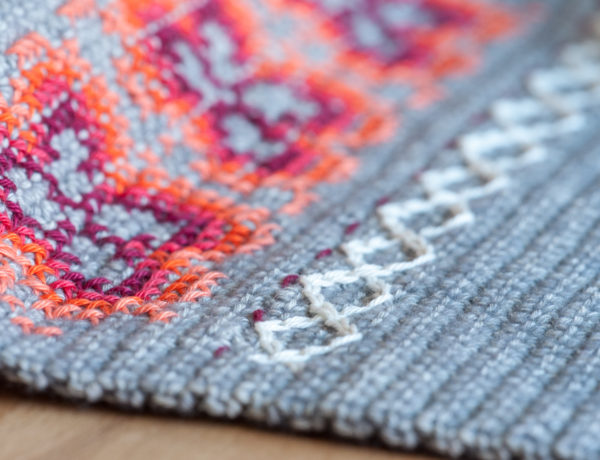
Let’s give the beautiful border a bit of extra love…
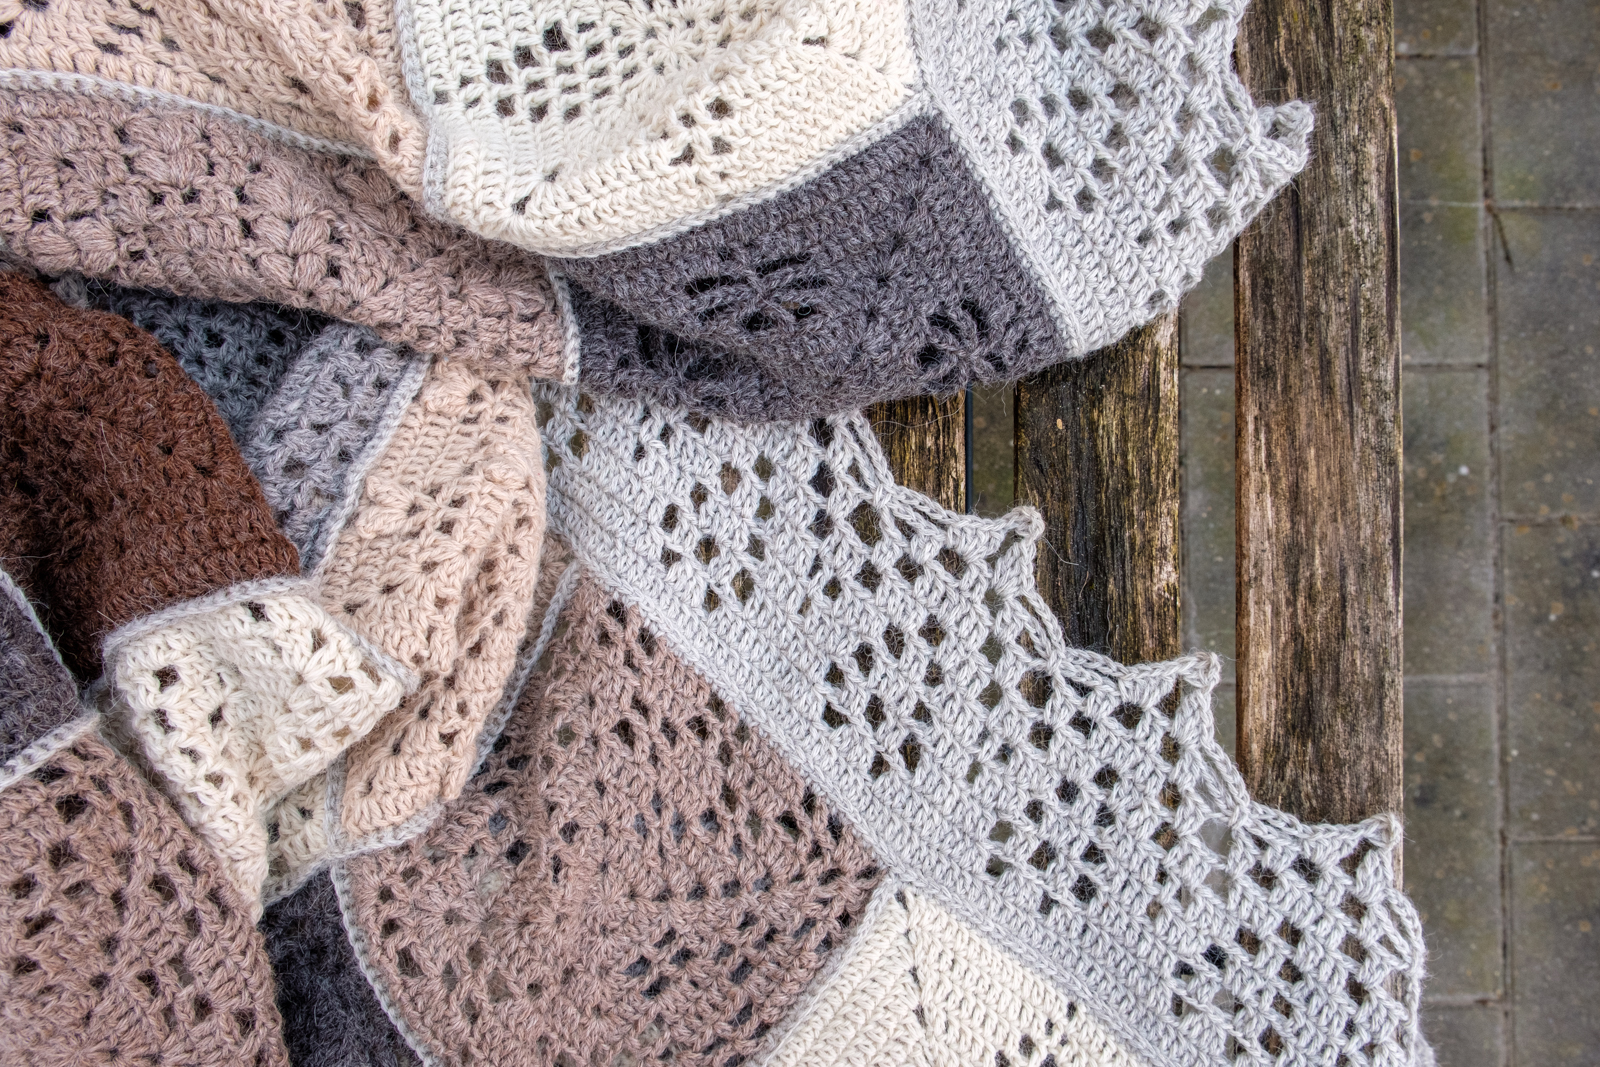
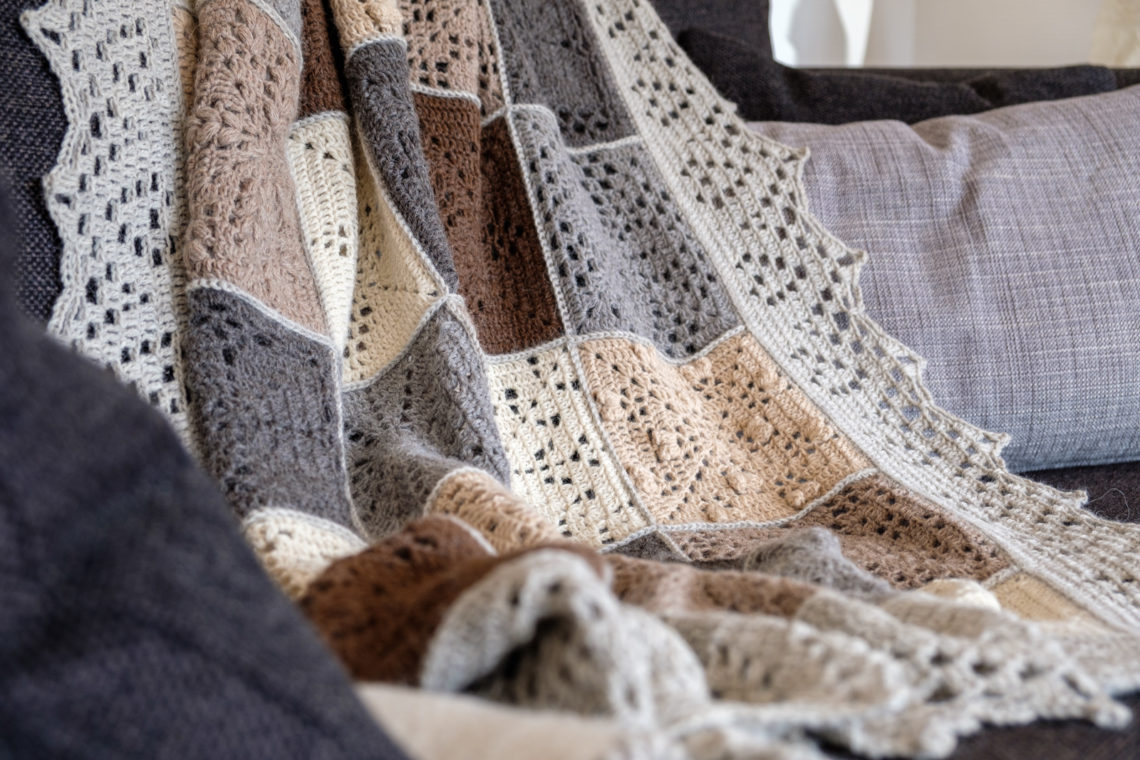
I’m very pleased with it because it is just so beautiful. The natural colours work well together, I think. It’s not a very colourful blanket, but very timeless, I hope. Good for years of comfort warmth on the sofa!
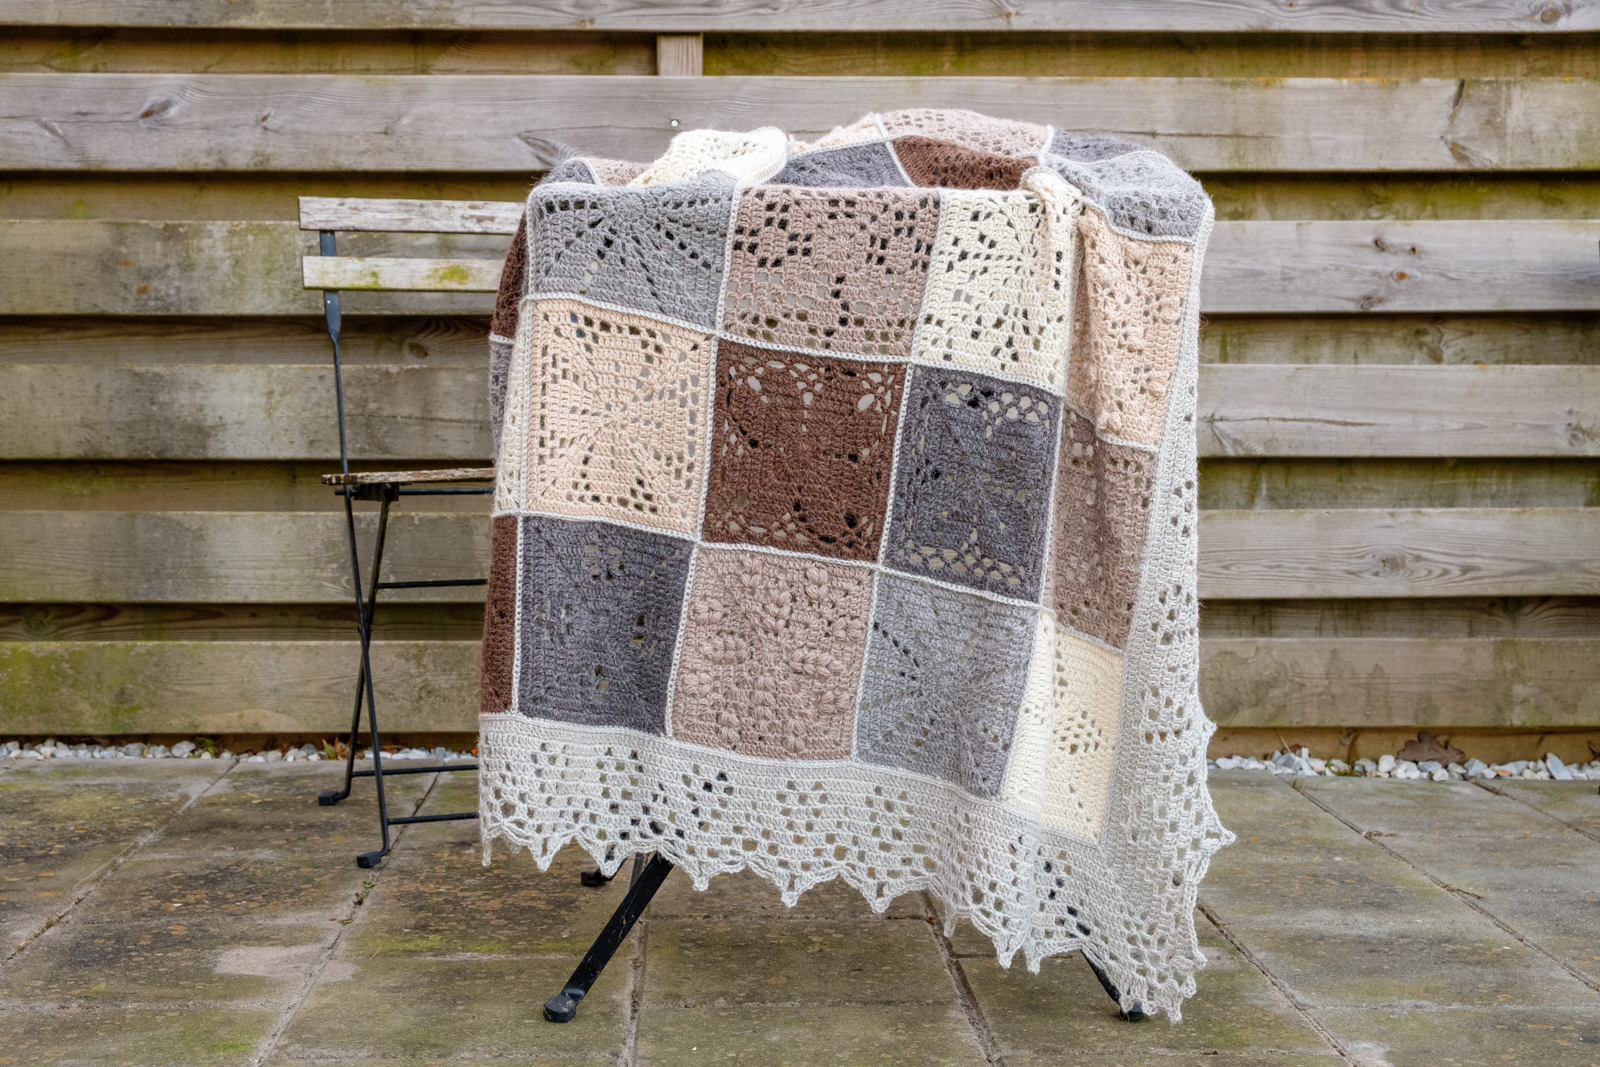
As always, you can find all details on my Ravelry project page. Now, let’s see if I can use the leftover yarn for a matching cushion!


6 Comments
Sandra
29th July 2020 at 18:20Oh my goodness, I love it so much! The colours are just so soothing and perfectly complimentary to the blanket. I love all the styling throughout this post too, the whole thing is a joy!
Sandra x
Judith
30th July 2020 at 08:56Thank you su much Sandra! I really enjoyed making the blanket, the pattern is a joy too! X
Karen
2nd September 2020 at 17:36Hi.
I found your blanket on instagram! It’s so pretty! I’m making a smaller one for my February child.
I love your colors. Would you mind telling me which color codes you used?
Thank you so much
Best regards Karen
Judith
2nd September 2020 at 20:08Thank you so much Karen! I’ve used Drops Puna and you can find all the details in this previous blog post: https://merinoandtomatoes.com/blog/2019/09/oh-dear-a-cal/.
There’s a Ravelry project page for the blanket as well (link in above blog post). Good luck and enjoy making yours!
X, Judith
Phuong
19th October 2023 at 08:17May I ask if you used all 8 balls for the border? I have 6.5 balls of white of scheepjes for the border so wondering if I can get away with it. How many balls would you say to seam squares and then for the border? Thank you!
judith
20th October 2023 at 09:56Hi! How nice that you’re finishing this beautiful blanket! I’m afraid I can’t really help you here since I used a different yarn and a different hook size. I used Drops Puno instead of Scheepjes. Good luck!